
How Do You Stain Wood Filler to Match Wood Grain Without Visible Seams?
When you stain wood filler, it often turns dark and blotchy, breaking the wood grain illusion. This color mismatch stems from how fillers interact with stain compared to raw wood.
We will cover filler composition and porosity, stain chemistry and absorption, practical pre-treatment steps, and my shop-tested blending method.
I base this advice on my materials science background and hands-on testing with dozens of filler and stain combinations.
Before You Fill: The Setup for an Invisible Repair
The fundamental challenge is simple. Wood filler is not wood. It’s a composite of binder and wood dust or minerals that forms a solid mass. Real wood is a porous network of cells. When you apply a stain, it penetrates those open cells at different rates, creating the depth and variation we see as grain. Filler has no such structure.
Filler acts like a sponge, while wood acts like a bundle of straws; the stain sits on top of the sponge, soaking in only superficially, leading to a flat, opaque spot that screams “repair.” Understanding the chemistry behind wood stain penetration explains why some finishes soak in more deeply than others. Solvent choice, pigment size, and the wood’s microstructure govern how color moves beyond the surface.
Choosing Your Filler: The First Critical Decision
Your filler choice dictates your entire staining strategy. I group them into three camps based on their binder.
- Water-Based (Latex): Common, sandable, and easy to clean up. They are porous and will suck up stain quickly, often becoming much darker than the surrounding wood. Best for paint-grade work or under a gel stain.
- Oil-Based (Putty): These remain slightly flexible and are less porous. They accept stain better than water-based fillers but still require careful management. A good all-around choice for many repairs.
- Epoxy-Based (2-Part): The professional’s choice for an invisible fix. Mixed with sanding dust from the actual project wood, it becomes a near-perfect color match before you even stain. Epoxy is non-porous, so stain won’t penetrate it at all, which is actually an advantage-it allows you to control the color on its surface precisely.
The Non-Negotiable Shop Rule: The Test Piece
Never guess. Your project wood, your chosen filler, and your specific stain interact in a unique way. Make a test piece from off-cuts of the same board to check the stain absorption.
- Cut a small groove or drill a hole in the test piece.
- Fill it with your mixed filler, using your intended method.
- Let it cure fully-not just dry to the touch.
- Sand it flush and apply your finishing schedule exactly as planned for the project.
This 20-minute test saves hours of frustration and strip-back. It reveals the truth about color match and absorption before your project is on the line.
Preparation: The Foundation of a Good Repair
How you prepare the void is as important as the filler itself.
- Clean out all loose fibers and dust. I use compressed air followed by a quick wipe with mineral spirits for oil-based projects or denatured alcohol for water-based. This ensures a mechanical bond.
- Mix your filler to a consistency like creamy peanut butter. Too runny, and it will shrink dramatically; too thick, and it won’t pack in properly.
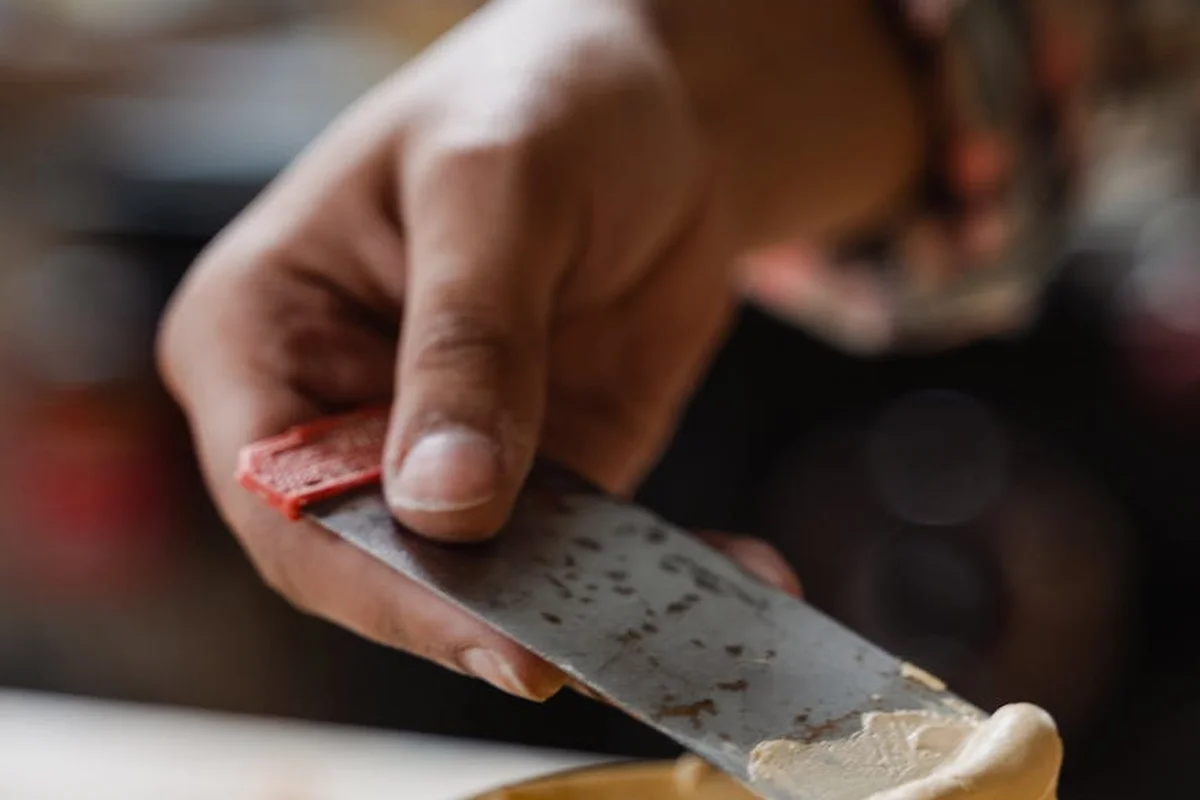
- Use a flexible putty knife or a plastic card to press the filler firmly into the void, overfilling it slightly to account for shrinkage as it cures.
Does Wood Filler Harden? Understanding Cure Time
This is a vital distinction. “Dry to the touch” is not “fully cured.” Most fillers skin over in 15-30 minutes and can be sanded in a few hours. But chemical curing, where all solvents evaporate and the binder fully cross-links, can take 24-72 hours. Sanding or finishing before full cure traps solvents, which can cause the filler to shrink later or prevent proper adhesion of your topcoat. For the best stain match, you must wait for the filler to reach its final, stable hardness. Check the product’s datasheet for its full cure time and follow it.
The Step-by-Step Method to Stain and Blend
With a fully cured filler patch, the real work begins. The goal is to trick the eye by mimicking the color and texture of the surrounding grain.
Best Practice Workflow: Staining and Finishing Over Filler
This five-step sequence is my proven method for hiding filler under a stained finish.
- Sand the Filler Flush. Use a sanding block with 150-grit paper, then progress to 220-grit. Stop the moment it is perfectly level with the wood. Over-sanding will dish out the softer wood around the hard filler.
- Apply a Seal Coat. This is the secret. Brush a thin coat of dewaxed shellac (like SealCoat) or a 1lb-cut of sanding sealer over the entire area. This sealer partially seals the porous wood so it accepts stain more slowly, bringing its absorption rate closer to that of the non-porous filler. Let it dry completely and sand lightly with 320-grit paper to remove any nibs.
- Apply Your Stain. Apply the stain to the whole piece, not just the patch. Wipe on, then wipe off thoroughly according to the product’s directions. The sealed wood and the filler will now take the color more evenly. The filler may still look slightly different-this is normal.
- Adjust with Glazes. This step matches complex grain. Use an oil-based glaze (a translucent pigment in a slow-drying medium). With a small brush, carefully paint thin lines of glaze over the filler to imitate the surrounding grain pattern. Use a nearly dry brush to soften and blend the edges. Artists’ oil paints thinned with linseed oil also work for this.
- Apply Final Topcoats. Once your glaze is dry (usually 24 hours), apply your protective clear finish-polyurethane, lacquer, or more shellac-over the entire piece. These final coats will further blend the repair by burying everything under an even layer of film.
Stain Before or After the Filler? A Clear Guide
The answer depends on your filler type and the repair size.
- For Small Nail Holes & Dents: Stain the wood first, let it dry completely, then apply a pre-colored, wax-based filler stick. These are blended by hand and sit on top of the finished color. They are a quick fix, not a permanent, sandable one.
- For Larger Repairs & Gaps: Almost always apply the filler to raw wood, then stain afterward using the seal-stain-glaze method above. This gives you maximum control. The exception is an epoxy/sawdust mix, which you can color with dye to match the pre-stained wood, as the epoxy itself won’t accept the stain later.
Staining the whole piece after filling provides a unifying color layer that helps hide the repair, while staining before filling is only suitable for minor, non-structural touch-ups. For the seamless result your project deserves, the “fill then stain” workflow is the most reliable path.
The Wood Science Behind Why Filler Looks Different
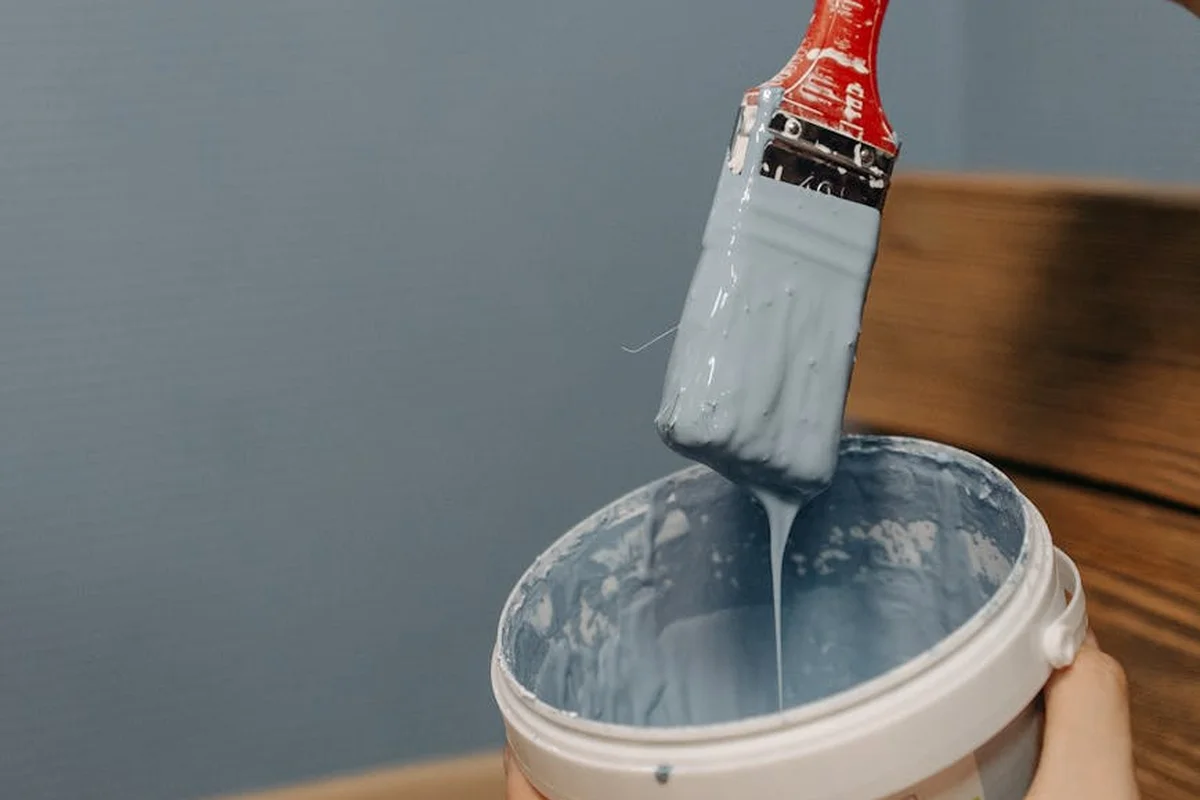
You apply the same stain to wood and filler. The result is two different colors. The reason is fundamental to their structure and composition.
Wood stains through absorption. Filler stains through adhesion. These are two completely different mechanisms. It’s why you often ask, “Does wood filler stain differently?” The answer is a definitive yes.
Mechanism of Action: Absorption vs. Adhesion
Think of raw wood as a sponge. Its cellular structure is a network of tiny tubes and pores. When you apply a liquid stain, capillary action pulls the pigment deep into this network. In wood anatomy, stain absorption methods depend on how liquids move through vessels and cells. This helps explain why colors spread differently in different woods. The wood absorbs the stain, coloring it from the inside out, which is what gives stained wood its depth and character.
Most wood fillers are non-porous. They are designed to be sanded smooth, not to absorb liquid. A common water-based filler is more like a plastic lid. The stain cannot penetrate; it simply sits on the surface as a thin film of pigment. This surface layer looks flat, opaque, and obviously different from the surrounding wood that drank the stain in due to its porosity and absorption characteristics.
The chemistry of the filler’s binder dictates how it interacts with stain solvents. An oil-based filler might resist a water-based stain entirely. An acrylic filler can be softened and lifted by a strong solvent like lacquer thinner in a stain. This mismatch is the root cause of poor stain adhesion and the blotchy, milky look you get when filler doesn’t take stain properly. To fix it, you must first create a uniform, sealed surface for the stain to adhere to, often by using a pre-stain conditioner.
Fixing Common Problems and Advanced Grain Matching
You can absolutely stain wood filler successfully. The question “Can wood filler be stained?” is really about method. For small defects, the goal is to hide. For large repairs, you must mimic.
If your filler is blotchy or the stain is beading up, the surface is too absorbent or non-porous. Sand the area lightly and apply a wash coat of shellac or sanding sealer. This seals the filler and the surrounding wood pores equally, giving the stain a consistent surface to sit on.
For a simple color match on a nail hole, tint the filler itself. Mix a drop of artist’s oil paint directly into oil-based filler before application. For water-based filler, use acrylic paints. Always tint the filler slightly darker than your final target color, as it will lighten as it dries.
Matching a complex wood like walnut requires layering. After sealing and staining the whole piece, use a fine brush and thinned artist’s oils to paint subtle grain lines and color variations over the filled spot. Let this dry completely before applying your protective topcoat. Thinking ahead to the finish, consider how different wood stain finishing application methods influence coverage and grain depth. This context helps guide your final topcoat choice.
The scale matters. A pin hole needs a dab of tinted filler. A long seam along a glue line needs the full treatment: seal, stain, then grain painting. For large areas, I make a practice patch on scrap wood from the same board to test my color mix.
When a Perfect Match is Critical (Like Furniture)
On a tabletop or cabinet face, a mismatched filler patch shouts “repair.” Your goal here is illusion. This moves beyond simple staining into the realm of touch-up artistry.
The process is subtractive. First, build up the filler and sand it perfectly flush. Apply your seal coat. Then, stain the entire piece. Now the filled area will be a flat, featureless block of color. The secret is to use translucent glazes, not opaque paint, to rebuild the grain pattern over the filler.
Using a fine liner brush and a glaze made from oil paint thinned with mineral spirits, draw the major grain lines. Use a nearly dry brush to feather the edges. Layer different browns, ambers, and even grays to mimic the wood’s depth. A graining pen can help with very fine lines. I keep a set of pencils with wood-toned leads for quick, subtle details.
Never attempt this on the final piece first. Your practice board is essential. Use it to mix colors and test your brush technique until the repair disappears under a coat of finish. This method takes patience, but it’s the only way to make a major fill visually vanish.
Frequently Asked Questions: Staining Wood Filler
Can wood filler be stained at all?
Yes, but it accepts stain through surface adhesion, not deep absorption like porous wood. This fundamental difference in mechanism is why untreated filler appears as a flat, opaque spot unless you first manage the surface chemistry with a sealer.
Should I stain the wood before or after applying the filler?
For a permanent, sandable repair, always fill raw wood first, then stain using a seal-stain-glaze method. Staining first is only viable for minor, non-structural touch-ups with a wax-based filler stick applied over the fully cured finish. Before staining, follow the sanding sequence as part of wood stain preparation: start with a coarser grit to level the surface, then progress to finer grits to open the grain and remove scratches. This helps ensure even stain penetration and a truly sandable repair.
Why doesn’t stained wood filler match the surrounding wood?
Mismatch occurs due to differences in porosity and binder chemistry; wood absorbs stain into its cellular structure, while most fillers form a non-porous surface that pigment sits atop. A uniform seal coat is required to equalize the absorption rates between the two dissimilar materials.
How do I match wood filler to a complex grain like walnut?
After sealing and applying a base stain, you must mimic grain with translucent glazes, not opaque stain. Use a fine brush and thinned artist’s oils to hand-paint the characteristic dark lines and color variation, as filler cannot replicate walnut’s organic depth.
What is the scientific purpose of a seal coat before staining over filler?
The seal coat partially closes the pores of the surrounding wood, slowing its stain absorption to better match the filler’s non-porous surface. This creates a more uniform substrate, allowing the stain’s color to develop with less contrast between the materials. It acts similarly to a sealer or topcoat that helps control stain penetration.
Final Thoughts on Blending Wood Filler Seamlessly
Your success hinges on testing stains on filler samples before touching the project. This simple step avoids costly color errors. I rely on applying multiple thin stains to replicate wood’s natural translucency and variation. Master this method, and your repairs will vanish into the original grain.
Select fillers from manufacturers committed to sustainable forestry for a lighter ecological footprint. View each project as a chance to deepen your material science knowledge for more durable and beautiful work.
Related Guides and Information
- r/finishing on Reddit: “stainable” wood filler not taking stain. any fixes?
- Grain filler before or after staining | LumberJocks Woodworking Forum
- How To Use Grain Filler To Improve Wood Finish
- Filling Wood Grain for Perfect Finishing
- An Experiment to Find the BEST Stainable Wood Filler
- The Secret To Mirror Like Finishes: Wood Grain Filler
- How to Stain Wood Filler: 9 Steps (with Pictures) – wikiHow
- Wood Grain Filler (Clear)