
Does Sanding Sealer Actually Prevent Wood Movement?
You might apply sanding sealer hoping it will lock the wood flat and stable forever. I built test panels to see if this common belief holds up under real shop conditions.
This article breaks down the materials science, giving you clear, tested answers on how wood absorbs moisture, what sanding sealer is designed to do, and the proven methods to minimize movement in your work.
I base this guidance on my own controlled tests with different sealers and wood species, tracking dimensional change over seasons.
What a Sanding Sealer Really Does (and Doesn’t Do)
Let’s cut through the marketing. In the shop, a sanding sealer is just a thin, fast-drying finish you apply early to prepare the wood surface. It’s not magic. It’s a tool with specific jobs.
Its true purposes are straightforward. First, it partially fills the open pores of coarse-grained woods like oak or mahogany. This creates a flatter surface for your final topcoat. Second, it prevents blotchy stains on woods like pine or cherry by creating a more uniform surface for the stain to absorb into. Third, because it sands to a fine powder so easily, it lets you create a perfectly smooth base.
It is not a moisture barrier or a dimensional stabilizer. This is the critical misunderstanding. A sanding sealer does not lock moisture in or out of the wood cells. It prepares the surface for aesthetics, not for environmental defense.
The two main types you’ll see are shellac-based and lacquer-based sealers. Shellac-based is my go-to for stain work. It’s compatible with almost any topcoat and dries in minutes. Lacquer-based sealers are great under lacquer topcoats, obviously, and dry even faster. I avoid water-based sealers for stain projects as they can raise the grain and undo your sanding work. Between lacquer vs shellac wood finishes, the choice often comes down to dry time and finish sheen. A quick comparison can help you decide which finish is right for your project.
Here’s my personal rule. I always use a shellac sealer before staining pine, maple, or cherry. I always skip it when applying a simple oil finish like tung or Danish oil. The oil needs to penetrate the raw wood, and a sealer would block it. For a painted piece, I’ll use the sealer recommended for the paint system, which is often just a dedicated primer. Similarly, when applying oil finishes, the method—wipe-on, rub-in, or buff—greatly influences penetration and evenness. I’ll cover these oil-finishing methods in the next steps.
The Short Answer: No, Sealer Doesn’t Stop Wood from Moving
The short answer is no. A sanding sealer will not prevent wood movement. Wood moves with changes in humidity because its cell walls absorb and release water vapor. No common shop-applied finish stops this process completely.
This myth persists because people confuse “sealer” with “vapor barrier.” A plastic sheet under a concrete slab is a vapor barrier. A couple mils of dried resin on wood is not. The name “sealer” is unfortunately misleading. It seals the surface from liquid stain penetration, not from gaseous water vapor.
Think of it like primer on drywall. Primer gives the paint a good surface to stick to and ensures even color. It does not, however, make the drywall board waterproof or stop it from ever getting damp. The sanding sealer is your wood’s primer, not its raincoat.
Even multiple, thick coats of any finish will only slow the rate of moisture exchange; they cannot halt the inevitable equilibrium between the wood and the room’s air. This is why proper joinery that accommodates movement, like frame-and-panel doors, is non-negotiable. Relying on a finish for stability is a recipe for cracks, splits, or failed glue joints. Design for movement first, then apply your finish for protection and beauty.
Wood Movement 101: Why Your Boards Breathe
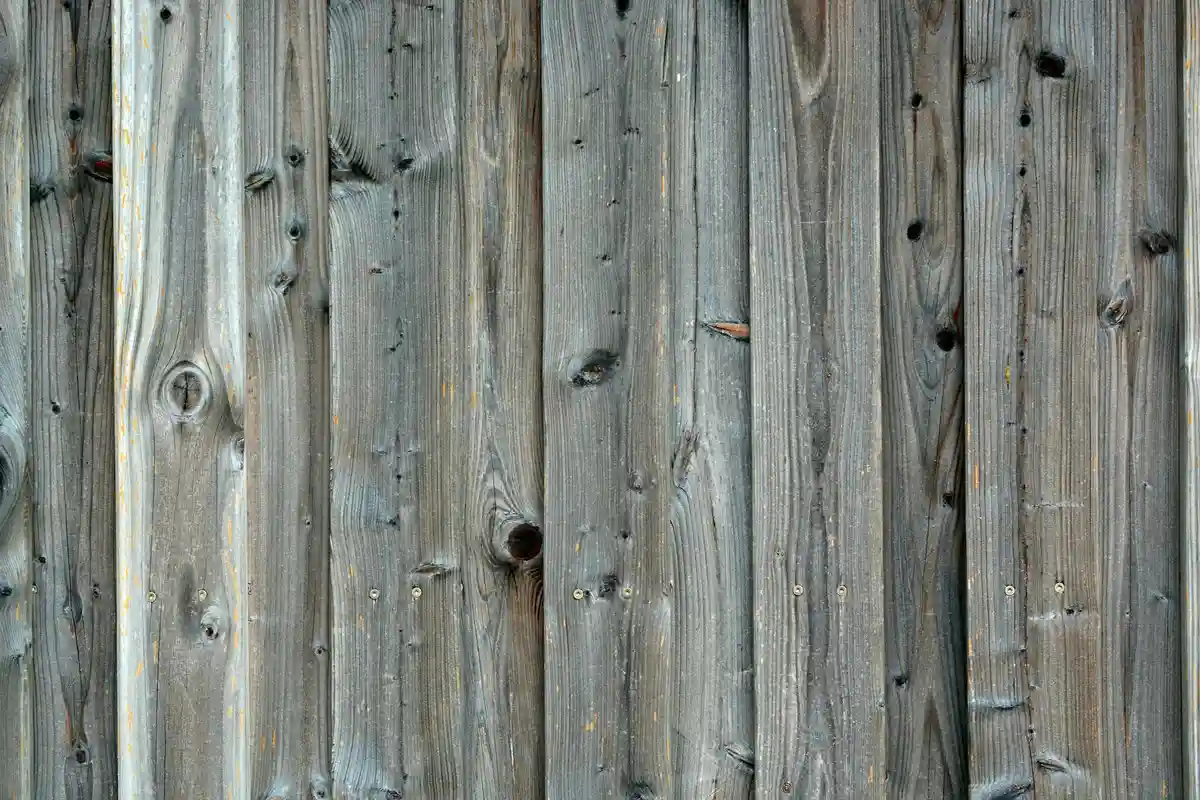
Think of wood as a bundle of tiny, interconnected drinking straws. This structure makes it hygroscopic. That’s a scientific term for a simple truth: wood constantly absorbs and releases moisture from the air around it. It breathes.
This breathing is what we call wood movement. When the air is humid, like in summer, those tiny cellular straws soak up moisture and swell. When the air is dry, like in winter with your heater running, they release moisture and shrink. This expansion and contraction is a constant, physical force that no amount of wishful thinking can stop.
You can feel this force in your shop. A board that was flat in July can develop a noticeable cup or twist by January. The first step to managing it is knowing your wood’s moisture content. I keep a simple pin-type moisture meter on my bench. Before milling any lumber for a project, I check it. For indoor furniture, you want your wood to be between 6% and 8% moisture content.
The Humidity Factor
Your home is not a stable environment. A forced-air heating system can drop indoor relative humidity to desert-like levels, sometimes below 20%. In the humid months, it can climb back to 60% or higher. This swing is what attacks your furniture.
You can estimate the impact. A rule of thumb for common furniture woods like red oak or hard maple is that they will move about 1/4 inch for every 12 inches of width across the grain for every 10% change in moisture content. Your 24-inch wide oak tabletop could theoretically move 1/2 inch from winter to summer. In practice, a finish slows this down, but the force is still there.
Cellular Mechanics: It’s All About the Cells
Remember the bundle of straws? Those are the wood’s cells, running lengthwise with the grain. They swell in diameter, like a straw getting fatter, but their length stays almost the same. This is why a board gets wider and thicker with humidity, but not longer.
For the curious, there are two types of across-the-grain movement. Tangential movement (parallel to the growth rings) is about twice as much as radial movement (perpendicular to the rings). This difference is why quartersawn lumber, where the radial face is exposed, is more stable than plain-sawn lumber. When you build, always design for the wood to move across its width, because that’s where the action is.
How Sanding Sealer Works: The Real Mechanism of Action
Sanding sealer, whether it’s shellac-based, lacquer-based, or a vinyl product, works in one specific way. It is applied as a liquid that flows into the wood’s pores. Then, it dries or cures to form a thin, hard film on the surface. This film is the key to understanding the myth.
This film is semi-permeable. It is not a plastic bag. Water vapor molecules can and do pass through it, just very slowly. Think of it like a raincoat that eventually lets dampness through during a long storm. All a sanding sealer does is slow down the rate of moisture exchange; it does not stop it.
Different finishes have different permeability. Pure oil finishes like tung or linseed oil offer almost no vapor barrier. A film-forming finish like polyurethane is better, but still permeable. Traditional sanding sealers, like a 1-lb cut of shellac, sit somewhere in the middle. They build a film that sands easily, but they are not the ultimate moisture lock.
The chemistry is straightforward. Shellac polymers form a matrix as the alcohol solvent evaporates. Lacquer dries solely by solvent evaporation, leaving a film of nitrocellulose or acrylic resin. These films are micro-porous. Over weeks and months, moisture vapor equalizes across the film. No common wood finish, not even thick epoxy in many cases, creates a perfect, permanent seal against atmospheric moisture vapor. Designing your joints to accommodate movement is non-negotiable. Some modern lacquers use catalysts to accelerate crosslinking, introducing catalyzed lacquer finish chemistry into the curing process. This can alter film formation and moisture resistance.
Why Relying on Sealer for Movement Fails: Common Shop Disasters
This belief leads directly to damaged projects. The most frequent results are warped panels, cracked joinery, and finish failure. Treating a finish like a moisture barrier is a shortcut that wood science never allows.
Let’s look at specific failures. A wide tabletop sealed on the top face will cup as the unsealed bottom absorbs moisture and expands. Glue joints can starve and open up because the wood they’re holding moves with tremendous force. Finishes themselves blister and peel when moisture trapped underneath tries to escape. Any finish that restricts moisture exchange on one side creates an imbalance, guaranteeing a reaction from the wood, especially affecting adhesive bonding in wood.
I learned this lesson with an early project: a maple breadboard end table. I meticulously sealed the entire tabletop, including the end grain in the breadboard joint, thinking I was “protecting” it. Within a year, a clean split ran right down the center of the maple top, starting at the joint. The sealed ends couldn’t release moisture at the same rate as the partially exposed long-grain, so the wood tore itself apart.
The physics are straightforward. Wood is a hygroscopic material, constantly exchanging water vapor with the air. When you coat one surface, you slow the rate of exchange on that side. If the air humidity changes, the uncoated or less-coated side reacts faster. This creates unequal stress inside the board. The wood doesn’t just bend; it fights the restraint until it wins, often by cracking or breaking the finish. This behavior is related to the moisture hysteresis in wood.
Smart, Proven Ways to Manage Wood Movement

You cannot stop wood movement, but you can design for it. This is the fundamental shift from fighting the material to working with it, especially when using wood joints that handle physical forces.
Your first defense is intelligent design. Frame-and-panel construction lets a solid wood panel expand and contract freely inside a stable frame. Use elongated screw holes or slotted metal brackets when attaching tabletops to bases. Proper breadboard ends are attached only at the center, allowing the top to slide within them. These techniques provide a controlled path for movement, relieving stress before it breaks something.
Material choice is your next tool. Some species move less than others. Quarter-sawn lumber is far more stable than plain-sawn because the growth rings run vertically, resisting cupping. Always start with properly kiln-dried wood from a reputable supplier. Buying wood labeled “S2S” or “S4S” from a big-box store offers no guarantee of correct moisture content for fine woodworking.
Acclimation is non-negotiable. Bring your lumber into your shop and let it sit. Stack it with stickers for air circulation. For critical projects, use a moisture meter. The goal is for the wood to reach equilibrium with your shop’s environment before you make the first cut. This can take weeks.
Finishes manage moisture exchange; they don’t stop it. Penetrating oils like linseed or tung oil offer minimal restriction, allowing the wood to breathe and change gradually. Film-forming finishes like polyurethane or lacquer provide more restriction. A thick epoxy pour creates a near-total barrier. Match the finish to the project: use forgiving, breathable finishes on pieces that will see large humidity swings. Under high humidity, wood swells and moves with the moisture. Choosing breathable, flexible finishes helps keep the surface stable through humidity changes.
Control your shop environment. Buy an inexpensive digital hygrometer to monitor relative humidity. For most furniture shops, maintaining a humidity between 35% and 45% is a good target.
- If your shop is too damp (above 50% RH), use a dehumidifier.
- If it’s too dry (below 30% RH), a humidifier can help.
- The key is consistency. Wild swings in humidity cause the most damage.
Using Sanding Sealer Correctly for a Flawless Finish
Think of sanding sealer as a primer, not a force field. Its job is to manipulate the wood’s surface so your final finish looks consistent and smooth.
When to Use Sanding Sealer
You use it for two specific, surface-level jobs.
- To even out stain absorption. Woods like pine, cherry, and maple have areas of differing density (earlywood and latewood). These areas soak up liquid stain at different rates, creating a blotchy appearance. A very thin coat of sealer partially fills the more absorbent pores, creating a more uniform surface for the stain to color.
- To create a smoother base coat. On open-pored woods like oak, ash, or mahogany, your topcoat can sink into the pores, leaving a rough texture even after sanding. Sealer fills these pores so you can sand it flat without cutting into the wood itself, saving you finish material and effort.
I almost never use sanding sealer on closed-grain woods like maple or birch unless I’m trying to combat blotchiness with a stain. For a clear finish on those, I go straight to my topcoat.
Best Practices for Application
More is not better. A heavy hand creates problems.
- Apply thin coats. Flooding the surface creates a plastic-like film that can peel and prevents proper adhesion of your topcoat. I aim for a coat just heavy enough to look wet, applied with a clean brush or rag.
- Sand lightly between coats. After the sealer dries completely (check the can, usually 1-2 hours), sand it with 320-grit sandpaper. You’re not trying to remove it, just to knock off any dust nibs and scuff the surface so the next layer sticks. Stop sanding as soon as the surface feels uniformly smooth.
- Ensure compatibility. This is critical. Most sanding sealers are shellac or lacquer-based. You must put a compatible topcoat over them. A lacquer-based sealer needs a lacquer topcoat. A shellac-based sealer is more versatile but can be dissolved by alcohol. I always test on scrap to confirm the finishes bond properly.
Comparing Alternative Pore-Fillers
Sanding sealer isn’t the only tool for this job. Your choice depends on the project.
| Material | Best For | Key Consideration |
|---|---|---|
| Dewaxed Shellac | The ultimate versatile sealer and stain blocker. It adheres to almost anything and almost anything adheres to it. | You must use dewaxed shellac (like Zinsser SealCoat) as a universal sealer. Waxy shellac will cause finish adhesion failures. |
| Commercial Wood Conditioner | Primarily for preventing blotchiness on softwoods. It’s a very thin resin that soaks in slightly. | It has a short open time. You must apply stain within about 15 minutes, or it starts to seal the wood unevenly. |
| Sanding Sealer | Filling pores for a glass-smooth finish and providing a sandable base coat. | It builds a film faster than conditioner. You must sand it for a good mechanical bond with the topcoat. |
In my shop, dewaxed shellac is my go-to for most sealing tasks because of its incredible compatibility, but I keep sanding sealer on hand for quickly building a smooth base on open-pored woods before a lacquer finish.
The Quick Shop Test
Don’t take my word for it. Grab a scrap of your project wood and do this.
- Sand it to your final grit (e.g., 180 or 220).
- Apply your chosen sanding sealer to half the board. Let it cure fully.
- Now, apply your stain or topcoat to the entire board.
You will see the dramatic difference in stain uniformity or surface smoothness between the sealed and unsealed sections. This test also proves the sealer is interacting only with the surface fibers. Bend the scrap. The sealed side will crack just as easily as the bare wood, showing it offers no reinforcement.
Sanding sealer is a powerful tool for controlling the look and feel of your wood’s surface, but it is chemistry, not carpentry. It prepares the canvas; it does not change the frame.
Frequently Asked Questions: Sanding Sealer & Wood Movement
Can multiple coats of sanding sealer create an effective moisture barrier?
No. Even multiple, thick coats only slow the rate of moisture vapor exchange; they cannot create a perfect seal. Finish coats’ protective value depends on film thickness; thicker, uniform layers tend to slow moisture transfer more. All common film-forming finishes, including sealers, are semi-permeable and will eventually reach equilibrium with ambient humidity.
What is the practical, shop-floor benefit of using a sanding sealer?
Its benefit is surface preparation, not stabilization. It creates a more uniform substrate to prevent blotchy stain absorption and fills surface pores to allow for a smoother, flatter final topcoat after sanding.
What is the most common physical failure when sealer is misused as a moisture lock?
The most immediate failure is cupping or warping of a panel sealed on one side. This occurs because the unsealed face exchanges moisture faster, creating unequal stress that bends the board as the wood fibers swell or shrink.
Are some wood species or cuts less affected by movement, making sealer more effective?
Sealer does not change a wood’s inherent movement coefficient. However, starting with stable, quarter-sawn lumber from species like white oak or cherry minimizes the absolute dimensional change you must design for, regardless of finish.
What is the single most important design principle for managing wood movement?
Always allow for unrestricted dimensional change across the grain. This is achieved through joinery like floating panels, slotted attachment hardware, and proper breadboard ends, which accommodate movement without creating destructive stress.
The Woodworker’s Mindset for Stable Projects
Sandpaper and sealer are tools for the surface. They cannot reach the deeper relationship between wood fibers and air moisture. To build furniture that lasts, you must work with wood movement, not against it, by selecting stable species and using intelligent joinery. Your designs must accommodate seasonal expansion and contraction, or the wood will eventually win the argument.
Respect the material by sourcing it responsibly, and commit to understanding its science. Every project is a chance to learn more about this living, breathing medium we are privileged to shape.
Sources and Additional Information
- r/woodworking on Reddit: When to use sanding sealer?
- When to Use Sanding Sealer: Tips and Techniques – Rockler Woodworking
- How to Use Sanding Sealer
- 5 ideal applications for sanding sealer
- Using Sanding Sealer
- What Is Sanding Sealer & When Is It Used?
- What is Sanding Sealer and How to Use It – Empire Abrasives
- Sanding sealer | American Association of Woodturners