
How Do Pre-Stain Conditioners Actually Control Wood Pores and Stain Absorption?
You sanded a board smooth, but the stain dried blotchy and uneven. The issue is often fundamental wood chemistry, not your technique.
This article explains the practical science, covering how conditioners physically seal pores, why they change liquid absorption, and when you really need to use one.
I base this advice on my own shop experiments, where I’ve tested conditioners on different woods to see exactly how they alter the surface for staining.
The Core Job: Stopping Blotches Before They Start
Think of a pre-stain conditioner as a traffic controller, not a roadblock. Its primary function is to control and even out stain absorption. It does not seal the wood in the way a finish does. This ties into wood surface prep and how stain absorption works. Proper prep ensures even absorption and a smoother finish.
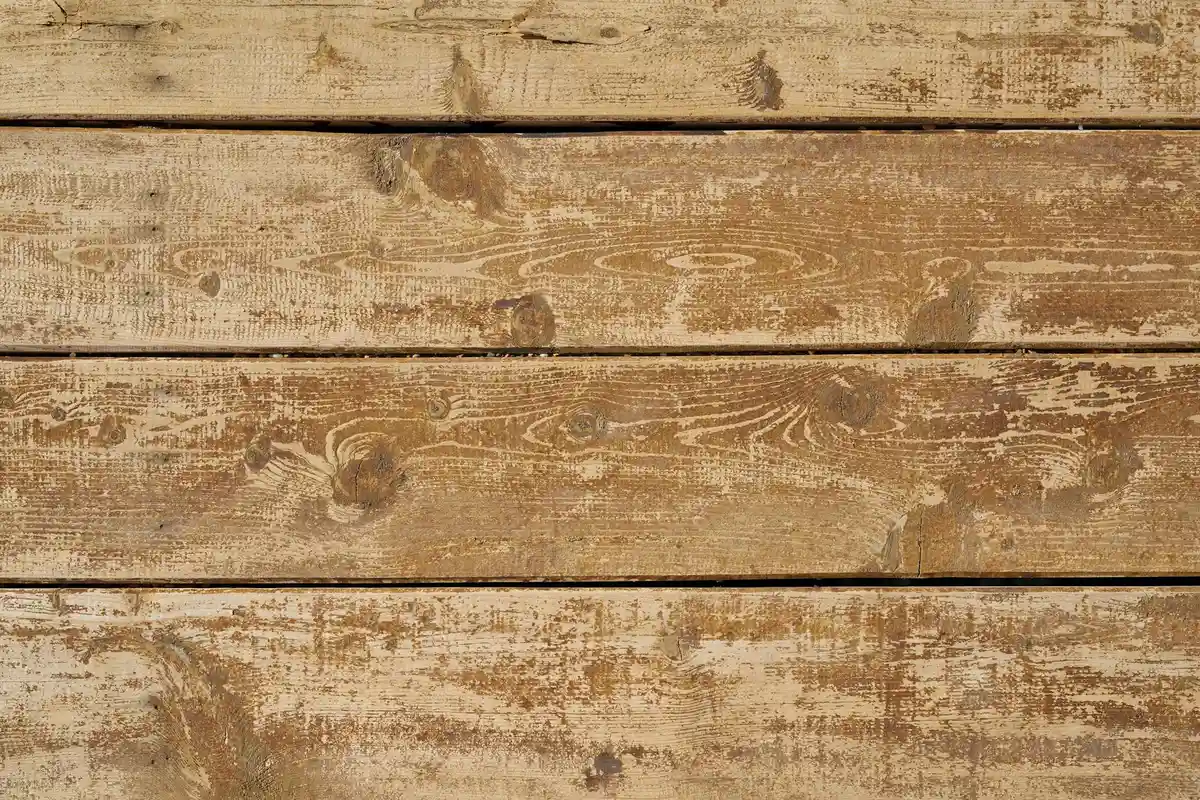
Wood is like a sponge with different-sized holes. The softer, porous earlywood (spring growth) soaks up liquid fast. The dense, tight latewood (summer growth) absorbs very little. Stain flows freely into the big holes but barely tints the small ones, creating a dark and light splotchy pattern. That differential uptake is precisely what wood anatomy stain absorption methods study. These methods reveal how dyes move through earlywood and latewood to map penetration patterns.
If you skip conditioner on woods like pine, cherry, birch, or maple, you will get severe, irreversible blotching. The stain will penetrate the earlywood pores deeply, turning them nearly black, while the hard latewood zones stay pale. The result looks amateurish and hides the wood’s true character. Always use a wood conditioner before applying any finish to ensure an even look.
This defines “blotch-prone” woods. They have a pronounced difference in density between their growth rings. Woods like oak or ash, with large, open pores that are relatively uniform, don’t need a conditioner. Woods with this variable, spongy texture absolutely do.
The Chemistry Inside the Can: It’s Not Just Thinned Finish
A commercial pre-stain conditioner is a specific chemical formula. It typically contains three things:
- Binder: This is a solids component, often a light alkyd resin or acrylic. It’s the part that stays behind in the wood pores to partially block them.
- Solvent: This is the carrier liquid (mineral spirits for oil-based, water for water-based). It dissolves the binder and carries it deep into the wood’s pore structure.
- Additives: These help with flow, drying time, and shelf stability.
The solvent is the delivery vehicle. It wicks into the wood’s capillaries, pulling the binder molecules along for the ride. As the solvent evaporates, it leaves a microscopic, porous film of binder lining the walls of the wood’s largest pores, which relates to how wood’s porosity affects absorption and adhesion.
Oil-based conditioners use solvents that are chemically compatible with oil-based stains, preventing the binder from repelling your topcoat. Water-based versions use different chemistry for latex stains. The molecular structure of the binder is designed to be minimally film-forming, so it blocks pores without creating a true surface layer that stain can’t penetrate.
The common DIY “conditioner” is just a thinned varnish or shellac. Its chemistry is fundamentally different. These finishes contain a much higher ratio of solids designed to form a continuous film. When thinned and applied, they tend to sit more on the surface and in the very top of the pores, which can lead to poor stain adhesion and a muddy, uneven color. It’s a different tool for a different job.
How the Conditioner Changes the Wood’s Surface
Think of wood under a microscope. The surface is a landscape of tiny tubes and pores. When you apply a pre-stain conditioner, you are not just wiping on a liquid. You are partially filling those spaces.
The binder in the conditioner, often a resin, flows into the open ends of the surface cells, called the lumen. It doesn’t fill them completely. Instead, it coats the inside walls. This physically blocks the easiest pathways for a stain to rush into. Imagine pouring water into a cup full of marbles versus a cup full of sand. The water flows faster through the marbles. The conditioner turns some of those “marbles” into “sand.”
The conditioner’s main job is to reduce the wood’s absorption rate, forcing the stain pigment to sit more consistently on the surface rather than vanishing into deep pores. This naturally leads into wood stain finishing application methods, such as brushing, wiping, or spraying, which we’ll explore next. Choosing the right method can influence how the conditioner and stain interact on the surface.
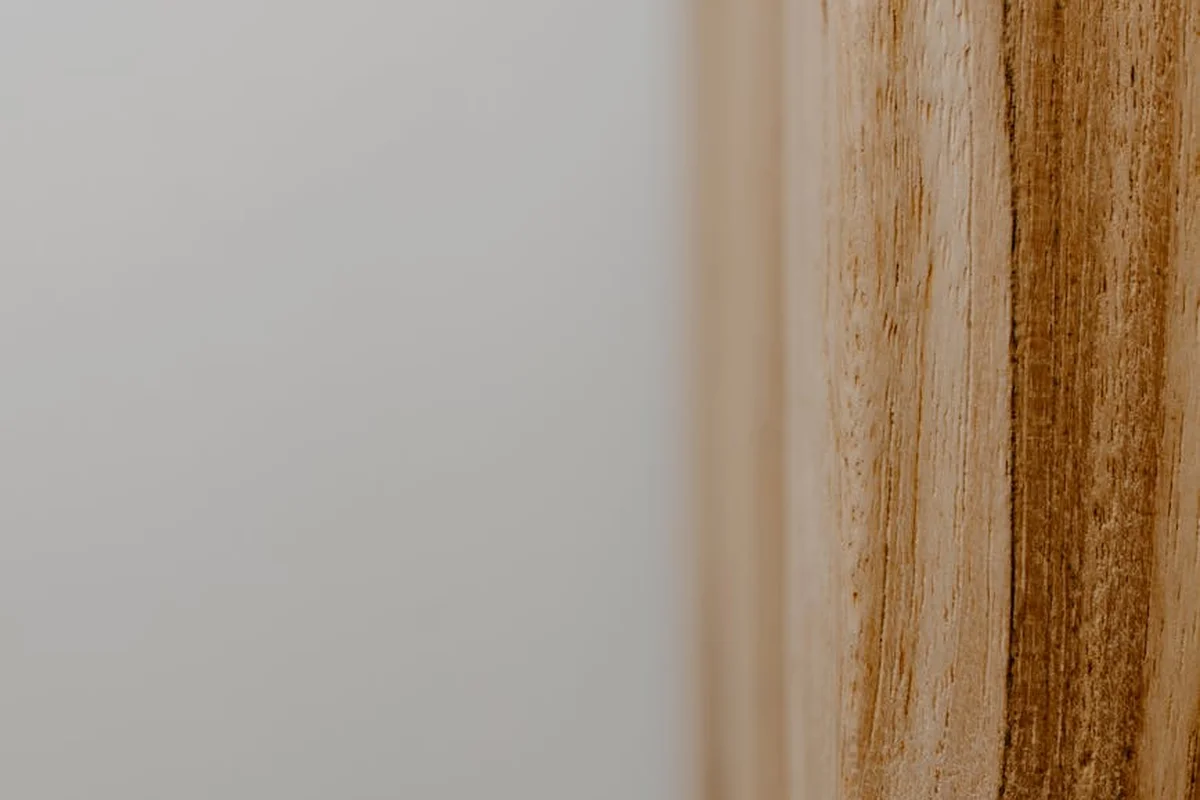
This effect is different between softwoods and hardwoods. Softwoods like pine have long, hollow cells called tracheids. The end-walls of these cells have large, porous pits that drink up stain like a straw. Conditioner is critical here to block those pits. Hardwoods like oak or ash have massive vessel pores. Conditioner lines these pores, preventing them from becoming dark, distracting spots while still allowing subtle grain to show.
Picture this simple experiment. Place one drop of dark dye on a raw pine board. Watch it vanish and leave a dark, ragged blotch. Now, apply conditioner to another section, let it dry, and place a drop in the same spot. You’ll see the dye bead slightly, spread more uniformly, and soak in much slower. That visual difference is the conditioner working.
The Mechanism: A Temporary Pore Liner
Mechanically, the conditioner doesn’t create a solid shell on top of the wood. It wicks inside the top millimeter of cells and dries to form a thin, micro-porous film *inside* the wood structure itself, which allows the wood to breathe and helps manage moisture changes over time.
This internal film is the key. It’s porous enough to let a controlled amount of stain vehicle and pigment through, but restrictive enough to prevent wild, uneven absorption. You get color, but it’s muted and even. It’s like putting a coffee filter in a funnel; it regulates the flow, especially when using pigments in wood stains.
This is the major difference from a sanding sealer. A sealer, like shellac or a lacquer-based product, is designed to create a nearly continuous, non-porous film on the surface to be sanded smooth. Its goal is to block absorption almost completely. A conditioner’s goal is to moderate it. Using a sealer as a conditioner will often lead to very little stain penetration and a weak, artificial look.
Your Shop Workflow: Applying the Science
Science is theory. Your bench is practice. Here is the protocol that works, distilled from fixing many blotchy projects.
- Sand your piece thoroughly to your final grit (often 150 or 180). Any scratches or mill marks will be sealed in and highlighted by the conditioner.
- Remove all sanding dust. I use compressed air followed by a tack cloth. Any dust sealed under the conditioner will create a rough, poor surface.
- Stir the conditioner gently. Do not shake it, as that creates bubbles.
- Apply a wet, generous, but not flooding coat with a clean brush or cloth. Work in manageable sections along the grain. The goal is to get the surface uniformly wet, not to build up a puddle.
- Let it soak in for 5-10 minutes, then wipe off any excess that hasn’t absorbed with a clean, dry cloth. A visible wet film left on the surface means you applied too much.
- Now, the critical wait. The conditioner must be tack-free to the touch. This usually takes 30 minutes to 2 hours. This is your staining window. The binder is dry enough not to mix with the stain, but the film is still receptive.
- Apply your stain within this window. Waiting longer (like overnight) lets the film cure fully and can severely limit stain absorption.
The most common mistakes are all about timing and amount. Applying conditioner too thick creates a gummy, non-porous layer. Sanding after conditioning tears up the fragile internal film and creates new, unconditioned wood. Missing the staining window is like locking the door after the guest has already left.
Unsure if a new wood needs it? Do a field test. Sand a scrap piece, then put a few drops of water on it. Watch how fast and how unevenly the water absorbs. If it soaks in fast and creates dark, random blotches within seconds, you need a conditioner.
Troubleshooting the Process
When the stain turns gummy and smears, the conditioner was not dry to the touch. You are physically mixing wet stain with the semi-dry conditioner binder, creating a mess. The fix is to strip both off with the appropriate solvent and start over.
If you get little to no color uptake, you likely waited too long to stain, applied the conditioner too thick, or used a product that was too sealant-like. Lightly sanding the surface with 220-grit can sometimes open it up again, but test on scrap first.
Missed a spot? It will show as a dark blotch after staining. You can sometimes blend it by applying conditioner just to that dark spot, letting it dry, and re-staining the entire surface. It rarely matches perfectly, which is why careful, full coverage on the first pass is key.
Always match the conditioner’s chemistry to your stain. Use an oil-based conditioner for oil-based stains and gel stains. Use a water-based conditioner for water-based stains. Mismatching can cause the conditioner to redissolve or create adhesion problems. When in doubt, the stain manufacturer’s own conditioner is a safe bet. They are formulated to work together.
Pre-Stain Conditioner FAQ: Wood Science & Application
How does the drying time of a pre-stain conditioner impact the subsequent staining process?
The specified drying window (often 30min-2hrs) allows the conditioner’s solvent to fully evaporate, leaving its porous binder film receptive. Staining outside this window-either too soon or after full cure-risks gumminess or severely limited stain absorption.
What role do solvents play in the formulation of a pre-stain conditioner?
Solvents act as a delivery vehicle, carrying resin binders deep into the wood’s capillary structure before evaporating. Their chemical basis (e.g., mineral spirits vs. water) determines compatibility with the stain’s chemistry to prevent redissolving or adhesion failure. Understanding this interaction is key in wood stain’s chemistry and penetration.
How does the absorption rate of stain change after applying a conditioner?
The conditioner’s internal film physically restricts flow into the largest pores, slowing the stain’s wicking action. This forces more pigment and dye to remain on and near the surface, promoting even color development instead of deep, blotchy penetration.
What is the difference between a conditioner for softwood and one for hardwood?
The difference is often in formulation viscosity and resin type, tailored to distinct pore structures. Softwood conditioners target the highly absorbent pit membranes in tracheids, while hardwood versions are engineered to line large vessel pores without completely filling them.
What are the potential consequences of not using a pre-stain conditioner on blotch-prone woods?
You will lock in irreversible, high-contrast blotching as stain floods low-density earlywood. This obscures the wood’s figure and results in an amateurish finish that cannot be fixed without removing the stained layer. No amount of sanding will fix the blotchiness on mahogany.
Final Steps for a Flawless Finish
In the end, a pre-stain conditioner is about controlling chemistry, not just hiding mistakes. Think of it as preparing the wood’s surface to receive color evenly, like priming a canvas before you paint. This one step makes the difference between a blotchy, amateur result and a finish with rich, consistent depth. Ignoring the science of pore filling means fighting your materials instead of working with them—especially when you try to match stain to wood filler for the grain.
Choose products from companies that are transparent about their formulations and source materials responsibly. Your best work comes from respecting both the craft and the forest it depends on.
Relevant Resources for Further Exploration
- Pre-Stain Wood Conditioner | Minwax®
- Understanding Pre-Stain Wood Conditioner – Kristin Lia Restoration
- Pre Stain Wood Conditioner: Water Based, Natural Finish | General Finishes
- Beginner’s Guide to Pre-Stain Wood Conditioner – The Handyman’s Daughter
- Pre-Stain Wood Conditioner: Oil Based | General Finishes
- finishing – Dealing with Pre-Stain and Wood Conditioner Residue – Woodworking Stack Exchange
David is a veteran woodworker. He is now retired and stays in his cabin in Wisconsin which he built himself. David has 25+ years experience working in carpentry and wood shops. He has designed and built many small and large wood projects and knows the science behind wood selection like the back of his hand. He is an expert guide on any questions regarding wood material selection, wood restoration, wood working basics and other types of wood. While his expertise is in woodworking, his knowledge and first hand experience is far from 'woody'.