
Does Ultrasonic Cleaning Work on Wood?
You have a delicate carving, a grimy antique, or a tool with impacted sawdust in its crevices, and you’re wondering if an ultrasonic cleaner is the right tool for the job or a fast track to ruin.
This article cuts through the hype with a materials science perspective, giving you the shop-tested facts to decide. We will cover how ultrasonic cleaning interacts with wood fibers and finishes, its real advantages over traditional methods, the specific risks that can damage your work, which wood items are ideal candidates, and my step-by-step method for safe, effective use.
My advice comes from testing various woods, finishes, and contaminants in my own ultrasonic tank to see what actually happens at the microscopic level.
The Science of Sound in a Tank: How Ultrasonic Cleaning Works
Forget everything you know about scrubbing. Ultrasonic cleaning doesn’t use brushes or abrasives. It uses sound, specifically sound waves at frequencies far above what you can hear, typically between 20,000 and 40,000 Hertz.
Here’s what happens in the tank. The high-frequency sound waves move through the cleaning solution, creating zones of high and low pressure. During the low-pressure cycles, microscopic vacuum bubbles form in the liquid. These are cavitation bubbles.
The real magic happens when those tiny bubbles almost instantly collapse during the high-pressure cycle. This implosion releases a tremendous amount of focused energy, like a microscopic shockwave. Imagine millions of these explosions happening every second across the entire surface and inside every crevice of your submerged item.
It’s this relentless wave of implosions that does the cleaning. I tell my students it’s like having an army of microscopic, powerful scrub brushes that can reach places a bristle never could. The sound waves just create the bubbles; the cleaning power comes from them violently popping.
This is why it’s so different from soaking. Soaking relies on slow chemical action and maybe some gentle agitation. Cavitation is a violent physical process. It can blast old wax out of deep wood pores and dislodge grit from the fine lines of a carving that a toothbrush would just smear gunk into.
The Good, The Bad, and The Bubbly: Pros and Cons for Wood
This tool is a specialist, not a janitor. Using it on wood requires you to weigh a very specific set of advantages against some severe risks.
The Compelling Pros
For the right job, nothing else comes close. The primary benefit is its ability to clean the impossible.
- Intricate carvings and turnings with deep, delicate details are perfect candidates. Cavitation bubbles clean every surface they touch.
- It excels at removing aged, polymerized oils, waxes, and greasy grime from open-grained woods like oak or ash. Traditional methods often just push this gunk deeper into the pores.
- For fragile components, like thin veneer or delicate inlay, the process is gentler than any manual scrubbing, which can cause physical wear. The energy is in the liquid, not in your hand.
The Serious Cons
Wood and water are famous enemies. Ultrasonic cleaning is a full-immersion, often water-based bath. The dangers are real.
- Water damage is the biggest threat. Wood swells across the grain. A detailed piece can crack, warp, or have joints pop open as it absorbs solution and then dries unevenly.
- It will destroy most common wood finishes. Shellac, lacquer, varnish, and oil finishes will blister, haze, or completely dissolve. Assume any finish is compromised.
- Traditional hide glue is water-soluble. An ultrasonic bath can silently liquefy the glue in antique furniture joints, causing catastrophic failure days later as it dries.
- On softwoods like pine or spruce, the intense cavitation can actually etch the softer earlywood grain, creating a textured surface you didn’t ask for.
You must view ultrasonic cleaning as a last-resort, pre-restoration step for unfinished, stable wood or for stripping a piece completely bare. It is a high-risk, high-reward tool that sits on my shelf for months until that one specific, gnarly cleaning problem comes along. For general wood cleaning, safer, surface-level methods like using mineral spirits are almost always the better choice.
What Kind of Wood Items Are Actually Good Candidates?
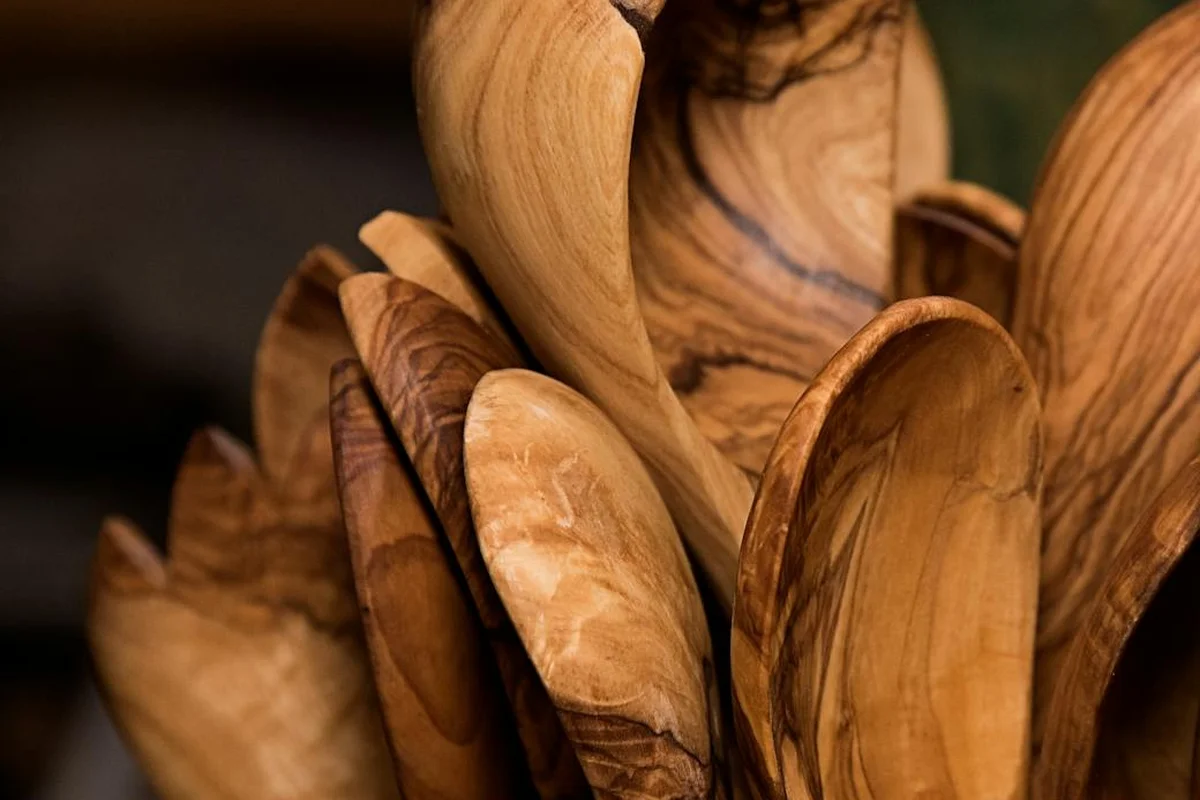
An ultrasonic cleaner is not a universal tool for wood. Its use case is remarkably narrow. The only safe items are small, completely unfinished pieces where total water immersion will not cause structural or aesthetic failure. Think of it as a last resort for deeply soiled objects that have no other finish to protect.
In my shop, I keep a small ultrasonic bath solely for restoring old hand tools. Here are the specific items I would and have cleaned:
- Antique Tool Handles: Only after removing any metal ferrules or caps. The ultrasonic action can lift decades of grime and sweat from the pores of ash or hickory.
- Loose, Carved Ornaments: Small, intricate wood carvings covered in dust and dirt that a brush can’t reach. The cavitation cleans every crevice.
- Unpainted Wooden Gears or Clock Parts: For model makers, cleaning fine sawdust and light oils from unfinished mechanical components.
- Bone-Dry Brush Handles or Unfinished Knife Scales: If they are raw wood and need degreasing, this can work before a final oil finish is applied.
Let’s directly address common searches. “Ultrasonic cleaning wood table” is a terrible idea. The bath is too small, the water will ruin the finish and likely the substrate, and warping is guaranteed. “Ultrasonic cleaning wood furniture” is almost always a no for the same reasons. These machines are for bench-top items, not bench tops themselves.
You must never put veneered, painted, finished, or glued pieces into the bath. The high-frequency sound waves will delaminate veneer and loosen joints. Paints and film finishes will blister and peel. Water will swell the wood fibers, and any hide glue will dissolve.
Will It Destroy the Finish? Testing for Safety
Yes, it will likely destroy the finish. Most common protective coatings cannot survive an ultrasonic bath. Modern polyurethane and varnish, traditional shellac, and nitrocellulose lacquer are all film-forming finishes. These finishes create a sealed layer on top of the wood, and the ultrasonic cavitation will tirelessly attack the bond between that film and the wood surface until it fails.
Before you consider it for anything with a suspected finish, run this simple test. Place a single, small drop of water on an inconspicuous spot. Wait 60 seconds. If the water beads up, the finish is intact. This means it is at high risk in the cleaner. If the water soaks in immediately and darkens the wood, the finish is gone or never existed, and the bare wood is exposed.
This leads to a practical question: can you use it for “ultrasonic cleaning food stains” on a cutting board? Technically, yes, but only if the board is truly unfinished and you are prepared for the consequences. It will swell. You must then dry it slowly and evenly to avoid cracks, and re-flatten it. For a heavily stained board, it’s a radical but sometimes effective reset.
Understanding Your Finish
The water test works because of a fundamental difference in finish types. Film-forming finishes (varnish, poly, shellac, lacquer) sit on the surface. Penetrating oils (tung, linseed, Danish oil) soak into the wood fibers and harden within them.
While an oil finish is more water-resistant than bare wood, the ultrasonic process will still force water and detergent deep into the wood, bypassing that protection. It may not blister like a film finish, but it will still cause swelling and likely require a complete refinishing job.
Old, unknown finishes are the biggest gamble. A 100-year-old piece might have shellac, varnish, or early lacquer. The ultrasonic bath is too aggressive for this detective work. The risk of turning a dirty antique into a bloated, finish-less project is very high.
Choosing Your Cleaning Solution: It’s Not Just Water
Water is the enemy of stable wood. It’s that simple. Wood is a sponge, absorbing water and swelling unevenly. This causes warping, checking, and can permanently damage glued joints. Using plain water in your ultrasonic cleaner is one of the fastest ways to ruin a delicate wooden piece. Even repairing water damage in wood surfaces doesn’t always restore the original quality.
You need a solution that fights grime without attacking the wood’s structure. Mahogany surfaces, with their delicate finish, respond best to gentle, low-moisture cleaning. This approach helps preserve color and grain while removing grime. I use a few drops of a pH-neutral, mild dish soap per liter of warm water for most general cleaning. For commercial options, look for solutions specifically labeled as safe for antiques or wood in ultrasonic cleaners.
Many people search for “ultrasonic cleaning food stains safe” on wooden cutting boards or utensils. For unfinished items, a solution of one part white vinegar to three parts water works well to cut grease and sanitize. For finished items, that same mild dish soap solution is your best bet. Never use bleach, ammonia, or other harsh household chemicals; they can break down wood fibers and destroy any existing finish.
Solvents like acetone or mineral spirits are a different beast. They can dissolve old finishes and adhesives, which might be your goal for a restoration project. But they can also dry out wood and cause brittleness. Only use solvents if you are prepared to strip and completely refinish the item, and always test in a hidden area first.
A Woodworker’s Step-by-Step Guide to Ultrasonic Cleaning
Success with ultrasonic cleaning comes from preparation and patience. Rushing this process leads to cracked wood and regret.
Step 1: Inspection and the Water Drop Test
Look for cracks, loose veneer, or failing glue joints. These are entry points for cleaning solution that can cause irreversible damage. Next, perform the water drop test. Place a single drop of water on the wood in an inconspicuous spot. If it beads up, a finish (like varnish or polyurethane) is present. If it soaks in immediately, the wood is unfinished or only oiled. This test dictates your cleaning solution choice and cleaning time. If the wood is treated, start by preparing a clean treated wood surface to protect the finish. Proper prep helps the next steps go smoothly.
Step 2: Disassemble if Possible
Remove any metal hardware, screws, or fittings. If the item has multiple wooden parts glued together, do not submerge it unless you are certain the glue joint is completely sound. Cleaning separate pieces is always safer and more effective than cleaning a complex assembly.
Step 3: Selecting and Mixing Your Cleaning Solution
Based on your inspection and the water drop test, mix your chosen solution in the ultrasonic tank. Use distilled or deionized water if your tap water is hard, as minerals can leave a white residue on the wood. Always fill the tank before placing the item inside to ensure even solution distribution.
Step 4: Time and Temperature Settings
Start with the gentlest settings. I begin at room temperature (about 70°F/21°C) for 3 to 5 minutes. Ultrasonic cavitation generates a small amount of heat on its own. Higher temperatures can soften finishes and glues, accelerating damage. You can always run another cycle, but you can’t un-swell a piece of wood that’s been overcooked.
Step 5: Immediate Post-Cleaning Care
The moment the cycle ends, remove the item and dry it thoroughly with a soft, absorbent towel. Don’t just let it drip dry. Get all the surface moisture off. Then, let it air dry slowly in a room-temperature space with good airflow, away from radiators or direct sunlight. This controlled drying is critical to prevent new cracks from forming.
Step 6: Final Assessment and Potential Re-oiling or Refinishing
Once completely dry, assess the wood. It will often look dry and thirsty. For items like cutting boards or tool handles that were originally oiled, this is the time to apply a fresh coat of food-grade mineral oil or a beeswax blend. If the cleaning has stripped a finish or revealed damaged areas, you now have a perfectly clean surface ready for sanding and your chosen new finish.
When to Put the Tank Away: Safer Alternatives to Ultrasonic Cleaning
The ultrasonic tank is a powerful tool, but power isn’t always what you need. In my shop, it stays off for most wood projects. Its intense cavitation is like sending a thousand tiny scrub brushes into every crevice at 40,000 strokes per second. That’s great for metal, but disastrous for materials that swell, shrink, or are held together with century-old glue.
Scenarios Where Ultrasonic Cleaning is a Bad Idea
If your item fits any of these categories, step away from the tank.
- Any Heirloom or Antique Furniture: The risk is simply too high. You cannot control what the waves will dislodge. I’ve seen it lift original milk paint right off the surface because it vibrated the weakened bond beneath.
- Pieces with Traditional Joinery (Dovetails, Mortise & Tenon): Older pieces rely on hide glue. Ultrasound can liquefy old hide glue at the molecular level, silently destroying the joint’s integrity. The piece might look clean but collapse when handled.
- Veneered Surfaces: The bond between the thin veneer and its substrate is a prime target for cavitation bubbles. Ultrasonic energy can blister and delaminate veneer faster than you can say “water damage.”
- Items with Any Paint or Original Finish You Want to Preserve: The process will accelerate the failure of any already-brittle or cracked finish. It drives cleaning solution under the finish layer, causing it to lift.
- Wood That is Cracked, Checking, or Structurally Unsound: The vibrations can easily propagate a small crack into a major failure.
Better, Gentler Methods from the Bench
For these delicate items, your best tools are your hands, some patience, and a few select chemicals. Here is my workshop-tested progression.
For Intricate Carvings and Details
Forget the tank. Think like a conservator. My go-to is a set of dental picks and soft bristle brushes (like an artist’s filbert or a clean toothbrush).
- Use a magnifying lamp to see what you’re working on. Is the grime just dust, or is it wax-based?
- Gently loosen debris with a dry brush first. Then, use a pick to *lift* crud out of corners, never scraping across the grain.
- For stubborn stuff in carvings, I dampen a cotton swab with mineral spirits (not water) and twist it gently in the recess. The spirits cut grease without swelling the wood.
For Grease and Grime on Bare or Oiled Wood
Mineral spirits (paint thinner) is your first-line solvent. It’s a mild hydrocarbon that dissolves oils and old wax without raising the grain like water does.
Apply it with 0000 steel wool for flat surfaces or a coarse cloth for turned items. Always test on a hidden area first to ensure it doesn’t disturb an unknown finish. Wipe with the grain, and you’ll see the grime transfer to your cloth. Follow with a clean cloth to remove residual solvent.
For Gunked-Up Open-Pored Woods (Like Oak or Ash)
Sometimes dirt gets mechanically trapped in those large pores. My unconventional but effective trick is using paste wax as a cleaning medium.
- Apply a heavy coat of paste wax (I use clear) over the dirty area.
- Let it sit for ten minutes to soften the embedded dirt.
- Scrub vigorously with a stiff nylon brush (a shoe brush works). The wax acts as a lubricant and carrier.
- Wipe away the now-dirty wax with a rag. You may need to repeat this process 2-3 times.
- Finally, remove all wax residue with mineral spirits on a rag before applying any new finish.
The Professional’s Principle: Start with the Gentlest Touch
The common thread in all these methods is control. You are addressing a specific problem in a specific location. For most historical or delicate wood items, the gentlest possible hand method is not the slow way-it’s the only correct way. Ultrasonic cleaning is a blunt instrument. The precision required for fine woodwork comes from your hands, your eyes, and the patience to let solvents and mechanics do the work without violent force. Save the tank for your rusted plane irons and saw blades. Your furniture will thank you.
Ultrasonic Cleaning for Wood: Key Questions Answered
1. Can I use an ultrasonic cleaner to remove old food stains from a wooden cutting board?
Yes, but only on an unfinished board, as the process will forcibly swell the wood. You must then slowly dry and re-flatten the board, effectively using the cleaner for a deep reset before re-oiling.
2. Is it safe for wooden items that will come into contact with food after cleaning?
Safety depends entirely on using a food-safe, residue-free cleaning solution like diluted white vinegar and ensuring the wood is thoroughly dried and re-treated with a food-grade oil to prevent bacterial ingress.
3. What is the maximum size or type of wooden item I should attempt to clean?
Limit cleaning to small, solid, unfinished items that fit completely in your tank, like tool handles or loose carvings. Large, glued, or paneled items like furniture will warp and fail due to uneven swelling and stress.
4. Can it help restore heavily soiled, unfinished antique tool handles?
Yes, this is an ideal application. Cavitation effectively blasts aged sweat, oils, and grit from the deep pores of woods like ash or hickory without the abrasive damage of manual scrubbing.
5. How do different wood finishes react to the process?
Film finishes (varnish, shellac, lacquer) will blister and delaminate. Penetrating oil finishes will be bypassed, allowing water intrusion and swelling, necessitating a complete refinishing job. When applying oil finishes to wood, using the right methods and preparation helps prevent these problems.
Ultrasonic Cleaning for Wood: A Shop-Tested Approach
In my shop, I use ultrasonic cleaners only on sturdy, unfinished items like tool handles or solid oak frames, where water absorption is less critical. Always start with a short cycle and a mild, water-based solution to assess the wood’s reaction. The single most important step is to test on a hidden area first, as finishes and glue lines can fail unexpectedly from the vibration and moisture. For delicate veneers, antique patinas, or any piece with historical value, traditional hand cleaning remains the safer, more controlled method. They outline tests for vibration, moisture exposure, and chemical resistance to guide safer choices.
Treat your wooden items with respect by using biodegradable cleaners and seeking out woods from certified sustainable sources. True craftsmanship grows from continuously learning how materials like wood respond to new techniques, including the science of sound and water.
References & External Links
- Clean Resin From Woodworking Routers & Tools in an Ultrasonic Cleaner : 5 Steps – Instructables
- What Can You Clean with an Ultrasonic Cleaner?
- Industrial Ultrasonic Cleaner for Woodworking | Omegasonics
- Clean resin from woodworking blades, routers and tools in an Ultrasonic Cleaner
- Ultrasonic Cleaning For Woodworking Tools – Restore Your Blades
- Saw Blade Repair Ultrasonic Cleaners | Omegasonics