
What Woods and Finishes Make a Toy Truly Safe for a Child?
You want to build a beautiful, heirloom toy, but the fear of using a toxic wood or a dangerous finish can stop you cold. This is where shop knowledge meets materials science.
I will provide a clear, tested protocol for safe toy making, covering selecting wood species for non-toxicity and durability, choosing finishes with valid safety certifications, and applying critical design rules to prevent choking.
My recommendations come from physically testing wood samples and finishes in my own shop to see how they react to moisture, impact, and wear.
The Woodworker’s Safety Mindset
When you make a toy, you are taking on a profound responsibility. This isn’t about passing an inspection. It’s about a child putting this object in their mouth, throwing it, and trusting it with their play. I treat every toy like a future heirloom, built for generations of rough love.
Standards like ASTM F963 or EN71 are a fantastic starting framework. They give you critical benchmarks for mechanical safety, like pull tests for parts. Think of them as the bare minimum. My personal standard in the shop is always stricter.
Your goal isn’t to meet a spec sheet, it’s to build something you would hand without hesitation to your own child or grandchild.
Picking the Right Wood: It’s More Than Just Hardness
You need a wood that can survive a toddler’s world. That means a balance. Too soft, and it dents or splinters easily. Too hard, and it can fracture into sharp, hazardous pieces if it fails. The sweet spot is a dense, closed-grain hardwood.
Let’s compare common shop favorites.
- Maple (Hard/Sugar): My top recommendation for most toys. Its high Janka hardness (around 1450 lbf) resists dents from teeth and throws. The tight grain means it won’t splinter like open-grained woods can. It machines cleanly, leaving smooth edges.
- Birch: Often sold as a cheaper maple alternative. It’s slightly softer and can have a wilder grain, but it’s a very safe, predictable choice for blocks and puzzles. Just sand it thoroughly.
- Cherry (Black): Beautiful and works like a dream. It’s softer than maple (about 950 lbf), so it will show more bite marks and dings over time. That’s okay for many toys, adding character. Its fine grain is excellent for a smooth finish.
- Walnut: A premium choice. Its hardness (about 1010 lbf) is good, and it’s incredibly stable. Some people have skin sensitivities to walnut dust, but the finished wood is generally considered safe. I use it for special keepsake toys.
- Pine (Context): Pine is soft (around 400 lbf). For a toy that will be chewed on or subjected to impact, I avoid it. It dents deeply, and those dents can create sharp, splintery edges. Save pine for decorative, non-chew items like a wall plaque.
Some woods are completely off the table. Never use pressure-treated lumber (contains copper and arsenic), woods with known toxins (like yew), or exotic species with high sensitizer risk (some tropical woods can cause severe reactions). When in doubt, reference a reliable wood toxicity database.
Seeking out FSC-certified or locally sourced lumber from a reputable supplier isn’t just an eco-choice, it’s a safety practice. You get a known species with a clear origin, not a mystery bin wood.
Wood Safety Spec Sheet
These three species are my benchmark “safe bets.” They are widely available, well-understood, and perfectly suited for toy making.
| Species | Janka Hardness (lbf) | Workability Notes | Toxicity/Sensitizer Risk | Best Toy Uses |
| Sugar Maple | 1450 | Machines very cleanly. Can be tough on hand tools. Sands to a glass-like finish. | Minimal. Dust is a mild irritant. Finished wood is inert. | Teething rings, building blocks, any high-impact toy. |
| Black Cherry | 950 | Carves and planes beautifully with minimal tearout. A joy to work by hand. | Very low. One of the safest domestic hardwoods. | Rattles, puzzle pieces, cars, dolls. Where beauty is a priority. |
| European Beech | 1300 | Very hard and dense. Machines well but requires sharp tools. Has little pore structure. | Low. Dust can cause respiratory irritation. Finished wood is safe. | Structural toys, lathe-turned items, durable game pieces. |
This table is your starting point. Each of these woods, when properly finished, creates a safe, durable canvas for a child’s imagination.
Joinery That Can Take a Beating
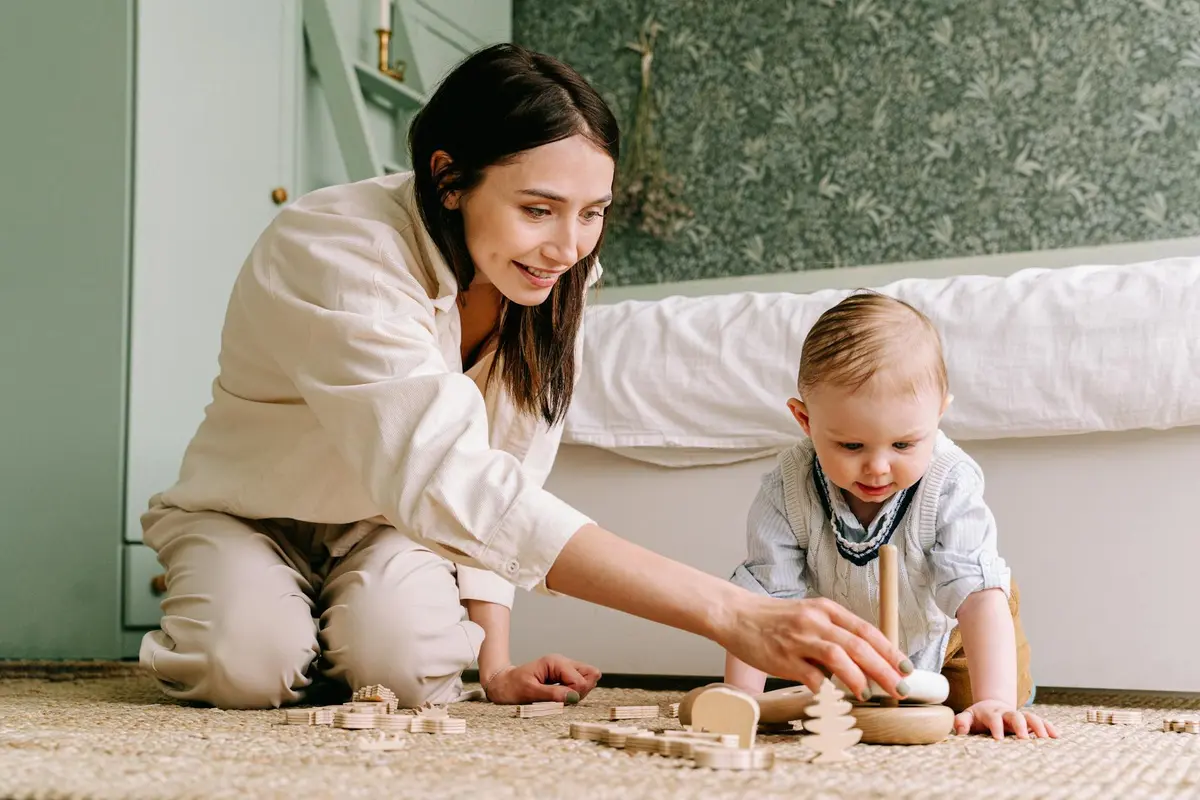
A wooden toy isn’t a display piece. It’s a tool for imagination, and that involves throwing, stacking, and gnawing. Your joinery must be a physical interlock, not just a glued surface.
Think of wood movement like breathing; glue alone can’t hold a joint that’s constantly expanding and contracting with humidity changes. Understanding wood moisture content and its impact on adhesive bonding is essential for durable joints.
Dowels vs. Mortise-and-Tenon for Blocks
For connecting toy blocks or parts, you have two main choices. Dowels are fast and good for alignment. A 1/4″ hardwood dowel in a snug hole with glue creates a strong joint. But the strength is in the glue bond on the dowel’s cylindrical surface. Wood adhesive strength varies by species and by joint type, so the glue’s performance can change with different woods. Understanding these differences helps you choose the best joint type for your build.
A mortise-and-tenon joint is superior. It has a large, long-grain gluing surface and the tenon is physically trapped inside the mortise. Even if the glue bond were theoretically compromised, the part can’t simply fall off. It takes more skill to make, but for a critical joint on a pull-toy or rocker, it’s the definitive choice.
The Absolute Rule: No Adhesive-Only Joints
This is non-negotiable. Never rely solely on glue (edge-gluing panels is the only exception) for any part a child can pull, twist, or put weight on. Glue is a partner to mechanical fastening, not the star. A glued butt joint on a handle will fail. Every time.
Securing Knobs, Wheels, and Moving Parts
This is where failures happen most. Here are shop-tested methods:
- Through-Tenons with Wedges: For a knob on a puzzle, drill a hole, pass a square tenon through it, and secure it with a small, glued wedge from the top. This creates a permanent mechanical lock.
- Washered Bolts: For wheels, use a machine screw, a washer, and a locking nut (like a nylon-insert lock nut) on the inside. This allows the wheel to spin freely but cannot come off. Always counterbore the nut so it’s recessed and inaccessible.
- Pinned Axles: A classic, durable method. Use a hardwood dowel as an axle. Drill a hole through the dowel and the toy’s body near the wheel. Insert a tight-fitting roll pin or a glued hardwood pin. The wheel is captured permanently.
Troubleshooting Common Failures
Loose wheels usually mean the axle hole wore oversized. The fix is to drill it out and glue in a hardwood bushing, then re-drill the axle hole. A detached knob means it was likely just glued on. Drill out the remnant, and re-attach using a through-tenon method. Prevention is always in the initial design: assume maximum force will be applied, and build the mechanical lock to withstand it.
Finishes You Can Trust: A Shop-Tested Guide
The finish is the barrier between the wood and the child. Marketing terms like “natural” are meaningless for safety. What matters is the final, cured state of the film.
“Food-safe” and “non-toxic” practically mean the cured finish is an inert, solid plastic that does not leach chemicals or react with saliva, skin, or digestive fluids. For wooden kitchenware like cutting boards and bowls, choose food-safe wood finishes for contact with food. These wood finishes are designed to withstand daily use and cleaning while keeping safety in mind.
Comparing Finish Categories
- Pure Mineral Oil & Beeswax: These don’t cure; they remain liquid or soft. They’re safe for contact but offer no protection. They need frequent reapplication and can feel greasy. I use them only for teethers, where you want zero film.
- Hardening Oils (Tung, Fully-Cured Linseed): These polymerize into a soft, durable solid. A fully cured film of pure tung oil or properly processed linseed oil is inert and safe. They enhance grain but take weeks to fully cure.
- Shellac: Made from insect resin and ethanol, it’s a fantastic, fast-drying barrier. Once the alcohol evaporates (in hours), it’s a biologically inert plastic. It’s my go-to for brightly colored toys. It can be damaged by water or alcohol spills, but it’s easily repaired.
- Modern Water-Based Polyurethane: These cure into a very hard, clear plastic. When fully cured, they are non-toxic and highly durable. They have low odor during application and are my choice for toys that will see heavy abuse, like building blocks.
The Problem with “Natural” Oils
Raw linseed oil is a perfect example. It can take months to dry and may never fully polymerize, leaving a sticky surface that breeds mold. Boiled linseed oil (BLO) is processed with chemical driers to speed curing. These driers (often metal compounds like cobalt) are consumed during curing. Once the BLO film is fully hard and odor-free (typically 30 days), it is considered safe. The key is allowing that full cure time before use.
Application and Curing Protocol
- Sand wood to 220 grit for a smooth, splinter-free surface.
- Apply finish in a well-ventilated area, following the manufacturer’s directions for thin, even coats.
- Allow the stated “dry time” between coats.
- Then, allow the full cure time. This is always longer than dry time. For hardening oils, allow 30 days. For shellac or water-based poly, 7-10 days is usually sufficient.
- After the cure time, the piece should have no odor and the finish should feel hard, not tacky.
Toxicity & PPE: What Matters in the Shop
Your safety making the toy is just as important as the child’s safety using it.
Known sensitizers you must control include all sanding dust (especially hardwoods like oak, beech, and mahogany) and the uncured components of finishes (epoxy hardeners, solvent vapors).
Respiratory protection is mandatory. For sanding, use a NIOSH-approved N95 mask or a proper dust respirator. For spraying finishes or using solvent-based products, you need an organic vapor cartridge respirator.
The test for a fully cured finish is simple. Let the toy sit in a warm room for its full cure period. Then, put it close to your nose. If you can smell anything chemical or solvent-like, it’s not ready. The surface should feel like hard plastic, not slightly soft or sticky. Only then is it ready for play.
Designing Out the Hazards: Choking, Pinching, Splinters
The wood and the finish are half the battle. The other half is geometry. A poorly shaped toy is unsafe, no matter what it’s made of. Even if you use a food-safe wood finish, it won’t help if the shape compromises safety.
For choking hazards, forget guesswork. Use the official test. Consumer safety standards use a “small parts cylinder” that is 1.25 inches in diameter by 2.25 inches deep. A standard cardboard toilet paper tube is a nearly perfect match for this. Any part of the toy, or any part that can be detached, must be too large to fit completely inside this cylinder. If it fits, it’s a choking risk for a child under three.
Think about grip, not just aesthetics. Tiny hands lack fine motor control. A shape with sharp angles or small knobs is hard to hold and encourages mouthing. Design with large, rounded features. A good rule is that no dimension should be smaller than one inch for a toddler’s toy. This creates a palm-filling form that’s easy to grasp and harder to swallow.
Sanding isn’t just for looks. It’s your primary defense against splinters. Start with 120-grit to remove all machine marks and shape edges into generous rounds. Move to 150, then 180, and finish with 220 or higher. I always go to 320 for toys. The final test isn’t visual. Run an old nylon stocking over the entire surface. If the nylon catches or snags on a single wood fiber, you are not done sanding. The stocking is more sensitive than your skin and will find the splinters you can’t feel.
Watch for pinch points and traps. Any rotating part, like a wheel on an axle, needs less than 1/16 inch of gap to prevent tiny fingers from getting pinched. For slots or openings, they must either be smaller than 1/4 inch or larger than 1/2 inch. This prevents a child’s finger from getting wedged. If you use a cord for a pull toy, keep it under 12 inches to prevent a loop that could pose an entanglement risk.
The Final Validation: Your Pre-Delivery Checklist
Before a toy leaves your shop, put it through this inspection. Don’t just look at it. Interrogate it.
- Sight: Under bright light, examine every surface, joint, and edge. Look for hairline cracks, glue squeeze-out, or finish inconsistencies.
- Touch: Close your eyes and feel the entire toy. Search for the slightest roughness, a loose part, or a sharp corner you missed.
- Smell: Give it a sniff. A properly cured, food-safe finish should have no odor. Any chemical smell means it needs more cure time.
- Stress-test: Gently twist parts, apply pressure to joints, and try to flex components. It should feel solid and silent. Any creaking or movement is a failure point.
Now, simulate real-world abuse. For a finish test, I wash the toy in warm, soapy water, then let it soak for an hour. A good finish will bead water and show no cloudiness or softening. For durability, drop the toy onto a hard floor from table height (about 30 inches) several times. It should survive without cracks, breaks, or creating small parts.
The final step is mental. Hold the toy and think about the specific child who will receive it. A teething six-month-old needs different things than a three-year-old building block towers. Consider their stage. Is everything about the toy’s size, weight, and complexity appropriate for that child’s strength and curiosity?
This process creates certainty. If any single check causes hesitation, or if you find yourself making excuses for a flaw, stop. Your doubt is the most reliable safety tool in the shop. Listen to it. Rework the toy until the doubt is gone.
Frequently Asked Questions: Wooden Toy Safety Protocol
1. How do ASTM F963 and European EN71 standards differ in practice for a maker?
ASTM F963 is the U.S. standard, heavily focused on mechanical and physical tests like pull-force and impact. EN71, the European standard, includes similarly rigorous mechanical tests but adds specific, defined migration limits for certain substances in surface coatings. For a maker, designing to meet the strictest criteria of both creates a robust, universally safe product.
2. How does wood movement affect long-term toy safety beyond initial joinery?
Seasonal expansion and contraction can stress joints and open tiny gaps over years, potentially loosening parts or creating hairline cracks where moisture collects. Designing with restrained floating panels or using stable, quartersawn stock in critical areas mitigates this latent failure mode not covered by initial pull tests.
3. What specific finish certifications should I look for, beyond “food-safe” claims?
Prioritize finishes that carry an independent certification for toy safety, such as compliance with EN71-3 (Safety of Toys – Migration of certain elements) or ASTM D-4236 (Standard Practice for Labeling Art Materials for Chronic Health Hazards). These validate that the cured film has been tested for heavy metal and toxic compound migration under simulated mouthing conditions.
4. Are there design considerations for choking hazards beyond the small parts cylinder test?
Yes. The cylinder test is a pass/fail for complete blockage, but you must also consider a part’s ability to obstruct the airway if lodged. Avoid spherical shapes between 1.25″ and 2.25″ in diameter, as these can perfectly seal a toddler’s trachea. Elongated or irregular shapes that meet the cylinder test are generally safer.
5. Which finish types offer the best long-term durability against saliva and repeated washing?
Fully cured, film-forming finishes like conversion varnish or catalyzed water-based polyurethane provide the most inert and impermeable barrier. While pure hardening oils and shellac are safe, their organic polymers are more susceptible to hydrolysis from prolonged saliva exposure and require more vigilant maintenance over the toy’s lifespan.
The Foundation of Safe Play
The single most critical rule is this: a child’s toy is only as safe as its materials and construction. Your primary safeguard is selecting woods free of inherent toxins and pairing them with a finish certified for toys, like those meeting ASTM F963 or EN71 standards. Design against choking hazards by ensuring no part can fit through a small parts cylinder and by using durable, mechanically sound joinery. These three pillars-species, finish, and design-form an non-negotiable safety protocol that must work together.
Choosing wood is a lasting decision; a well-made toy can be passed down for generations, which is its own form of environmental stewardship. Treat your knowledge of wood and safety standards as a living practice, revisiting guidelines as your skills grow and the toy shows its age through years of honest play.
References & External Links
- Wood Finishes For Unfinished Wooden Toys | Wood Stains, Varnishes and Oils
- Non-Toxic Play: Best 3 Finishes Used On Wooden Toys – smol-block
- Toy Safe Finishes – What You Need To Know To Keep The Little Ones Safe
- The Ultimate Guide to Child-Safe Wood Finishes – Dannico
- Safe Finish for Toys – FineWoodworking
- r/woodworking on Reddit: Recommendations for Baby Safe Wood Finishes?
- 5 Best Food Safe Wood Finishes for Children – Dannico
Written by David Ernst. David is a veteran woodworker. He is now retired and stays in his cabin in Wisconsin which he built himself. David has 25+ years experience working in carpentry and wood shops. He has designed and built many small and large wood projects and knows the science behind wood selection like the back of his hand. He is an expert guide on any questions regarding wood material selection, wood restoration, wood working basics and other types of wood. While his expertise is in woodworking, his knowledge and first hand experience is far from 'woody'.