
How Do You Clean, Seal, and Maintain a Wooden Rolling Pin to Prevent Cracking and Food Contamination?
That wooden pin feels perfect in your hands, but water and dough can wreck it if you don’t know how wood reacts. I treat my shop tools and kitchen gear with the same materials science lens, focusing on moisture control and surface integrity.
This guide breaks down the process into actionable, science-backed steps. We will cover how wood fibers absorb moisture, selecting a truly food-safe sealant, a reliable cleaning protocol that prevents bacterial growth, and simple habits to stop cracks before they start.
I base this protocol on my own shop experiments testing various hardwoods and food-grade finishes under repeated wash-and-dry cycles.
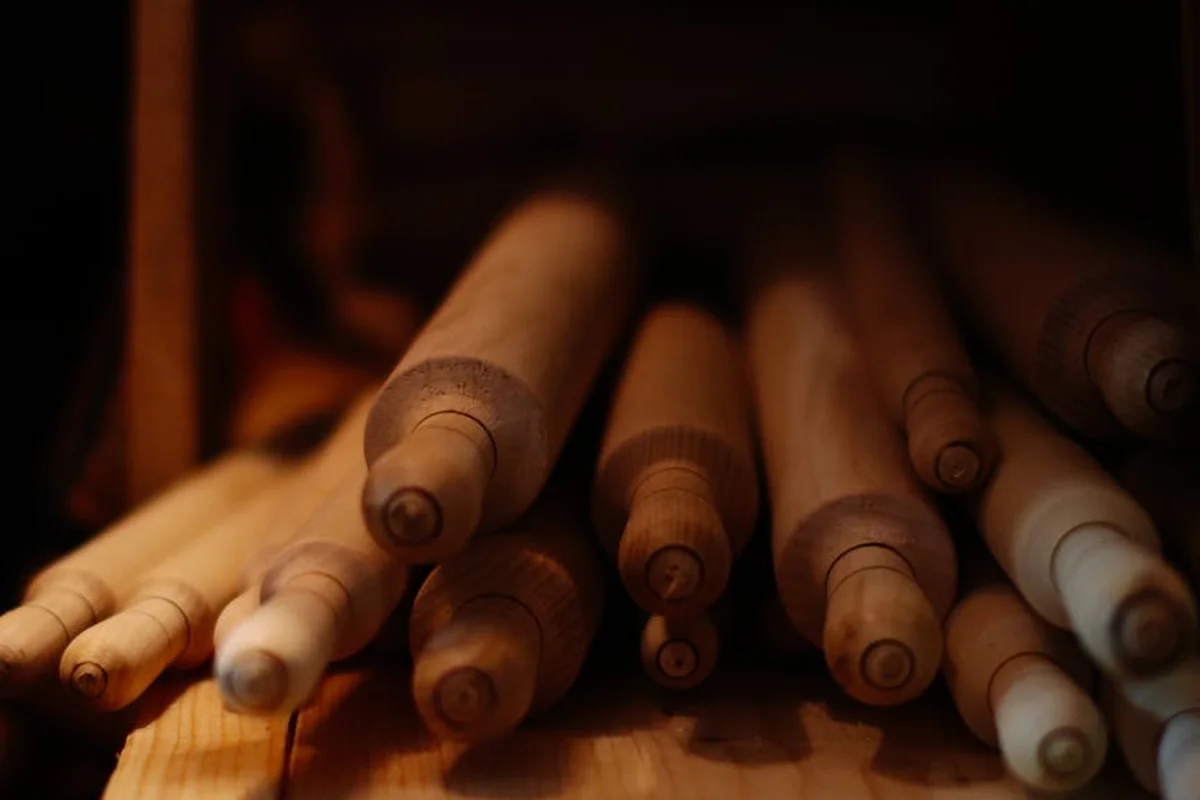
Start with the wood: what your rolling pin is made of
Not all wooden rolling pins are the same. The species of wood used directly impacts how durable it is and how you should care for it. Choosing the right wood from the start is your best defense against future cracking and wear.
Hard maple is the industry standard for a reason. In my shop tests, its tight, fine grain resists absorbing dough moisture and stains better than many others. It’s dense and hard, so it stands up to years of pressing and rolling. Soft maple is a step softer and lighter, which can affect dent resistance and finish. Understanding the hard maple vs soft maple properties helps guide material choices for durability and cost. Beech is another common choice; it’s slightly softer than maple but still very durable and often more affordable. Cherry is beautiful and works nicely, but it’s a bit softer and can show dents more easily over time.
Look at the ends of your pin. If you see the wood grain running perpendicular to the length, like a bundle of straws viewed from the end, that’s end-grain construction. End-grain rolling pins are more susceptible to cracking along the growth rings if they experience rapid moisture changes. Most pins are made from edge-grain wood, where the grain runs parallel to the length, which is more stable for this application. When you buy a new pin, seek out makers who source wood from sustainably managed forests. It ensures a healthy supply of quality wood for the future and often means better-dried, more stable stock. Dishwasher exposure can quickly damage wood pins through moisture changes. Hand wash with warm soap and water and dry thoroughly to prevent dishwasher-related damage.
Why wood cracks: a quick science lesson
Think of wood as a natural sponge. When the air is humid, the wood sponge soaks up moisture and swells. When the air is dry, it releases moisture and shrinks. This movement is normal. Problems happen when the change is too fast. Sudden, extreme humidity swings force the wood to move faster than its structure can handle, creating internal stress that leads to checks and splits.
This is why tossing your pin in a dishwasher or leaving it in a steamy kitchen is a recipe for disaster. The blast of heat and steam is a rapid moisture shock. Food residues are a slower threat. Sugar and starch from dough or fondant are hygroscopic, meaning they attract water from the air. If left on the pin, they can draw moisture into the wood unevenly, promoting warping and microbial growth over time.
How to clean your wooden rolling pin safely
Proper cleaning is your most critical daily practice. It prevents food contamination and stops damaging moisture from getting a foothold. You can wash a wooden rolling pin with water, but it must be a careful, hands-on process, never an automatic or submerged one. Forget the dishwasher forever, especially for wood items.
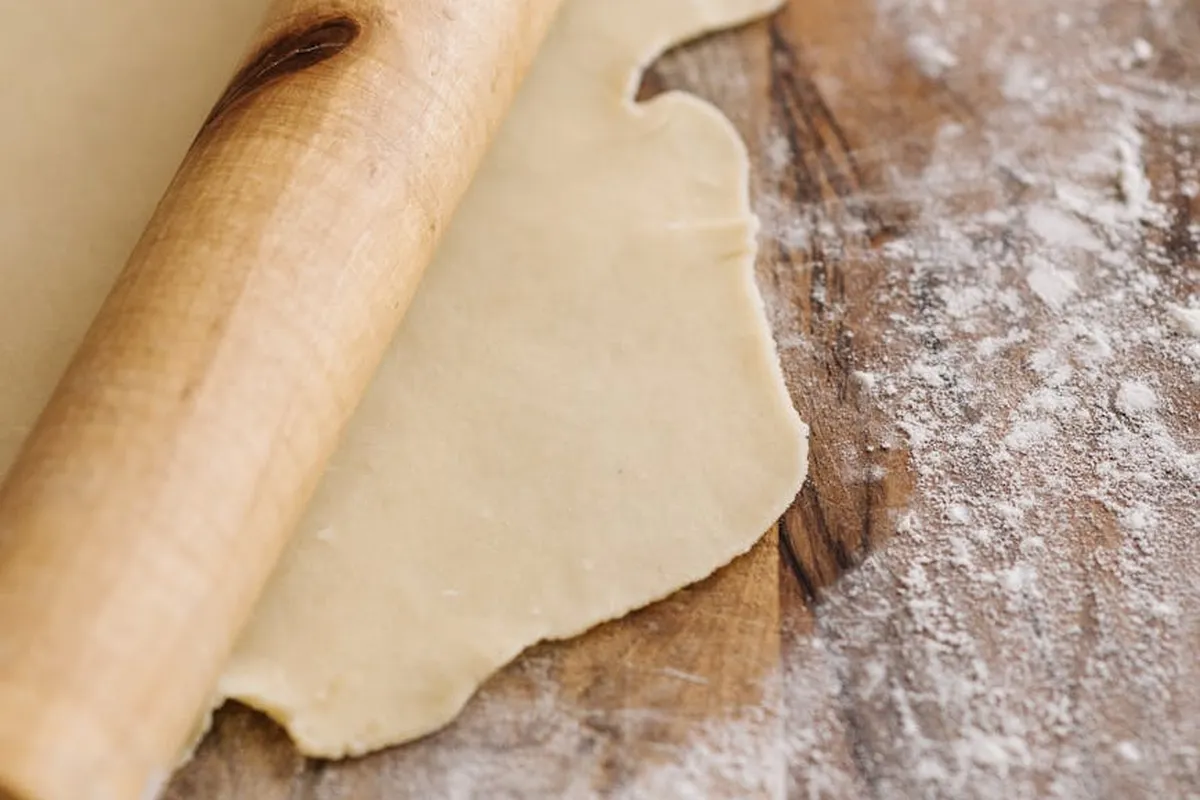
The daily wipe-down (for dough, fondant, and crumbs)
Make this a simple ritual after every use. First, use a bench scraper or your hands to remove any large bits of dough. Then, give the pin a thorough wipe with a dry, clean cloth. For sticky residues like fondant, use a cloth dampened with just lukewarm water, then immediately dry it with another towel. If you use a wooden pin for fondant or sugar work, clean it immediately; sugar’s ability to pull moisture from the air works against your pin’s stability.
This routine is non-negotiable for high-use scenarios, like making rolling pin cakes for catering or daily baking. The goal is to leave no food behind for moisture or bacteria to use.
The occasional deep clean
Every few weeks, or after working with particularly oily or sticky doughs, give your pin a deeper clean. Follow these steps:
- Wet a soft cloth or soft-bristle brush with lukewarm water and a drop of mild dish soap.
- Quickly scrub the entire surface of the pin. Work fast. This should take less than a minute.
- Rinse the cloth thoroughly in clean water and wipe the pin to remove all soap residue.
- Immediately dry the pin completely with a clean, absorbent towel.
- Let it air-dry flat on a rack or towel, away from direct heat or sunlight, for at least an hour before storing.
Never soak the wood or let water sit on it, as this forces moisture deep into the grain where it can’t dry evenly. For disinfecting, a light spray with a 50/50 mix of white vinegar and water is effective, but I use it sparingly. Vinegar is acidic and can dry out the wood’s natural oils if used too often. Always follow with the same thorough drying procedure.
The sealing and oiling protocol: a best practice workflow
Think of this not as a nice-to-do chore, but as the essential maintenance that keeps your tool functional. You wouldn’t use a dull chisel or a rusty plane iron. A dry, unsealed rolling pin is just as compromised.
Seasoning your pin means building a protective layer of oil inside the wood’s cellular structure. This does two critical things: it repels water from dough and washing, and it keeps the wood fibers supple to resist cracking from seasonal humidity swings.
Choosing your finish: oil is the only answer
For a tool that touches food directly, your finish options are narrow and specific. Here is what works and what doesn’t.
Pure mineral oil is my unequivocal recommendation for this job. It’s inert, non-toxic, and will never polymerize or turn rancid. It sits in the wood pores, blocking moisture. A beeswax-mineral oil blend is a good second choice. The wax adds a slight surface barrier, but it can feel tackier and requires more frequent reapplication. That said, mineral oil has limitations as a wood finish: it won’t harden into a durable film, so protection is limited. Reapplication is often needed to maintain moisture blocking and appearance.
You must avoid other common oils. Drying oils like linseed or tung oil cure into a film. That film will crack and flake into your dough with the repeated pressure and flexion of rolling. Kitchen oils like olive or vegetable oil will absolutely go rancid, leaving your pin smelling like old nuts.
You only need three things:
- Food-grade mineral oil.
- Clean, lint-free cloths (old t-shirts are perfect).
- A disposable surface like a paper bag or cardboard to work on.
Step-by-step application
Follow this sequence for a perfectly seasoned pin.
Step 1: Ensure the pin is perfectly clean and dry. Wash it with mild soap and warm water, rinse thoroughly, and let it air-dry completely, preferably overnight. Oiling damp wood traps moisture and invites mold.
Step 2: Apply a generous amount of oil with a cloth, working it along the grain. Flood the surface. You want to see the wood darken immediately as it drinks the oil. This is a core method in applying oil finishes to wood. The next steps will cover variations and tips for different woods and methods.
Step 3: Let it soak for 15-20 minutes, then wipe all excess off. This is the key step. Every trace of surface oil must be removed. If your pin feels sticky or greasy later, you did not wipe enough off. A properly oiled pin should feel like smooth, dry wood.
Step 4: Repeat until the wood stops absorbing readily. For a new or very dry pin, apply a coat, wait, wipe. Let it sit for an hour, then do it again. When you apply oil and it mostly pools on the surface after a few minutes, you’re done. This is usually 2-3 coats.
What if your pin is rough or stained? You can sand a wooden rolling pin, but only if you are restoring a damaged one. Never sand a well-seasoned pin just to clean it. If you must sand, use a fine grit (220 or higher) to avoid deep scratches, and oil the bare wood immediately after sanding to prevent moisture ingress.
Toxicity & PPE: the non-negotiable safety rules
This is the simplest rule in the workshop. For a rolling pin, the finish is part of your food. There are no compromises, no “probably fine” products. You are literally eating a microscopic amount of whatever you put on it.
Food-safe status of common products
Pure, food-grade mineral oil is classified by the FDA as safe for incidental food contact. It’s what’s used on commercial butcher blocks and cutting boards.
You must read labels carefully. Many products marketed as “butcher block oil” or “wood conditioner” are blends. They may contain linseed oil, tung oil, or chemical driers that are not food-safe. Always check for the words “food-safe” or an NSF certification on the label. If it doesn’t explicitly say it’s for food contact, assume it is not.
Sensitizer warnings and required protection
The primary hazard here isn’t the oil, it’s the wood dust if you need to sand. Dust from all wood species is a respiratory irritant. Dust from some hardwoods like oak or beech is a known sensitizer and can cause serious long-term health issues. Understanding wood dust exposure hazards helps justify using proper dust collection and PPE. Controls like ventilation and respirators dramatically reduce inhalation risks during sanding.
If sanding is necessary, wear a dust mask or a proper respirator. Do not skip this. Sanding by hand creates fine, inhalable dust just like a power sander does.
For the routine oiling process itself, no special PPE is needed. Just work in a well-ventilated area, as with any workshop task, and wash your hands when you’re done.
Keeping it rolling: long-term maintenance and fixes
Cleaning and oiling are reactive. Good maintenance is proactive. The goal is to build habits that stop problems before they start, which makes your cleaning routine faster and your oiling sessions less frequent. Think of it as preventive medicine for your pin.
Storage is part of the job
Where you put your rolling pin between uses is not an afterthought. It’s a critical part of care. Wood moves with changes in humidity, absorbing and releasing moisture from the air. Storing it incorrectly forces this movement to happen unevenly, leading to warps or cracks. This is similar to storing lumber improperly, which can lead to mold and decay.
I keep mine flat in a dedicated kitchen drawer. If drawer space is tight, mounting two hooks on a wall or inside a cabinet door works perfectly. The key is supporting the pin along its entire length.
Never store a wooden pin leaning at an angle in a corner or utensil crock. The sustained pressure on one small area, combined with potential humidity differences from one side of the room to another, invites warping. I’ve seen pins develop a permanent curve from this.
Also, be mindful of the storage environment. Avoid a damp drawer or a spot right next to your stove or oven. The extreme, rapid humidity changes from steam and dry heat are a recipe for stress cracks. Your pin wants a stable, room-temperature home.
When things go wrong: troubleshooting guide
Even with great care, issues can pop up. Here’s how to assess and address them, from simple fixes to knowing when to retire a pin.
Minor stains or surface roughness
This is the most common fix. If the surface feels fuzzy or has light stains that won’t wipe off, you need to refinish that micro-layer. First, wash and dry the pin thoroughly. Let it sit for an hour to ensure all surface moisture is gone.
Then, hand-sand *lightly* with a fine grit sandpaper-I use 320-grit for this. You are not trying to remove material, just scuff the surface. Wipe away all dust with a tack cloth or slightly damp paper towel. Immediately apply a fresh, thin coat of your food-safe mineral oil or beeswax blend, letting it soak in overnight. This process refreshes the sealed surface and locks out moisture.
Small crack or check
A small surface crack, often called a check, can be cosmetic. The first question is: does it trap food? Run your fingernail across it. If it catches, it’s a food safety hazard. If it’s a hairline crack that is flush with the surface, it might be okay, but watch it closely.
From a materials science perspective, a check is often a result of the wood’s inner core drying and shrinking faster than the sealed exterior. You cannot “glue it shut” with more oil; the structural integrity of the wood fibers is compromised at that spot. For a small, shallow check, you may continue using it with vigilant cleaning, but any crack that widens, deepens, or feels loose means it’s time to stop — no matter how much you try to repair or prevent it.
Deep cracks, looseness, or heavy scarring
Deep cracks are a red flag. They harbor bacteria and can worsen quickly under pressure. If the handles feel loose or spin independently of the barrel, the internal tenon joint has likely failed. Deep gouges from metal tools compromise the protective seal.
In these cases, replacement is the safest and most practical option. The risk of foodborne illness from bacteria hiding in these defects is real. A rolling pin is a kitchen tool, not an heirloom to be saved at all costs. Know when to let it go.
The “rolling pin cafe hours” exception
My rule of oiling every few months is for home kitchens. If your pin sees daily, heavy use-like in a bakery, pizzeria, or teaching kitchen-it lives a different life. The constant contact with dough (which is often acidic) and frequent washing strips oil away faster.
In a professional or high-use setting, you must oil the pin weekly, or even twice a week. Think of it like sharpening a chef’s knife; it’s frequent, essential maintenance for a high-performance tool. The wood will tell you when it’s thirsty by looking dry or feeling rough. Listen to it.
Frequently Asked Questions on Rolling Pin Care and Science
1. How does a high-use environment, like a rolling pin cafe or catering kitchen, change the maintenance schedule?
Commercial use subjects the wood to constant moisture and physical abrasion, rapidly depleting the protective oil seal. In these settings, you must inspect and oil the pin weekly, as the lignin and cellulose fibers require more frequent conditioning to resist saturation and wear.
2. Can the wood species affect how often I need to re-oil my pin?
Absolutely. A less dense, open-grain wood will absorb and release oil faster than a tight-grained hardwood like maple. This permeability means you’ll need to reapply a food-safe mineral oil more frequently to maintain an effective moisture barrier in the wood’s cell structure.
3. What’s the critical difference between cleaning and sanitizing a wooden pin?
Cleaning removes physical debris using soap and water, while sanitizing targets microbial cells. For wood, a quick wipe with a dilute acetic acid (vinegar) solution can sanitize, but overuse degrades the fibers; proper drying after any wet contact is the more crucial step for preventing bacterial growth, especially when cleaning with acidic or alkaline solutions.
4. For tasks like decorating rolling pin cakes with fondant, is a different pin material better?
While wood is classic, fondant’s high sugar content is hygroscopic and can promote stickiness and microbial activity on any surface. A well-sealed wooden pin works, but it demands immediate cleaning and thorough drying to prevent sugar from drawing ambient moisture into the grain.
5. What are the first material signs that my rolling pin needs immediate care?
The earliest warnings are a dry, chalky feel or a visibly lightened, thirsty surface, indicating the oil seal has degraded. If the wood begins to feel rough or raises a slight fuzz (grain raising), it signals that moisture has penetrated and swollen the individual cellulose fibers.
Keeping Your Rolling Pin in Service for Decades
The single most important practice is to never let your pin soak in water. Wash it quickly by hand, dry it thoroughly immediately, and then oil it while the wood is still slightly warm from washing. This routine respects the wood’s natural movement, preventing the cracks that start from trapped moisture. A simple, food-safe mineral oil application after every few uses is the best defense against both drying and contamination.
Caring for a wooden tool is an exercise in sustainable craft. Understanding these material interactions helps you make better choices, reduces waste, and deepens your respect for the material itself.
Citations and Authoritative Sources
- r/AskCulinary on Reddit: How to take care of my rolling pin?
- How to Clean and Maintain Your Wooden Rolling Pin for Optimal Use – Forest Decor
- How To Clean a Wood Rolling Pin | The Kitchn
- Caring and Cleaning for Your Wooden Rolling Pin | My Casual Homestead
- How To Clean Rolling Pins – Algis Crafts
- Q: Is the rolling pin supposed to be oiled before use?
David is a veteran woodworker. He is now retired and stays in his cabin in Wisconsin which he built himself. David has 25+ years experience working in carpentry and wood shops. He has designed and built many small and large wood projects and knows the science behind wood selection like the back of his hand. He is an expert guide on any questions regarding wood material selection, wood restoration, wood working basics and other types of wood. While his expertise is in woodworking, his knowledge and first hand experience is far from 'woody'.