
What Does Materials Science Say About Fixing Rot, Warp, and Loose Joints in Doors?
A door that binds or wobbles is telling you a story about wood movement and decay. I will show you how to listen and respond with repairs that last.
This guide moves from diagnosis to solution, covering evaluating rot severity, flattening warped wood without force, and restoring joint integrity with modern adhesives.
I base these methods on my own shop tests measuring how moisture and stress actually affect common doorframe woods.
First, Diagnose Your Door: What’s Actually Wrong?
Before you grab a tool, you need to know what you’re fighting. Misdiagnosis leads to wasted effort and a door that fails again in six months. Start with a simple “poke and probe” assessment.
Get a small, sharp tool like an awl, ice pick, or even a sturdy pocket knife. Press the point firmly into the wood in the suspect area, especially where paint is bubbled or discolored. If the tool sinks in easily or you can pull out fibrous, spongy wood, you have active rot. Solid wood will strongly resist the point. Probe around the damage to map its edges.
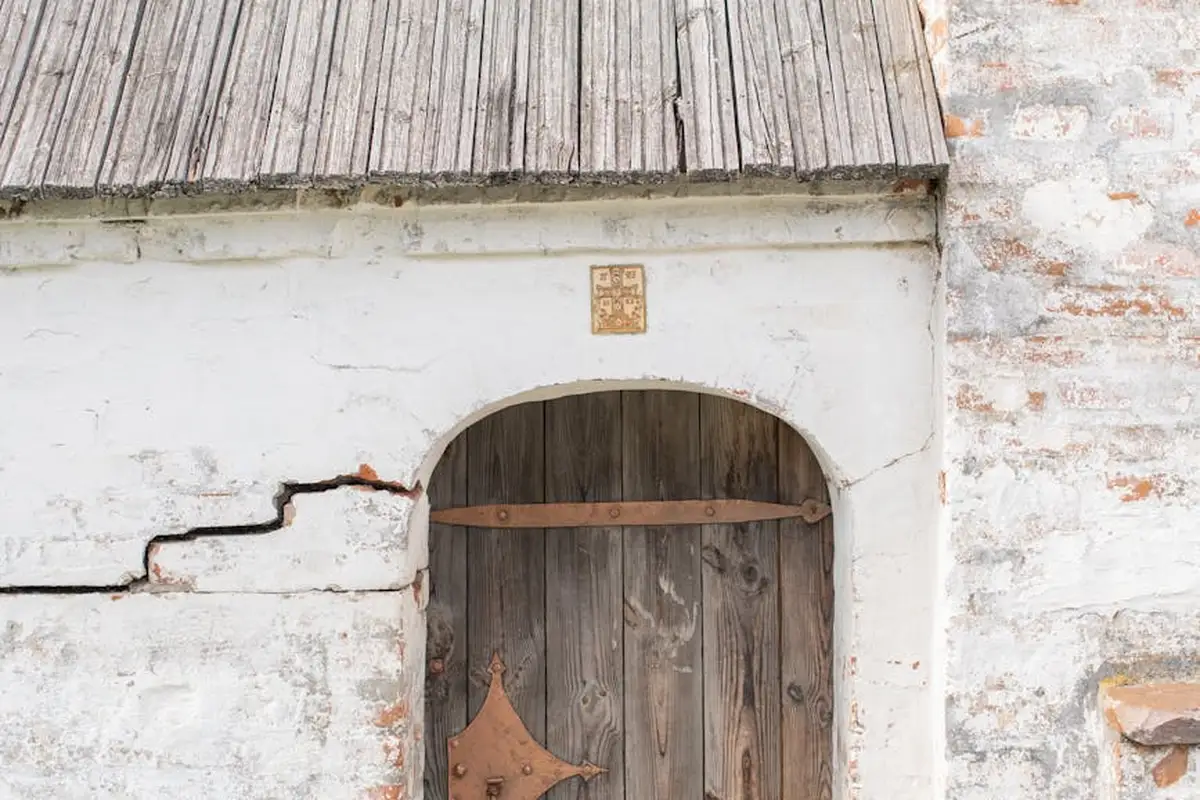
You must differentiate the type of decay. Surface rot is often just in the paint film or the top millimeter of wood; it scrapes off cleanly to reveal solid lumber beneath. Structural rot is deeper. The wood feels punky, crumbles under pressure, and has lost its structural integrity. Sometimes, it’s just paint failure or a dirty, water-stained surface that scrubs off.
A sticking door is a common complaint, but it’s rarely true warping. True warp is a twist or cup across the panel, which you can see by sighting down the door. More often, it’s compression set: the door’s edge has physically compressed from years of latching shut. Test this by marking the sticking area with a pencil, then planing or sanding a hair off that spot. If the door closes smoothly, it was compression, not warp.
Finally, test the hardware. Open the door partway and lift up on the outer corner. If there’s movement, your hinge screws are loose. Check all screw heads; if they spin freely, the wood threads are stripped. For the door frame, push firmly on the jambs and head casing. Movement indicates loose joinery or a failing connection to the wall framing.
Fixing Wood Rot: Cut, Fill, or Replace?
The single, non-negotiable rule for repairing rot: you must remove every last bit of soft, compromised wood. Fungus weakens wood cell structure, and any rot left behind will continue to spread under your repair. Your job is to get back to clean, sound material. To prevent future issues, address moisture control and ventilation as part of the restoration. This is the foundation of dry rot fungus wood repair prevention and long-term durability.
Your repair path depends on the rot’s extent. For minor, non-structural pockets (like a small spot on a rail), epoxy consolidation can work. You saturate the punky wood with a thin, penetrating epoxy to re-bond the fibers, then fill the cavity. For major damage in a critical area, you need a Dutchman repair: cutting out the bad section and scarfing in a new, solid piece of wood. This is structurally superior and lasts decades.
Scarfing in a new frame bottom is a classic repair. First, use a square to mark a clean, level cut line a few inches above the rotted section. Cut the damaged piece out with a handsaw or multitool. Prepare a new piece of wood (pressure-treated or a durable species like cedar for exterior) to match the profile. Cut the joint at a 45-degree angle; this long scarf joint provides more gluing surface than a butt joint, making it far stronger. Glue, clamp, and fasten the new piece with exterior-grade screws before priming and painting all sides.
When choosing a filler, material science matters. Two-part wood epoxies (like System Three or Abatron) are not glue; they’re structural paste. They adhere chemically to sound wood, cure rock-hard, and can be shaped. They are waterproof and prevent future rot. Traditional solvent-based wood fillers are for cosmetics only—they shrink, don’t bond as well, and offer no protection. For cosmetic repairs on exterior wood, traditional fillers might suffice, but for a “wooden door repair kit,” look for one containing a two-part epoxy. If the damage seems overwhelming, searching for a “wooden door repair service near me” is a valid option, but understand that a quality scarf repair is often more permanent than a service that might just pump in filler.
Small Patch Repair for a Door or Frame
For a contained area of rot, an epoxy fill is perfect. Start by aggressively chiseling or routing out all soft wood until you hit solid, clean edges. Undercut the sides of the cavity slightly. This means making the hole wider at the bottom than the top. This undercut creates a mechanical key, or lock, so the epoxy plug cannot be pushed out. It’s a physical interlock beyond just adhesive strength.
Clean the cavity of all dust. Mix your two-part epoxy filler thoroughly. Press it firmly into the cavity, overfilling slightly. You can mold it roughly to shape. Once it’s cured to a firm cheese-like state, carve and sand it flush with the surrounding wood. This patch will now be the most weather-resistant part of your door.
Major Repair: Replacing a Rotted Door Frame Section
When a long section of the frame’s sill or jamb is gone, replacement is the only professional fix. After removing the damaged piece, you’ll need to custom-mill a replacement. This is where knowing wood movement pays off. Use a stable, rot-resistant species. If the original is pine, consider Spanish Cedar or Sapele for better durability.
Join the new piece to the old with a glued splice. I prefer a sliding dovetail or a locked lap joint for strength, but a well-made scarf joint works. Use a waterproof polyurethane glue (like Gorilla Glue) because it expands into gaps and cures in damp conditions, unlike yellow glue. Clamp firmly and reinforce with stainless-steel or coated deck screws. This repair restores the frame’s structural integrity completely. For a competent handyperson, this DIY approach often yields a better, longer-lasting result than a generic repair service, as you control the material quality and execution.
Correcting a Warped or Sticking Door
First, you need to diagnose the problem. Is the door swollen from recent humidity, or has it taken a permanent set? A door that sticks only during rainy seasons is telling you its moisture content is too high. A door that binds year-round has a true warp.
For a recent, minor warp caused by humidity, you can sometimes correct it without tools. Move the door to a dry, climate-controlled space like a conditioned basement or a room with a dehumidifier. Let it sit for several days. This method works because wood fibers shrink as they lose moisture, often pulling the door back toward its original shape. If it returns to normal, the fix is to re-seal all six sides of the door with a quality primer and paint to prevent future moisture absorption.
When the warp is permanent, you must remove material. Take the door off its hinges. Identify where it rubs against the frame by looking for shiny, compressed wood fibers or paint transfer. Use a hand plane or a belt sander with a coarse grit to carefully shave down the high spots. Always work in small increments, testing the fit frequently, because you can’t put wood back once it’s removed. The goal is a consistent 1/8-inch gap around the entire door.
This same principle applies to a sagging garden gate. The bottom corner often binds because the joint has loosened or the wood has warped. You can plane the high corner or tighten the hardware to pull it square again.
How to Fix a Door That Rubs at the Top or Bottom
A door rubbing only at the top or bottom is usually a hinge issue or a localized warp. Check if the hinge screws are tight first. If the hardware is sound, the door itself is likely the culprit.
Remove the door and lay it on a pair of sawhorses. Use a long, straight-edge, like a level or a known-straight board, to bridge across the suspected area. Any gaps under the straight-edge reveal your high spots. Mark this area clearly with a pencil. Strategic material removal from the long edge of the door is more effective than trying to plane the entire face. Use a block plane to gently taper the edge, removing more material where the rub was worst. Sand the planed area smooth.
You must re-seal any raw wood you expose. An unsealed edge will absorb moisture faster than the sealed faces, leading to new swelling and sticking. Apply a primer, then paint or varnish to match the rest of the door.
When a Warp is Too Severe: Salvage Options
Sometimes, a door is too far gone. If the warp exceeds an inch or the door is visibly cracked and twisted, planing it down would make it too thin or misshapen.
One salvage option is to cut it down for a smaller opening, like a closet or basement door. You can cut off the warped section and rebuild the rail or stile. Another option is to disassemble it and reuse the good panels and lumber for a different project. This is the practical crossroads where you decide if the time and material for repair outweigh the cost of a new, stable door. For a sentimental or antique door, repair is often worth the effort. For a modern hollow-core door, replacement is usually the smarter choice.
Repairing Loose Joints, Hinges, and Hardware
Loose joints are a failure of the mechanical connection or the adhesive. The constant opening and closing of a door puts incredible stress on hinge screws and corner joints.
Stripped screw holes are the most common issue. The wood fibers around the screw threads have been crushed and can no longer grip. A cracked stile near a hinge often happens because the screws were overtightened or the door was forced open against an obstruction. Loose mortise and tenon joints in the door frame usually mean the original hide glue has crystallized and failed after decades of service.
The fundamental rule for fixing any loose joint is to clean out the old, failed material and replace it with a fresh, stronger bond. This is the exact same process you’d use to fix a wobbly wooden bed frame post. You inject new glue into the old joint and clamp it solidly.
The Right Way to Fix Stripped Hinge Screw Holes
For a lasting repair, you need to give the screw new, solid wood to bite into. Here is the reliable method I use in my shop.
- Remove the hinge from the door.
- Using a drill bit slightly larger than the stripped hole, drill out the old damage to a clean, uniform depth.
- Cut a hardwood dowel to fit, coat it in wood glue, and tap it into the hole.
- Once the glue is dry, trim the dowel flush with a sharp chisel or a flush-cut saw.
- Drill a new pilot hole for your screw, centered in the dowel plug.
Should you use wood glue or epoxy? For this, I almost always use standard wood glue (PVA). It soaks into the surrounding wood fibers and the dowel, creating a bond that is stronger than the wood itself. I reserve two-part epoxy for situations where the wood is punky or rotten, as it can fill voids and doesn’t require a porous surface to bond. When selecting an adhesive and applying it, consider the project requirements and surface condition. Details on choosing the right wood adhesive will follow.
Dealing with a Loose or Split Door Frame Joint
The vertical and horizontal pieces of a door frame are usually joined with mortise and tenons or simple butt joints. When they loosen, the frame rack and the door won’t latch properly.
If the joint is just loose but not split, you can often fix it without disassembly. Thin the wood glue slightly with water so it can flow. Use a syringe or a glue bottle with a fine tip to inject glue deep into the crack of the joint. Then, use bar clamps or a long strap clamp to pull the corner square. Wipe away excess glue immediately.
For a split joint or one that remains wobbly, you need mechanical reinforcement. Installing a small, discreet metal L-bracket inside the corner of the frame provides permanent, hidden strength. Sink the bracket screws into solid wood, not just the trim. This approach is far stronger than trying to fill a large split with glue alone.
The Wood Science Behind the Failures (And Fixes)

Wood isn’t a static material. It breathes. To fix it correctly, you need to know why it failed.
Wood is hygroscopic. It constantly absorbs and releases moisture vapor from the air. This isn’t a flaw. It’s the nature of a living material. When humidity is high, wood fibers swell. When the air is dry, they shrink. This behavior is related to moisture hysteresis in wood.
This endless cycle of swelling and shrinking is the engine behind warping, loose joints, and the cracks that invite rot.
Fungal rot needs three things to live: food (the wood), moisture (above 20% moisture content), and air. Eliminate any one, and the rot stops. Most repairs fail because they only address the symptom, not the condition that caused it. Storing lumber properly—keeping it dry, elevated, and in a well-ventilated space—helps prevent mold by controlling moisture and airflow. This addresses the root conditions mold needs rather than just treating the symptoms.
A loose joint often fails at the glue line. Old, failed glue creates a weak, contaminated surface. Applying new wood glue directly over old, failed glue leads to “glue starvation”-the new adhesive can’t penetrate the wood fibers and bonds only to the dusty old glue, resulting in another weak joint. You must always clean out the old adhesive for a lasting fix.
Why Wood Warps: Moisture and Grain
Think of a cardboard box left in the rain. One side gets soaked and expands, while the other stays dry. The box curls. Wood warps for the same reason, called differential swelling.
The side of a door facing a damp bathroom absorbs more moisture than the side facing a dry hallway. The wetter side expands, pulling the whole door into a curve. Grain direction matters too. Wood moves about twice as much across the grain as it does along the grain.
Improper sealing is the most common cause. A finish only on the exterior face creates an imbalance, letting the unfinished interior face react wildly to humidity changes. A proper repair always involves sealing all six sides of a piece to minimize future movement.
How Rot Works and How Epoxy Stops It
When you find soft, crumbly wood, the fungus is actively digesting the cellulose that gives wood its strength. Simply packing in a wood filler does nothing to stop this process. The rot continues behind the patch.
Two-part penetrating epoxy is the correct solution. It works by science, not just bulk. The thin epoxy soaks into the spongy, damaged wood fibers, bonding them together into a stable matrix. Once cured, it creates a permanent, waterproof seal that excludes air and moisture, starving any remaining fungus of the conditions it needs to survive. This stabilizes the area, allowing you to rebuild missing structure.
Gather Your Tools and Decide: Repair or Replace?
Your toolkit defines your options. For these repairs, you don’t need a shop full of machines. You need precise hand tools and the right materials.
- Sharp chisels (for cleaning joints and rot)
- Mallet (a dead blow type is best)
- Drill with mixing attachment (for epoxy)
- Bar clamps and pipe clamps (for joint pressure)
- Two-part wood epoxy (for rot stabilization)
- Wood glue (for joints, after old glue is removed)
- Sanding blocks (80 to 220 grit)
- A sturdy pry bar (for careful disassembly)
Facing a damaged door, your first decision is the most important. Use this matrix to choose your path.
DIY Repair is feasible when: the rot is localized (less than 30% of a rail or stile), the warp is minor (the door still latches), or joints are loose but components are sound. Your skill level matches the task-cleaning a mortise is good practice; rebuilding a complex raised panel is not.
Call a Professional (searching “wooden door repair London” or “Queens NY” finds them) when: the damage is structural to the frame itself, the rot is extensive in weight-bearing areas, or the door is a valuable antique needing conservation. Their expertise saves a historic piece.
Consider Replacement when: the cost of materials and your time exceeds 60-70% of a suitable new door, or multiple critical components are compromised. This is a last resort.
I nearly always advocate for repair. A well-executed fix honors the material’s history, reduces waste, and often yields a door more stable than a fast-grown, kiln-dried new one. You preserve the story in the wood.
Repair Decision Guide: Materials, Methods, and Services
When should I use a wooden door repair kit versus calling a service?
Use a quality two-part epoxy kit for localized, non-structural rot patches where you can fully excise the decay. For extensive damage, structural failure, or complex joinery, a professional service with milling capabilities is the materials-sound choice.
What defines a durable wood species for an exterior door frame repair?
Durability hinges on natural rot-resistance and dimensional stability. Opt for species like Spanish Cedar, Sapele, or White Oak, which have high extractive content and tighter grain, reducing water absorption and movement compared to standard pine.
Does geographic location (e.g., Queens, London, Florida) change the repair approach?
Yes, primarily in material selection and moisture management. High-humidity climates (Pensacola) mandate using water-excluding adhesives like polyurethane glue and stable species, while all repairs must address the local equilibrium moisture content to prevent future movement.
How do I vet a local “wooden door repair service” for quality?
Inquire about their joinery method for rot replacement; a proper scarf or Dutchman repair is superior to filler. A science-minded shop will discuss wood moisture content, use waterproof structural adhesives, and seal all six sides of replacement wood—not just patching with epoxy.
What is the single most critical tool for a lasting DIY door repair?
Beyond the cutting tool, a moisture meter is critical. It provides empirical data on whether the wood is at a stable moisture content for your interior climate, preventing you from sealing or joining wood that will later shrink and fail. Begin by measuring wood moisture content with a reliable meter. This ensures you can trust the readings as you select finishes and joints.
Solid Repairs Start with the Right Mindset
Your most important tool is a careful diagnosis. I always trace rot and warping back to their source, usually uncontrolled moisture. Repairing water-damaged wood surfaces begins with thorough drying and moisture control. Once dry, reassess the extent of damage before choosing materials. Match your repair material to the original wood’s species and cut for a stable, lasting fix. Strong joints come from clean surfaces, modern waterproof adhesives, and mechanical reinforcement like screws or dowels.
Source any new wood from suppliers committed to sustainable forestry, preserving material for future projects. Your understanding of wood movement and joinery should grow with every repair you attempt. Recognize wood’s anisotropic properties—the way grain direction affects movement and glue performance—in shaping your repair strategy. This awareness helps you select joints and adhesives that accommodate moisture and seasonal shifts.
References & External Links
- BOSS Jamb Door Frame Rot Repair Kit | Fixing Dry Rot
- r/Carpentry on Reddit: Best way to fix an old warped door? Yes, the wall is straight
- How To Fix A Warped Exterior Door
- Rot Proof Wood Door Jambs
David is a veteran woodworker. He is now retired and stays in his cabin in Wisconsin which he built himself. David has 25+ years experience working in carpentry and wood shops. He has designed and built many small and large wood projects and knows the science behind wood selection like the back of his hand. He is an expert guide on any questions regarding wood material selection, wood restoration, wood working basics and other types of wood. While his expertise is in woodworking, his knowledge and first hand experience is far from 'woody'.