
Can You Really Test Glue Strength at Home? A Woodworker’s Guide
You’ve applied the glue and tightened the clamps, but a nagging doubt remains: will this joint actually hold? I test adhesive bonds in my shop because guessing isn’t good enough for fine woodworking.
This article provides a materials-focused approach to verifying your glue’s performance. We will cover simple, destructive tests you can perform with clamps and scrap wood, the core scientific principles of adhesion, and how to use your results to select the right adhesive for the job.
My guidance is based on my own shop experiments where I measure failure points to understand how adhesives behave under real stress.
What Makes a Glue Joint Strong? Shop Science You Can Use
Think of a strong glue joint not as two pieces held together, but as a single, continuous piece of wood. The adhesive’s job is to become a seamless part of the material itself. A successful bond transfers stress through the joint the same way stress travels through the grain of a solid board.
The true mark of a perfect bond is called “wood failure,” where the wood fibers themselves tear apart before the glue line lets go. If your test piece snaps and you see fresh, fuzzy wood on both sides of the break, you’ve won. The glue performed its job perfectly. A clean break along the glue line, with shiny surfaces, means the adhesive was the weak link.
Joints fail in different ways, and your test should match the stress. Shear force tries to slide the pieces apart, like the weight on a shelf bracket. Tension tries to pull them straight apart, like a failed drawer pull. Cleavage is a prying force, like lifting a glued-on block with a crowbar. Most wood glues are champions at handling shear but can be vulnerable to cleavage. Your joinery should always aim to force the glue to work in shear.
Every test you run depends on five key factors. Change any one, and your results change:
- Wood Species: Glue bonds differently to open-pored oak than to tight-grained maple.
- Surface Prep: A smooth planed surface, a rough sawn surface, and a sanded surface create three different bonds.
- Glue Type: Standard yellow glue (PVA), plastic resin, epoxy, and polyurethane foam have different strengths and weaknesses.
- Clamp Pressure: You need enough pressure to create intimate contact, but too much can starve the joint of glue.
- Cure Time: Most glues reach handling strength in an hour but need 24 hours to develop full strength.
Setting Up Your Shop Adhesive Bond Testing Lab
You don’t need expensive gear. Your lab is already in your shop. Gather these items: off-cut scraps (use the same species for consistency), a few clamps, a simple bathroom scale, a small pry bar or stiff putty knife, and weights. For weights, use gallon jugs of water (about 8 lbs. each) or a bucket you can fill with sand.
I always make at least three identical test samples for any one variable. A single test is an anecdote; three give you a trend. This lets you compare, for example, glue A against glue B on the same piece of maple, all prepared and clamped the same way.
A reliable, manageable sample size is 3/4″ thick by 2″ wide by 6″ long. This gives you enough surface area for a meaningful glue line and enough length to clamp and test easily. Remember this golden rule: always run your test on scrap from the exact same board you plan to use for your project. Testing on poplar when your project is in white oak tells you almost nothing.
Adhesive Bond Testing Methods: The Shear Test
The lap joint shear test is the industry standard for a reason. It’s simple and tells you a lot. Take two of your sample pieces and glue a one-inch overlap at the ends. Clamp it squarely and let it cure fully.
For the DIY test, firmly clamp one end of the assembly to your workbench. Attach a bucket to the other end. Slowly add water or sand to the bucket. Keep adding weight until the joint fails, then weigh the bucket to find your failure point. This method clearly shows you the moment of failure.
Record two things: the weight at failure and, more importantly, *where* it failed. Did the wood break? Did the glue line let go cleanly? Did it peel? Now compare glues. You’ll find yellow PVA glue often fails with wood fracture on long-grain joints. Polyurethane (Gorilla Glue type) may be slightly stronger in pure shear but can be brittle. Epoxy’s performance heavily depends on the specific formula you use. That’s where an epoxy–polyurethane–PVA glue comparison helps. It highlights how different chemistries behave under identical tests across the same joints.
Testing for Tension and Cleavage: The Pry and Peel Tests
Cleavage is glue’s nemesis. To test it, glue a small block (2″x2″) firmly to the center of a larger base board. After it cures, slide your pry bar under one edge. Use your bathroom scale under the pry bar to see how much force it takes to pop the block loose. This test brutally exposes any adhesive that is strong but brittle. A flexible glue might hold longer as the block twists.
For a pure tension (pull-out) test, glue a 3/8″ dowel into a hole drilled in a block, ensuring only the end grain of the dowel is glued. You can pull on this with a hook and your bucket system. This simulates a failed chair rung. You will quickly see why gluing end grain directly is a notoriously weak joint. The glue soaks in and starves itself, leaving little material to hold.
These tests connect directly to shop failures. A table apron popping off from seasonal wood movement is a cleavage failure. A chair rung loosening is a tension failure on end grain. Your tests prove why good joinery, like a mortise and tenon, exists to convert those damaging forces into manageable shear forces on the glue line.
Why It Fails: Reading the Broken Joint
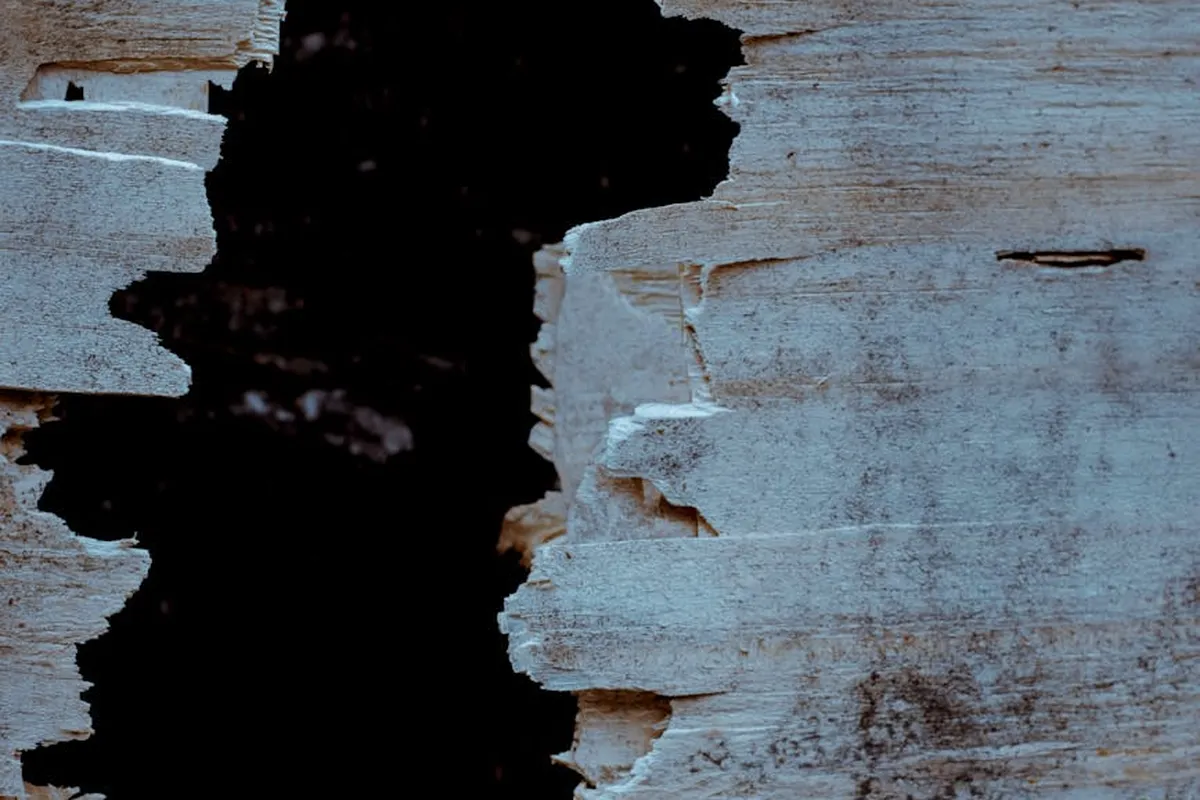
When a glue joint breaks, it tells you a story. The fracture surface is your first clue. Learning to read it turns a failure into free education.
Glue Starvation
This is a clean break. You’ll see a shiny, smooth glue line with no wood fibers attached. It looks like two pieces of plastic separated. The bond failed at the wood-glue interface.
This happens when not enough adhesive is applied to properly wet the surface, creating a weak mechanical link instead of a strong bond. Think of it like painting a wall with a nearly dry roller; you get spots of color but no uniform coat. For a reliable bond, the wood pores must be filled.
Clamping Pressure Issues
Here, the glue line is thick, rubbery, and uneven. You might find brittle beads of cured adhesive that squeezed out but didn’t fuse. The joint feels springy.
Too little pressure fails to push the glue into the wood’s microscopic valleys. Too much pressure starves the joint by forcing all the adhesive out. The goal is a continuous, thin bead of squeeze-out, not a river. A good rule is clamp pressure that lets you just barely slide a piece of paper between the joint before tightening.
Surface Contamination
The glue peels off in a sheet, leaving behind a perfectly clean wood surface. This is common with oily woods like teak or cocobolo, or when you’ve accidentally glued over dust, wax, or a finish. Sometimes a faint adhesive residue clings to the grain, and you may need to remove glue adhesive residue from wood to complete the cleanup.
The adhesive bonds to the contaminant, not the wood cellulose it needs for strength. For oily woods, wipe the joint with acetone or denatured alcohol right before gluing. For all woods, jointing or sanding just before assembly is non-negotiable. Adhesive strength varies with wood species and joint type, so the next steps will explore those factors. Understanding these variables helps you select the right adhesive and connection approach.
Moisture Mismatch
This failure is sneaky. The joint may hold initially but crack later. The wood itself tears, not the glue line. One piece cups or shrinks dramatically compared to its partner.
Gluing a wet board (say, 12% moisture content) to a dry one (6% MC) creates internal stress as they equalize. The wood moves, and the glue, now harder than the wood fibers, holds firm until the wood fibers around it rupture. Always acclimate and mill your stock to a consistent moisture content for your shop environment.
A Woodworker’s Best Practice Glue-Up Protocol
Consistency prevents surprises. Follow this workflow every time to make strong joints a guarantee, not a hope.
Step-by-Step Glue-Up Workflow
- Mill for Precision: Joint and plane mating surfaces flat and square. A perfect mechanical fit is 90% of a strong glue joint.
- Final Surface Prep: Sand or scrape surfaces just before gluing to expose fresh wood fibers. Blow off dust, don’t just wipe it.
- The Critical Dry-Fit: Assemble the pieces with clamps to verify fit and rehearse your clamping sequence. No glue allowed yet.
- Apply Glue Evenly: Use a brush or roller to spread a consistent, thin coat on both mating surfaces. You want full coverage, not puddles.
- Assemble and Clamp: Put the pieces together and apply clamps following your dry-fit rehearsal. Tighten evenly across the joint.
- Check Squeeze-Out: Look for that continuous, thin bead along the seam. Wipe off excess with a damp rag before it starts to gel.
Respect the Open Assembly Time
The clock on the bottle is a scientific limit, not a suggestion. Open assembly time is how long you can spread glue on the wood before closing the joint for good. Exceed it, and the glue starts forming a skin, preventing a deep, chemical cure. In a warm shop, this time shrinks. I set a timer.
Finding the Right Clamp Pressure
For most yellow (PVA) glues, proper pressure is about 100 to 150 psi at the joint. You don’t need a gauge.
Tighten clamps until you see a full, steady line of squeeze-out, then stop. If you see wood compressing or the joint buckling, you’ve gone too far. The squeeze-out should be the consistency of soft-serve ice cream, not watery milk.
Patience for Full Strength
Most glue reaches handling strength in 30 minutes but needs 24 hours to develop its full structural bond. That 24-hour rule assumes 70°F and 50% humidity, and adequate clamping time for adhesive curing has been observed.
Cold and dry conditions slow the cure dramatically; a joint can feel dry but still be brittle inside. In my unheated winter shop, I wait 48 hours before stressing a joint. Your project will wait. A failed joint won’t.
FAQ: DIY Adhesive Bond Strength Testing
1. Are these DIY shop tests scientifically valid?
Yes, when performed methodically. Controlling variables like wood species, surface prep, and clamp pressure creates a valid comparative framework. Your goal isn’t an absolute engineering value, but a reliable comparison to inform material and process choices.
2. How do I translate test results into a real project?
Use test failure modes to guide joinery design. If a glue shows cleavage weakness in testing, design your project’s joints to load the adhesive in shear. The test data directly informs which stresses your glued connection can reliably withstand.
3. Can I test a joint’s long-term durability at home?
You can simulate aging with accelerated tests. Subject cured samples to cycles of humidity and temperature in a sealed container, then re-test. A significant strength drop indicates poor environmental durability for that adhesive-wood combination.
4. Should I report the failure force in pounds?
Reporting the failure weight is useful, but the primary metric is the failure mode. Documenting “200 lbs with 80% wood failure” is more meaningful than “200 lbs” alone, as it confirms the adhesive is stronger than the wood substrate itself.
5. If my test shows 100% wood failure, is more testing pointless?
Not necessarily. Achieving wood failure confirms optimal bond for that specific test. Further testing remains valuable to evaluate the joint under different stress types (like cleavage) or to compare open assembly times and clamp pressures for process refinement. Understanding the physics of wood joints and the forces they transmit helps explain the results. Studying how joints respond to tension, shear, and bending informs process refinement.
Trust Your Test, Trust Your Glue
Your most reliable tool for a strong joint is not the fanciest clamp, but a simple test piece. A methodical test proves what works for your materials in your shop. It turns adhesive selection from a guessing game into a repeatable process. Let your scrap wood tell you the truth before you commit to the final assembly.
Understanding how materials interact is a core part of our craft. Seek out adhesives from companies that prioritize sustainable chemistry, and let that knowledge guide both your purchases and your projects for years to come.
Expert Resources and Citations
- Test adhesive strength yourself with your own equipment
- Adhesive Strength Tests: Common Methods & Analysis | Forza Built
- Glue strength testing
- How do we test the mechanical strength of adhesives? | MasterBond.com
- r/AskEngineers on Reddit: How do I quantify glue strength?
- Science Projects For Testing The Strength Of Glue – Sciencing
David is a veteran woodworker. He is now retired and stays in his cabin in Wisconsin which he built himself. David has 25+ years experience working in carpentry and wood shops. He has designed and built many small and large wood projects and knows the science behind wood selection like the back of his hand. He is an expert guide on any questions regarding wood material selection, wood restoration, wood working basics and other types of wood. While his expertise is in woodworking, his knowledge and first hand experience is far from 'woody'.