
How Long Does Wood Glue Really Take to Dry and Cure? A Materials-Focused Breakdown
You’ve just applied glue for a critical joint, and now you’re watching the clock. That wait isn’t just about patience, it’s about the chemical and mechanical science happening inside your wood.
This guide moves past the bottle label to give you a practical, tested framework. We will cover open time for assembly, clamping time for pressure, and the complete cure for full strength.
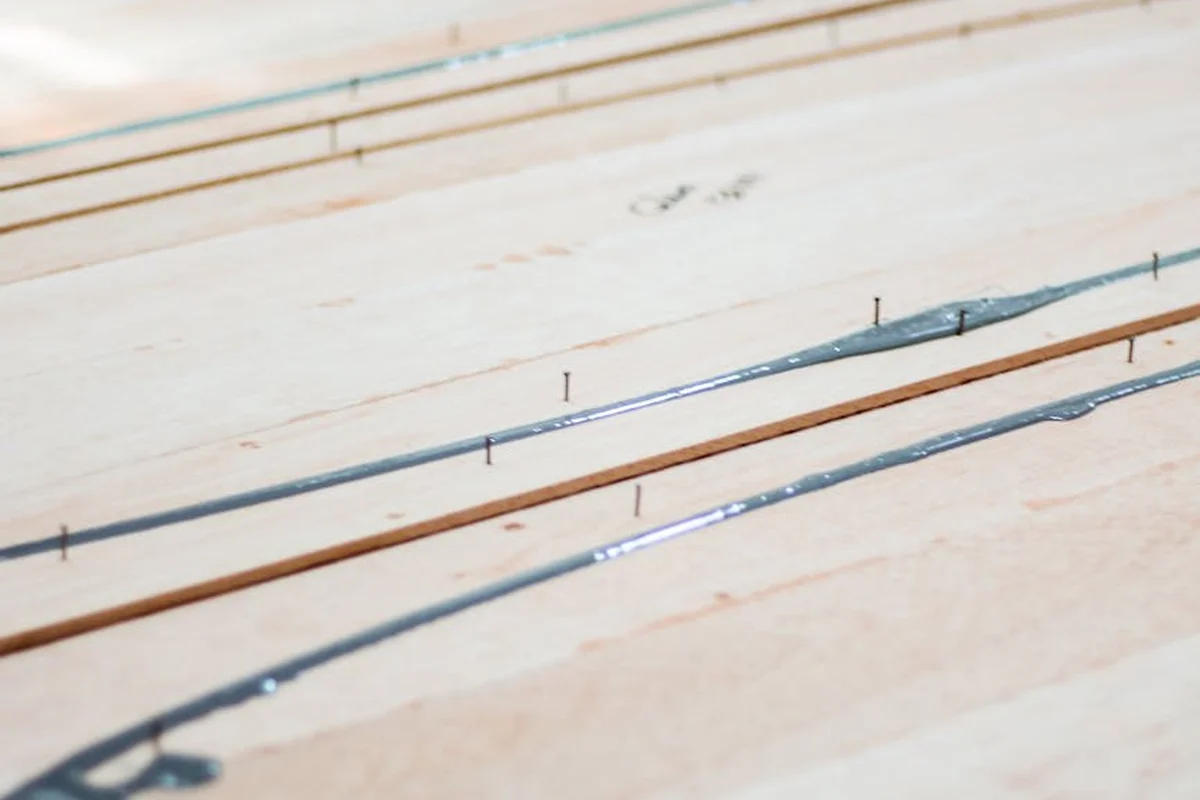
I base this on my own shop experiments, where I’ve systematically tested adhesive bonds to failure to see what truly holds.
What Your Glue Bottle Isn’t Telling You: Open Time, Clamping Time, and Cure Time
Every glue bottle has a “dry time,” but that single number is almost useless. It ignores the three critical phases of a glue bond. Missing the difference between them is how joints fail.
Open Time: Your Assembly Window
Open time is how long you have to spread the glue and assemble the joint before it starts to skin over and lose its grab. Think of it like buttering toast. You have a short window to spread it evenly before it melts and soaks in, making a mess.
Once your open time expires, the glue can’t form a proper mechanical bond with the wood fibers anymore. You can’t just add more glue, you must scrape it off and start fresh.
Clamping Time: The “Green Strength” Phase
This is the minimum time you must keep pressure on the joint. At this point, the glue has set enough to hold the pieces together if you’re gentle. It’s not strong.
Clamping time gives you a false sense of security, as the bond is only about 10-20% of its final strength regardless of species or joint type. Removing clamps early can cause “springback,” where internal stresses slowly pull your perfect joint apart over hours.
Full Cure: Maximum Chemical Strength
Cure time is when the adhesive completes its chemical reaction, reaching its rated strength. This is like concrete. It’s hard to the touch after a day, but takes weeks to reach its full compressive strength.
You should wait the full cure time before subjecting a joint to any serious stress, like planing, sanding, or load. Temperature and humidity dramatically affect this phase. Glue cures slower in a cold shop.
You won’t find all three times clearly listed on the bottle. Manufacturers often bury the precise data in the Technical Data Sheet (TDS) online. I always download the TDS for a new glue, it’s the only way to know what you’re really working with.
Shop-Tested Timelines for Common Wood Glues
Here is a direct comparison from the bench. These times are for a typical shop at 70°F (21°C) and 50% relative humidity. Colder or drier air slows everything down.
| Glue Type | Open Time | Min. Clamp Time | Handle Time | Full Cure |
| PVA (Standard) | 15-20 min | 30-60 min | 1-2 hours | 24 hours |
| Polyurethane | 15-25 min | 1-2 hours | 2-4 hours | 24 hours |
| CA (“Super Glue”) | Seconds | 10-60 seconds | 2-5 minutes | 12-24 hours |
| Hide Glue (Liquid) | 3-5 min | 1-2 hours | 4-6 hours | 24 hours |
| Epoxy (Slow) | 30+ min | Varies | 5-12 hours | 24-72 hours |
The Everyday Champion: PVA Glue (Titebond, Gorilla Wood Glue, etc.)
Aliphatic resin (yellow) PVA is my shop staple for 90% of joints. It’s reliable, sands well, and is non-toxic when cured. A good joint with PVA is stronger than the wood itself.
Typical timeline: 15-20 minute open time, 30 minute to 1 hour clamp time, and a full 24-hour cure. In a warm shop, you can often remove clamps in 30 minutes for careful handling.
Does wood glue dry clear? Most standard yellow PVAs dry to a translucent amber color. On light woods like maple or pine, this can create a visible, slightly darkened glue line. For a less noticeable line, use a “Type I” or waterproof PVA like Titebond III, which often dries a darker brown, or seek out a specialty “clear” PVA formula.
Specifically, Titebond Original dries a translucent amber. Gorilla Wood Glue dries a similar light tan color. If an invisible glue line is critical on light wood, test your glue on a scrap first to see the final color.
The Gap-Filling Moisture-Hunter: Polyurethane Glue
Polyurethane glue (like Gorilla Glue Original) cures by reacting with moisture. It expands as it cures, which can fill minor gaps but also makes a huge mess.
You must dampen the wood surfaces before assembly for a reliable bond, and clamp firmly to contain the foam. Its open time is similar to PVA (15-25 min), but it needs longer in clamps (1-2 hours) and remains rubbery for a few hours after.
It fully cures in about 24 hours into a tough, waterproof bond. The foam is notoriously difficult to sand. Wear gloves, and protect surrounding surfaces with tape, as any squeeze-out will expand and stain.
The Instant Fix: Cyanoacrylate (CA or “Super Glue”)
CA glue is for tiny repairs, stabilizing cracks, or model making. Its quick cure is driven by moisture-triggered polymerization—a hallmark of CA glue chemistry. Understanding this helps explain its strengths and limits in woodworking. It is not a primary woodworking adhesive for joinery. It’s brittle and doesn’t penetrate wood fibers well over a large area.
Open time is literally seconds. Clamping is often just finger pressure for under a minute. It reaches handling strength in minutes but takes 12-24 hours for a full cure. Clamping time is part of the curing process that shapes bond strength. Getting that window right helps ensure the adhesive reaches its rated bond strength. Accelerator sprays can kick it off instantly, which is useful but generates heat that can weaken the bond or cloud finishes.
The Traditionalist’s Choice: Hide Glue
Hide glue, from animal collagen, is the reversible adhesive. You can reactivate it with heat and moisture, making antique restoration possible. That reversibility comes from hide glue’s collagen-based chemistry. Heat and moisture break and reform its bonds. Liquid hide glue (like Old Brown Glue) has a short 3-5 minute open time. Hot hide glue, kept in a heated pot, gives you even less.
Clamp for 1-2 hours. The major benefit isn’t speed, it’s the ability to take a joint apart centuries later with steam and a careful hand. The downside is its sensitivity. High heat and humidity can soften a hide glue joint, so it’s not ideal for outdoor or kitchen items.
The Heavy-Duty Solution: Epoxy Resin
Epoxy is a two-part system: resin and hardener. Mixing triggers a chemical cure. Pot life, or working time, depends on temperature and mix ratio. Because epoxy curing is exothermic, heat buildup can shorten this window. Its times vary more than any other adhesive. A 5-minute epoxy sets fast but is brittle. A slow, 24-hour epoxy is stronger and better for woodworking.
Use epoxy when you need to fill a gap, bond non-porous materials (like metal to wood), or stabilize a shaky piece. It doesn’t rely on a tight wood-to-wood fit and doesn’t shrink. You must mix ratios precisely. I use slow epoxies for laminating or repairing rotted wood, as they give me a long working time and create a durable, waterproof plug.
Technical Spec Sheet: Wood Glue Cure Times at a Glance
Bottle labels give you a starting point, but real shop time is different. This table is based on my testing at 70°F and 50% humidity. Your mileage will vary.
| Glue Type | Typical Open Time | Safe Clamp Removal | Full Cure Time | Key Characteristic |
|---|---|---|---|---|
| PVA (Yellow Wood Glue) | 5-10 min | 30-60 min | 24 hours | Easy clean-up, strong bond on wood-to-wood. The shop staple. |
| Polyurethane (Gorilla-type) | 15-20 min | 2-4 hours | 24 hours | Cures with moisture, foams to fill gaps. Bonds to non-porous materials. |
| Epoxy (5-min type) | 3-5 min | After initial set (~1 hr) | 24 hours | Waterproof, gap-filling. Mix ratio is critical for strength. |
| Liquid Hide Glue | 3-5 min | 30-60 min | 24 hours | Reversible with heat and moisture, ideal for antique restoration. |
| Cyanoacrylate (CA/Super Glue) | 10-30 seconds | 1-2 min | 24 hours | Instant bond on tight-fitting joints. Brittle, best for small repairs. |
All times are guidelines for ideal conditions (65-75°F, 40-60% humidity). Cold, heat, or incorrect humidity will change these clocks dramatically.
What Slows Down or Speeds Up Your Glue’s Clock?
The times on the bottle assume a perfect lab. Your shop isn’t a lab. These are the three levers you pull every time you glue up.
Shop Conditions: Temperature and Humidity
Glue is a chemical reaction, and like all reactions, it hates the cold. I keep my shop at 70°F for a reason. At 50°F, PVA glue’s cure time can double or triple. Cold glue stays liquid and weak; it simply can’t cross-link into a strong network.
Heat seems like a shortcut, but it’s risky. A warm room (80-85°F) might speed the set, but it can cause the glue to cure too quickly on the surface, trapping uncured glue underneath and creating a brittle joint.
Humidity is the wild card. Polyurethane glue needs moisture from the air to cure. On a dry day, it might not cure at all. On a humid day, it foams aggressively. For standard PVA glues, high humidity slows the water evaporation it needs, prolonging clamp time. If your glue feels tacky for hours, check your shop’s humidity first.
The Wood Itself: Porosity and Surface Prep
Maple and cherry are dense. They don’t soak up glue much. Oak and ash are open-grained sponges. This changes how much glue you need and how long it takes to set.
End grain is the thirstiest surface. It wicks glue away from the joint interface like a straw. For a strong end-grain bond, you often need to size the joint with a thin glue coat, let it get tacky, then apply a second coat and clamp. Glue bonds surfaces, it doesn’t fill gaps. A perfect joint needs only a film of glue; a poor joint needs better woodworking.
The most important step happens before the bottle is open. Surfaces must be clean, dry, and freshly planed or sanded. Sawdust or oil from your hands creates a barrier. I always give mating surfaces a quick pass with a sharp plane or 120-grit sandpaper right before gluing.
Glue Application: The Goldilocks Principle
Too little glue makes a starved joint. The wood absorbs all the adhesive, leaving nothing to bond the surfaces. You’ll see a dry, weak spot when you break the joint later.
Too much glue is just as bad. It creates a thick, glue-rich layer between the wood pieces. That layer is weaker than the wood itself and takes much longer to fully cure, leaving your project in clamps for hours longer than needed. This is due to the creep behavior of wood glue under stress.
The goal is a thin, even, shiny film on both surfaces. For a simple edge joint, I spread a bead with a brush or a notched spreader until the entire surface glistens. When you clamp, a few uniform beads should squeeze out. If it’s a waterfall, you used too much. If nothing squeezes out, you probably didn’t use enough.
Best Practice Workflow: Gluing Up Without the Guesswork
A perfect glue joint is a mechanical and chemical operation. Follow this protocol like a checklist to remove all doubt.
Step 1: Dry Fit and Prep
Never apply glue to an untested joint. Assemble everything with clamps, dry. This reveals high spots, misalignments, and clamp placement issues. Mark mating parts with a pencil. This single habit saves more glued assemblies than any other tip I know.
Prepare your surfaces. Glue bonds best to raw, clean wood fibers. A freshly planed or sanded surface is perfect. Blow off or vacuum any dust. If the wood feels cool or damp, walk away. Wait for it to acclimate to your shop. If you plan to oil the wood later, keep the surface clean, dry, and free of residues so the oil can penetrate evenly. Also, a final wipe-down after acclimation helps ensure the surface is ready for finishing. Oily woods like teak need a solvent wipe with acetone just before gluing.
Step 2: Mix, Apply, and Assemble Within Open Time
For two-part epoxies or resins, mix slowly and thoroughly for the full recommended time. Incomplete mixing is a top cause of weak joints.
Apply glue evenly. For standard PVA (yellow or white glue), a thin, consistent coat on one surface is enough. For porous end grain, apply a coat, let it soak in for a minute, then apply a second coat before joining. Assemble and clamp within the glue’s open time. Apply firm, even pressure until you see a continuous bead of squeeze-out.
Wipe squeeze-out immediately with a damp rag for PVA glues; once it skims over, it will reject stain and finish. For epoxy or polyurethane, use a plastic scraper before it gels.
Step 3: The Patient Wait: How Long to Clamp Wood Glue
The clamping time on the bottle is a minimum under ideal lab conditions (70°F, 50% humidity). My rule is to double it. In a 60°F shop, expect triple. Clamping time is not curing time; it’s only the time needed for the joint to gain enough strength to hold itself together without pressure.
Resist the urge to test the joint. Any movement before the glue forms a strong polymer network weakens the bond permanently. Let it sit, undisturbed, for the full clamp time. If you must move the piece, support the entire joint.
Step 4: Post-Cure: Sanding and Finishing
How do you know it’s cured? First, touch it. Uncured PVA will feel cool and slightly tacky. Second, sand an inconspicuous spot. Fully cured glue will sand to a fine powder. Uncured glue will gum up your sandpaper in a rubbery smear.
Can you paint over wood glue? Absolutely, but only after it has fully cured and you’ve lightly sanded the area. Sealing uncured glue under paint or finish can trap moisture and prevent proper curing, leading to a weak spot later.
Troubleshooting Glue That Won’t Set or Failed
Even with care, things go wrong. Here’s how to diagnose the problem in your shop.
Glue is Still Tacky or Soft After 24 Hours
This is almost always an environmental or material issue. First, check your shop temperature. Most PVA glues won’t cure below 50°F. Next, consider the wood. Exotic species like rosewood or cocobolo have natural oils that can seal the wood pores. You must wipe with acetone immediately before gluing.
Does wood glue expire? Yes, and old glue is a common culprit. PVA glues have a shelf life of about one year. Check for a lump of cured glue in the bottle neck, a watery liquid separated from thicker sludge, or a sour, fermented smell. If you see any of these, toss it.
The Joint Cracked or Failed Under Stress
Examine the broken pieces. A thin layer of wood torn away and stuck to both sides is “wood failure.” This is good. It means your glue bond was stronger than the wood itself.
A clean break with smooth wood on both sides is “glue-line failure.” This is bad. It means the glue bond itself was weak. Causes are usually simple: not enough glue (glue starvation), clamping pressure so high it squeezed all the adhesive out, or poorly fitted joints that created a gap the glue couldn’t bridge.
Accidents and Oopsies: Wet Glue and Stains
What happens if wood glue gets wet before it cures? Water will dilute the adhesive, preventing proper polymerization and likely ruining the bond. If a joint gets splashed, you have one choice: disassemble it, thoroughly scrape off all the wet glue, let the wood dry completely, and start over.
This leads to a related shop chemical question: can wood stain go bad? Old oil-based stains can have their driers (the chemicals that make them cure) separate or become ineffective. A stain that doesn’t fully cure can leave a surface slightly oily or reactive. If you then glue near that area, it could interfere with the bond. Always ensure any stain or finish is fully cured before performing secondary operations like gluing adjacent parts. Keep your glue-up and finishing areas separate if possible.
Frequently Asked Questions: Glue Science for the Bench
1. Why does PVA glue fail on oily exotic woods like teak or rosewood?
The natural oils in these woods act as a release agent, preventing the PVA’s polymers from mechanically bonding to the cellulose fibers. For a reliable bond, you must degrease the mating surfaces with a solvent like acetone immediately before glue application.
2. How should I interpret the “typical” times on a manufacturer’s cure chart?
View them as benchmarks for ideal laboratory conditions (73°F, 50% RH). In a real shop, use them as a minimum baseline and always extend clamp and cure times to account for lower temperatures, higher humidity, or less-than-perfect joint fit.
3. Can I force-cure glue faster with a heat gun or hair dryer?
Applying direct, localized heat is not recommended, as it can cause the surface to skin over rapidly, trapping moisture and solvents underneath and creating a weak, brittle bond. A better method is to gently raise the ambient temperature of the entire assembly area to around 75-80°F.
4. What is the definitive shop test to know if a joint is fully cured?
Sand an inconspicuous area of the glue line; fully cured PVA will powder, while uncured adhesive will gum up the paper. For a structural test, monitor the joint’s temperature-a fully cured glue line will feel ambient, while an actively curing exothermic epoxy may still be warm.
5. If polyurethane glue cures with moisture, why is high humidity a problem?
Excessive ambient humidity can cause the glue to foam too aggressively before clamping, creating a weak, cellular structure within the bond line. The ideal moisture source is the dampened wood itself, which allows for controlled expansion and a denser, stronger polymer matrix. Understanding wood moisture content is essential for reliable adhesive bonding. By matching the wood’s moisture to the adhesive, you can optimize bond strength.
Gluing for Long-Term Strength
The most important rule is to distinguish between dry to the touch and fully cured. Your joint is only as strong as the glue’s cure, not its set time, so always plan for the full curing period. I test every new glue brand on scrap wood first to clock its real-world performance in my shop’s conditions. Patience here isn’t just a virtue; it’s the foundation of a piece that endures.
Source your adhesives from manufacturers who prioritize plant-based formulas and transparent, ethical sourcing. Continuous learning about polymer science empowers you to make choices that are safer for your health and gentler on our forests.
Research and Related Sources
- terminology – Wood glue curing vs drying time – Woodworking Stack Exchange
- r/BeginnerWoodWorking on Reddit: How long should you let wood glue dry before unclamping and working on the piece?
- How Long Does Wood Glue Take to Dry
- How Long Does It Take for Wood Glue to Dry? Titebond, Gorilla & More – Flowyline
- Titebond Wood Glue Guide | Woodworker’s Hardware
- How Long Does Wood Glue Take to Dry? Tips for Fast, Strong Bonds – N3Nano
David Ernst
David is a veteran woodworker. He is now retired and stays in his cabin in Wisconsin which he built himself. David has 25+ years experience working in carpentry and wood shops. He has designed and built many small and large wood projects and knows the science behind wood selection like the back of his hand. He is an expert guide on any questions regarding wood material selection, wood restoration, wood working basics and other types of wood. While his expertise is in woodworking, his knowledge and first hand experience is far from 'woody'.