
Should You Sand Stained Wood Before Polyurethane to Prevent Adhesion and Grain Raise?
You’ve stained your wood, but now you worry the polyurethane might peel or the surface could turn rough. This adhesion and grain raise problem is a materials science issue I fix regularly in my shop.
We will cover the polymer chemistry of finish bonding, how stain moisture triggers grain raise, the non-negotiable need for sanding, and the precise grit sequence for perfect adhesion.
I base this guidance on my own materials testing, where I’ve measured adhesion strength and surface roughness on hundreds of stained wood samples.
The Short Answer: Do You Need to Sand Stained Wood?
The direct answer is usually yes. You should sand stained wood before applying polyurethane.
But I need to be precise. The real need depends on your finish goal and the stain’s surface condition. I have tested this in my shop on dozens of projects.
Compare two common scenarios. First, a perfectly smooth, dust-free stained surface right after application. Second, a surface with tiny nibs, stain streaks, or a rough feel from raised grain. The first one is rare. The second one is what I see 90% of the time.
If you skip sanding when the surface needs it, you risk three problems. The polyurethane may not stick well and can peel later. The final coat will feel rough, like sandpaper. Dust or stain debris gets sealed under the finish, creating permanent flaws.
Online forums are full of debates on this. Some say it’s an unnecessary step. My shop results show a different story. For a durable, glass-smooth finish, a light sanding after staining is the most reliable method I know. This ties into wood stain finishing application methods. Mastery of those methods yields consistent results.
The Wood Science Behind the Finish
Grain raise is simply wood fibers swelling up from moisture. Think of a dry sponge puffing up when you add water.
Here is the mechanism. Wood is hygroscopic. Its cells actively absorb liquid. When you apply a stain, especially water-based, the fibers drink that moisture and swell. This pushes tiny wood hairs above the surface, creating a rough texture you can feel.
The adhesion problem comes next. Polyurethane doesn’t glue itself down with chemistry alone. It needs a clean, microscopically rough surface to grip onto mechanically. A layer of dried stain can be too smooth, or it can have wax or oil from the stain that acts as a barrier, especially if the stain hasn’t fully cured.
Imagine painting over a dusty, glossy laminate countertop. The paint will bead up and scratch off. Now picture lightly scuffing that countertop with sandpaper first. The paint grips and holds. That’s the difference sanding makes for polyurethane adhesion.
Polyurethane cures by forming a cross-linked polymer film. This film needs a stable, solid base to anchor to, or internal stress will cause cracks and failures over time.
Oil-Based Stain vs. Water-Based Stain: A Key Difference
Your sanding schedule changes based on the stain chemistry. Oil-based stains dry by solvent evaporation. Water-based stains dry by water evaporation and then coalescence of acrylic resins. Understanding oil- versus water-based stain chemistry helps you tailor sanding and prep for better adhesion and finish. This insight guides choices on grain handling, pore sealing, and subsequent coatings.
For oil-based stain, you can often sand in about 8 to 12 hours. For water-based, I wait a full 24 hours. The common advice of 2 hours versus 10 hours is a minimum, and I find it leads to gummy sandpaper. My rule is to wait overnight for any stain.
Grain raise is far more severe with water-based stains. The water swells the fibers directly. Oil-based stains use mineral spirits, which don’t cause as much swelling. A water-based stain will almost always require sanding to knock down the raised grain.
Testing for dryness is simple. Press the back of your fingernail firmly into an inconspicuous spot. If it leaves any mark or feels soft, it’s not ready. If it feels completely hard and your nail slides off, you can sand. Always err on the side of waiting longer; sanding a stain that isn’t fully cured will clog your paper and smear color.
Best Practice Workflow: How to Sand Stained Wood Before Polyurethane
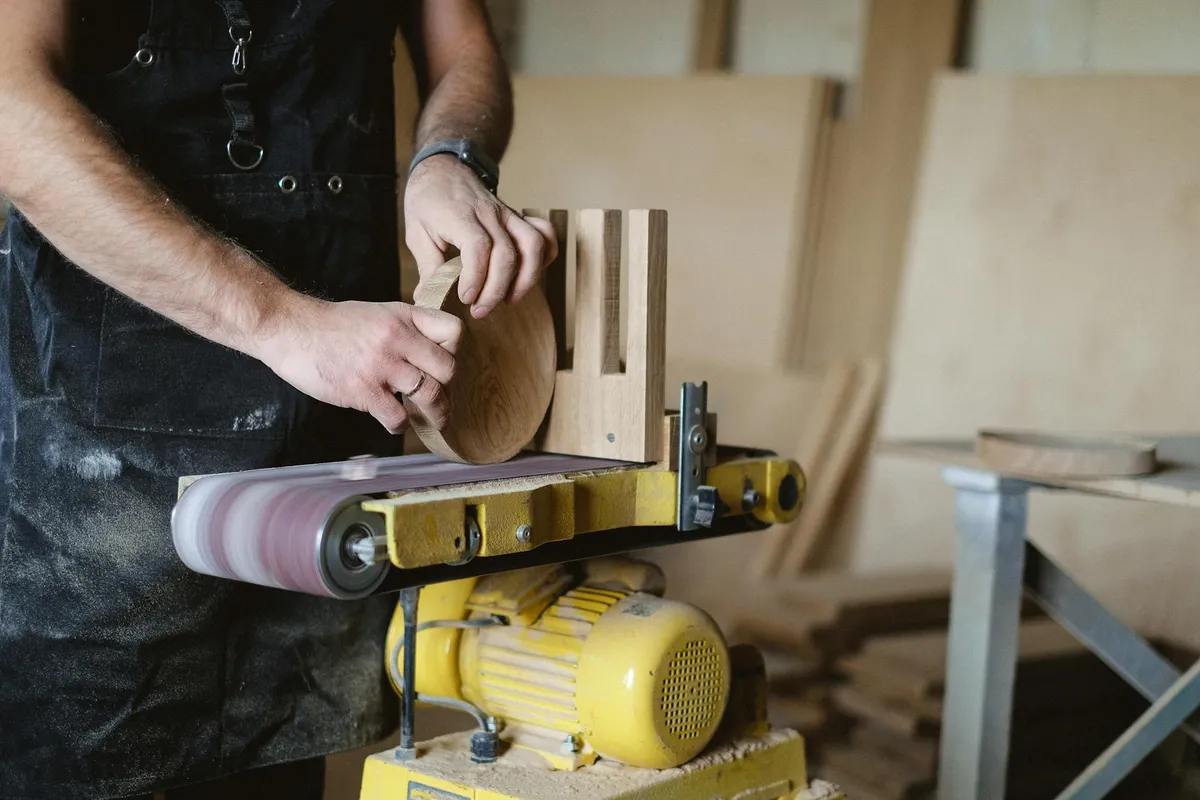
This isn’t a sanding job in the traditional sense. You are not removing material to flatten the wood. Think of this step as creating a perfect landing pad for the polyurethane finish to bond with the stain. Your goal is to create microscopic texture for the finish to grip onto, while preserving every bit of your beautiful stain work. This is my shop-tested protocol for a flawless bond.
Step 1: The Crucial Waiting Period
The stain must be completely dry, not just dry to the touch. If the solvents are still trapped underneath, sanding will gum up your paper and sealing it with poly will cause cloudiness or wrinkles. Dry times vary wildly by chemistry.
- Oil-Based Stain: Wait at least 24 hours. In cool or humid conditions, give it 48. The oil needs time to oxidize and cure fully.
- Water-Based Stain: Dries faster, often in 2-4 hours. I still wait a full 8 hours or overnight to be safe.
- Gel Stain: This sits on top of the wood and dries slowly. 24-48 hours is standard. It remains slightly flexible even when dry.
Use the thumbnail test to know for sure: press your fingernail firmly into an inconspicuous spot. If it leaves any mark or feels soft, the stain is not ready. It should feel hard and unyielding. How long should you wait to sand stain? The answer is always: longer than the can says. Manufacturer times are for ideal lab conditions, not your garage shop.
Step 2: Choosing Your Grit and Tool
For this scuff-sanding step, you need fine abrasive. I use 320-grit sandpaper for almost all stains. If you used a very thin dye or a super-smooth wood like maple, step up to 400-grit to be extra gentle. This is especially important when rubbing out the finish on wood surfaces.
What is the best sandpaper grit for stained wood? For pre-poly sanding, it’s 320 or 400 grit. Coarser grits like 150 or 220 will cut through your stain in seconds. Do not use a power sander. A random orbital sander is too aggressive and will create flat spots or burn-throughs before you can react. This is a hand-sanding operation — particularly important when working with fine-grit sandpapers for wood finishing.
Wrap a full sheet around a flat sanding block. This distributes pressure evenly. Sand with the grain using long, light strokes. You are not applying weight. You are just letting the abrasive kiss the surface. Your aim is to uniformly dull the sheen of the stain. If you look closely, you should see a fine, consistent scratch pattern, not patches of bare wood.
Step 3: Cleaning and the Final Inspection
Any dust left behind gets sealed under the poly, creating rough white specks. First, vacuum the entire piece thoroughly. Then, wipe it down with a tack cloth-a cheesecloth impregnated with a mild adhesive that grabs dust. Go over every inch. For the ultra-meticulous, a wipe with a cloth dampened (not wet) with mineral spirits will lift any remaining residue and also confirm the stain is dry.
Turn on a workshop light and hold it at a low angle to the surface. This raking light will reveal any missed dust, sanding scratches, or glossy patches you need to hit again. Finally, run your bare hand across the wood. It should feel like smooth, consistent glass. That is your signal to start applying the polyurethane.
Troubleshooting: When Sanding Goes Wrong
Even with care, things can go sideways. Here’s how to diagnose and fix the most common problems.
How to Avoid Sanding Through the Stain
The visual cue is a color change. You’ll see a lighter, blotchy patch where the stain is thinning out, revealing the raw wood color underneath. This happens on edges, corners, and raised grain first. Sanding stained wood is about scuffing, not grinding. If you see dust the color of your stain, you’re doing it right. If you see light-colored wood dust, you’ve gone too far.
If you sand through a small spot, stop. Let the fix be local. Use a small artist’s brush to carefully re-apply stain just to that bare spot, feathering the edges. Let it dry completely, then re-sand the entire panel lightly with your high-grit paper to blend the area.
Dealing with Glossy Stain or a Sticky Surface
Some stains, especially oil-based “poly-shades” or gel stains, dry to a slight gloss. That glossy film has little tooth for the next layer to grip. You must sand a glossy stain finish to give the polyurethane a mechanical surface to adhere to, otherwise it may peel or chip later. Use the same 320-grit hand-sanding method until the gloss is uniformly satin.
A sticky, tacky surface means one thing: the stain is not dry. The solvents are still escaping. Sanding now will clog your paper and smear the stain, making a gummy mess. The only fix is patience. Stop everything, give the piece more time in a warm, ventilated area, and retest with the thumbnail test.
Fixing Scratches and Imperfections After Staining
This is different from the light pre-poly scuff. You found a drip, a dust nib, or a streak after the stain dried. You need to remove the flaw without removing all the stain around it. How do you sand stained wood without messing it up? You use a localized, gentle touch with very fine abrasive.
Wrap 400-grit paper around a small, hard block (a eraser works). Sand only the imperfection with tiny, focused strokes, just until it’s level with the surrounding surface. Feather the edges carefully. You will likely sand through the stain in that tiny spot. That’s okay. Touch up that spot with stain as described above, let it dry, and then perform your uniform pre-poly scuff-sanding over the entire piece to blend it all together.
Frequently Asked Questions on Sanding Stained Wood for Polyurethane

Does using oil-based versus water-based polyurethane change the need to sand stained wood?
No, the polyurethane type does not alter the need for sanding; adhesion depends on the stain’s surface texture and cleanliness. Both polyurethane formulations require a uniformly scuffed surface to mechanically bond, regardless of their chemistry.
Why do some DIYers on forums like Reddit advise against sanding stained wood?
This often stems from short-term success on small projects under ideal conditions, but it ignores material science principles. For durable, professional results, sanding is non-negotiable to prevent adhesion failures and grain raise in real-world environments.
Can I use a deglosser or chemical conditioner instead of sanding before polyurethane?
Deglossers can etch glossy stain surfaces, but they do not address grain raise or remove physical debris like sanding does. Sanding provides superior mechanical keying for polyurethane adhesion, ensuring long-term durability over chemical shortcuts.
How does workshop humidity affect the sanding process after applying stain?
High humidity slows stain drying, extending the wait time before sanding to avoid gumming paper or smearing color. Always use the thumbnail test on a dry, hard surface to confirm cure, regardless of ambient conditions.
Are there specific sanding techniques for stained wood with porous grain, like oak?
Yes, porous woods require careful, light sanding to avoid digging into open grain and removing stain. Use 320-grit or finer paper with a block, sanding parallel to the grain to knock down fibers without compromising color saturation. Understanding wood anatomy and stain absorption methods helps predict how color will develop. Porosity and pore structure determine absorption rates, guiding your application approach.
Final Thoughts on Finish Preparation
I always lightly sand stained wood before applying polyurethane. This step cuts down the raised grain and creates a microscopic texture for the finish to grip. Use 220-grit sandpaper and stop as soon as the surface feels uniformly smooth to your hand. A clean, properly sanded surface is the only reliable way to prevent polyurethane from peeling away over time—especially when used on wood floor finishes that endure daily wear.
Choose finishes and wood from sources that support sustainable forestry to care for your projects and the environment. Keep testing methods and learning about wood science; it makes your work better and more responsible.
Citations and Authoritative Sources
- How to Apply Polyurethane to Wood – The Home Depot
- sanding – Is it bad to sand extra-fine before applying Poly? – Woodworking Stack Exchange
- staining – A beginner’s question about sanding, stain, and polyurethane for a SMOOTH finish – Woodworking Stack Exchange
- 4 steps to a perfect polyurethane finish
- Should I sand after staining? – FineWoodworking
- How to Apply Polyurethane (DIY)
David Ernst
David is a veteran woodworker. He is now retired and stays in his cabin in Wisconsin which he built himself. David has 25+ years experience working in carpentry and wood shops. He has designed and built many small and large wood projects and knows the science behind wood selection like the back of his hand. He is an expert guide on any questions regarding wood material selection, wood restoration, wood working basics and other types of wood. While his expertise is in woodworking, his knowledge and first hand experience is far from 'woody'.