
How Does Polyurethane Finish Alter Wood Color and Affect Stain Penetration?
You’ve probably seen a clear polyurethane coat change the color of your wood, and you’re right to wonder if it’s blocking your stain. I test finishes in my shop to answer exactly that.
Here, I’ll share the practical science from my bench. We will cover how polyurethane resins interact with wood, why they shift color perception, and the techniques for controlling stain absorption before sealing.
My background in materials science means I measure these changes, not just guess.
The Mechanism: Why Polyurethane Changes Wood’s Look
Polyurethane doesn’t just sit on wood. It becomes part of the wood’s surface. The finish starts as a liquid resin. Through a chemical reaction called polymerization, these resin molecules link into long, tough chains, forming a solid plastic film. This film is permanent.
This clear film changes how you see the wood by altering the path of light. Raw wood scatters light. A polyurethane coat creates a smooth, reflective surface that lets light penetrate more evenly before bouncing back to your eye. This enhances depth and contrast in the grain, often making the wood look richer. Think of it like a clear, slightly tinted window placed over the wood; you’re still seeing the wood, but the “glass” changes its appearance.
Wood is hygroscopic. It constantly absorbs and releases moisture from the air, which slightly swells and shrinks its cells. A polyurethane film seals the surface, slowing this exchange. A sealed, stable surface reflects light more consistently than a raw, breathing one, contributing to the visual change.
The wood’s grain structure dictates how the finish behaves. On open-grained woods like oak or ash, the liquid polyurethane fills the large pores. This creates a perfectly flat surface, darkening those deep pores because light gets trapped in them. On closed-grained woods like maple or cherry, the finish sits almost entirely on top, acting more like that pure window.
Polymerization and Light Interaction
Curing is not drying. Drying is solvent evaporation. Curing is the chemical cross-linking of polymers. An oil-based poly cures as its oils react with oxygen. A water-based poly cures as its acrylic polymers fuse together. A finish is only fully durable once cured, which can take weeks.
The base carrier gives each finish its starting color. Oil-based polyurethane uses linseed or tung oil and petroleum solvents, which have a warm, amber color from day one. Water-based poly uses acrylic polymers suspended in water, which starts nearly colorless. That inherent color of the liquid is the first factor in whether your finish warms up the wood or leaves it looking cool.
Wood as a Living Canvas
All wood changes color. Ultraviolet light breaks down lignin, the natural glue in wood. This photodegradation turns many woods, like cherry or maple, darker and richer over time. Walnut, conversely, can lighten. A finish modifies this natural process. Polyurethane filters UV light. An oil-based poly, which itself yellows, can accelerate a warm color shift. A water-based poly with UV inhibitors might slow the natural darkening of a wood like cherry, preserving its initial color longer.
Practical Color Shift: Does Polyurethane Darken or Yellow Wood?
Yes, polyurethane always changes wood’s color. The real questions are “how much?” and “in what direction?” I keep sample boards in my shop of maple, oak, and walnut, each with a strip of raw wood, oil-based poly, and water-based poly. The difference is not subtle.
Oil-Based Poly: The Amber Shift
Oil-based polyurethane adds an amber or honey-colored tint immediately. It then continues to amber and deepen, a process often called “yellowing,” over years. This isn’t a flaw; it’s a characteristic that many desire for a traditional, warm look. This tint directly darkens light woods and adds a warm glow to darker woods.
It also alters stain. If you apply an oil poly over a stain, the amber film combines with the stain color. A light gray stain can turn greenish. A cherry stain can become overly red. You must test the entire system.
In my shop, applying oil-based poly to maple creates a beautiful, warm honey tone I often can’t achieve with stain alone. On cherry, which naturally darkens to a reddish-brown, the oil poly accelerates and intensifies that process, sometimes making it too muddy for my taste if I want to see the pink undertones.
How Wood Species Reacts
The starting color of the wood is everything. On pale woods like maple, pine, or ash, the yellowing from an oil poly is very pronounced. On woods with a strong natural color like walnut, mahogany, or teak, the amber shift blends in, simply enriching the existing tones without a dramatic “yellow” effect. So, does clear polyurethane darken wood? On white maple, yes, noticeably. On dark walnut, it just adds a warm shine.
Water-Based Poly: The Clarity Promise
Water-based polyurethane is engineered for clarity. It adds minimal initial color, making it the choice for projects where you want to preserve the wood’s exact color, like on white-painted furniture or natural maple. However, “no color change” is a myth.
Even water-based poly can slightly darken wood. By filling pores and creating a smoother surface that reflects light more efficiently, it can make the grain look slightly richer and deeper. The effect is subtle compared to oil-based. The risk with water-based poly isn’t yellowing; it’s getting a cloudy, plastic-like film if you apply it too thickly or in humid conditions. Thin, sanded coats are key.
Testing for Your Project
Never skip this step. Your project depends on it.
- Take a cutoff or a sample of the exact wood for your project.
- Sand it through the same grit sequence you’ll use on the final piece.
- Apply your exact stain (if using) and let it dry completely.
- Apply your chosen polyurethane to half the board, following the planned number of coats.
- Let it cure fully for at least 48 hours.
Now, evaluate. Look at it in direct sunlight and under your home’s indoor lights. Color shifts can look different under LEDs versus halogens. This test board tells you the final color and reveals application problems before they ruin your work. This is the only way to know how your specific stain and poly combo will behave.
Stain Penetration: The Polyurethane Barrier Effect
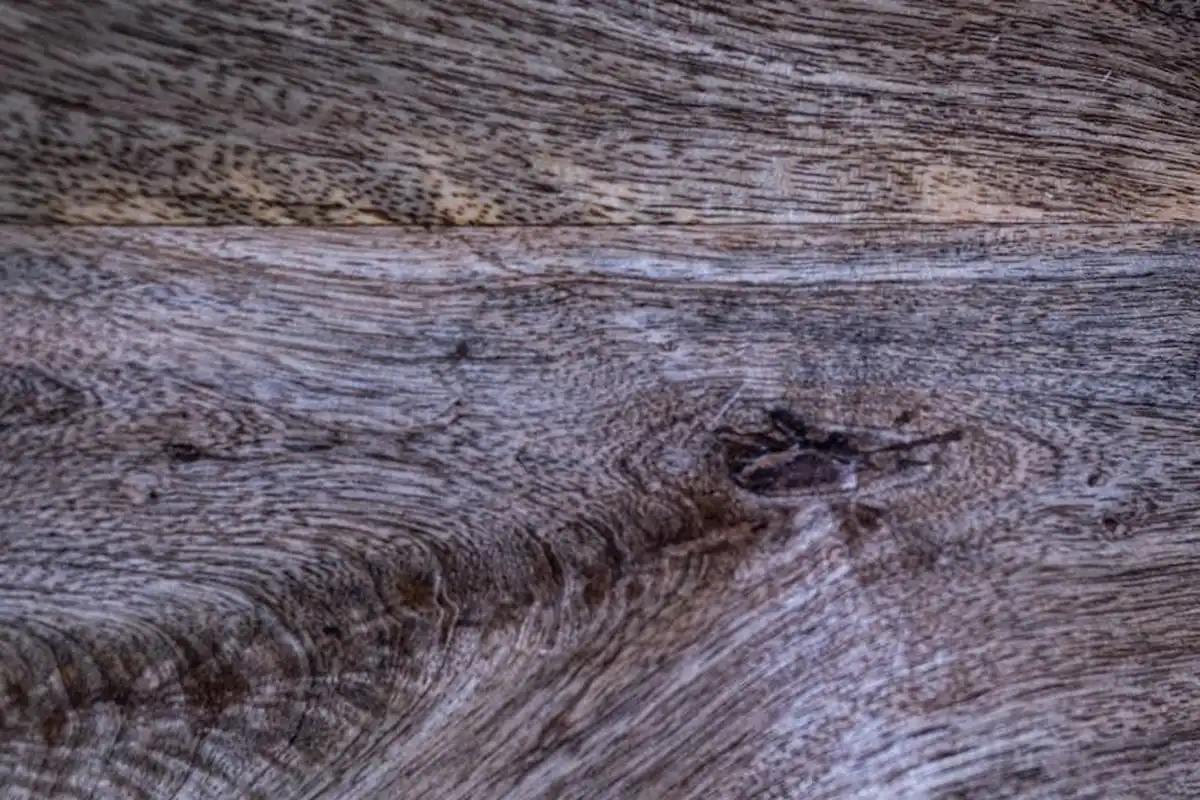
Polyurethane is a finish, not a stain. Think of it as a protective raincoat you put on after you’re dressed. The common confusion comes from seeing a freshly polyurethaned piece look different. Polyurethane affects the final color by sitting on top of the stain, not by letting the stain pass through it. It seals the stain in place, altering how light reflects off the surface. Coats of stain and polyurethane drive wood protection. Getting the balance between color and protection helps the finish wear well over time.
This leads directly to the FAQ: how does polyurethane finish affect stain penetration? The answer is simple. If you apply polyurethane first, it creates a non-porous plastic film. Stain cannot penetrate this film. The stain will just sit on top, become sticky, and wipe right off. For stain to work, it must soak into the raw wood fibers. This ties into the broader topic of wood stains chemistry penetration into the wood fibers. In the next section, we’ll explore what factors—solvent, pigment size, and binder—affect that penetration.
How Stain Works (And Where Poly Fits)
Stains add color through tiny particles. Pigment stains are like fine mud that lodges in the wood’s pores and sanding scratches. Dye stains are more like colored water, seeping into the wood fibers themselves. Both need open, untreated wood to work.
The golden rule is non-negotiable: stain first, let it dry completely, then apply polyurethane. I wait at least 24 hours, sometimes 48 for oil-based stains. Knowing the wood stain’s dry cure time matters for a smooth, tack-free finish. That’s why I plan the polyurethane application around those dry cure times. Rushing this traps solvents under the poly and creates a gummy mess.
So, does polyurethane darken stained wood? Usually, yes, but not by changing the stain. Think of it as placing a slightly tinted piece of glass over a painting; the colors look deeper and richer. Oil-based poly adds an amber tone, like a drop of honey in tea. Water-based poly is clearer but still adds a wet-looking layer that intensifies color. It’s an additive effect, not a chemical change.
The Finish Comparison: Polyurethane vs. Others
All film finishes sit atop your stain, but they interact with light and the surface differently. Oil-based poly builds a relatively thick, ambering film. Shellac is a natural resin that dries fast and adds a warm orange tint. Lacquer is a thinner, clearer film that can be sprayed on.
The physical film thickness and color shift change the final depth. A thick oil poly can make a light stain look antique. A thin coat of dewaxed shellac keeps the stain color truer. Lacquer sits somewhere in the middle for clarity.
Grain Raise and Surface Prep
After your stain is bone dry, you must sand lightly. Use a very fine abrasive pad or 320-grit sandpaper. Your goal is not to remove stain, but to knock down the raised grain. Water in the stain (even in some oil-based stains) causes wood fibers to swell. If you poly over this rough surface, you’ll seal in the roughness.
That trapped roughness feels sandy and looks cloudy under the finish. A quick, gentle sanding followed by a thorough tack-cloth dust removal creates a perfectly smooth base for the polyurethane to adhere to.
Real-World Examples: Stain Under Poly
Let’s take a dark walnut gel stain on red oak. The oak has open pores that hold dark pigment. When you apply an oil-based poly, the amber tone mixes with the dark brown. The result is a deeper, warmer, almost chocolate brown. The poly adds dimension.
Now, a light honey stain on pine. Pine stains unevenly, so you likely used a pre-stain conditioner. The final color is a pale gold. The same oil-based poly will add its amber tone directly to that gold. Your light honey piece will now have a richer, antique honey color. The poly didn’t change the stain’s penetration. It changed the light passing through the topcoat.
Best Practice Workflow: Controlling Your Final Finish
Predictable results come from a controlled process. This workflow makes the final color a choice, not a surprise. It answers the “does polyurethane darken wood” question before you even start by building the answer into your plan.
Step 1: Surface Preparation is Everything
Start with sanded bare wood. My go-to progression is 120-grit to remove mill marks, then 150-grit, and finally 180 or 220-grit for a smooth surface. Sanding to a finer grit can actually burnish the wood and limit stain penetration. I stop at 180 for species like oak or ash that I want to accept a lot of stain. The right sanding sequence is crucial for proper stain preparation.
Remove every speck of dust. Use compressed air to blow out pores, then a vacuum, followed by a final wipe with a lint-free cloth dampened with mineral spirits (for oil-based) or water (for water-based). This shows you the true color of the raw wood and picks up any last dust.
Step 2: Staining for Depth
Apply your stain liberally with a brush or cloth. Let it sit for 5-15 minutes (check the can), then wipe off all the excess with clean rags, working with the grain. The longer it sits, the deeper the color. Uneven wiping is the number one cause of blotchiness and dark spots.
On soft, blotch-prone woods like pine, maple, or cherry, I always use a pre-stain wood conditioner. It partially seals the grain so stain penetrates more evenly. Let the stain dry fully. “Dry to the touch” in one hour is not the same as “cured enough for topcoat.” I give it a full day in a warm, dry shop.
Step 3: Applying the Polyurethane Topcoat
For oil-based poly, I use a high-quality natural bristle brush. For water-based, a synthetic brush. Wipe-on poly is just regular poly thinned with mineral spirits, applied with a rag for a thinner, smoother coat. Spraying gives the most professional, dust-free result but needs equipment and ventilation.
Thinning your first coat by 10-20% with the appropriate solvent helps it flow out smoothly and penetrate any tiny gaps. Sand lightly between coats with 320-grit paper or a brown abrasive pad to remove dust nibs and ensure a mechanical bond for the next coat. Remember, dry time is a few hours. Full cure time, when it’s truly hard, is about 30 days. Don’t put your project into heavy service until it’s cured.
Troubleshooting Discoloration
If you see dark, blotchy spots after the poly goes on, the problem usually happened earlier. Causes include:
- Incomplete stain wipe-off in some areas.
- Dust or moisture contamination on the stained surface before applying poly.
- Using a dirty brush or rag that had dried finish or other chemicals on it.
The fix is to let the poly harden completely, then sand the discolored area back down to bare, clean wood. You may need to re-stain that small section, let it dry, and then re-apply your polyurethane coats, feathering them into the surrounding finish.
The Final Checklist
Run through this list before you open the stain can:
- I have tested this exact stain and poly combination on a scrap piece of the same wood.
- My workspace is warm, well-ventilated, and as dust-free as possible.
- All my stains, conditioners, and topcoats are from the same family (oil or water) or are confirmed compatible.
- I have all my tools: sandpaper, tack cloths, clean brushes, rags, and mineral spirits for cleanup.
The wood species and your stain choice dictate 90% of the final color; the polyurethane is the final 10% that adds depth, warmth, and protection. Control the 90%, and the 10% becomes a powerful tool, not a mystery. Understanding wood stain finishing application methods—brush, wipe, or spray—can further tailor the final look.
Polyurethane Finish: Color and Stain FAQ
1. If I want the truest stain color, should I use oil-based or water-based polyurethane?
For minimal color alteration over your stain, use a water-based polyurethane. Its nearly colorless film acts as a clearer window than the inherent amber tint of an oil-based finish, which will warm and shift your stain color.
2. What happens if I apply polyurethane before the stain?
The stain will fail to penetrate and will not adhere properly, creating a sticky, blotchy mess that wipes away. Polyurethane forms a non-porous barrier that seals the wood, so stain must always be applied to raw, unsealed wood first. If you’re starting with wood that’s already stained, a quick sanding to remove the old finish helps the new stain penetrate evenly before you seal with polyurethane.
3. Why should I use a pre-stain conditioner if I’m sealing with polyurethane anyway?
A pre-stain conditioner controls initial, uneven stain absorption into the wood fibers, preventing blotchiness. The polyurethane then seals that stabilized color in place; it cannot correct unevenness that has already occurred within the wood. For best results, use a wood conditioner before applying polyurethane to promote a more even base for the sealant. This extra step helps ensure a smoother, more uniform finish.
4. Does the “dry time” versus “cure time” of polyurethane affect the final color?
While the core color is set once the finish is dry to the touch, a polyurethane film continues to harden and subtly amber (if oil-based) over its full cure period of several weeks. The color you see at 48 hours may deepen slightly over the next month.
5. Which provides a more minimal color change: polyurethane, shellac, or lacquer?
For the least color shift, a thin coat of dewaxed shellac or clear lacquer typically alters the wood’s hue less than a standard polyurethane film. Water-based poly is the best polyurethane option for clarity, but all polyurethanes build a more substantial plastic layer that affects light reflection.
Final Considerations for Stain and Finish
Your most reliable tool for perfect color is a scrap of your actual project wood. Always test your full finish sequence-stain, then polyurethane-on a sample board first to see the true final color. Oil-based polyurethane will add a warm amber tone, while water-based versions stay clearer but can sometimes cool the wood’s hue. This predictable interaction is not a flaw, but a material property you can plan for and use to your advantage.
Choose finishes and wood from suppliers committed to sustainable forestry, and maintain your finished pieces with simple, non-toxic cleaners. The true craft lies in continuously observing how these materials behave, long after the project leaves your shop.
Research and Related Sources
- Are you supposed to put polyurethane on wood that was stained? – Quora
- Polyurethane and Wood Stain with Flooring: How to Apply
- How to Apply Polyurethane to Wood – Angela Marie Made
- Using Polyurethane 1 hour after staining. | Sawmill Creek Woodworking Community
- PolyShades – Oil-Based Stain & Polyurethane Finish | Minwax®
- Polyurethane peels off waterbased stain | LumberJocks Woodworking Forum
- r/woodworking on Reddit: Newb Applying Poly Over Stain-Advice?
David is a veteran woodworker. He is now retired and stays in his cabin in Wisconsin which he built himself. David has 25+ years experience working in carpentry and wood shops. He has designed and built many small and large wood projects and knows the science behind wood selection like the back of his hand. He is an expert guide on any questions regarding wood material selection, wood restoration, wood working basics and other types of wood. While his expertise is in woodworking, his knowledge and first hand experience is far from 'woody'.