
How Do You Safely Remove a Stripped Wood Screw Without Damaging the Grain or Structure?
You’re looking at a ruined screw head, fearing that any removal attempt will splinter the wood or weaken the joint. I face this often in my shop, and the solution lies in treating the wood as carefully as the fastener.
We will cover the material science behind why screws strip, how to select tools based on wood density and grain direction, and my proven, step-by-step extraction methods.
I base these techniques on removing countless stripped screws while documenting how different woods respond to stress and force.
Diagnosis: Why Is This Screw Stuck?
A screw can be stuck for two completely different reasons. Each demands a different fix. You must diagnose correctly to avoid making the problem worse.
The first is a stripped head. The driver bit chews up the recess in the screw’s head. Your tool spins freely but can’t transmit torque to turn the screw body. The second is a seized screw body. The head is fine, but the screw’s threads are locked in the wood. You apply force, but nothing moves.
Shop-Floor Signs of Trouble
Look for these clear indicators:
- A driver bit that spins with no “bite” or resistance.
- A Phillips “star” pattern that’s rounded into a smooth circle.
- A hex socket that’s now a perfect, useless round hole.
- A slotted head where the slot walls are widened and galled.
A stripped head is a tooling problem, while a seized body is a friction or material problem. A screw bound by wood glue or severe corrosion acts like it’s welded in. If the head looks perfect but won’t budge, even with significant downward pressure, the body is likely seized. For a task like removing a stripped screw from a door knob, you’re almost always dealing with a stripped head from repeated, careless driver use.
Common causes include:
- Wrong Driver Bit: Using a worn or incorrect size bit is the top cause. A #2 Phillips in a #3 head will cam out and destroy it.
- Overtightening: This can both strip the head and compress wood fibers so hard around the threads they fuse.
- Corroded or Glued Threads: Moisture causes rust, locking threads in place. Excess wood glue acts like a powerful adhesive.
- Cross-Grain Stress: Wood moves seasonally. A screw driven across expanding or contracting grain can be bent and pinched, making it impossible to back out.
Here’s a simple two-step test. First, look closely. Is the drive recess deformed? Second, feel the torque. With firm downward pressure, does the driver bit slip immediately (stripped head) or does it feel solid but utterly stuck (seized body)?
Lab/Shop Requirements: Your Extraction Toolkit
Having the right tools ready turns a crisis into a procedure. Gather these items before you start.
- Rubber Band: A thick, wide band. This is for the simplest hack.
- Locking Pliers (Vise-Grips): Essential if any screw shank is exposed.
- Manual Impact Driver: The best tool for seized screws. It combines a hammer blow with rotation to break threads free.
- Screw Extractor Set: A small, reverse-threaded drill bit. It bites into the stripped head when turned counterclockwise.
- Left-Handed Drill Bits: These drill counterclockwise. Often, the drilling action alone will back the screw out before the extractor is needed.
- Rotary Tool (Dremel): With a cutting wheel, you can cut a new slot for a flat-head screwdriver.
- Center Punch: To make a precise starting dimple for drilling.
- Cordless Drill/Driver: For powering drill bits and extractors. Use a variable speed trigger for control.
Never work on metal without eye protection. Safety gear is non-negotiable. Wear safety glasses, an N95 mask to avoid inhaling fine metal dust, and shop gloves to protect your hands from sharp edges and tool vibration.
Shop staples include locking pliers, a cordless drill, and safety gear. A manual impact driver is a wise, permanent investment. Specialty purchases for rare, tough jobs are left-hand bits and a dedicated screw extractor set. When choosing tools, it’s important to understand the differences between hand tools vs power tools.
When to Skip the Specialty Tools
Always start with the least destructive method. Your first move depends on the screw’s condition.
If the head is only slightly rounded, try the rubber band trick. Place a thick rubber band over the stripped head, then press your driver bit firmly into it through the band. The rubber fills the voids and can provide enough grip. This method works about 30% of the time on Phillips heads with minor damage. It rarely works on severely stripped or Torx heads.
For a screw with a protruding shank, locking pliers are your best friend. Clamp them onto the shank as tight as possible and turn counterclockwise. This mechanical grip is far more reliable than any trick trying to engage a damaged head.
The common “remove stripped screw reddit” advice of using a hacksaw to cut a slot works, but only if you have room. It’s messy. I prefer using a rotary tool with a cutting wheel for more control, minimizing the risk of scratching the surrounding wood—much like when removing a broken wooden dowel pin for a cleaner finish.
Skip straight to the manual impact driver for any screw you suspect is seized by rust, glue, or cross-grain pressure. Its sudden, jarring force is designed to break that bond. Save the drill bits and extractors for when the head is too damaged for anything else to grip, or when the screw head has sheared off completely.
The Removal Protocol: Start Gentle, Escalate Carefully
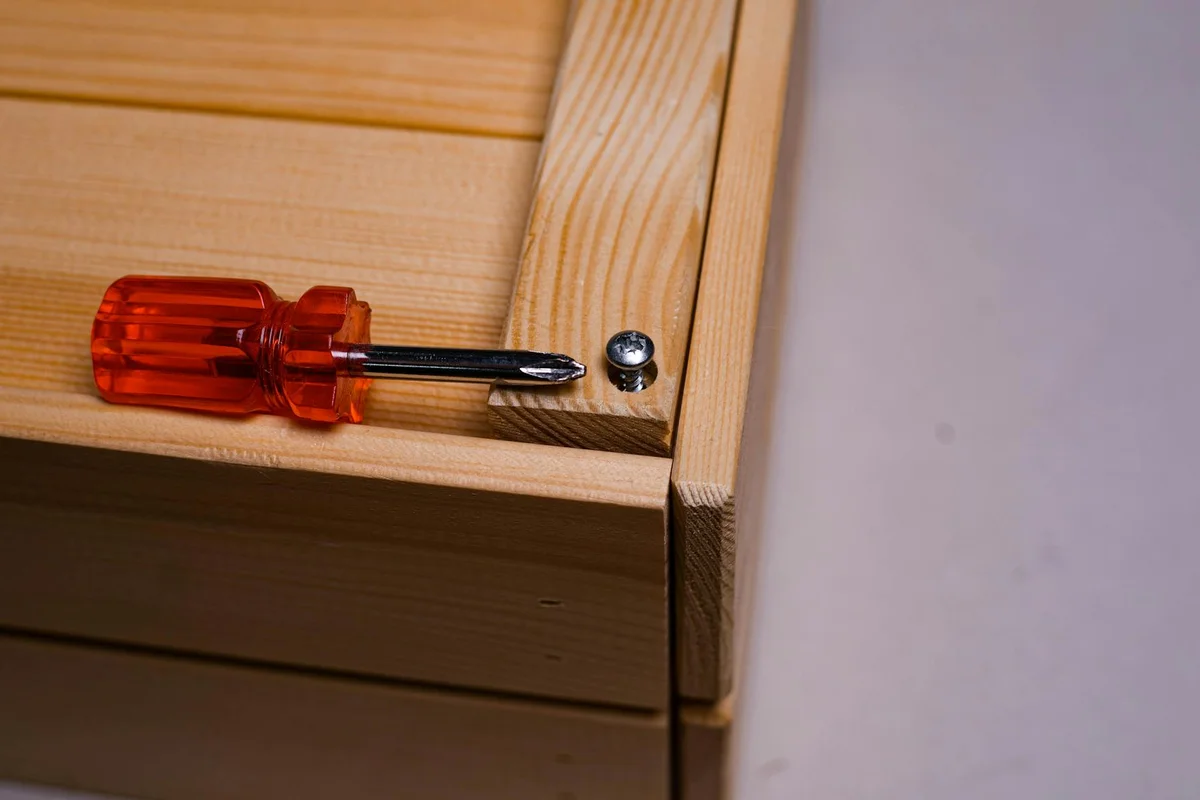
Think of a stripped screw like a sprained ankle. You don’t start with surgery. You try rest, ice, and elevation first. Your goal is to apply the minimum effective force. Jumping straight to the most aggressive tool often turns a small problem into a major repair.
Follow this sequence. If one method fails, move to the next. Patience here saves your project’s surface and structure.
Method 1: Grip Enhancement for Proud Screws
If the screw head is even slightly above the surface, you have options. The goal is to increase friction between your driver bit and the damaged recess.
First, try a thick rubber band or a piece of latex glove. Lay it over the screw head and press your driver bit in hard. The elastic material can fill the voids in the stripped pattern and provide enough bite for a slow, steady turn. For more grip, use a dab of valve grinding compound from an auto parts store on your bit. Its gritty paste bites into the metal.
When the head is clearly exposed, locking pliers (Vise-Grips) are your best friend. Protect the wood grain first by applying 2-3 layers of painter’s tape around the screw head. Clamp the jaws of the pliers tightly onto the screw’s shank or head. Turn slowly, letting the tool’s mechanical advantage do the work. The tape prevents the hardened steel jaws from crushing the wood fibers around the screw.
Method 2: Cutting a New Drive Pattern
When the head is flush or recessed, you must create a new way to grip it. A rotary tool with a cutting wheel is precise and controllable.
For a standard slot, use a thin cutting wheel to score a straight, deep line across the screw head. You now have a flathead screw. Use the widest blade screwdriver that fits the slot to turn it out. For more torque, cut two intersecting lines to create a square or hex pattern for a corresponding driver bit.
For tiny screws in electronics or furniture hardware, the principle is the same, but the scale changes. Use a magnetic parts mat or a piece of tape folded sticky-side-out to catch every metal speck. A single stray chip can short a circuit. Use very light pressure with the rotary tool to avoid heat buildup, which can damage sensitive components or melt surrounding plastic.
Anecdotal Evidence: The Dremel Dilemma
I once had to remove a stripped #10 screw from an oak table leg. I used a rotary tool to cut a slot. On my first pass, I focused so hard on the screw I let the tool tilt. The edge of the cutting wheel scored a faint arc into the oak. It was a permanent reminder. On softwoods like pine, the surrounding wood is so much softer than the screw that a slip will gouge a significant crater. On hardwoods, the difference is less, but a errant cut is still glaring. The fix is simple: go slow, brace your hands, and consider making a small masking tape guide around the screw head to protect the surface.
Method 3: Mechanical Extraction
When the screw is truly stuck, you need tools designed for failure. A manual impact driver is a brilliant tool. You hit its end with a hammer, and it converts that downward force into a sharp, twisting motion. This sudden jolt breaks the screw’s friction bond with the wood, which steady pressure cannot. It works because static friction (what’s holding the screw) is greater than kinetic friction. The impact overcomes the static grip instantly.
Screw extractor kits are the definitive solution. They work in two stages. First, you drill a perfectly centered pilot hole down into the screw shaft. The drill bit size must match the extractor size called for in the kit, usually around 60-70% of the screw’s head diameter. Then, you insert the tapered, left-handed flute extractor. Set your drill to its slowest speed and reverse. As the extractor bites, it applies upward force while unscrewing. The key is steady, moderate pressure. Forcing it can snap the brittle extractor in the hole, creating a nightmare.
The true last resort is to drill off the screw head completely with a bit slightly larger than the screw’s shank. Once the head is gone, you can remove the workpiece, grip the remaining stud with pliers, and back it out. This only works if the screw body is not bearing critical structural load.
Restoration and Future Prevention
Getting the screw out is only half the job. Now you must restore the wood and ensure it never happens again.
Repairing the Hole: A Materials Science Approach
The right repair depends on the hole’s purpose. For a finish nail hole or a non-load-bearing screw, a color-matched wood filler is fine. For any hole that will hold a new screw, you need structural integrity.
That means a glued hardwood dowel. Drill out the old hole cleanly to the next common dowel size (e.g., 1/4″, 3/8″). When plugging a hole in a tabletop, you must align the dowel’s grain direction with the table’s grain. Wood moves across its grain, not along it. A dowel plugged into end grain (like the edge of a board) with its own grain running perpendicular will eventually crack or push out as the main board expands and contracts. For maximum strength, grain should run parallel. Dowels are often used in joinery to strengthen connections between pieces of wood.
For irregular cavities or where the wood threads are destroyed, a two-part epoxy putty is ideal. It fills gaps, bonds tenaciously, and can be drilled and tapped once cured. This is the same principle used to anchor bolts in concrete, adapted for wood. In woodworking, epoxy versus super glue is a common comparison. Epoxy handles large gaps and voids; super glue excels at quick, tight joints.
Preventing the Next Stripped Screw
Stripping is almost always a user error, not a tool failure. Prevention is straightforward.
Bit selection is critical. A Phillips bit is not the same as a JIS (Japanese Industrial Standard) bit, though they look similar. Using the wrong one cams out immediately. Ensure your hex driver is the exact size; a worn or undersized bit will round out the socket.
Apply torque slowly. Let the cutting threads of the screw pull it into the wood. If you force it, the driver bit spins in the head before the screw turns in the wood. Hardwoods like maple and oak demand this care.
Pilot holes are not optional. They clear a path for the screw’s core, reducing the torque needed to drive it. This dramatically lowers the chance of stripping the head or splitting the wood. The pilot hole diameter should match the screw’s shank diameter, excluding the threads.
Finally, consider screw quality and design. Cheap screws have soft heads that strip easily. Modern screws with aggressive threads (like Spax or GRK types) often have specially designed drive systems (Torx, Square) that transfer torque more efficiently than old Phillips heads, making them a smart upgrade for demanding projects.
Stripped Screw Removal: Materials & Method FAQs
Why do methods like the rubber band trick often fail on severely stripped screws?
The rubber band relies on elastic deformation to fill voids in a damaged drive recess, increasing friction. On a severely rounded head, the contact angle is too shallow for the rubber to generate sufficient torsional grip against the hardened steel.
How should I approach a stripped screw in a delicate device like a laptop or MacBook Pro?
Prioritize precision and contamination control: use a high-quality, exact-fitting driver bit and a manual, controlled tool to avoid transferring shear force to the motherboard. For a fully stripped head, a micro-extractor set or carefully cutting a new slot with a rotary tool is preferable to impact methods that can damage internal components or brittle plastic.
What’s the critical difference when removing a stripped screw from concrete versus wood?
Concrete is a friable, abrasive composite that demands carbide-tipped drill bits to penetrate the screw without blunting, and the extraction force must avoid spalling the surrounding matrix. The principles of overcoming thread friction remain, but the tooling and risk of substrate damage are fundamentally different from working with fibrous wood.
Can I use a standard screw extractor set on the small, hardened screws found in door hardware?
Only if the extractor size matches the screw’s diameter; most general-purpose sets are too large for typical hinge or knob screws. For these small, often case-hardened screws, a left-handed drill bit sized to the screw’s shank is more effective, as the drilling torque can often back it out before full extraction is needed.
When is the correct time to drill off a stripped screw head entirely?
This is a last-resort structural decision, used only when the screw’s shank is not bearing critical load and the surrounding wood can accept a dowel or plug repair. It mechanically decouples the fastened piece, allowing removal so the remaining stud can be accessed and gripped with locking pliers.
Respecting the Material: A Final Word on Screw Extraction
The most critical lesson is patience. Rushing a stuck screw almost guarantees damage to the wood around it. Start with the gentlest method, like a rubber band for added grip, and only escalate to more invasive tools like a screw extractor or chisel when necessary. The right tool for the specific situation preserves both the grain and the wood’s strength. Your first goal is always to save the workpiece, not just the fastener. The same patience applies to removing metal fasteners from wood. Be mindful of the grain, and work slowly to avoid chipping or splitting.
Consider the lifecycle of your materials. Choosing a high-quality screw for the next installation is a sustainable act, preventing future waste and repair. Every challenge in the shop, even a frustrating stripped screw, deepens your practical understanding of wood as a living, responsive material. Similarly, when you plan joints, consider selecting and applying wood adhesive—it’s a key part of a durable, sustainable build. The right adhesive and application can strengthen joints and extend the life of the project.
Related Guides and Information
- r/DIY on Reddit: How to remove a stripped screw from wood
- How To Remove Stripped Screws in 16 Different Ways | Shop4Fasteners
- how to remove stripped screws – DoItYourself.com Community Forums
- removal – How to remove screws with stripped heads? – Home Improvement Stack Exchange
- How To Remove A Screw With A Stripped Head: Expert Tips
- How to Remove a Stripped Screw
- How to Remove a Stripped Screw and How to prevent them!
David is a veteran woodworker. He is now retired and stays in his cabin in Wisconsin which he built himself. David has 25+ years experience working in carpentry and wood shops. He has designed and built many small and large wood projects and knows the science behind wood selection like the back of his hand. He is an expert guide on any questions regarding wood material selection, wood restoration, wood working basics and other types of wood. While his expertise is in woodworking, his knowledge and first hand experience is far from 'woody'.