
How Do You Repair Water Damage on Wood? A Materials Science Guide for Woodworkers
Water stains and swollen wood feel like permanent mistakes. I treat them as predictable material failures you can fix with the right science.
This guide provides my shop-tested methods for complete restoration. We will cover the chemistry behind different stain types, proven techniques to reverse cellular swelling, and a systematic approach to finish repair.
I base these steps on my own material testing, where I damage samples on purpose to find what truly works.
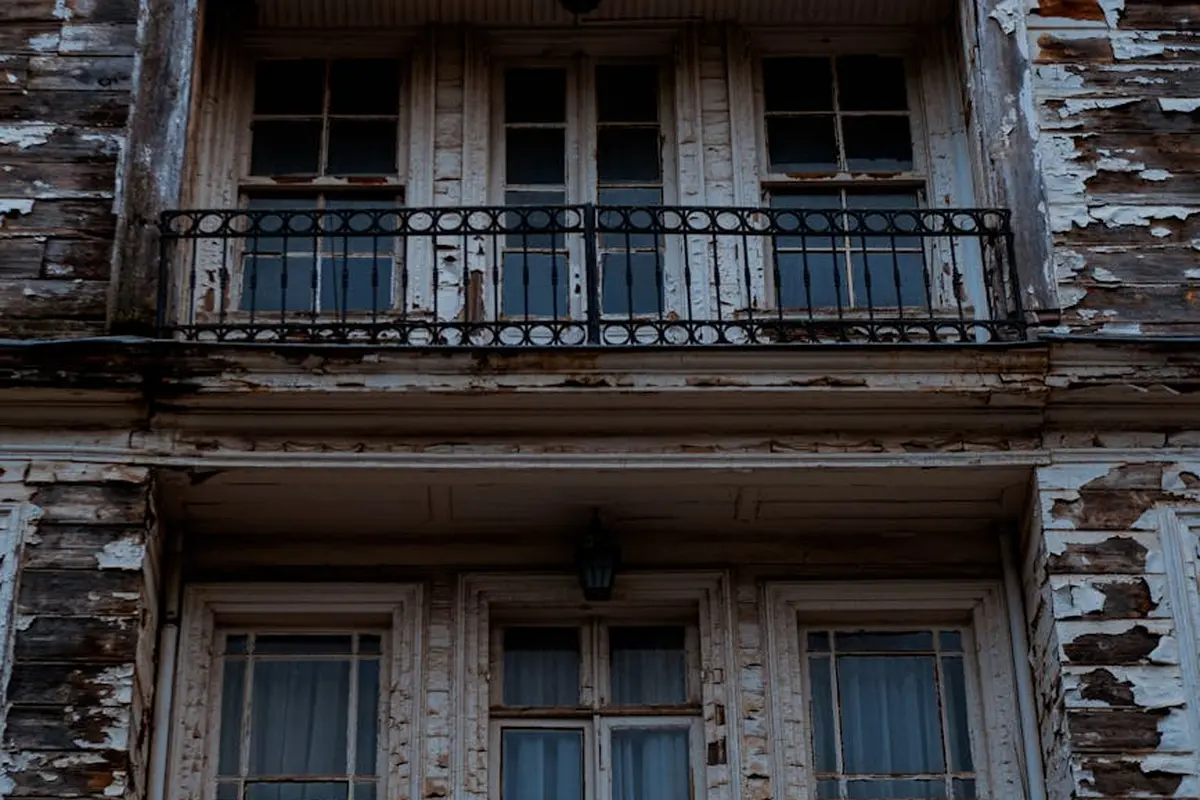
What Kind of Water Damage Do You Have?
Before you grab a sander, figure out what you’re fighting. Water attacks wood in three main ways, and you often get a mix.
The Three Main Problems
White Rings or Cloudy Blotches. This is finish damage, not wood damage. Moisture gets trapped *under* a film finish like lacquer or varnish, scattering light. The wood underneath is usually fine.
Dark Black or Gray Stains. This is in the wood. It’s often a reaction between water, the wood’s natural tannins, and sometimes metal (like a pot bottom). The stain penetrates the fibers.
Swelling and Warping. The wood itself has absorbed water and expanded. You feel raised grain, doors that stick in their frames, or tabletops that are no longer flat.
Your “Touch and Look” Diagnosis Guide
Run through this quick check. Your fingertip and a good light are your best tools.
- Look for color: Is it a white haze or a dark stain? White means finish. Dark means wood.
- Touch the surface: Is it smooth or rough? Rough, raised grain means swelling.
- Check the shape: Does a drawer stick? Does a door not close? This is swelling warping the piece.
- Press on it: Does the area feel soft or spongy? This is severe, long-term damage where fibers are breaking down.
Start with the gentlest fix for the symptom you see. Sanding is always the last resort.
Door vs. Table: A Repair Strategy FAQ
The repair approach changes completely based on the piece’s job.
For a wood water damaged door that swells and sticks at the edges, the core issue is swelling. You can’t easily sand a door’s locked edge in place. The fix is environmental. Run a dehumidifier in the room or point a fan at the door. Give it days or weeks to dry and shrink back. Only *after* it’s dry and stable should you lightly sand the binding edge and reseal it with finish.
For a wood table top with a white ring or dark stain, the surface is accessible. You’re dealing with a finish or surface wood issue. A white ring might buff out with a rag and abrasive paste. A dark stain may need a targeted chemical treatment or careful sanding and refinishing of just that spot. The flat surface makes localized repair possible, especially for heat stains on wood tables.
Why Water Wrecks Wood: The Shop Science
Knowing *why* this happens tells you how to fix it. Wood isn’t a solid block. It’s a bundle of tiny straws.
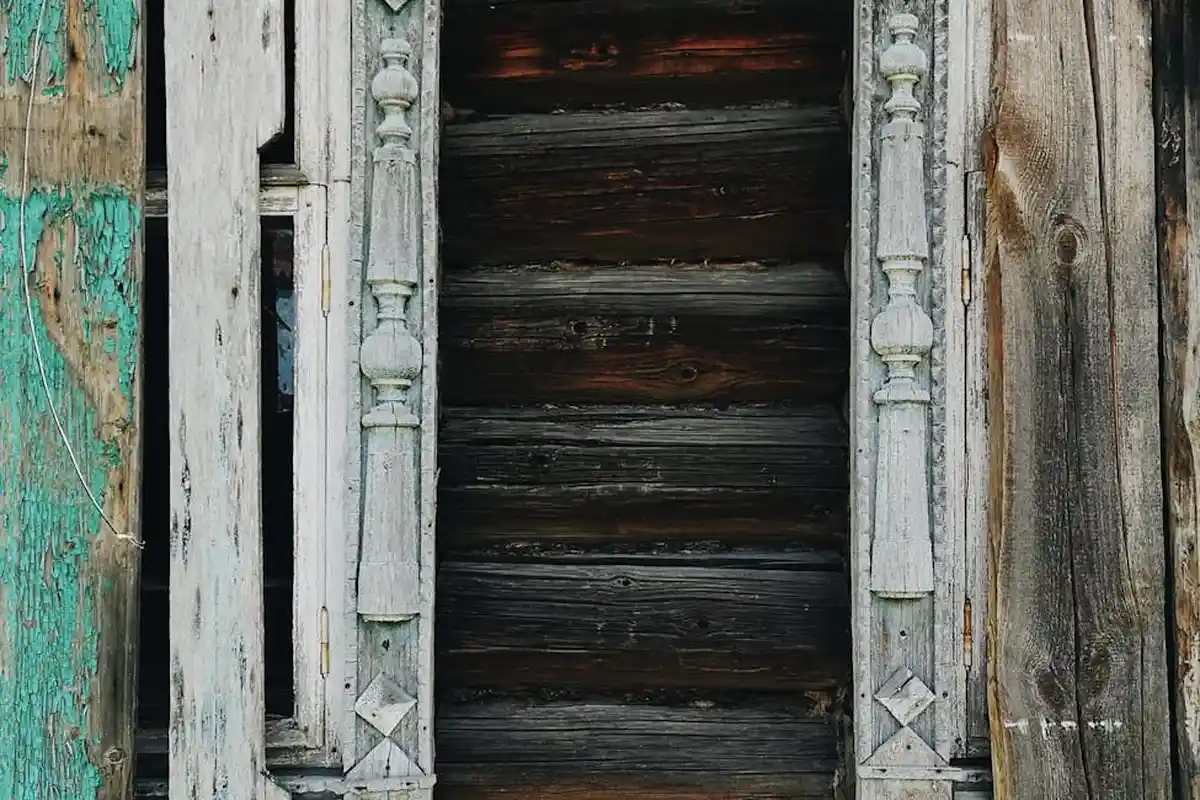
Wood is a Hygroscopic Sponge
Wood cells absorb and release moisture from the air. Think of them like microscopic sponges. When the air is humid, the sponges swell as they soak up water vapor. When the air is dry, they shrink as they release it. This is why your cabinet doors stick in summer and loosen in winter.
This constant movement never stops, and liquid water supercharges the process on one spot, causing uneven stress.
How Swelling Becomes Permanent Damage
When a wood sponge swells, it pushes against its neighbors. If it swells too much, the flexible cell walls crush and buckle. They can’t spring back. This is called plastic deformation. I’ve seen it in my shop when clamping over-wet wood; you get a permanent, corrugated texture.
This is why a swollen door doesn’t always return to its original shape after drying. The fibers on the swollen edge have been physically crushed and deformed.
The Chemistry of Stains: White vs. Dark
These two common stains have completely different causes.
A white ring is simple physics. Water vapor penetrates tiny pinholes in a film finish and gets trapped. It forms a layer of tiny droplets that scatter light, like fog on a window. The wood is fine. Fixing it means either dissolving the finish to let the moisture out (with heat or alcohol) or filling the foggy layer with new finish.
Dark stains are a chemical reaction. Water acts as a carrier. It pulls natural tannins (abundant in woods like oak, cherry, and walnut) to the surface. If an iron source is present (from a nail, a metal can, or even some tap water), the tannins react with the iron to form iron tannate. This is a blue-black dye, the same stuff used in old-fashioned ink. The stain is now inside the wood fibers.
Your First Move: How to Dry Wood Properly
Time is your biggest enemy and your most powerful tool. The goal isn’t just to get the surface dry, it’s to equalize the moisture content of the entire piece with the room’s humidity. Rushing this is how you create cracks, or checks.
For a wood floor after a leak, you need aggressive, strategic drying. Start by pulling up any wet area rugs. Then, check if water has seeped under the baseboards. I often pop off a short section in the wettest area to peek. If the subfloor or back of the boards are wet, you need airflow underneath. Use fans to blow air across the surface and a dehumidifier to pull moisture from the room’s air. Point fans at angles to create a cross-flow, don’t just aim them straight down.
Contrast that with a soaked tabletop. Forced air can dry the top too fast, causing it to shrink while the core is still swollen. This leads to severe cupping or cracking. I let these dry slowly at room temperature, sometimes even placing a loose sheet of plastic over it to slow evaporation for the first 24 hours. It’s a more gentle, patient approach.
I have seen the damage a heat gun can do. Applying direct, localized heat forces water deep within the wood cells to vaporize and expand rapidly. This creates internal pressure that the wood structure cannot handle, resulting in splits along the grain. Let ambient air movement do the work, not concentrated heat.
Fixing Swollen Wood That’s Warped or Proud
Swelling is wood’s physical reaction to water. The cellulose fibers absorb moisture and expand, primarily across the grain. Your repair strategy depends entirely on what has swollen and by how much.
Let’s say you have a wood floor with cupped boards, where the edges are higher than the centers. The most critical step happens before you even touch a sander. You must dry the floor completely, from the top and bottom, as described above. Often, as the moisture content equalizes, the cupping will reduce significantly on its own. Only after the wood is fully acclimated should you assess if sanding is needed to flatten the high edges. Sanding a still-wet floor is a temporary fix at best.
A swollen drawer front that won’t close is a common frustration. The wood has expanded across its width, making it too large for its opening. Forcing it can break the joinery. Dry it thoroughly first. Once dry, it may shrink back close to its original size. If it remains proud, you can often fix it by carefully planing or sanding the swollen edge that’s making contact. I use a hand plane set for a very fine shaving, working slowly and testing the fit frequently.
You can sometimes use the principle of bending wood with water in reverse. For a slightly warped cabinet door, I’ve had success by dampening the concave side with a wet cloth. This causes those fibers to expand, gently pushing the warp flat. I then clamp the door between two flat cauls and let it dry completely. This is for minor corrections, not severe twists.
The hard truth is that not all damage can be fixed. If the wood has swelled so much that the fibers are physically crushed or torn, that distortion is permanent. If the swelling has broken glue joints beyond simple regluing, the structural integrity is gone. When the core material is compromised, no amount of sanding or clamping will restore it. In those cases, careful replacement of the damaged section is the only professional answer.
Removing Water Stains from Wood
Water leaves two main types of stains on wood: white rings and dark black or gray spots. They are different problems and need different fixes. White rings are almost always moisture trapped in the finish itself, while dark stains are a chemical reaction between water, iron, and the wood’s natural tannins. Knowing how to remove water stains from wood furniture can save finishes and restore your piece. The method you choose will depend on whether you’re dealing with white rings or dark stains.
Best Practice Workflow
Always start gentle and escalate only if needed. This prevents unnecessary damage to the finish.
- Clean and Dry: Wipe the area with a dry cloth. Let it sit for 24 hours in a dry room. Many white rings will vanish on their own.
- Try a Mild Abrasive: For persistent white rings, use a paste of mineral oil and finely powdered pumice or a dedicated finish restorer. Buff gently with the grain.
- Apply Controlled Heat: If abrasives fail, use the “iron method” for white rings (detailed below).
- Chemical Treatment: For dark stains, use a wood bleach like oxalic acid. This is the last resort before sanding.
Home Remedies for White Rings (The Honest Truth)
I’ve tested these in the shop. Their success depends entirely on the finish type and stain depth.
- Mayonnaise or Toothpaste: These are mild abrasives (like baking soda in toothpaste) suspended in oils. They can sometimes polish out a very shallow white haze. Efficacy rating: 2/10. It’s messy and rarely works on a true, deep white ring.
- The Iron Method: This is the most reliable home fix. The science is simple: heat drives the trapped moisture out of the finish. Place a thin, dry cloth (like a cotton handkerchief) over the stain. Set a clothes iron to a low, dry heat (no steam). Briefly press the iron onto the cloth, checking every 5-10 seconds. Stop immediately if you see the finish start to soften or gloss over. Efficacy rating: 7/10 for lacquer and shellac finishes. It rarely works on modern polyurethane.
Fixing Dark Stains with Oxalic Acid
Dark stains are in the wood, not the finish. Oxalic acid is a specific bleach that breaks the bond between the iron and tannins. You must remove the finish first.
- Safety First: Wear goggles, gloves, and a respirator. Work in a ventilated area.
- Prepare the Wood: Sand the stained area lightly with 220-grit sandpaper to open the grain. Remove all dust.
- Mix and Apply: Dissolve oxalic acid crystals in warm water (follow package directions, often a 1:10 ratio). Using a brush, apply the solution liberally to the dark stain and let it dry completely. It will often crystallize on the surface.
- Neutralize: This is critical. Mix a solution of water and baking soda (2 tablespoons per cup). Wipe this over the bleached area to neutralize any remaining acid. Let it dry.
- Final Prep: The wood will be raised and fuzzy. Sand it smooth with 220-grit paper before reapplying any stain or finish.
Can you sand out water stains?
Sometimes, but you must know what you’re dealing with.
Sanding works if the stain is on the surface of raw, unfinished wood. A few passes with a sanding block will remove a shallow stain, especially when removing stains from wood furniture.
Sanding fails in two common ways. First, if the dark stain has penetrated deep into the wood, you would need to sand away so much material you’d create a dish-shaped depression. Second, if the piece has a finish, sanding just the stained spot will leave a noticeable, uneven divot where you broke through the original finish film. You are often better off bleaching a deep stain and then sanding the whole surface evenly for a uniform result.
Repairing the Finish After the Damage is Fixed
Once the wood itself is clean, dry, and smooth, you can address the finish. Your approach depends on how much of the original finish is left intact.
Spot-Repair vs. Full Refinishing
Use this simple guide to decide.
- Spot-Repair: Choose this if the damage is small (like a cup ring) and the surrounding finish is in excellent condition. You are only fixing a local blemish.
- Full Refinishing: Choose this if the damage is large, the finish is alligatored or flaking, or if your spot-repair attempts look obvious. This means stripping or sanding the entire surface and applying a new finish from scratch.
Spot-Repair Techniques Compared
Each method has its place in the shop.
- Rubbing Out Blushing: If the finish has a white haze from moisture, you can sometimes polish it out. Use a very fine abrasive paste (like 0000 steel wool with mineral oil or a commercial rubbing compound). This polishes the surface of the finish to remove the top layer where moisture is trapped. Test in an inconspicuous spot first.
- Using a French Polish Pad: This is a superb technique for blending small areas in shellac or lacquer. You charge a pad with finish and use a circular, then straight, polishing motion to melt new finish into the old. It takes practice but is the best way to build up a finish invisibly.
- Applying a New Topcoat: For a small, sanded spot on a polyurethane or varnish piece, you can carefully brush on a new coat. The trick is to “feather” the edges. Apply the finish to the bare spot, then use a nearly dry brush to blend the new finish out into the old. It may take two or three thin coats.
The Golden Rule: Fix the Wood First
This is the step everyone wants to skip. Don’t. Applying any finish over a water stain or swollen wood is a guaranteed failure. The stain will still show through, acting as a blotchy pre-stain. Wood surface prep sets how the stain will absorb into the grain. When prep is thorough, the wood takes stain evenly and the finish bonds cleanly. Swollen fibers will eventually shrink, cracking the new finish layer from underneath. Always get the substrate perfect first.
Can you stain over water stains?
No. The answer is an emphatic no.
Here’s why. The water-damaged area has undergone a physical and chemical change. Its pores are either clogged with stain compounds or its absorbency is altered. When you apply a new stain, the damaged area will absorb the stain color at a completely different rate than the surrounding healthy wood. The result is not a uniform color, but a dark, blotchy patch that perfectly outlines the original water damage, making it look even worse. You must remove the stain from the wood first, then stain the entire piece uniformly. That’s about the chemistry of stain penetration—how pigments and solvents move into wood pores. Depth of penetration explains the color variation you see.
Material-Specific Repair Strategies
Your repair plan depends entirely on what got wet. The core difference lies in the material’s structure.
Solid wood is a network of long, intact cells. Engineered wood is a matrix of chopped-up fibers and adhesive. Water attacks them in fundamentally different ways, so your repair philosophy must change, too.
Think of solid wood like a bundle of straws; you can drain and refinish the surface. Engineered wood is more like a sponge; once it swells, its internal structure is compromised.
Solid Wood (Tables, Floors)
With solid wood, you’re working on the actual material, not a thin skin. This gives you options. The general process is to remove the damaged material, then rebuild the surface.
For dark water stains, you often need to sand down past the stain. For white haze or cloudy spots (called “blushing”), the moisture is trapped in the finish itself. Sometimes a new coat of finish will re-melt and absorb the old one, fixing the issue.
For deep, black stains that sanding can’t reach, wood bleach is your next tool. I keep a two-part oxalic acid crystal mix in my shop. You dissolve it in warm water, apply it to the stain, and let it dry. It chemically breaks down the tannin-based stains. You must then neutralize the area with a baking soda and water solution before sanding lightly and refinishing.
Cost for DIY here is mostly your time and materials: sandpaper, bleach, and finish. For a pro to refinish a solid wood tabletop, you’re looking at a few hundred dollars, depending on size and damage. For a full floor, it jumps into the thousands. The DIY savings are significant if you have the tools and patience.
Engineered Wood (Plywood, MDF, Particle Board)
Here, water is often a death sentence. The problem is swelling. When the wood fibers in MDF or particle board absorb water, they expand. The glue bonds holding them together break. Even if you dry it, the swollen, brittle material won’t shrink back to its original shape. Moisture adversely affects adhesive bonding in wood, leading to failures in such composite materials.
Once the core of an engineered panel swells, the structural integrity is gone. You’re not repairing wood anymore; you’re dealing with failed glue.
For veneer plywood with a swollen edge, you have one last-ditch fix. I’ve had marginal success by carefully slicing the bubbled veneer with a sharp razor, injecting wood glue underneath, and clamping it flat with a caul and wax paper. Then, I use a clothes iron on a low setting over the wax paper to reactivate the veneer’s own adhesive. It’s a salvage operation, not a guarantee.
For particle board or MDF in furniture, especially where structural screws hold, replacement is the only reliable path. The material loses its screw-holding power once compromised. I don’t waste time trying to resurrect a swollen particle board shelf; I trace it, cut a new one from stable plywood, and move on.
Keeping Water Damage From Happening Again
Repair is reactive. The smarter move is proactive protection. This starts with your finish choice.
A finish is a shield. Film-forming finishes like varnish, lacquer, and polyurethane create a continuous, plastic-like barrier on top of the wood. Water beads up and sits on the surface, giving you time to wipe it away. I use these for tabletops, kitchen projects, and anywhere spills are likely.
Penetrating oils like tung or linseed oil soak into the wood fibers and harden from within. They feel great and look natural but offer minimal surface protection. In oil finishes for wood furniture, you typically apply thin, even coats and wipe away any excess. For a coffee table, an oil finish is an invitation for ring stains. I reserve oils for decorative pieces or areas that will get frequent re-oiling, like a butcher block I maintain myself.
Simple habits are your next line of defense. Use coasters. Wipe spills immediately-don’t let water sit. Control your home’s humidity with a dehumidifier or humidifier to keep it between 35% and 55%. This minimizes the wood’s natural expansion and contraction, reducing stress on finishes.
The best prevention happens in the wood selection and preparation stage. Using stable, properly kiln-dried, and acclimated wood for your projects is the ultimate hack. Wood that has already moved to equilibrium with your shop’s environment is far less likely to warp or crack dramatically if it gets wet. It’s the foundation everything else is built on.
Water Damage Repair FAQ
What factors determine the cost to repair water-damaged wood?
Cost is driven by material type, damage extent, and labor intensity. Repairing solid wood is often cost-effective DIY, while replacing swollen engineered wood or professionally refinishing large floors is a significant investment.
Can a water-damaged wood door be repaired if the panel is swollen, not just the edge?
A swollen solid wood panel can often be dried and sanded flush if the joinery remains intact. For a swollen engineered wood panel, however, replacement is typically required as the core material loses structural cohesion.
When is sanding a water-damaged wood floor not a viable fix?
Sanding fails if the boards have cupped severely, as you would sand through the wear layer, or if the subfloor is compromised. It also cannot fix widespread staining that has penetrated deeper than the board’s usable thickness.
Is it ever worth repairing water-damaged particle board or MDF?
No, it is rarely structurally sound. These materials fail via adhesive breakdown and fiber swelling, which permanently destroys dimensional stability and screw-holding power, necessitating part replacement.
What is the most protective finish to prevent future water damage?
A high-build, film-forming finish like polyurethane or marine varnish provides the best barrier. Penetrating oils offer minimal surface protection and require more vigilant maintenance against spills and stains.
The Core Principle of Water Damage Repair
The most critical factor is speed. Water damage is a race against the clock to prevent a surface stain from becoming a structural rot. Your systematic approach-addressing the stain, managing the swelling, then perfectly restoring the finish-saves the wood’s integrity. By acting quickly and methodically, you convert a potential disaster into a repairable, and often invisible, flaw.
Every repair reinforces a deeper respect for wood as a living, responsive material. Choosing sustainably sourced materials and durable finishes for your projects is the first step in preventing future damage, honoring both your craft and the resource itself.
Deep Dive: Further Reading
- r/woodworking on Reddit: Badly water damaged wood – Any advice how can I fix this?
- How to Fix Water Damaged Wood: An Easy DIY | April Colleen
- How to repair wood that has been exposed to water for too long and started rotting – Quora
- How to fix water damage on a wooden board without …
David is a veteran woodworker. He is now retired and stays in his cabin in Wisconsin which he built himself. David has 25+ years experience working in carpentry and wood shops. He has designed and built many small and large wood projects and knows the science behind wood selection like the back of his hand. He is an expert guide on any questions regarding wood material selection, wood restoration, wood working basics and other types of wood. While his expertise is in woodworking, his knowledge and first hand experience is far from 'woody'.