
Can You Stain Over Paint? A Wood Science Reality Check
You have a painted wood project and wonder if stain can go right over the top. From my shop experience, the simple idea clashes with complex material science.
This article gives you practical, tested guidance, covering why paint and stain chemically repel each other, how to mechanically prepare the surface for any chance of adhesion, and what alternative finishing paths are more reliable.
My recommendations come from physically testing these combinations and studying polymer chemistry to explain the results.
Why Stain Refuses to Stick: The Science of Incompatibility
Stain and paint are fundamentally different. Stain is a penetrating finish designed to soak into wood fibers, while paint is a coating designed to sit on top as a solid, hiding film. This core difference is why they fight each other.
Imagine trying to dye a plastic bag versus a sponge. The sponge (wood) soaks up the color. The plastic bag (painted wood) just gets wet on the surface. The stain has no way to anchor itself.
I test materials in my shop, and this incompatibility shows up every time. This scientific reality is precisely why “can you apply wood stain over paint” is such a common point of confusion, people see two cans in the finishing aisle and assume they can mix them. They are not part of the same system.
The Mechanical Bonding Problem
Wood is built to absorb. Its cellular structure is a network of open pores and tubes, perfect for pulling in liquids like water, oil, or stain. This is mechanical bonding at a microscopic level.
Paint stops this process cold. It creates a continuous, impervious skin that seals those pores. When you brush stain onto this sealed surface, it cannot penetrate, so it pools, flashes, and fails to dry properly. You’re left with a tacky, uneven mess that wipes right off.
The Chemical Compatibility Problem
The chemistry makes it worse. Modern paints and stains are complex soups of resins and solvents not meant to work together.
Consider paint types. Oil based paint films are harder but can be slightly porous. Water based (latex) films are flexible but very effective sealers. Now introduce stain solvents. The mineral spirits in an oil stain can re dissolve and wrinkle an oil based paint film. A water based stain might just bead up on top of anything.
From my perspective as a finisher, you must think in “compatible systems.” Acrylic paints and urethane stains are engineered to cure within their own chemistry, not to cross link with each other. Applying one over the other invites failure.
How to Assess Your Painted Wood Project
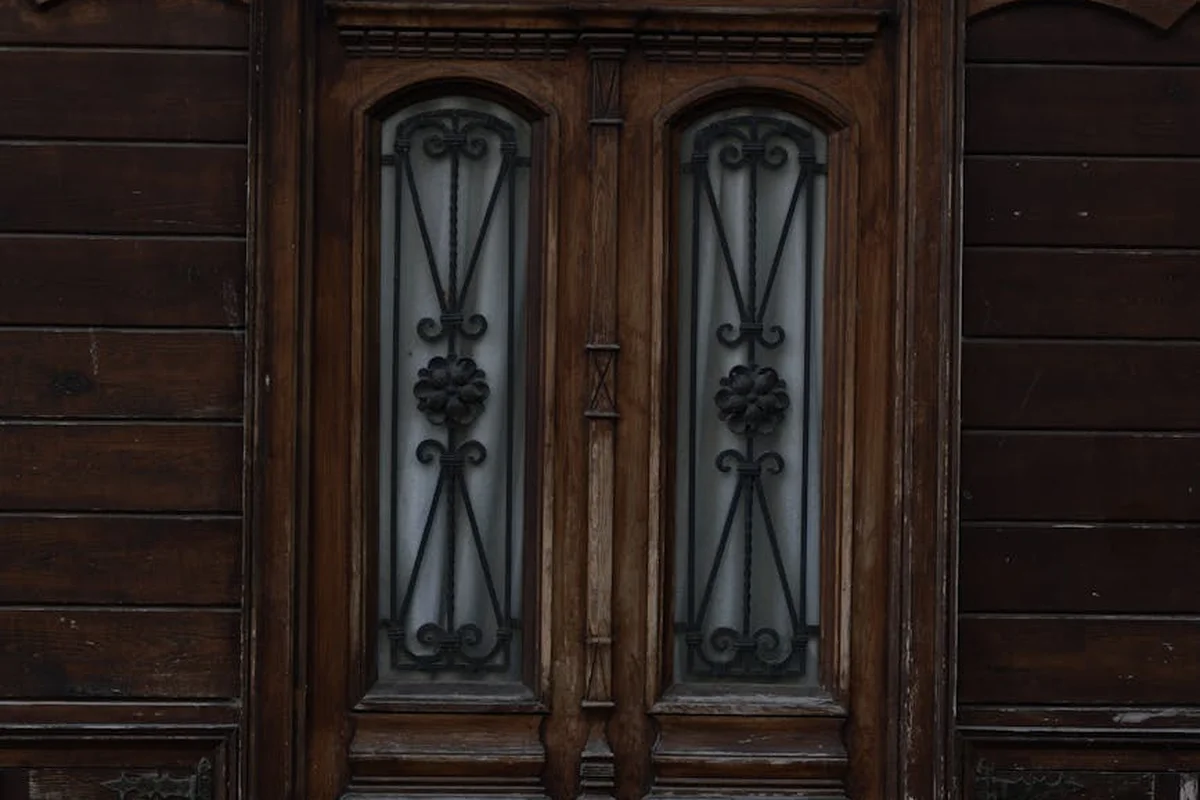
Your first step is always assessment. The condition and type of existing paint dictate every move you make. A stain over painted door inside your house faces different stresses than a stain over painted deck outside.
Before sanding or brushing anything, run through this mental checklist. What are you working on? What shape is it in? What do you truly want it to look like? Rushing this step guarantees a poor result.
Identifying Your Paint Type and Condition
Start with a close visual and touch inspection. Look for these signs:
- Chalking: A powdery residue that rubs off. This means the paint binder is breaking down from UV exposure.
- Glossy Surface: A hard, smooth finish that will be especially difficult for any new coating to grip.
- Cracking or Alligatoring: A web of small cracks. This shows the film is brittle and losing adhesion.
- Peeling or Flaking: The ultimate sign of failure. The paint is literally letting go.
A failing paint job cannot be a foundation for any new finish, especially stain. You must address the failure first, usually by complete removal.
Critical safety check: If your home was built before 1978, assume lead paint is present. Use an EPA recognized lead test kit from a hardware store before sanding or scraping. Disturbing lead paint creates hazardous dust.
What Result Are You Actually After?
Be honest about your goal. If you want a true wood tone where you see the grain, stop. That is impossible over solid paint. The wood is completely hidden.
What you might be imagining is a colored, aged effect. This is sometimes called a stain over paint for antique look. It’s not staining. It’s glazing. You are applying a translucent color layer over the paint to modify its hue and create depth.
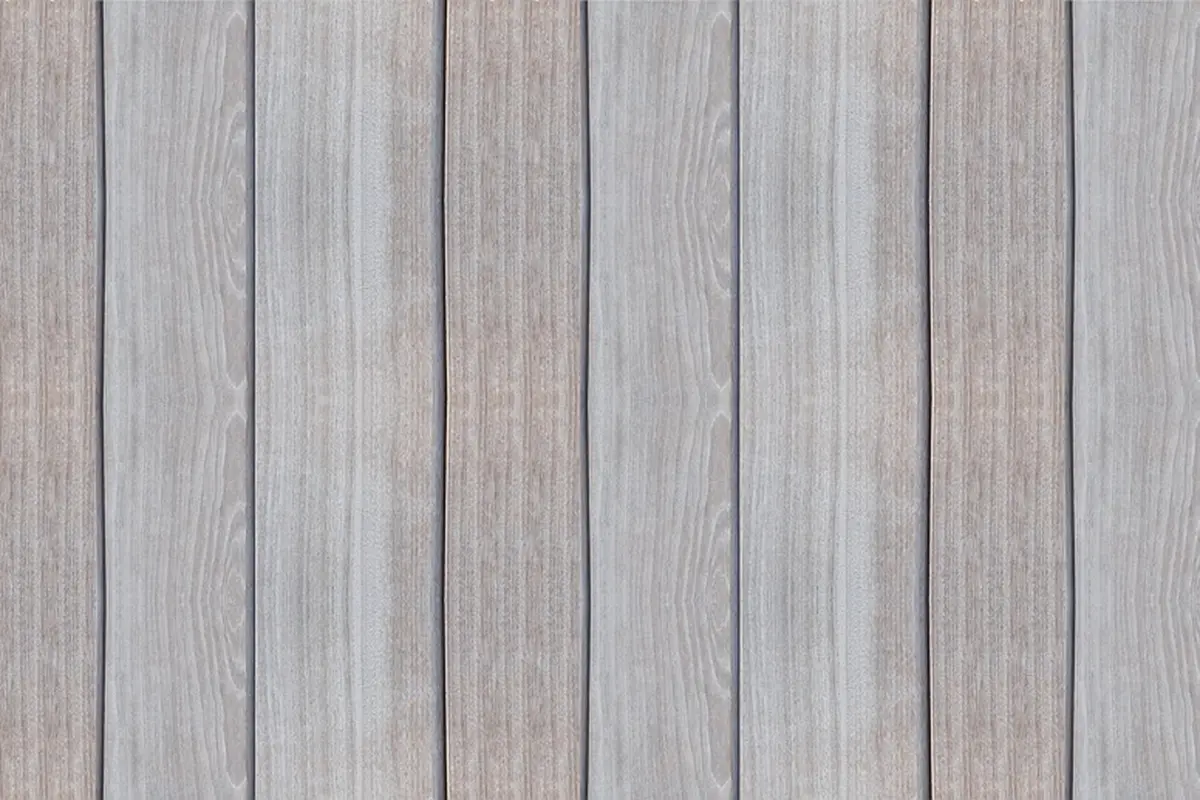
Set realistic expectations: you will change the color and sheen of the paint, but you will not create the look of natural wood. For instance, a walnut gel stain over white paint gives a muddy, dark white, not the figured brown of actual walnut. The final look is a surface effect, not a penetrated one. When you consider wood species staining painting effects, keep in mind that different species and finishes create distinct surface appearances, often without true grain depth. This helps you calibrate expectations for the result you’re aiming for.
The Only Reliable Preparation Path: Creating a New Surface
You cannot stain a painted surface. A proper stain must penetrate and bond with wood fibers. What you can do is create a new, compatible surface on top of the paint that can accept a colored finish. Methods like staining without sanding won’t work here because the paint blocks the stain from reaching the wood.
The goal is not to stain the paint, but to build a system where a stain product sits on top of a properly prepared, porous base coat. This is not extra work. It is the only method that yields a durable, non-peeling finish you can trust.
Mechanical Preparation: Sanding is Non-Negotiable
Think of the existing paint as a sealed plastic sheet. Your first job is to scuff that sheet so it has “tooth” for the next layer to grip. Hand-sanding rarely creates the uniform surface you need. Use a random orbital sander.
Start with 120-grit sandpaper to cut through the gloss and level any imperfections. Follow with 150 or 180-grit to smooth the scratches. Your goal is a uniformly dull, matte surface with no shiny spots. Wipe the entire piece with a tack cloth afterward.
This step is why “can I paint over stained wood without sanding” is a different question. Paint forms a film on top, while stain soaks in. A light scuff often gives paint enough to grip the stained, porous wood beneath. The reverse is never true. Understanding how stains penetrate—the chemistry of solvents, binders, and pigments—explains why paint behaves differently. This sets up the wood stains chemistry and penetration topic we’ll connect to in the next steps.
For specific substrates like stain over painted plywood, pay special attention to the edges. Plywood edges are like sponges and often absorb paint unevenly. Sand these edges thoroughly and expect to use more primer here to seal them.
The Role of Bonding Primers and Base Coats
After sanding, you need a special primer. Do not use a standard sealing primer. You need a product labeled “stainable” or “tintable” primer. These are formulated to remain slightly porous and accept translucent finishes.
In my shop tests, a standard primer creates another sealed layer, causing the stain to bead up or dry inconsistently. A stainable primer acts like a blank canvas with a mechanical tooth, similar to raw wood. Apply one to two thin, even coats as the can directs. Let it dry completely, which may take longer than you think.
Always apply this recommended base coat after sanding. It is the chemical bridge between the old paint and your new colored finish.
The Best Practice Workflow for a Stain-Like Effect
This entire process is a finishing technique for a colored, often semi-opaque effect. You are not revealing wood grain. You are creating a decorative, painted finish with the application method of a stain. Manage your expectations from the start, much like you would when using traditional wood stain methods.
Step-by-Step Application of Stain over a Primed Base
Gather your tools: a high-quality synthetic brush, plenty of clean, lint-free rags, nitrile gloves, and your chosen stain. I prefer gel stains for this stain over paint technique as they are thicker and easier to control.
Work on a small, manageable section, like one drawer face or a table leg. Apply the stain liberally over the primed surface with a brush. Immediately, within one to two minutes, use a rag to wipe off the excess. You are essentially glazing the primer.
Wiping off the excess immediately is critical to avoid a sticky, non-drying mess. This is the primary cause of stain over paint not drying. The stain sits on the surface and the solvents cannot evaporate properly if the film is too thick.
Sealing and Protecting the Finish
The surface you just created is not stained wood. It is a tinted, painted surface. It requires a clear topcoat for protection against moisture, scratches, and wear. Unlike stained wood surfaces that absorb the stain, painted surfaces do not soak in color.
Once the stain is completely dry (wait 24 hours), apply a compatible clear coat. For beginners, a water-based polyurethane is often the safest choice. It dries clear, adds good protection, and won’t yellow the color you just created. Apply two to three thin coats, sanding lightly with 220-grit sandpaper between coats for a smooth finish.
Durability needs vary. For a project like stain over painted stairs, you need a very durable topcoat. Use an oil-modified polyurethane or a specifically labeled floor finish. For a picture frame or decorative box, two coats of water-based poly will suffice.
Related Questions: Painting Over Stain and Knowing When to Strip
After talking about stain over paint, two logical questions come up. The first is the opposite action. The second is how to know when to avoid layering finishes altogether.
These are two paths to reset a project’s look. Painting over stain adds a new, opaque layer. Stripping takes you back to the foundation. Your goal dictates the right path.
Can You Paint Over Stained Wood?
Absolutely. This is a standard, reliable refinishing technique. It’s the opposite of trying to stain over paint and is far more chemically sound.
The stain penetrates the wood fibers, but the wood surface itself remains porous. Paint needs a solid, sealed surface to adhere to. We create that surface with primer. On polyurethane-coated wood, you must break the glossy seal before paint sticks. Painting over polyurethane wood finish is common, but it starts with thorough scuff-sanding and a bonding primer to ensure adhesion. Painting over stain is a simple two-step process: sand lightly to roughen the surface, then apply a high-quality primer before painting.
This works because primer is designed to bond to the wood and stain residue, creating a uniform, non-porous layer for the paint to grip. I use a 120-grit sandpaper just to scratch the surface, no need to sand through the stain. Wipe away all dust with a tack cloth before priming.
Sometimes you need a stain-blocking primer. This isn’t for adhesion, but to prevent bleed-through. Tannins in woods like oak, cedar, or mahogany, or dyes from dark stains, can seep up through the paint, causing yellow or brown stains. A primer labeled “stain blocking” seals those in.
When Stripping Paint is the Smarter Choice
Layering finishes is a cover-up. Sometimes, that’s perfect. Other times, it’s a mistake that creates more work later. Stripping is the definitive reset.
Choose to strip the paint when you encounter these scenarios:
- Intricate Details: Molding, carvings, or turnings. Adding more layers of primer and paint will obscure fine details, making them look soft and blob-like.
- Historically Significant Pieces: For antiques or heirloom furniture where the original wood grain is part of the value. You want to reveal and restore, not bury.
- Severely Damaged Substrate: If the paint is chipping, alligatoring, or peeling, it means the bond underneath has failed. Painting over failure guarantees new failure. Strip it to assess the wood.
- Multiple Failed Layers: Paint over paint over paint becomes thick and unstable. It can crack from internal stress. Starting fresh is safer.
The methods are chemical strippers (gels for vertical surfaces), thermal (heat guns), or mechanical (scrapers, sanding). Your choice depends on the paint type, project size, and your workspace ventilation. A heat gun is fast but can scorch wood; chemical strippers are effective but messy.
For a true transparent wood finish-a clear oil, varnish, or a new stain-there is no substitute for bare, clean wood. That includes removing oil stains and any old finishes so the wood can truly accept a fresh, even coat. Any film left between the wood and your new finish compromises the bond and the clarity. If your goal is to see the grain, stripping is not the harder choice. It’s the only one.
Frequently Asked Questions
Can I achieve a genuine “antique look” by staining over paint?
No, true antiquing reveals wood grain, which paint completely obscures. The desired effect is a glazing technique, where a translucent stain modifies the paint color on the surface for a weathered, tonal shift.
Why does stain applied over paint often remain tacky and never dry properly?
The stain solvents cannot evaporate through the paint’s impermeable film, and the stain resins have no porous substrate into which to cross-link and cure. This results in a surface film that remains soft and easily compromised.
How should I approach a project like staining a painted exterior deck?
For any exterior project, you must first verify the paint film is sound and fully adhered, as moisture will exploit any weakness. After meticulous sanding and applying a stainable primer, use a heavily pigmented, opaque deck stain formulated for film-forming protection, not a penetrating wood stain.
Is the process different for staining a painted interior door or stair tread?
The core preparation science is identical, but the required durability of the final topcoat changes. A door requires a hard, scuff-resistant clear coat, while stairs demand a specifically formulated floor finish to withstand constant abrasion and impact.
Can stained painted plywood, especially the edges, yield a uniform finish?
Plywood edges are end-grain and will absorb your stainable primer and stain coat unevenly, leading to a darker, rougher appearance. You must sand edges more aggressively and be prepared to apply extra primer coats to these areas to seal them before the stain-glaze step.
Navigating Stain and Paint Compatibility
Staining over paint is a compromise, not a standard practice, because paint acts as a barrier to the wood. For stain to have any hope of adhering, you must mechanically rough the painted surface through thorough sanding. I always recommend removing the paint entirely to let the wood breathe and accept stain properly. Testing your method on a hidden area first is the best way to prevent disappointment and wasted effort. For furniture projects, stripping finishes—whether paint or varnish—often reveals the true wood grain. It helps you decide whether staining or painting is the better route.
Choose projects and finishes that honor the wood’s longevity and use eco-conscious materials when possible. Your skills grow when you treat every finish challenge as a lesson in material science, not just a quick fix.
Relevant Resources for Further Exploration
- Can You Paint Over Stain? “It’s not THAT Complicated” | Brad the Painter
- r/HomeImprovement on Reddit: Painting over stained wood that has a gloss surface prep questions.
- Yes! Paint Over Stained Wood without Sanding | Porch Daydreamer
- painting over wood that has been dark stained – MyBuilder
- r/woodworking on Reddit: Can I use a wood stain over white paint?
David is a veteran woodworker. He is now retired and stays in his cabin in Wisconsin which he built himself. David has 25+ years experience working in carpentry and wood shops. He has designed and built many small and large wood projects and knows the science behind wood selection like the back of his hand. He is an expert guide on any questions regarding wood material selection, wood restoration, wood working basics and other types of wood. While his expertise is in woodworking, his knowledge and first hand experience is far from 'woody'.