
What’s the Real Difference Between Oil-Based and Water-Based Polyurethane?
You need a clear finish that protects your work without compromising its look. I’ve applied gallons of both, watching how each chemistry reacts on different woods in my shop.
This guide explains the practical science, covering molecular makeup, brush and spray techniques, and real wear tests over time.
I base my advice on hands-on material tests and years of finishing furniture for clients.
How Do They Cure? The Simple Chemistry of Film Finishes
Let’s start with a basic fact. Polyurethane is not an oil. It’s a plastic. When you apply polyurethane, you are laying down a liquid that will harden into a thin, protective plastic film on the wood. This hardening process is called curing. For blotchy woods, using a wood conditioner before applying polyurethane can help even out absorption. It can prevent blotching and give a smoother finish.
All film finishes cure through a two-step dance. First, the liquid carrier, called a solvent, evaporates. Then, the resin molecules left behind link together. This linking is called polymerization, and it forms a tough, cross-linked network.
Oil-based and water-based polyurethanes handle this dance very differently.
Oil-Based Polyurethane: The Slow Chemical Reaction
The carrier in oil-based poly is mineral spirits. The resin is usually an alkyd, which is a modified natural oil. Curing relies on oxygen from the air chemically reacting with the oil molecules. This reaction is slow and creates the hard plastic film.
Think of it like a piece of metal rusting. It’s a gradual chemical change that requires air and time. That’s why oil-based poly feels tacky for hours and takes days to fully harden.
Water-Based Polyurethane: The Fast Physical Fusion
Here, the main carrier is water, with a bit of co-solvent to help it flow. The resin particles are tiny spheres of acrylic or polyurethane floating in the water. When the water evaporates, these particles are forced together and fuse into a continuous film. This fusion is called coalescence.
A good analogy is mud drying in the sun. The water leaves, and the dirt particles stick together. It’s primarily a physical change, not a slow chemical one. This is why water-based poly dries so much faster.
What Happens in Your Shop? Drying, Yellowing, and Cleanup
The chemistry directly controls what you experience at the workbench. Here’s what you can expect.
Timeline: Dry, Recoat, and Cure
Timing is everything. Rushing a coat is the most common mistake I see. These times are based on my shop tests at 70°F and 50% humidity.
| Stage | Oil-Based Polyurethane | Water-Based Polyurethane |
|---|---|---|
| Dry to Touch | 4 to 8 hours | 1 to 2 hours |
| Safe for Recoat | 24 hours | 2 to 4 hours |
| Full Hard Cure | Approx. 30 days | Approx. 7 days |
For oil-based poly, the dry time between coats is not a suggestion. Applying a second coat too soon traps solvents. This causes permanent wrinkling, tackiness, and a soft finish. I once ruined a cherry tabletop by recoating after 12 hours. I had to sand it all off.
With water-based, you can often apply two coats in one day. Always sand lightly between coats for a strong bond.
The Yellowing Factor: Warmth vs. Clarity
This is a major visual difference. Oil-based polyurethane starts with an amber tint and gets warmer and yellower over decades. On woods like pine or oak, this adds a rich, traditional warmth that many woodworkers love. On a wood like maple or ash, it will noticeably shift the color toward a honey tone.
Water-based polyurethane dries and stays water-clear. It will not add an amber tone. If your goal is to keep blonde woods like maple or holly looking bright and modern, a water-based finish is the clear choice. For a test, finish two scraps of pine-one with each type. The oil-based sample will look like it has a cup of tea spilled on it compared to the water-based one. Learning how polyurethane finish interacts with wood color stain can guide your final shade choice. This quick comparison helps you pick a look that stays true to the wood, whether you choose water- or oil-based.
Smell, VOCs, and Ventilation
Oil-based poly has a strong, familiar paint smell. Those fumes are Volatile Organic Compounds (VOCs) from the mineral spirits evaporating. You must work in a well-ventilated space, and I always wear a respirator with organic vapor cartridges. The fumes can linger for days.
Water-based poly has a much milder odor, often described as “wet paint” or plastic. It still contains some VOCs from the co-solvents, so don’t skip ventilation. But you can usually re-enter the room hours later, not days.
Cleanup: Two Different Worlds
This is simple but crucial. For water-based poly, use warm, soapy water. For oil-based poly, you must use mineral spirits. Using water on an oil-based brush will leave a gummy, ruined mess in your bristles. I keep two separate brush jars labeled clearly to avoid this expensive error.
My Shop-Tested Application Protocols for Each Finish
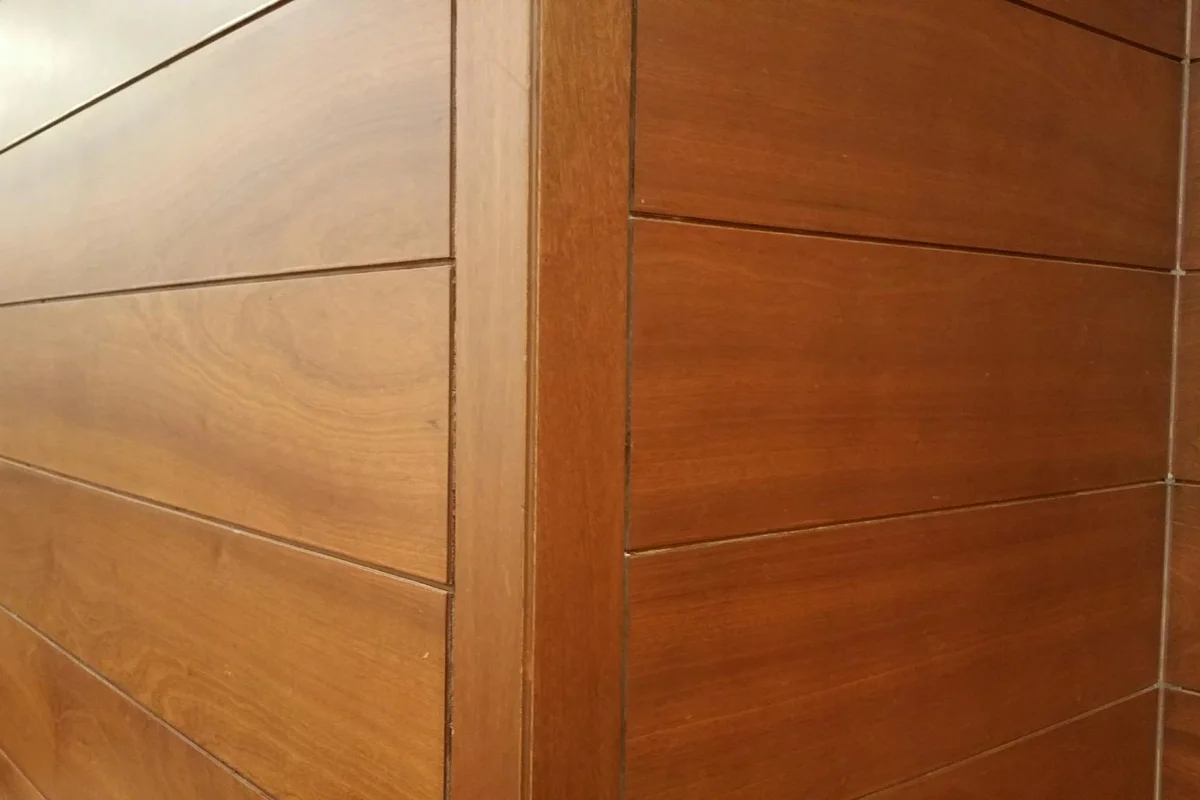
Applying a finish well is where the chemistry meets the craft. Getting these steps wrong can ruin a perfect piece, but following a methodical process gives you a fighting chance.
Best Practice Workflow for Oil-Based Polyurethane
This finish is forgiving during application but demands patience. First, ventilation is non-negotiable. I use a box fan in a window and wear a proper organic vapor respirator, not a dust mask. The fumes are potent and linger.
Open the can and stir it gently for a full minute. Never shake it. Shaking whips microscopic bubbles into the finish that will become permanent flaws on your surface.
Your tools matter here. Use a natural bristle brush. The synthetic ones in your paint tray can soften and fail in the oil-based solvents. Understanding solvent properties informs finishing tool maintenance. With that knowledge, you can clean and store tools to prevent solvent damage.
The single biggest secret is to apply coats so thin they almost look inadequate. Load your brush, then unload about half of it on the inside rim of the can. Use a “laid-on” technique: touch the brush to the wood and pull it in one long, smooth stroke with minimal pressure, letting the finish flow off the bristles. Going back over it immediately creates bubbles and streaks.
Recoat timing depends entirely on your shop. At 70°F and 50% humidity, the surface will be dry to the touch in about 4-6 hours. Do not recoat then. You need to wait until it’s dry but still slightly soft, like a firm rubber eraser, usually between 8-12 hours. Sand lightly with 320-grit paper between coats to ensure adhesion.
For large, flat surfaces, spraying oil-based poly is a professional method. It leaves a flawless film but requires extreme ventilation and safety gear I only use outside.
Best Practice Workflow for Water-Based Polyurethane
Speed and preparation define this process. Water-based poly will raise the grain of the wood, creating a rough surface. To defeat this, I dampen the raw wood with a wet rag, let it dry completely, and then sand it smooth with 220-grit paper before applying any finish.
Use a synthetic brush or a foam applicator. Natural bristle brushes will absorb the water and become soggy and useless.
You must work fast and avoid going over the same spot twice. The finish sets up quickly. Apply it evenly, then immediately “tip off” the surface by dragging the very tips of dry bristles lightly across the wet finish to smooth out any brush marks. Do this once and walk away.
You can often recoat in just 2 hours. This speed is a double-edged sword. Because it dries so fast, imperfections like dust nibs or brush strokes get locked in. Sanding lightly between every single coat with 320-grit paper is critical to prevent a thick, plastic-like build-up.
Which One Is Tougher? Putting Scratch and Chemical Resistance to the Test
The durability debate is filled with old myths. The truth is, modern high-quality versions of both finishes are remarkably close, but they achieve protection in different ways.
Think of it like two types of armor. Oil-based polyurethane forms a film that is often slightly softer. On the pencil hardness scale (a standard test), it might rate an H. This softer film is more flexible. It can give a little under impact, which helps it resist denting from a dropped utensil.
Water-based polyurethane typically cures to a harder, more rigid film, often rating a 2H or 3H on that same scale. This makes it very resistant to scratches from fine abrasives. But that hardness can come with brittleness. A sharp, heavy impact is more likely to cause a small chip.
This explains the old rule for oil-based polyurethane for floors. The flexibility was better for handling constant foot traffic and furniture movement. Today, premium water-based floor finishes are engineered with extra plasticizers for flexibility and are excellent choices.
Where oil-based still holds a clear advantage is chemical resistance. Its cured film is more resistant to common solvents. In my shop, I test this on scrap. A drop of isopropyl alcohol left on a water-based finish for a minute will usually leave a permanent white haze or soften the film. The same drop on an oil-based finish often wipes away without a mark. For a kitchen table or bar top, this difference matters when choosing between oil and water-based finishes.
Answering Your Bench-Side Questions
Can I Put Polyurethane Over Stain, and Which Kind?
Let’s get specific about oil-based poly over an oil-based stain, because that’s the classic combination. The answer is yes, they are chemically compatible. The single most important rule is to let the stain fully cure, not just dry to the touch. An oil stain can feel dry in a few hours but takes days to fully off-gas and harden. Recoating too soon traps solvents, causing a gummy film that never truly hardens. I wait at least 72 hours in a warm, ventilated shop.
Water-based poly over a fully cured oil stain is also possible. The science here is about adhesion between two different chemical families. Always do a test on scrap: apply your poly, let it cure, then make a cross-hatch cut with a razor and press tape over it. If the poly lifts, adhesion failed. To help it bond, I lightly sand the cured stain with 320-grit paper. This “deglazing” creates microscopic scratches for the water-based poly to mechanically grip.
Here’s the critical warning. Never put an oil-based poly over a water-based stain that isn’t 100% cured. The strong solvents in the oil poly can dissolve and wrinkle the underlying stain layer. It’s a mess I’ve had to sand off more than once. If the water-based stain is rock hard, it can work, but letting a water-based product fully cure is a longer wait than for an oil one.
What’s the Deal with Sheen? Satin, Semi-Gloss, and Matte
Sheen isn’t magic. For both oil and water-based polys, the difference between gloss, semi-gloss, and satin comes down to “flattening agents.” These are microscopic particles, like silica, suspended in the finish. Think of them like fine dust mixed into clear varnish; they scatter light to reduce shine. More particles mean a flatter sheen (matte). Fewer mean more shine (semi-gloss). Gloss has none.
Those flattening agents change more than just look. A satin finish can feel very slightly softer to the nail test and may look a tiny bit cloudy, especially on dark woods like walnut. For the deepest, richest color on dark woods, a gloss finish is the most transparent because it has no flattening agents. You can always apply gloss for clarity and depth, then gently abrade the final coat with 0000 steel wool or a white abrasive pad to achieve your exact desired satin sheen.
You’ll rarely see a true “matte” oil-based poly. What’s marketed as “flat” or “satin” is usually what you’re looking for. Water-based products offer a wider sheen range, but the same principle applies: more flatteners, less shine, and a bit more surface texture.
How Do I Fix Common Problems Like Bubbles or Poor Adhesion?
Bubbles trapped in an oil-based polyurethane are almost always an application error. Shaking the can whips air into the finish. Brushing too fast or too hard also creates bubbles. The fix is to sand the bubbled coat smooth once it’s hard, then apply a new, very thin coat. Stir the finish gently from the bottom of the can. Apply with a soft brush, tip off the edge lightly, and let it flow out. A warm finish (room temp) flows better and releases bubbles easier than a cold one. If a tacky film or persistent bubbles remain, a polyurethane bubble peel fix can lift the bubbled layer and recoat the surface smoothly. This targeted repair helps salvage the finish without stripping the entire coat.
Poor adhesion, where the poly peels or chips easily, points to a contaminated surface or bad timing. The usual suspects are dust, wax from sanding disks, silicone from furniture polish, or natural oils from your hands. If adhesion fails, you must sand thoroughly back to bare, clean wood and start over. Wiping with mineral spirits before the final sanding can reveal contaminants by showing where the wood doesn’t wet evenly.
Recoating outside the ideal window is the other major cause. Applying a new coat after the previous one has fully cured (past 24 hours for oil-based) requires a light sanding for the next coat to grip. If you miss that window, you must sand. Applying a new coat too soon, before the previous one has set, can cause alligatoring or wrinkling as the solvents fight each other.
Oil-Based Polyurethane: Your Bench-Side Questions Answered
Is oil-based polyurethane still the best choice for floors?
Its traditional dominance was due to superior flexibility, which resisted denting from foot traffic. Modern, high-quality water-based floor finishes are now engineered with similar flexibility and are often preferred for faster project turnaround and lower odor.
What are the critical considerations for spraying oil-based polyurethane?
Spraying provides an exceptionally smooth film but demands rigorous safety: use an organic vapor respirator and explosive-proof ventilation due to high VOC content. To avoid runs, apply multiple mist-thin coats, allowing proper solvent flash-off time between each.
For oil-based poly, does sheen (satin vs. semi-gloss) affect durability?
The flattening agents that reduce sheen can slightly increase the film’s susceptibility to abrasion and impart a subtle cloudiness on dark woods. For maximum clarity and theoretical toughness, apply a gloss build coat and mechanically flatten the final surface to your desired sheen.
How does the long full cure time of oil-based poly (30 days) impact my project?
During this extended polymerization period, the film remains chemically soft and should be protected from heavy use, moisture, and solvents. This slow hardening is why a fully cured oil-based film develops superior chemical resistance compared to a water-based one.
Why are true matte finishes less common in oil-based polyurethane?
The chemical oxidization process of oil-based resins inherently creates a slight amber gloss. Achieving a very low sheen requires high levels of flattening agents, which can excessively muddy the wood’s appearance; many manufacturers instead offer satin as the flattest, most reliable option. These finish choices matter when you plan the oil finish application for wood. The method you use—wipe-on, brush-on, or build coats—directly influences the final sheen and color depth.
Making Your Choice in the Finish Aisle
The most important advice is to match the finish to the project’s demands and your workspace. For a durable, forgiving finish on a floor or high-wear table, the traditional depth of an oil-based poly is hard to beat. For fast turnarounds, low odor, and easy cleanup on cabinets or trim, a modern water-based formula is the clear winner. Always test your chosen finish on a scrap piece of your actual project wood to see the real color and sheen before you commit to the whole piece.
Your responsibility extends beyond the final coat to the sourcing of your materials and the disposal of your leftovers. Choosing finishes from companies committed to sustainable forestry and responsibly recycling solvent waste reflects a deeper respect for the craft and our shared environment. Mindful attention to the environmental impact of wood finishes, including VOC emissions, is essential. Exploring low-VOC or water-based options helps protect indoor air quality without compromising finish quality. Stay curious about the chemistry of wood and finishes, as this knowledge is the true foundation of lasting, beautiful work.
Related Guides and Information
- r/woodworking on Reddit: Oil or water based Poly?
- Water-Based vs. Oil-Based Polyurethane: Which Is Better?
- Water-based polyurethane Vs. Oil-based polyurethane – Woodworking Stack Exchange
- Oil Based vs Water Based Polyurethane
- Oil vs water based polyurethane:Which is better for refinishing wood?
David is a veteran woodworker. He is now retired and stays in his cabin in Wisconsin which he built himself. David has 25+ years experience working in carpentry and wood shops. He has designed and built many small and large wood projects and knows the science behind wood selection like the back of his hand. He is an expert guide on any questions regarding wood material selection, wood restoration, wood working basics and other types of wood. While his expertise is in woodworking, his knowledge and first hand experience is far from 'woody'.