
How Do You Apply Gel Stain for a Uniform Finish Without Streaks or Blotching on Different Wood Species?
Gel stain can deliver deep, even color, but its thicker formula behaves differently on pine than on oak or maple. I see this firsthand in my shop, where wood density and grain structure directly control how stain lays down.
My guide moves past guesswork with a materials-focused approach. We will cover the unique chemistry of gel stains, how to prepare porous versus dense woods, and the exact brushing and wiping methods I use for consistent results.
My advice comes from testing gel stains across hundreds of board feet, combining woodworking practice with a materials scientist’s analysis of pigment suspension and wood absorption.
Why Gel Stain is Your Friend (and Sometimes Foe)
Think of gel stain as peanut butter and traditional liquid stain as water. Water soaks into a sponge unevenly, following the path of least resistance. Peanut butter sits mostly on top, giving you control. That’s the simple science. The thick, gel-like formula is loaded with pigments and binders that rest on the wood’s surface rather than penetrating deeply.
This surface-sitting action is a superpower for woods that blotch. Understanding wood anatomy—how pores, vessels, and fibers are arranged—helps explain why absorption varies. Different stain absorption methods align with these structures to optimize color and minimize blotch. Woods like pine, poplar, and cherry have areas of vastly different density. Liquid stain soaks into the soft, absorbent grain quickly and deeply, leaving dark, muddy patches. Gel stain colors the surface more evenly, dramatically minimizing that ugly, uneven blotching. It’s also far easier to control on vertical surfaces like cabinet doors, as it doesn’t run or drip.
Its main weakness comes from that same thick nature. If you apply it poorly or inconsistently, it will dry with visible lap marks, brush strokes, and streaks. Your goal is to use its body to your advantage, not let it become a textured, uneven coating.
So, how is gel stain different? It’s the difference between coloring the wood’s surface versus dyeing its internal structure. For a predictable, uniform color on tricky species, you want the one that sits on top.
Your Best Practice Workflow: The Shop-Tested Protocol
Follow these steps in order. Skipping one is the fastest way to streaks. This method works for how to apply gel stain to wood, whether it’s fresh or finished.
1. Surface Prep is Everything
Gel stain magnifies surface flaws. Any scratch, glue spot, or old finish will show through. Sand thoroughly with a progression of grits. Start at 120-grit to remove major imperfections, then move to 150, and finish with 180 or 220. You are not polishing; you are creating a perfectly consistent, slightly toothy surface for the gel to grip. Wipe the entire piece down with a tack cloth after sanding to remove all dust.
2. Choose Your Weapon: Brush or Cloth
I use a high-density foam brush for 90% of my work. It lays down a smooth, controlled layer without brush marks. A clean, lint-free cotton cloth (like an old t-shirt) is excellent for smaller projects or for the initial wipe-off. Do not use a natural bristle brush; it can leave streaks.
3. Apply with Confidence and Speed
Stir the gel stain thoroughly; do not shake it, as that creates bubbles. Working on a manageable section (like one cabinet door or table leg at a time), apply a generous, even coat. Cover the area completely. Do not try to stretch the material or apply a thin, “perfect” coat on this first pass. A moderate, uniform layer is your target.
4. The Critical Wipe-Off Window
This is the most important step. Wait 1 to 5 minutes after application. The gel will start to get slightly tacky. Then, using a fresh, clean lint-free cloth, wipe *across* the grain with firm, even pressure. You are removing the excess gel stain from the surface, leaving the pigment in the pores and on the top grain. Wiping across the grain ensures you pull the excess off evenly and helps prevent streaks from forming along the wood’s natural lines. If you want a darker shade, let it sit longer before wiping. Always do a test piece first.
5. Respect the Environment and the Cure
Work in a well-ventilated area between 70°F and 80°F (21°C – 27°C), which aligns with most manufacturer guidelines like those from Varathane. Cold temperatures make the gel too thick and prone to streaking; heat makes it dry too fast. After wiping, let the piece cure for a full 24 to 48 hours in a dust-free space before applying any topcoat. The stain must be completely dry to the touch, not just surface-dry.
How to Adjust Your Approach for the Wood You’re Using
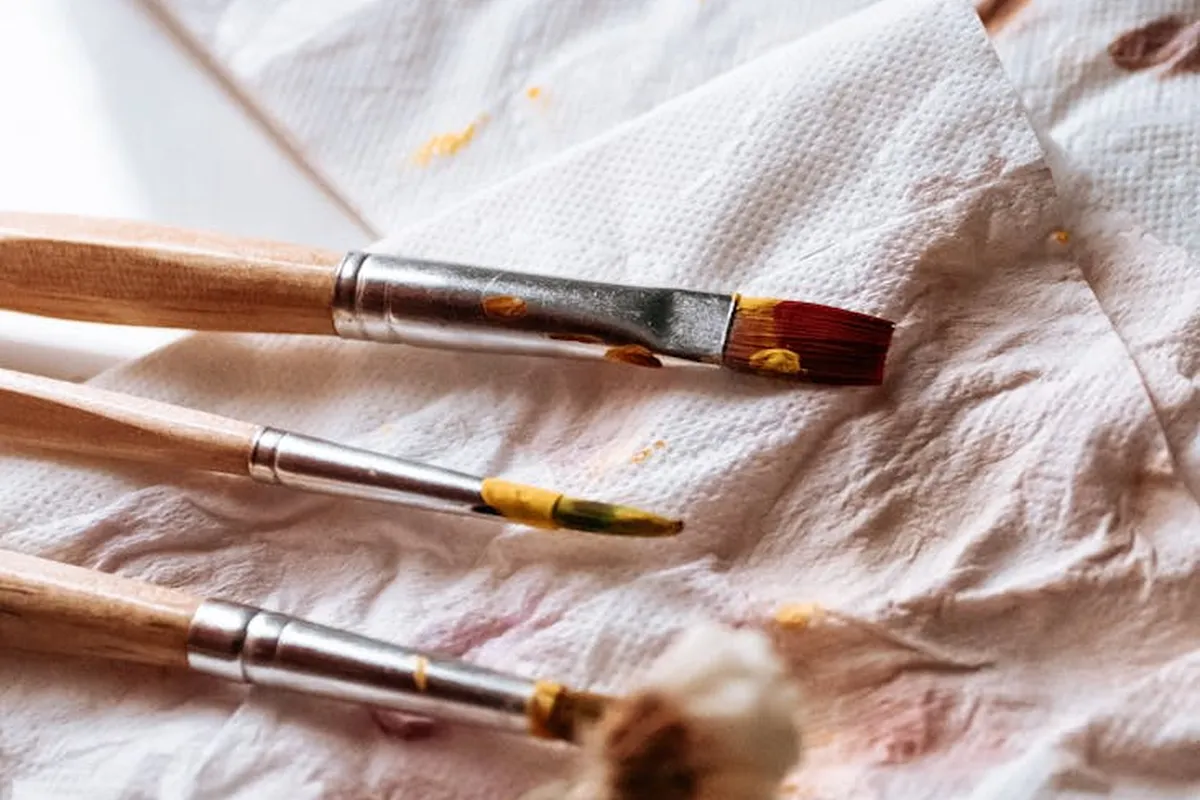
Gel stain is a versatile fix, but wood species are not identical. Treating them as such is the fastest path to a bad finish. Different application methods—brush, wipe, or spray—can change color and depth. Choosing the right technique matters for a uniform finish.
For Soft, Blotch-Prone Woods: Pine, Poplar, Birch
These woods blotch because they have areas of wildly different density. The soft, early growth grain soaks up liquid stain like a sponge, while the hard, late growth grain resists it. This creates dark splotches next to light areas.
Gel stain works here because its thick, paste-like consistency (think ketchup, not water) sits on the surface longer. It gives you control. You decide where the color goes by how much you wipe off, rather than the wood deciding for you by how much it soaks in. Want to tweak the color after applying? You can lighten the shade by wiping more, or deepen it with a second coat.
You often don’t need a pre-stain wood conditioner with gel. In fact, conditioner can sometimes create a barrier that makes the gel slide right off. I only consider it on incredibly soft, fuzzy woods like cheap white pine, and even then, I test on a scrap piece first.
Your technique is everything. Apply a moderate, even coat with a brush or cloth. Let it sit for 3-5 minutes-this is your “set” time. Then, wipe it off with a clean, lint-free cloth using firm, consistent pressure. Wipe with the grain. Do not go back over areas you’ve already wiped clean, as this will lift stain and create light streaks.
For Dense, Hard Woods: Maple, Cherry, Alder
The challenge here is the opposite. These woods have a tight, hard grain that actively resists penetration. A liquid stain can sit on top and be wiped away, leaving a faint, uneven “tiger stripe” effect where only the slightest imperfections took color.
Your success starts and ends with your sanding. You must sand progressively up to 180 or 220 grit. Every scratch from a lower grit will show up darker and look like a deep gouge once stained. After sanding, wipe the piece down with a tack cloth or mineral spirits to reveal any missed scratches. This is part of the sanding sequence for wood stain preparation. A proper sequence helps the stain go on evenly.
To beat the grain’s resistance, use a “slurry” technique. Apply the gel, then use a clean cloth or even your gloved hand to rub it into the wood firmly, almost like you’re polishing it. This friction helps warm and thin the gel slightly, pushing it into the microscopic pores. Then, after it sets for a few minutes, do your final wipe-off.
For Open-Grained Woods: Oak, Ash, Mahogany
These species have distinct valleys (pores) and hills (grain). The problem is that thick gel stain loves to pool and settle in those valleys, turning them jet black while the hills stay a lighter color. This can make the wood look muddy and obscure its beautiful natural pattern.
The mantra for open-grained woods is “less is more.” Apply a thinner coat than you would on pine or poplar. Your goal is to tint the wood, not fill its pores. Wipe it off thoroughly and immediately-don’t let it sit and settle.
For an even fill, try this. Apply a thin coat, then take a stiff, natural bristle brush (an old, clean paintbrush works) and scrub it lightly across the grain. This pushes gel into the pores. Then, immediately wipe *with* the grain using a clean cloth. This leaves color in the pores without excessive buildup.
Why It Fails: The Physics of Streaks and Blotches
When gel stain fails, it’s usually due to one of two physical failures in the application film.
First, “Glue Starvation.” This is my shop term for applying a coat that is too thin. The stain doesn’t have enough material to flow and level out before it starts to set. You see this as thin, streaky lines, often from the edge of your applicator brush or cloth. The cause is typically using the wrong tool (a cheap foam brush soaks up too much stain) or applying in conditions that are too hot, which causes the solvents to evaporate instantly.
Second, “Checking.” This is what happens when you apply the stain too thickly. The top surface skins over and dries, while the wet stain underneath remains trapped. As those underlying solvents try to escape, they crack the dry top layer. This looks like a network of fine, web-like cracks. It’s caused by not wiping off enough excess or applying a second coat before the first is fully cured.
So, if you ask “why is my gel stain streaky?” first check your coat thickness and tool. If you ask “why is it blotchy?” on a wood that shouldn’t blotch, check your sanding and your wipe-off timing. When finishing mahogany, blotching is often caused by uneven prep or application. Keeping prep even and applying stain in consistent coats helps prevent blotching.
How to Save the Work: Fixing and Removing Gel Stain
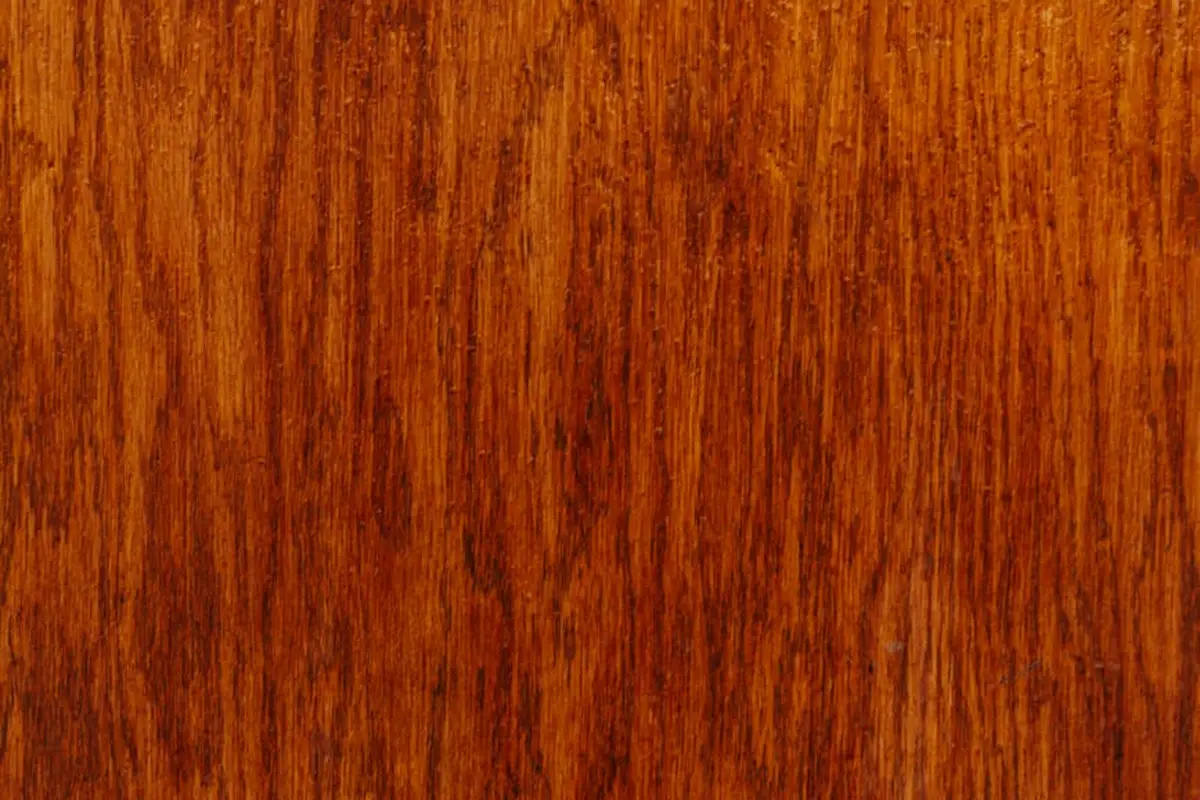
Mistakes happen. Here’s how to deal with them, from the simple fix to the total reset.
For wet streaks or uneven spots you notice immediately, the fix is straightforward. Take a clean, dry cloth and a tiny bit of fresh gel stain. Lightly dab the fresh stain onto the problem area and use the clean cloth to gently re-blend it into the surrounding finish. Work quickly, and feather the edges.
For dried streaks, you need to abrade the surface gently. Use a synthetic steel wool pad (like a grey Scotch-Brite) and lightly scuff the streaky area. You are not trying to sand through the stain, just to knock down the high points and provide some “tooth” for the next coat. Wipe away all dust and apply a new, very thin coat over the entire panel to unify the color.
When you need to start over, chemical stripper is the nuclear option. Use a gel-type, methylene chloride-based stripper for effectiveness, but with extreme care: gloves, goggles, and serious ventilation. Always test the stripper on a hidden area first to ensure it doesn’t raise the grain or damage veneers. Apply a thick coat, let it work, then scrape with a plastic putty knife. You will likely need to sand afterwards to remove the last traces and any raised grain.
For quick repairs on furniture or cabinets, remember that gel stain is great for touch-ups. Because it sits on top, you can often blend a scratch by applying a tiny amount with a fine artist’s brush, letting it set for one minute, and then gently buffing it with the tip of your finger to blend.
Frequently Asked Questions on Gel Stain Application
How does gel stain differ from paint, and why does this matter for adhesion?
Gel stain is a heavily pigmented glaze that penetrates the wood’s microscopic surface structure, while paint forms a continuous film on top. This means gel stain’s bond is mechanical, relying on a properly sanded surface for the pigments to key into, unlike paint’s adhesive bond to the substrate or primer. Staining over painted wood adds a compatibility consideration, since some finishes resist penetration. Prep work and a test patch are often needed to ensure a successful result.
What is the critical temperature range for applying gel stain, and what happens outside of it?
The ideal range is 70°F to 80°F (21°C to 27°C), as stated in technical data sheets like those from Varathane. Cold temperatures increase viscosity, leading to drag and streaks, while excessive heat accelerates solvent flash-off, preventing proper leveling and causing lap marks.
What is the most efficient workflow for staining a large set of cabinet doors uniformly?
Process all doors through the same sanding grit sequence simultaneously to ensure identical surface energy, then stain them in a controlled batch. This minimizes environmental variable drift and allows you to maintain a consistent wipe-off timer across all pieces, which is crucial for color match.
Why is gel stain often recommended for vertical surfaces and complex profiles?
Its high viscosity and thixotropic nature resist running and sagging on verticals and minimize pooling in corners or carvings. This allows for a thicker initial application on complex geometry without the immediate drips associated with low-viscosity liquid stains.
How can I tell if the gel stain is fully cured and ready for a topcoat?
Cure is a chemical process, not just surface dryness. After 24-48 hours, perform a solvent test: lightly rub a hidden area with a cloth dampened with mineral spirits; if no color transfers, the binders have sufficiently cross-linked and it is safe to topcoat. Note the wood stain polyurethane dry cure time, which can vary by product and environment. Plan the next coat around that timing to ensure a durable finish.
Your Roadmap to Consistent Gel Stain Results
The cornerstone of a uniform finish is acknowledging that wood species absorb stain differently. You must always use a pre-stain wood conditioner on porous woods like pine or cherry to seal the grain. For tight-grained woods like maple, meticulous sanding to remove all mill marks is your primary defense against blotches. I verify the stain’s behavior and final color on a hidden section or scrap piece first, without exception. This step is crucial to prepare the wood surface properly and ensure even stain absorption.
Own your role in preserving forest health by selecting gel stains with low VOC content and supporting sustainably harvested lumber. Commit to ongoing practice and study of wood technology; it transforms good results into repeatable, professional ones.
References & External Links
- Avoid (or fix) Blotchy Stain
- Gel Stains: An easy way to control wood blotching and do other cool stuff – Baton Rouge Woodworking Club
- How To Fix Blotchy Gel Stain (Easy To Follow Steps)
- Blotching gel stain | LumberJocks Woodworking Forum
- r/woodworking on Reddit: My experience with General Finishes Gel Stain
- Gel Stain Uneven on First Coat: HELP!
- How can I fix my poor staining job? – Canadian Woodworking and Home Improvement Forum
David Ernst
David is a veteran woodworker. He is now retired and stays in his cabin in Wisconsin which he built himself. David has 25+ years experience working in carpentry and wood shops. He has designed and built many small and large wood projects and knows the science behind wood selection like the back of his hand. He is an expert guide on any questions regarding wood material selection, wood restoration, wood working basics and other types of wood. While his expertise is in woodworking, his knowledge and first hand experience is far from 'woody'.