
What Are the Best Wood Finishes for Outdoor Protection?
You want a clear, practical answer about how to shield outdoor projects from rain, sun, and rot without relying on guesswork.
This guide explains how different finishes work, based on water-repellent preservatives, film-forming topcoats, and penetrating oils, with direct comparisons from shop testing.
My advice comes from years of applying and testing these materials on real projects, dissecting their chemistry and long-term performance in my shop.
How Outdoor Wood Fails: The Science of Moisture, UV, and Decay
Think of wood as a bundle of tiny, microscopic straws. This is its cellular structure. The walls of these straws are hygroscopic, meaning they attract and hold water vapor from the air, like a sponge. When the air is humid, the straw walls soak up moisture and swell. When the air is dry, they release it and shrink. This constant movement is the root of most outdoor wood problems.
Sunlight attacks a different part of the wood. UV radiation specifically breaks down lignin, the dark-colored polymer that acts as the “glue” holding the cellulose straws together. As lignin degrades, the wood surface turns gray, becomes fuzzy, and loses its structural integrity. It gets brittle.
Finally, biological organisms want to eat your project. Decay fungi target the cellulose in the wood for food. They need four things to thrive: food (the wood), moisture (above 28% moisture content), oxygen, and the right temperature. Remove just one, and decay stops. Moisture is usually the factor we can control, especially when it comes to preventing dry rot in wood.
The Mechanism of Moisture Damage
When one part of a board absorbs or dries faster than another, you get stress. This stress leads to physical distortion. Checking is the cracking along the grain from the surface drying and shrinking faster than the core. Cupping happens when the face of a board changes moisture content differently than the back. Warping is a general twist from uneven moisture movement.
The key is to understand the difference between repelling liquid water and managing water vapor. A rain droplet beading on the surface is one thing. Water vapor migrating in and out of the wood cells every day is a much bigger, slower force. Your finish must address both.
The Mechanism of UV Damage
Clear finishes, like a spar varnish, often fail first in sunny spots. They let UV light pass right through to attack the wood underneath. Once the wood’s lignin breaks down, it loses its grip on the finish film, leading to peeling and flaking.
Pigments and specific UV-absorber additives act as a sacrificial shield. They absorb the damaging UV radiation before it can hit the wood surface. This is why a pigmented solid-color stain or paint lasts years longer than any clear coat in full sun. The color particles take the hit so the wood doesn’t have to.
The Mechanism of Biological Decay
Mold is a surface issue. It grows on the film of dirt, pollen, and sugars on the wood, not the wood itself. It’s ugly but not structurally damaging. Rot is a deep, structural problem. Fungi secrete enzymes to digest the wood cell walls, turning strong timber into soft, crumbly rot.
Wood preservatives work by being toxic to these organisms but stable enough for us to handle. They are either brushed on or pressure-impregnated into the wood. Common ones use copper compounds, which are poisonous to fungi and algae. The treatment makes the wood itself inedible. However, the chemicals used can pose toxicity risks to people and wildlife if the wood is damaged or burned. This is why understanding chemically treated wood toxicity is important for safe handling and disposal.
Choosing Your Defense: Types of Chemical Treatments and Finishes
You can’t fight moisture, sun, and rot with one magic product. You need a strategy. I group products by their primary job: water repellents, UV blockers, and decay poisons. The best protection often uses two products-a preservative treatment first, then a protective finish on top.
Penetrating Oils and Water-Repellent Preservatives
These are thin liquids designed to soak deep into the wood cell walls. They don’t form a surface film. Think of them like waterproofing the individual straws in our bundle. Common formats are brush-on oils or “outdoor wood treatment” sprays. They contain waxes or oils for water repellency and often a mildewcide like IPBC for surface mold protection.
I use these on rough-sawn cedar or pressure-treated lumber for fences and posts. They’re low-maintenance because there’s no film to crack or peel. You just reapply when the wood stops beading water. They offer minimal UV protection, so the wood will still gray. Their strength is in managing moisture movement and preventing checking, not in providing a durable colored finish.
Film-Forming Finishes: Varnishes, Paints, and Solid-Color Stains
These products work by creating a continuous membrane on the wood’s surface. It’s like putting a raincoat over the bundle of straws. The quality of that coat determines everything.
A clear “spar varnish” has UV absorbers, but it’s a constant battle. In my experience, even the best needs light sanding and a recoat every year or two in full sun. A pigmented “outdoor wood treatment varnish” or solid-color stain performs far better. The pigments block UV light, protecting both the wood and the finish binder itself. Pairing the right coats—stain plus a polyurethane topcoat—can further boost protection. A layered coat approach often yields the best balance of appearance and durability.
Latex or oil-based paint is the ultimate UV and bulk water barrier. It has the highest pigment load and forms the most impermeable film. The trade-off is that it completely hides the wood grain. When this film eventually fails, it can be more work to repair than a penetrating product.
Dedicated Wood Preservatives for Decay Resistance
For parts of a project in direct ground contact or trapped in constant dampness, you need a heavy-duty preservative. These are the poison layer. Copper naphthenate (the greenish treatment you see on some posts) and alkaline copper quat (ACQ) are common. They are applied by brushing, soaking, or professional pressure-treatment.
You often use this as step one. For a garden planter box, I might treat the interior and bottom with a copper-based preservative, let it dry, then apply a decorative penetrating oil or stain to the exterior. This gives you both rot resistance where it’s needed and weather protection for appearance everywhere else. Always check the product label to see if a top coat is recommended or required.
The Wood Itself: How Species Like Cedar and Mahogany Change the Game
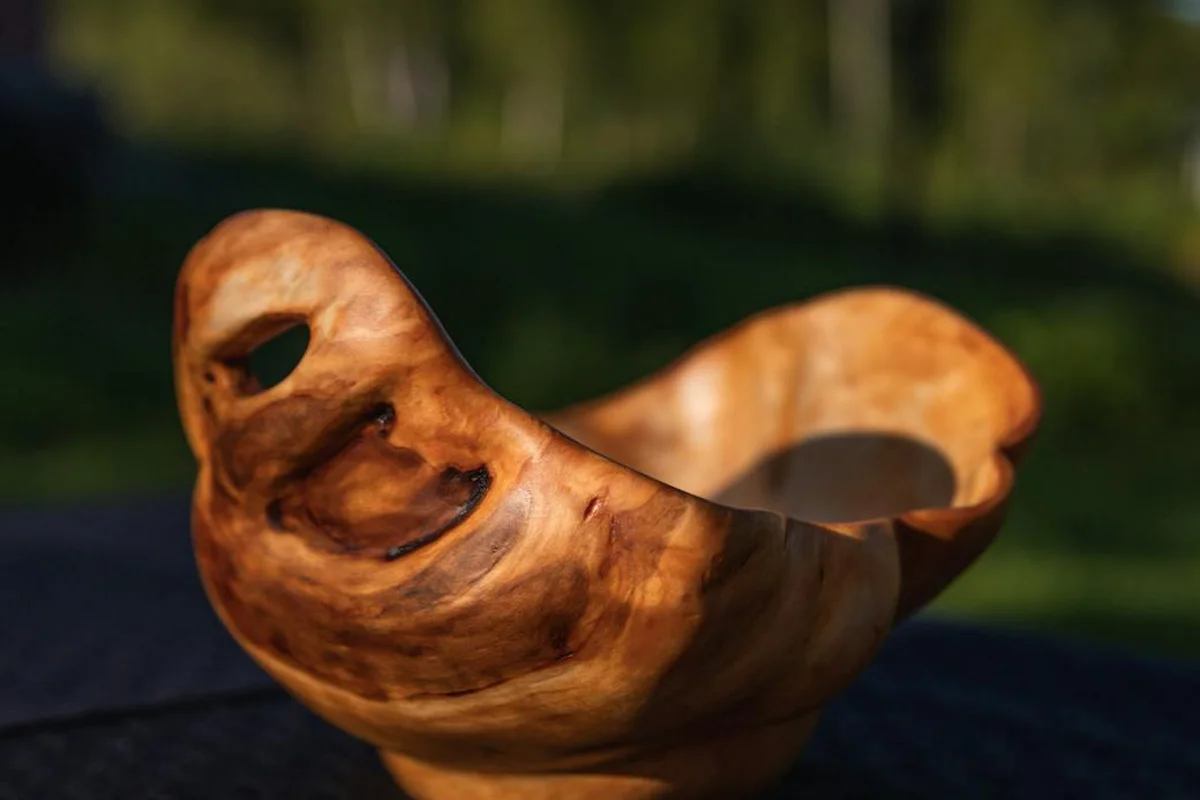
Your first decision is the wood. This is your most important line of defense against weather. The species you pick dictates your entire treatment strategy, from the product you buy to how you apply it.
I group outdoor woods into three categories based on their natural durability. This changes everything.
Naturally Durable Woods: Cedar, Redwood, and Cypress
Does cedar wood need to be treated? Yes, but not for the reason you think. These woods contain natural oils and tannins that fight off decay fungi and insects.
Your main job with cedar or redwood is not to stop rot, but to block ultraviolet light and manage moisture movement. They will last for years untreated, but they will turn a silvery gray and can still check or crack.
For how to treat cedar wood for outdoor use, I keep it simple. Use a penetrating, oil-based stain or a clear oil with UV inhibitors. These soak in, feed the wood, and block the sun without forming a plastic-like film that will peel. I apply a coat every other year on my own cedar fence.
Woods That Need Full Protection: Pine, Fir, and Pallet Wood
Pine and fir have almost no natural decay resistance. Pallet wood is a wildcard, often being a softwood like pine. These species need a complete protective system.
For these woods, you must use a preservative treatment first, followed by a weatherproof finish. Think of it as a two-step vaccine. The preservative (like a copper-based solution) kills fungi. The topcoat (a heavy-bodied stain or film) sheds water.
How to treat pallet wood for outdoor use? Assume it’s untreated pine. Sand it thoroughly. Apply a wood preservative with a brush, really working it into the end grain. Let it dry completely. Then apply at least two coats of a solid or semi-transparent exterior stain. Penetration is everything here.
Tropical Hardwoods: Mahogany, Ipe, and Teak
These are the heavyweights. Their extreme density and natural oils make them incredibly resistant to decay and insects. Water beads up on ipe like it’s waxed.
The challenge with mahogany or teak is not rot, but the sun’s bleaching effect and maintaining their rich color. Left alone, they will also turn a distinguished, uniform gray. For teak, the teak wood color aesthetics—its warm amber-brown hues—play a central role in care and finishing choices. Preserving that color means choosing finishes and maintenance that mitigate sun bleaching.
How to treat mahogany wood for outdoor use? Standard finishes often fail because they can’t penetrate the dense, oily surface. You need a specialized tropical hardwood oil. Before applying, wipe the wood down with acetone or a dedicated “teak cleaner” to remove surface oils. This lets the new oil bond. It’s a maintenance finish, needing reapplication every year or two to keep the color.
Shop-Tested Workflow: Prepping and Applying Treatments Correctly
Finishes fail because of poor prep, not poor products. This sequence is non-negotiable, whether you’re building a deck or figuring out how to treat outdoor wood furniture you just bought.
Surface Preparation is 90% of the Job
Applying finish to a dirty or unstable surface is like painting over dust. It will fail. Follow these steps in order.
- Clean: For old, gray wood, use a oxalic acid wood brightener. It chemically removes the gray UV-damaged fibers and restores color.
- Sand: Sand to 80 or 100 grit. You aren’t polishing. You are opening the wood’s pores so it can drink in the treatment. Always sand with the grain.
- Vacuum: Get every speck of dust out of the pores. Compressed air works too.
- Solvent Wipe: Dampen a rag with mineral spirits and wipe the entire project. This removes fine dust and any remaining oils, showing you the true color of the wood.
Check the wood’s moisture content with a meter before you start. If it’s above 15%, let it dry more. Finishing wet wood traps moisture, guaranteeing mold and finish failure.
Best Practice Application Protocol
Different products need different techniques. Using the wrong method wastes product and creates problems.
For oils and penetrating stains (used on cedar, teak, or pressure-treated wood):
- Flood the surface liberally with a brush or rag.
- Let it absorb for 10-15 minutes.
- Wipe off every bit of excess with a clean, dry rag. A sticky, un-wiped surface will remain tacky for days.
For film-forming finishes (like exterior polyurethane or solid-color stains on pine):
- Use a high-quality synthetic brush.
- Apply a thin, even coat. Thick coats lead to runs and slow curing.
- Let it dry fully as per the can’s instructions, then lightly sand with 220-grit paper to knock down any nibs.
- Vacuum and wipe again before the next coat.
Sprayers are fast for large, flat areas but use more product. Rollers are poor for outdoor work; they trap air bubbles. A good brush gives you the most control and forces product into the wood.
Curing and Drying: The Patient Wait
Dry-to-touch is not cured. A finish may feel dry in a few hours, but its chemical bonds are still forming. This curing process is what creates real durability.
In my 70-degree shop with 50% humidity, an oil-based product needs at least 24 hours between coats and a full 72 hours before light use. A water-based product may dry in 2 hours but needs 48 hours to fully cure.
If humidity is high or temps are below 60 degrees, double these times. Rushing this step means your beautiful finish will be soft, easily marked, and may not bond properly to the next coat. Patience here saves a total redo later.
Real-World Durability: What to Expect from Your Finish
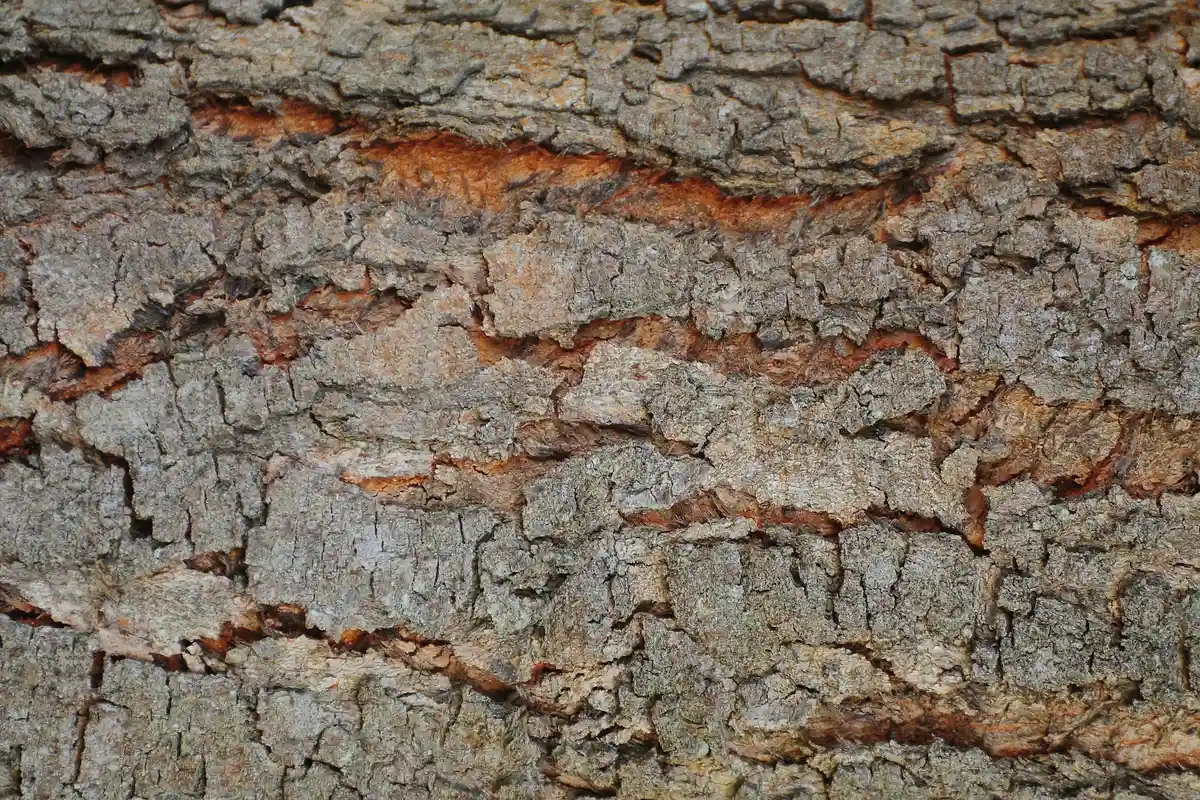
Let’s be clear: no finish is permanent outdoors. Every coating, no matter how good, is a sacrificial layer. Its job is to degrade so the wood beneath it doesn’t. I think of it like sunscreen for wood; it needs to be reapplied.
Several factors aggressively shorten a finish’s life. Constant, direct UV radiation is the top culprit, breaking down the chemical bonds in the finish. Moisture is a close second, causing wood to swell and contract, which stresses and cracks film-forming finishes. Salt air near an ocean is particularly harsh. The salt crystals are mildly abrasive and hygroscopic, meaning they pull more moisture from the air onto your wood. It’s a one-two punch of physical and chemical wear.
How Long Treatments Last in Different Climates
These are my shop-tested, general timelines. Your mileage will vary based on exposure and wood species.
- A penetrating oil finish (like a tung oil blend) on a vertical surface: 1-2 years in a temperate climate. In full sun or heavy rain, plan for recoating annually.
- A high-quality marine-grade varnish or spar urethane: 2-3 years. The UV blockers eventually get used up, and the film will become brittle and crack.
- A solid-body stain or paint: 3-5 years or more. The pigment acts as a physical UV barrier, offering the best protection from the sun.
A shaded, dry climate like the high desert is far easier on finishes than a sunny, humid, or coastal environment. In Florida or the Pacific Northwest, you should halve those optimistic estimates. Finishes fail fastest on horizontal surfaces like tabletops and deck boards, where they take the full brunt of sun and water.
Maintenance Routines That Actually Work
Proactive care beats a full restoration every time. I mark my calendar for a simple annual inspection, usually in spring.
Look for two key signs of failure. First, check if water still beads up. If water soaks in or darkens the wood within minutes, the finish is no longer hydrophobic. Second, look for faded color or a whitish, chalky film on the surface; that’s UV damage.
The golden rule is to recoat before the finish fails completely. For a quick recoat, clean the wood with a mild detergent and a soft brush to remove dirt and mildew. Let it dry completely, then lightly scuff the surface with 220-grit sandpaper or a synthetic abrasive pad. This provides “tooth” for the new coat to adhere. You can then apply a fresh coat directly over the old. This process avoids the nightmare of chemical stripping.
Troubleshooting and Quick Fixes for Common Outdoor Wood Problems
You will face these issues. Here’s how to handle them based on material science and what actually works in my shop.
Dealing with Mold, Mildew, and Early Decay
Mold and mildew are surface fungi, while decay is fungi eating the wood cell structure. You must kill surface growth before sealing it under new finish. A simple solution is one part oxygenated bleach (or regular household bleach) to three parts water. Scrub it on, let it sit for 10-15 minutes, then rinse thoroughly. For a ready-made option, a dedicated “outdoor wood cleaner and brightener” works well, especially when you are trying to remove mold from teak wood.
Always apply a new finish that contains a mildewcide after cleaning to help prevent rapid regrowth. If the wood is soft, you can push a screwdriver into it, or it shows deep discoloration (rot), no treatment will restore its strength. That section must be replaced.
Fixing a UV-Faded or Peeling Finish
UV degradation turns wood gray and breaks the finish’s adhesion, causing peeling. First, remove the gray wood. A light sanding with 80-100 grit works, or use a specialty “wood brightener” product. For peeling film finishes, you must sand away all the loose edges until you reach a sound, well-adhered layer. Feather the transition smooth.
This is the critical decision point. If the old finish failed from UV, reapplying the same clear finish guarantees the same result. Your best long-term fix is to switch to a pigmented product like a solid-color stain or an opaque acrylic finish. The pigment particles reflect and absorb UV light, protecting the wood and the finish binder underneath.
When to Spot-Treat and When to Start Over
Assessment is key. Is the problem isolated, like a small water stain under a planter or a single mildewed corner? For these, a spot treatment makes sense. Clean and dry the area, sand lightly, and apply your finish. For small, hard-to-brush areas, an “outdoor wood treatment spray” can be a handy tool for touch-ups.
Widespread film failure-large areas of cracking, alligatoring, or peeling-means you must start over. There is no reliable shortcut. You must strip the finish completely back to bare wood using chemical strippers, sanding, or scraping. A compromised film won’t provide a stable base for a new coat, and the new finish will fail quickly, wasting your time and product.
Outdoor Wood Treatment FAQ: Purchasing and Practical Application
What is the real advantage of an “outdoor wood treatment spray” versus a brush-on product?
Sprays offer speed and ease for intricate lattice or fencing, but brush-on methods force deeper penetration into the wood grain for superior protection. For critical structures, brushing or rolling ensures complete coverage and adhesion that spraying often misses.
When buying “outdoor wood treatment” at Bunnings, B&Q, or Home Depot, what should I look for beyond the brand?
Ignore the store label and analyze the product’s formulation on the back. Prioritize products specifying “water-repellent preservative” with waxes for moisture control and a mildewcide like IPBC, as the chemistry dictates performance more than the retailer.
Is a “clear outdoor wood treatment varnish” from Lowe’s a good choice for my oceanfront project?
No, a clear film-forming varnish provides minimal defense against relentless UV and salt spray, leading to rapid graying and peeling. For coastal areas, a heavily pigmented stain or a dedicated marine-grade finish with UV absorbers is the only scientifically sound choice.
Why would I buy a “1 gallon” container of treatment, and does near-ocean use change the product type?
A 1-gallon volume is cost-effective for larger projects like decks or fences, ensuring batch consistency. For ocean proximity, you must select a gallon product explicitly formulated for coastal or “marine” environments, as it will contain higher levels of UV inhibitors and moisture-resistant binders.
Does the specific “outdoor wood treatment varnish” at Lowe’s differ from a standard exterior spar varnish?
Not necessarily; the performance is defined by the technical data sheet, not the store. Examine the product’s specifications for solids content, type of UV-absorber additives, and flexibility rating, as these material properties determine its actual weathering durability.
Final Thoughts on Wood Protection Science
The single most important rule is to match the aggressiveness of your finish to the severity of your wood’s exposure. A shaded bench needs less defense than a sun-blasted, rain-soaked deck. I always test my chosen product on a scrap piece of the same wood first. This simple step reveals the true color and confirms your application technique works before you commit to the entire project.
Protecting wood is an ongoing practice that asks for our respect for the material. Seek out products from companies committed to sustainable forestry and lower VOC formulations. Your curiosity about how wood and finishes interact is the best tool you own. Understanding the environmental impact of wood finishes can guide you in making safer, greener choices.
Research and Related Sources
- Outdoor Finishes | Real World Results – The Wood Whisperer
- Protective Finishes
- What are the best kinds of wood and protective finishes …
David is a veteran woodworker. He is now retired and stays in his cabin in Wisconsin which he built himself. David has 25+ years experience working in carpentry and wood shops. He has designed and built many small and large wood projects and knows the science behind wood selection like the back of his hand. He is an expert guide on any questions regarding wood material selection, wood restoration, wood working basics and other types of wood. While his expertise is in woodworking, his knowledge and first hand experience is far from 'woody'.