
Does Clamping Time Really Matter? The Woodworker’s Guide to Glue Science
You have a project to finish, and waiting for glue to dry feels like watching paint cure. Is that extra hour in the clamps truly necessary, or are you just wasting shop time?
This article breaks down the materials science into practical steps. We will cover the difference between curing and drying, why minimum times are just the starting point, and which factors actually determine a bond’s long-term strength.
My advice comes from years of stress-testing joints in the shop and digging into the polymer chemistry behind every bottle.
Stop Guessing: The Simple Truth About Clamping Time
Every shop has a rule. A common one is, “clamp it for an hour to be safe.” I followed this for years. It feels responsible. The problem is, this rule is a distraction. It focuses on the clamp, not the glue.
The real goal is a fully cured bond, not just a dry surface. Clamping time is a small, early phase of a much longer chemical process. Leaving clamps on for hours often doesn’t hurt, but it rarely helps the final bond strength in the way you think.
Clamping time matters for one primary reason: it holds the joint tight while the adhesive transitions from a liquid to a solid with enough strength to hold itself together. The real failure happens if you remove clamps before that initial set occurs.
I learned this the hard way on a walnut table leg assembly. I used a fast-setting epoxy, felt it was tacky after 30 minutes, and pulled the clamps. An hour later, I saw a barely perceptible gap. Over the next day, that gap widened as the joint fully cured under internal stress. The bond was permanent, but it was a flawed bond with a visible hairline crack. My impatience with the clamp cost me a perfect joint.
The Shop Science: How Glue Actually Bonds to Wood
Think of glue as creating a new material layer between your wood pieces. For that layer to be strong, two things must happen. First, the glue must stick to the wood fibers themselves. That’s called adhesion. Second, the glue must be strong internally. That’s called cohesion. A great bond excels at both.
The process starts with liquid glue. You spread it, and it must soak into the top few cells of the wood. This is mechanical anchoring. When you clamp, you squeeze out the excess, leaving a thin film that’s penetrated the wood surface. Now, the hardening begins. This is where timing is everything.
You must understand two key terms. Open assembly time is how long you can leave glue on a part before joining it. Wait too long, and it skins over, blocking proper adhesion. Closed assembly time is how long you have to get the joint clamped after bringing the pieces together. This window is often much shorter.
A glued joint is not like a nail. A nail holds by friction and deformation. Glue creates a continuous, fused layer. A well-made glue joint can be stronger than the wood around it. The clamp’s only job is to ensure perfect, intimate contact while this fusion layer forms.
Mechanism of Action: Polymerization, Wood Cells, and Water
Different glues harden in different ways. Wood is hygroscopic, meaning it absorbs and releases moisture from the air. This directly affects your glue and its bonding.
PVA Glue (Yellow/White Wood Glue): This is water-based polyvinyl acetate. The water in the glue does two things. It keeps the glue liquid for application, and it gets absorbed by the wood cells. As the water evaporates, the plastic polymer molecules (the polyvinyl acetate) move closer and form long, tangled chains. This is polymerization. The glue feels dry when most water is gone, but the chains continue to strengthen for about 24 hours. Clamping needs to maintain pressure only until the glue gels enough to resist joint separation, usually 30-60 minutes for most projects.
Polyurethane Glue (Gorilla Glue): This glue cures by reacting with moisture. It pulls water from the air or, crucially, from the wood itself. The chemical reaction creates carbon dioxide bubbles, which is why it foams. You must dampen dry wood for a good bond. The foam fills gaps, but that’s not a substitute for a well-fitted joint. Clamp time is critical here to contain the foam expansion and keep the joint aligned until it sets firm, often within 1-2 hours.
Epoxy: This is a true chemical reaction. You mix a resin and a hardener. Once combined, molecules link into a rigid plastic network. Heat speeds this up, cold slows it down. Unlike PVA, it doesn’t rely on water evaporation, so it can bond oily woods or even wet wood. Its open and closed assembly times are dictated by the specific formula’s “pot life.” Clamping holds the joint while this irreversible chemical reaction takes place.
Your wood’s moisture content is a silent partner in this process. Very dry wood can suck water out of PVA too fast, weakening the bond. Wet wood may not allow polyurethane glue to cure properly, or can prevent PVA from drying. For the most predictable results, glue wood that is at equilibrium with your shop environment, typically around 6-8% moisture content for indoor furniture. It also helps to understand the differences between epoxy, polyurethane, and PVA glues when selecting the right adhesive for your project.
Glue Types Decoded: Setting Time vs. Full Cure
Think of glue strength in two phases. First, the glue gels enough to hold parts together so you can move the assembly. This is handling or clamp release strength. The second phase is the full cure, where the adhesive reaches its maximum bond. Stressing a joint before it’s fully cured is like testing a concrete foundation before it’s set.
PVA (Yellow and White Wood Glue)
This is your shop staple. Polyvinyl acetate glue works by water evaporation, which pulls the polymer chains together. In a 70°F shop, you can usually remove clamps after 30 to 60 minutes. The joint will feel solid.
Do not machine or stress that joint for at least 24 hours. The glue is still curing deep in the wood pores. I’ve tested saw cuts on a 12-hour-old edge joint and seen slight tearing at the glue line. A full day is a safe, conservative rule.
Polyurethane (Gorilla Glue-type)
This glue cures by reacting with moisture in the air and the wood. It foams as it cures, filling gaps. It feels tacky fast, but that’s not strength. You need to leave clamps on for a minimum of 1 to 2 hours at room temperature. For outdoor furniture, durability is a key factor, since exposure to moisture and weather can test the bond. Choosing a durable outdoor furniture glue helps ensure long-lasting joints.
Full cure takes a solid 24 hours, and cooler, drier conditions can stretch that to 48. The foaming action means it needs pressure to stay in the joint, not just on it.
Epoxy
Epoxy is a two-part chemical reaction. Its times are entirely formula-dependent. A 5-minute epoxy grips in minutes, but its final bond is often brittle and weak. A slow-cure marine epoxy might need 12 hours in clamps but ends up far stronger and more gap-filling.
Always follow the specific mixer’s instructions, but for structural joints, plan on overnight clamping for most slow epoxies. The pot life listed on the bottle is your working time, not your clamp time.
Hide Glue (Liquid or Hot)
Hide glue sets as it cools and gels. For hot hide glue, you have seconds to get things assembled. Clamp time is short, often 30 minutes to an hour. Liquid hide glue (like Old Brown Glue) is more forgiving but slower.
You can remove clamps once the glue is completely cool and hard to the touch, but give it 12-24 hours before heavy stress. Its unique benefit is reversible repairs, not brute strength.
The Shop Environment is a Variable
All these times assume a 65-75°F shop with moderate humidity. Cold is the enemy of almost every adhesive. At 50°F, PVA curing slows dramatically. It may feel set in an hour, but the bond will be weak for days. Polyurethane needs moisture to cure. In a very dry shop, it will take longer. I keep a small space heater near my glue-ups in the winter. It’s that important.
Your Best Practice Workflow: From Bottle to Bench Dog
Good glue joints are more about preparation than the adhesive itself. This routine removes guesswork.
1. Surface Prep: The Non-Negotiable First Step
Glue needs a fresh, clean, mechanically sound surface to bite into. For edge joints, this means jointing or planing within a few hours of gluing. Sawmill planer marks are too rough. A sanded surface is too smooth and burnished. The sweet spot is a cleanly cut or planed surface. I never glue to a painted, finished, or oily surface without solvent cleaning and sanding first.
2. Mixing and Application
For two-part adhesives, mix thoroughly for the full recommended time. Scrape the sides and bottom of your mixing cup. For PVAs and polyurethanes, a thin, even coat on both surfaces is better than a thick glob on one. You want enough to see a continuous bead of squeeze-out.
3. Assembly and Clamping
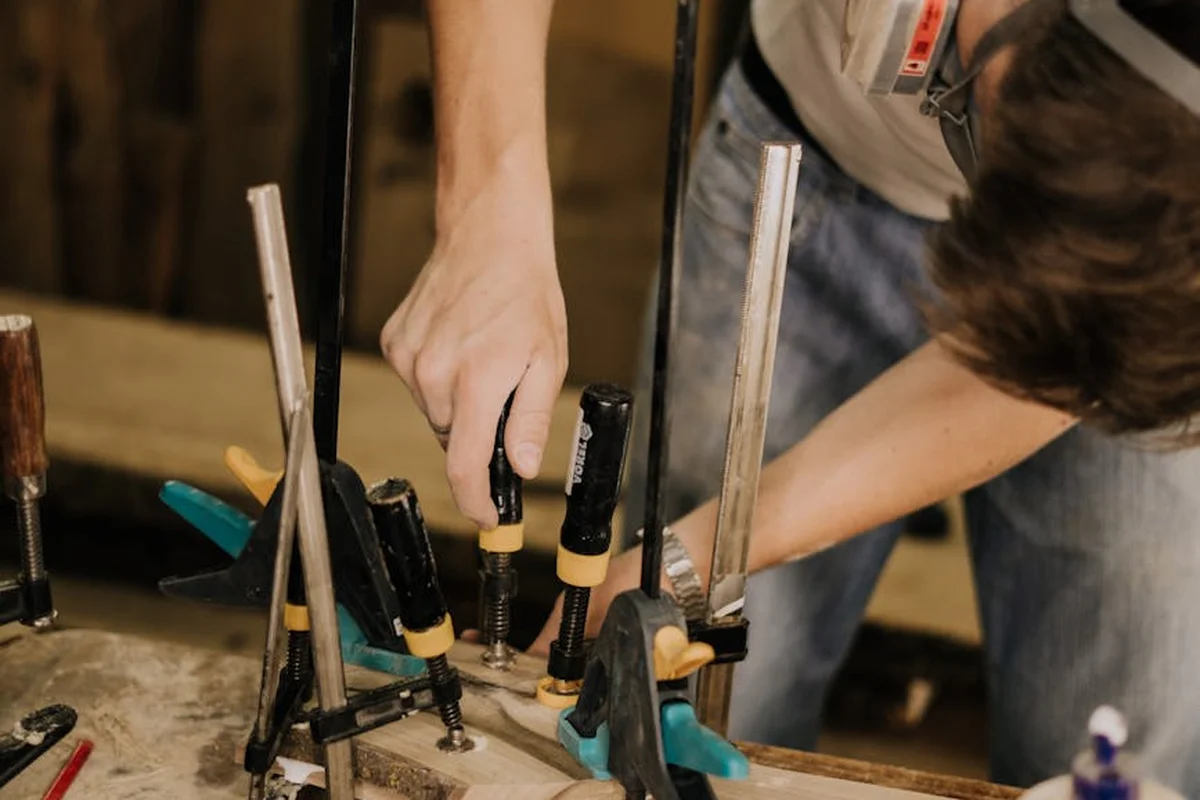
Assemble pieces before applying clamp pressure. Slide them slightly to spread the glue evenly. Then tighten your clamps. Correct pressure creates a thin, consistent glue line and a steady bead of squeeze-out along the joint.
You want a “firm squeeze-out,” not a strangled joint. If you see the wood deforming deeply under the clamp pad or glue is being ejected violently from the joint, you’ve used too much pressure. This can starve the joint, leaving no glue left inside to bond.
4. Cleanup and The Waiting Game
Clean up squeeze-out after it gels but before it fully cures. For PVA, wait about 30-60 minutes, then pop the bead off with a chisel or scrape it with a putty knife. Wet glue just pushes into the wood grain. Cured glue requires sanding or scraping, which can damage your surface.
While the glue cures, do not just watch it. Understand the chemistry behind cyanoacrylate glue in woodworking. Clean your brushes, mixing sticks, and bottle nozzles. Prep the parts for your next assembly. Organize your clamps. This enforced pause is perfect for shop maintenance and planning your next move. Only when the full cure time has passed should you return with a plane, sander, or saw.
Troubleshooting Weak Bonds and Glue Failures
A failed glue joint tells a story. The first step is to read it. Look at the broken surfaces. Did the glue peel cleanly off the wood, leaving one surface bare and one covered? That’s an adhesive failure. The bond between the glue and the wood failed.
Adhesive failure usually points to a surface problem: contamination, oil, or a poor glue choice for that wood. In woodworking diagnosis, identifying these causes sets the stage for prevention. Focusing on proper surface prep and adhesive selection helps prevent future failures.
Now look for a different result. Is the broken wood coated with a rough, frosted layer of glue on both sides? That’s a cohesive failure. The glue itself ripped apart.
Cohesive failure is often a sign of good wood preparation but incorrect glue use, like a rushed clamp time or an expired bottle. Perhaps it’s even a case of using an improper adhesive for the specific wood species or joint type.
Let’s link these failures back to their root causes. Adhesive failure on oily woods like teak or rosewood means you didn’t degrease the surface. A quick wipe with acetone or a specialty detergent solves this. Failure in a cold shop? Most common yellow (PVA) glues turn brittle below 50°F (10°C). Your glue was never happy. Old glue loses its chemical kick. If your bottle is a year old and lumpy, toss it.
Sometimes the glue type itself is wrong. Using a standard wood glue on end grain is asking for a weak joint. End grain acts like a sponge, sucking the adhesive away from the surface.
What is adhesive curing time?
This is the integrated science question. Curing is not drying. Drying is when water or solvents evaporate, leaving a skin. Curing is the chemical process where molecules link together into a strong, cross-linked network. Think of it like concrete. It’s solid to the touch in hours but reaches its full strength over weeks. Glue does the same thing on a shorter scale.
Your clamp time is just the initial “set” period, holding the joint in place while the early, critical curing happens. Full cure happens over the next 24 hours.
How can you check it without breaking your project? Use the tap test. Glue up a scrap joint from the same wood at the same time as your project. After the recommended clamp time, tap the scrap joint with a hard object like a screwdriver handle. A properly curing joint will have a solid, high-pitched “click.” A weak, uncured joint sounds dull and hollow. This scrap piece is your canary in the coal mine.
Putting Science in the Vise: Real-World Clamping Rules
Now we apply the theory. Different joints demand different strategies from your glue and clamps.
Edge-gluing a panel is forgiving. The long grain offers plenty of surface area. A standard PVA glue and 30-60 minutes of clamp time is usually sufficient. The real goal here is to keep the boards flush while the glue gels.
A mortise and tenon is different. It’s a closed joint, which traps moisture and slows cure. It also carries more structural load. I give these joints a minimum of one hour in the clamps, and I avoid fast-setting glues here. The slower cure often results in a stronger, deeper bond for these critical connections.
Delicate veneer work is another world. You need a glue with longer open time for positioning, but it must also resist bleeding through. Cold hide glue or specialty liquid hide glues are traditional for a reason. They cure without soaking the thin veneer, and they allow for easier repair. Clamping is about even pressure, not crushing force, using a veneer press or cauls.
Choose your glue speed based on project scale and conditions. A small box in a warm shop is perfect for a fast-setting cyanoacrylate (CA) glue for instant bonds. Gluing up a large tabletop in a cool garage calls for a slow-set epoxy or a PVA formulated for longer open time. You’ll avoid the panic of glue setting in your bottle or in the joint before you get clamps on.
So, what’s the final verdict on clamping time? Here is your rule of thumb. For standard yellow wood glue (PVA or Aliphatic Resin) in a shop around 70°F (21°C), clamp for 30 minutes to one hour. You can often remove clamps then for handling. But do not stress the joint for at least 24 hours. That’s when it reaches most of its strength.
For polyurethane glue (the foaming kind), follow the bottle but know it needs moisture to cure. For two-part epoxies, the pot life listed is your working time, but full strength develops over the next day. Temperature matters: the epoxy resin pot life is affected by the exothermic heat of curing, which can shorten working time in warmer conditions. Work in a stable, cooler environment to maintain the stated pot life.
Mastering this turns glue from a mysterious paste into your most predictable and reliable jointing tool. You stop guessing and start knowing exactly why and when your joints will hold.
Glue Curing FAQ: Your Practical Questions Answered
1. How does shop temperature specifically change the required clamp time?
Cold temperatures slow molecular movement, dramatically extending the time adhesives need to gel and develop initial strength. For reliable results, maintain a shop above 65°F (18°C) and consult technical data sheets for temperature-compensated curing schedules.
2. What does “handling strength” mean, and is it safe to work a joint then?
Handling strength means the adhesive has gelled enough to hold the assembly together for careful movement, not for machining or stress. Working a joint at this stage risks permanent micro-fractures in the curing polymer network, compromising long-term durability.
3. Why is a fast-curing epoxy often a poor choice for a structural wood joint?
Fast formulas achieve a quick set by sacrificing polymer chain length, resulting in a brittle, less flexible cured adhesive. For structural integrity, slower-curing epoxies develop superior tensile strength and better resistance to wood movement stresses.
4. How should I adjust my glue choice for oily exotic hardwoods?
Standard water-based PVA adhesives can be inhibited by surface oils, leading to adhesive failure. Degrease the wood with a solvent like acetone and consider using a two-part epoxy or specialized polymer adhesive designed for low-surface-energy substrates.
5. What is a reliable, non-destructive method to check if a glue joint is fully cured?
Conduct a tap test on a witness sample made from the same materials and glued simultaneously with your project. A fully cured joint will produce a sharp, high-pitched sound, while an uncured bond sounds dull and hollow, indicating the polymer is still plastic.
Putting Clamp Time Into Practice
The single most important rule is to follow the adhesive manufacturer’s instructions. Their specified clamp time is the minimum required for a handleable joint, not the full cure needed for maximum strength. Rushing this step is the fastest way to create a weak bond that will fail later. Patience in the clamps directly translates to longevity in your finished piece.
Responsible craftsmanship means using the right amount of material and disposing of waste properly. I choose low-VOC, formaldehyde-free adhesives when possible, as they are better for my shop air and the environment. Stay curious about the science behind your materials, as this knowledge is what elevates simple projects into enduring work.
Deep Dive: Further Reading
- Are You Clamping Your Woodworking Too Long? | ProTradeCraft
- Effect of clamping time on glue strength? | LumberJocks Woodworking Forum
- How Long Do You Leave The Clamps On A Glue Up Project
- How long do I need to keep my glue up in clamps? – Ace Makerspace
- r/woodworking on Reddit: Glueing and clamping time
- Gluing & Clamping
- Effect of wood species, clamping pressure and glue spread rate on the bonding properties of cross-laminated timber (CLT) manufactured from tropical hardwoods – ScienceDirect
David is a veteran woodworker. He is now retired and stays in his cabin in Wisconsin which he built himself. David has 25+ years experience working in carpentry and wood shops. He has designed and built many small and large wood projects and knows the science behind wood selection like the back of his hand. He is an expert guide on any questions regarding wood material selection, wood restoration, wood working basics and other types of wood. While his expertise is in woodworking, his knowledge and first hand experience is far from 'woody'.