
Is Reclaimed Barn Wood Safe? A Real-World Materials Guide
You’ve found a beautiful old barn wood plank, but a nagging question stops you: is this material safe to bring into my shop and home? That caution is your best tool.
This guide cuts through the speculation. We will cover identifying lead paint and pesticide residues, testing for hidden contaminants, and proven shop methods for making old wood safe to work.
My advice comes from hands-on materials testing in my own shop, where I treat every salvaged board as a potential science project.
Your Barn Wood Safety Checklist: What to Look For First
Inspecting barn wood is like checking a board for square. You need a method. Before you load a single plank, run through this three-point checklist. Treat it as a mandatory shop practice.
The hazards fall into three categories.
- Lead Paint
- Old Wood Treatments
- Pesticide or Oil Residues
Lead paint creates toxic dust when sanded. Old chemical treatments like creosote can off-gas fumes for decades. Pesticide residues pose a risk through skin contact or airborne particles. Your goal is to identify these risks before they enter your workspace.
My rule is simple: if a board is heavily coated in flaking paint or has a strong, unnatural odor, leave it where it lies. The character of the wood is never worth compromising your shop’s safety or your family’s health.
The Lead Paint Problem: More Than Just Color
Many woodworkers look for white paint and think they’re safe. That’s a mistake. Historic barns used lead pigments in many colors, especially the classic reds, oranges, and yellows. I’ve tested vibrant red boards that came back positive immediately.
Look for visual tells. Aged lead paint often cracks in a distinct “alligatoring” pattern. It can feel chalky and leave a residue on your fingers. Any board with multiple, thick layers of old paint is a prime suspect.
The most dangerous thing you can do is sand or dry-scrape this wood, launching invisible lead dust into the air. This dust settles on every surface and is easily inhaled. Once lead paint is identified, your entire approach to handling the wood must change.
Chemical Treatments: Arsenic, Creosote, and Pentachlorophenol
Barn wood wasn’t just painted. It was often pressure-treated with heavy-duty chemicals to resist rot and insects. Be extra cautious with wood from specific locations.
Old utility poles, railroad ties, foundation sills, and livestock pen boards are highest risk. These were treated with compounds like creosote (a tar distillate) or pentachlorophenol.
The signs are sensory. The wood may have an oily or sticky feel. Look for a deep, penetrating dark green or brown stain. The smell is the biggest giveaway, a strong, acrid, chemical or tarry odor that persists.
If it smells like a railroad tie or telephone pole, treat it like one and don’t use it indoors. These chemicals can slowly vaporize at room temperature, and you don’t want to breathe them in your living room.
Pesticides and Fertilizers: The Invisible Risk
This is the toughest hazard to spot. Over decades, barn wood can absorb spills from stored chemicals. Think about the history. Was this wood part of a grain bin floor where pesticides were stored? Was it a mixing station for farm chemicals?
Visual clues are often nonexistent. The science here is about absorption and porosity. Oils and solvents soak into the wood fibers. You’re relying on context and sometimes, a faint, unusual odor. It’s similar to the penetation of wood stains, where color is absorbed rather than just sitting on the surface.
I am very cautious with wood from areas where agricultural chemicals were handled or stored. I also consider the properties of wood treatment chemicals—how they resist moisture and potential leaching. These properties help me decide outdoor-use suitability and safety. When in doubt, I classify it as outdoor-use only, for something like a garden planter where exposure risk is minimal.
How to Test Barn Wood Before You Bring It Into Your Shop
Inspection is step one. Testing is step two. For any project where the wood will live indoors, testing is not optional. It’s as essential as wearing safety glasses.
Lead Paint Test Kits: A Shop Essential
I keep 3M LeadCheck or D-Lead swabs in my shop kit. They’re reliable and give results in minutes. The process is straightforward but must be done correctly.
- Put on nitrile gloves.
- Use a utility knife to score through all layers of paint down to bare wood. You need to test the bottom layer.
- Crush the swab tip as directed and apply it to the scored area, ensuring the liquid contacts the paint dust.
- Watch for a color change (usually to red or pink) as indicated on the kit.
Always test in multiple spots, especially where the paint is thickest and most weathered. A negative test on one chip doesn’t guarantee the whole board is clean.
Lab/Shop Requirements for Testing
To do this right, you need a few simple items.
- Lead test swabs (two per board is smart)
- A sharp utility knife
- Nitrile gloves
- A clean, disposable surface (like a piece of scrap cardboard)
Understand what a positive test means. A positive test on the surface means the wood underneath is contaminated with lead dust from decades of paint degradation. You cannot simply “remove the paint” and have safe wood. The entire piece requires specialized handling.
When to Send a Sample to a Professional Lab
DIY swabs only test for lead. For other contaminants, you need a lab. Send a sample in these scenarios.
- The wood has no paint, but was in ground contact or near heavy chemical use.
- You suspect pesticide or fertilizer absorption.
- The project is commercial or for a client, requiring documented proof of safety.
The process involves collecting a tablespoon of sawdust from a suspect area, sealing it in a plastic bag, and sending it to an environmental testing lab. A search for “environmental lab” and your city will find one. A basic pesticide panel might cost between $50 and $150, with results in a week or two.
Think of DIY vs. lab testing like a hand plane versus a thickness planer. The swab is your quick, essential hand tool for the obvious job. The lab is the powerful machine you bring in for the tricky, hard-to-read material that needs definitive answers.
Handling and Cutting Reclaimed Wood: The Safe Shop Setup
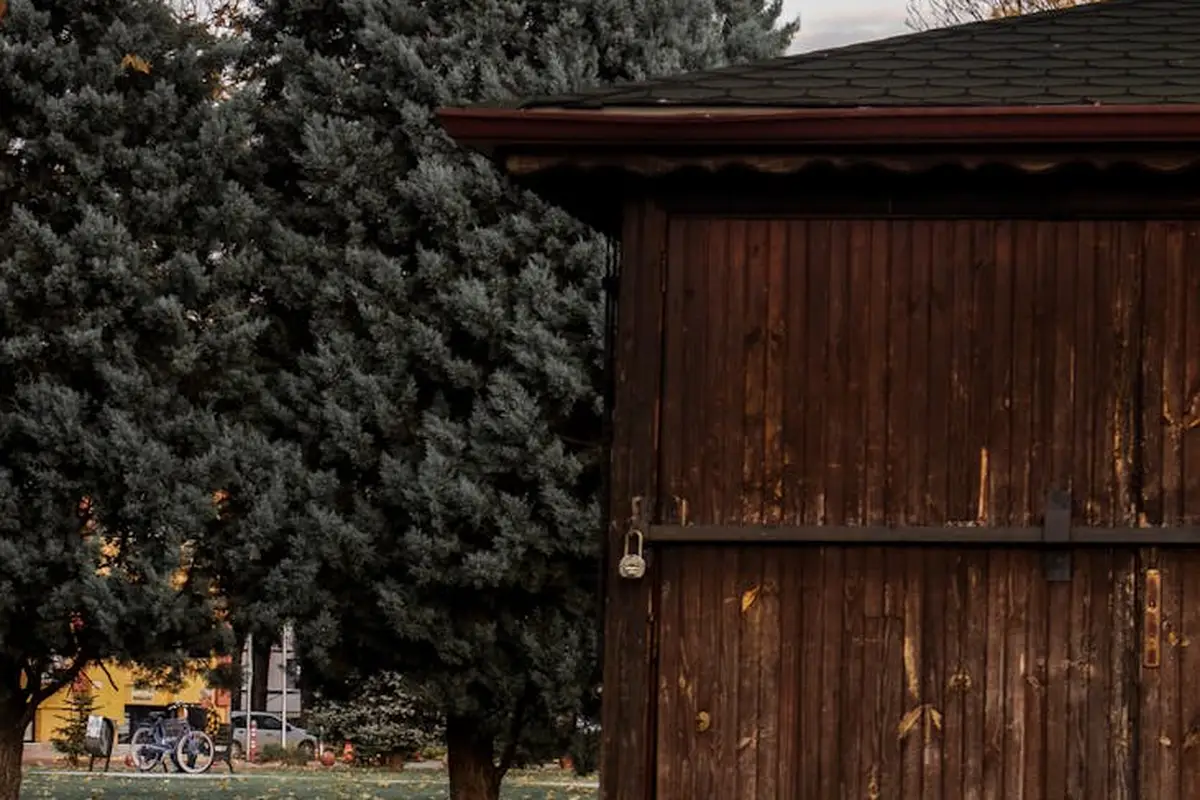
When you start working this material, your single goal is to control what gets in the air and what gets on you. Sawing and sanding turn hidden hazards into breathable dust. Your shop setup must be a containment zone first, a workshop second.
Toxicity & PPE: Your First Line of Defense
Think of your safety gear as non-negotiable shop tools. For reclaimed wood, standard dust masks fail. An N95 filters 95% of particles, but a P100 filters 99.97%. That missing percentage is where the smallest, most dangerous particles live. For any sanding or sawing of unknown wood, a tight-fitting P100 respirator is your minimum requirement.
Your skin is a pathway too. I wear heavy-duty nitrile gloves and a set of coveralls that live in the shop. They get washed separately from my family’s laundry. This seems extreme until you see the grey water runoff from washing your hands after handling old barn board.
The most critical rule is simple: no food, drink, or tobacco in the work area. It’s too easy to transfer dust from your hands to your mouth. I keep a water bottle outside the door and wash my hands thoroughly before any break.
Containment and Dust Collection Tactics
The best dust collector is the outdoors. If you can set up a work table in a well-ventilated outdoor space, do it. Wind carries the dust away from your breathing zone. Indoors, you must engineer containment.
I attach my random orbital sander directly to a shop vacuum with a HEPA filter. For cutting on the miter saw, I built a simple three-sided box from scrap plywood behind the saw to catch the spray of chips. A cheap box fan with a furnace filter taped to it can help capture airborne particles, but it’s a supplement, not a solution.
Sometimes, the best tactic is to not make dust at all. For painted wood, a quality paint stripper can lift the hazard off in a gel, which you then scrape into a bag for disposal. For smoothing, try wet-sanding with a lubricant like water or mineral spirits to keep particles from becoming airborne. My rule is straightforward: if you can see dust hanging in a sunbeam, your containment has failed and your respirator is now your only defense.
Making Contaminated Wood Safe for Your Project
Not all barn wood is a biohazard. You must decide if a piece is worth the effort. Wood saturated with oil, heavy mold, or flaking lead paint on all surfaces often belongs in the landfill. A board with surface grime, minor paint spots, or that wonderful gray patina can be managed with the right process.
Cleaning and Sealing Strategies That Work
If you’ve confirmed lead paint and are determined to keep the wood, you cannot sand it off. Your only safe option is encapsulation. This means creating a permanent, physical barrier over the paint. You can face-nail a new layer of clean wood over it, or use a specialty encapsulant primer designed to lock in lead. These primers are thick, like pancake batter, and form a tough membrane.
For wood that’s just dirty or has unknown surface residues, a deep clean is step one. I use a solution of TSP (trisodium phosphate) substitute mixed with warm water. Scrub it in with a stiff nylon brush, let it sit for ten minutes, then rinse thoroughly with a hose or damp rags. Let the wood dry completely for several days. Once the wood is dry, you’ll be ready to prepare a clean treated wood surface for finishing. This prep helps coatings bond evenly and last longer. Remember, this cleaning only removes surface contaminants; it does nothing for chemicals like creosote or pesticides that have soaked deep into the wood fibers over decades.
Which Finishes Lock Contaminants In Best?
The finish you choose is your final seal. You need a film-forming finish that cures into a solid, impermeable layer. Penetrating oils and waxes are terrible for this job-they soak in and look beautiful but offer zero containment.
For the strongest seal, a two-part epoxy coating is the gold standard. It creates a plastic-like shell that nothing gets through. For less extreme cases, shellac is a phenomenal and often overlooked barrier. Shellac’s alcohol solvents evaporate, leaving a resinous film that bonds tightly and blocks moisture and vapor transmission effectively. Think of it like this: you need the impervious surface of a laminate countertop, not the porous, receptive surface of an oiled cutting board.
Final Verdicts: When to Use Barn Wood and When to Avoid It
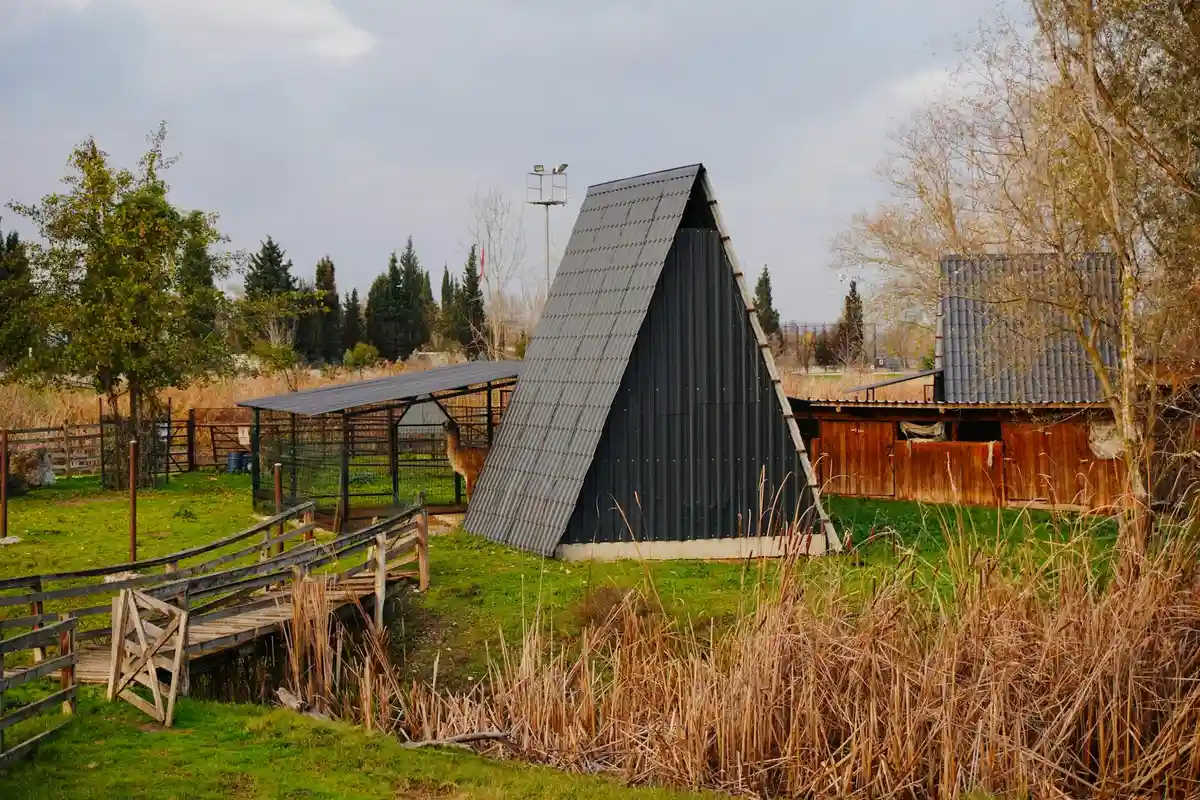
You need clear rules, not vague cautions. My guidance comes from testing wood in the lab and working with it in the shop. These are the lines I will not cross in my own work.
Safe Uses for Tested and Clean Barn Wood
Think of cleaned, tested barn wood as a specialty material for specific jobs. Its best uses play to its history while controlling the risk.
- Furniture Frames and Hidden Structure: Use it for the skeleton of a cabinet or the back panel of a bookshelf. Once encapsulated by joinery and clean wood faces, it poses no risk.
- Wall Paneling or Accent Walls: This is a classic use. The critical step is sealing it completely with a high-quality primer and paint or a thick film-forming polyurethane. This creates a permanent barrier between any residual dust and your living space.
- Outdoor Raised Garden Beds: Only use wood you are certain was never treated with pesticides or preservatives. Old-growth heartwood from a barn’s frame can last for years. Avoid using any painted pieces outdoors, as weathering will break down the finish.
- Decorative Accents: Picture frames, small shadow boxes, or rustic signs are low-risk projects. The wood volume is small, and handling is minimal once finished.
For a dining table or a child’s toy, use new, certified wood. The risk isn’t worth the character. These items see constant contact, abrasion, and potential moisture. You cannot guarantee a finish will never wear through or that a child won’t chew on a corner.
The Absolute “No”: Burning Treated Wood
This is non-negotiable. Burning old barn wood is an environmental and health hazard. The chemistry is straightforward and dangerous, especially when compared to burning other scrap wood.
Heat in a fire breaks down complex chemical compounds. Pressure-treated wood containing arsenic releases arsenic trioxide gas. Wood treated with older pesticides can release dioxins. You are not just burning wood; you are operating a toxic incinerator.
These toxins don’t just vanish. They concentrate in the ash and become airborne in the smoke. This contaminates your soil and enters the lungs of everyone nearby.
Fireplace ambiance is not a valid use for wood of unknown origin. If you cannot 100% identify the wood species and its treatment history, it does not go in a firepit, wood stove, or fireplace. Use only seasoned, known firewood.
How to Source Safer Reclaimed Wood
Your best defense is choosing better wood from the start. Be a detective, not just a customer.
Seek out wood from deconstructed homes and factories rather than old barns. Floor joists, subflooring, and interior beams from pre-1950s homes often have tighter growth rings and were less likely to be treated with harsh chemicals compared to agricultural wood. I’ve found pristine, untouched longleaf pine this way, which is known for its sustainability and lifecycle benefits.
Ask your supplier specific questions. A reputable dealer will know the building’s origin. Ask, “Was this a tobacco barn or a equipment shed?” and “Has this batch been tested for lead?” Their willingness to answer tells you everything.
Look for wood with original mill marks, like circular saw kerfs or planer marks, and no old finish. This often indicates it was a structural timber, never painted or sprayed. It’s your safest bet for clean, solid wood. A board with thick, alligatored paint is a project in itself; a board with just patina and saw marks is ready for the shop.
Reclaimed Barn Wood Safety: Frequently Asked Questions
Are there specific types of barn wood that are more likely to be contaminated?
Yes, wood from specific structural roles presents higher risk. Prioritize testing for wood used as foundation sills, in livestock pens, or material repurposed from railroad ties and utility poles, as these were commonly treated with persistent chemical preservatives. Pressure-treated wood can be misleading in terms of toxicity, so knowing the source is crucial.
What safety precautions should I take when handling or cutting reclaimed barn wood?
Assume all dust is hazardous. Your minimum protection must include a P100 respirator, nitrile gloves, and coveralls, coupled with aggressive HEPA dust collection or outdoor work to control airborne particulate.
Can reclaimed barn wood be used safely for indoor projects like furniture or wall paneling?
Yes, but only after confirmed testing and proper encapsulation. For furniture, use it in enclosed frames; for paneling, seal it completely with a film-forming finish like shellac or polyurethane to create a permanent vapor barrier.
How should I clean and treat reclaimed wood to make it safe for use?
Surface contaminants respond to scrubbing with a TSP-substitute solution, but this does not remove absorbed chemicals. Understanding wood surface prep and how stain absorption works helps explain why some residues remain embedded in the wood. The final, critical step is applying an impermeable, film-forming finish to encapsulate any remaining residues within the wood matrix.
Is it safe to burn reclaimed barn wood in a fireplace or fire pit?
Absolutely not. Combustion violently breaks down chemical preservatives and pesticides, releasing concentrated toxins like arsenic or dioxins into the air you breathe and contaminating the ash.
Ensuring Safety in Every Reclaimed Wood Project
I always test for lead-based paint first on any reclaimed barn wood. This step is non-negotiable in my shop because lead dust is invisible and toxic. Use an EPA-approved test kit on multiple paint layers to get accurate results. If lead is present, I either remove it professionally or seal it completely before proceeding.
Choosing reclaimed wood supports sustainable forestry by giving old materials new life. I continually research wood treatments and safety gear to keep my workshop both eco-friendly and hazard-free.
Related Guides and Information
- Is Reclaimed Wood Safe? – Rockin’ Wood
- All American Reclaim | Reclaimed Barn Wood, Lumber & Antiques
- Reclaimed – Barn Wood – The Home Depot
- 8 Issues with Reclaimed Barn Wood – Log Siding, Paneling, Railing, …
David is a veteran woodworker. He is now retired and stays in his cabin in Wisconsin which he built himself. David has 25+ years experience working in carpentry and wood shops. He has designed and built many small and large wood projects and knows the science behind wood selection like the back of his hand. He is an expert guide on any questions regarding wood material selection, wood restoration, wood working basics and other types of wood. While his expertise is in woodworking, his knowledge and first hand experience is far from 'woody'.