
How Does High Humidity Sabotage Wood Finish Drying and Curing?
You see the blush in your lacquer or feel the tack in your varnish on a muggy day. I see a clear collision between your finish chemistry and the water vapor in the air.
We will move past guesswork to explain the mechanisms and solutions. This article provides the physics of solvent evaporation in humid air, how moisture blocks critical cure reactions, and reliable shop-tested methods for any season.
My conclusions are built from material tests in my own climate-controlled shop and repairing humidity-related finish failures for years.
The Physics in Your Finish: How Humidity Slows Solvent Evaporation
Think of your wet finish as a crowded room where everyone wants to leave. The solvent molecules, like mineral spirits or alcohol, are the people trying to get out the door. Water vapor molecules in humid air are another crowd milling around outside. In high humidity, that exit is completely blocked.
This collision course drastically slows down how fast the solvents can evaporate into the air.
Woodworkers need a useful term for this: partial pressure. It’s just a measure of how “full” the air is with a specific vapor. At 80% relative humidity, the air is 80% “full” of water vapor. There’s very little room left for anything else. The solvents from your finish have nowhere to go. In a workshop, those solvents are VOCs—volatile organic compounds that can affect air quality. Recognizing their behavior helps you choose safer wood finishes and proper ventilation to reduce exposure.
The time difference isn’t minor. A coat of shellac, which might be dry to the touch in 20 minutes at 40% humidity, can stay tacky for over an hour at 80% humidity. Fast-drying lacquers behave similarly. The practical result you’ll feel in the shop is a surface that refuses to set up.
You’re left with a film that stays soft, sticky, and vulnerable to dust settling in it for hours longer than the product label claims.
The Mechanism: A Traffic Jam of Molecules
High humidity doesn’t just affect the whole room. It saturates the thin boundary layer of air directly clinging to your project’s surface. This is the only zone where evaporation happens.
The rule in your shop is simple: if this microscopic layer of air is already packed with water, it has zero capacity to accept solvent vapor.
The solvents are trapped. They can’t transition from a liquid in the finish to a gas in the air. This is why moving air with a fan helps but doesn’t solve the core problem. You’re just blowing more water-saturated air over the finish.
The Chemistry in Your Finish: How Humidity Sabotages Cure Reactions
Drying and curing are not the same. “Dry to the touch” means the solvents have evaporated. “Fully cured” means the finish resins have completed their chemical reactions into a hard, durable film. Humidity attacks both stages.
This is critical for common oxidative-cure finishes like oil-based polyurethane and traditional varnishes. Their hardening requires a chemical reaction with oxygen from the air.
For Oil-Based Finishes: Oxygen Can’t Get Through
Here’s where the physics creates a chemistry problem. The slow evaporation in high humidity leaves a surface layer that is still soft and gummy.
This uncured, sticky surface acts like a plastic barrier, sealing the still-soft finish underneath and preventing oxygen from penetrating to fuel the cure reaction.
You can end up with a finish that is dry on top but remains soft underneath for days or even weeks. This leads to poor durability, a surface that dents easily, and a risk of the film wrinkling as the bottom finally cures and shrinks.
For Water-Based and Moisture-Cure Finishes: Too Much of a Good Thing
Water-based finishes cure by coalescence. The water evaporates, and the plastic resin particles fuse together. In very high humidity, the surface water can evaporate slowly while ambient moisture interferes.
Excessive moisture can cause the topmost layer to cure too quickly, forming a skin that traps water and solvents beneath it.
This often results in a milky haze called “blushing” and can cause the film to crack or peel as the trapped liquids eventually escape. For the specialized moisture-cure urethanes, which rely on a precise amount of water vapor to trigger their reaction, high humidity can force an unpredictable, often too-fast cure, ruining the finish’s performance.
Which Finishes Panic in High Humidity? A Susceptibility Guide
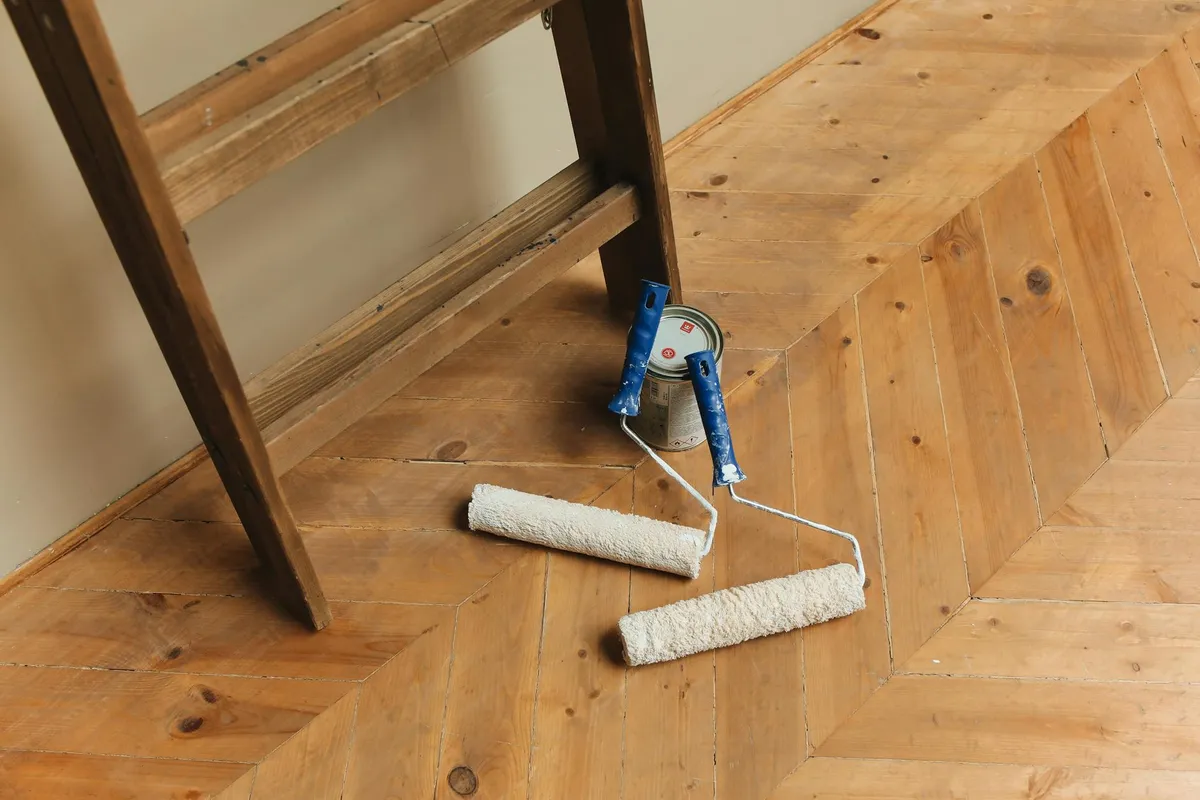
Not all finishes react the same way to muggy air. The problem is two-part: how fast the solvents leave (evaporation) and how the finish hardens (cure). Here’s a simple ranking from most to least sensitive.
On a very humid day, put these finishes back on the shelf:
- Lacquer (spray can or brush-on)
- Shellac (especially dewaxed blond shellac)
- Oil-based polyurethane and varnish
Most Sensitive: Lacquer and Shellac
Think of lacquer and shellac as sprinters. They dry almost entirely by the lightning-fast evaporation of their solvents (like alcohol or lacquer thinner). High humidity throws a wet blanket over this race, literally. The air is already saturated with water vapor, leaving no room for the finishing solvents to escape into the atmosphere.
This immediate traffic jam causes “blushing.” Water vapor gets trapped in the drying film, scattering light and creating a permanent, milky-white haze. I’ve seen it happen on a sprayed lacquer piece in under two minutes when my shop humidity spiked above 75%.
Very Sensitive: Oil-Based Polyurethane and Varnish
These finishes are marathon runners with a complex two-stage process. First, solvents (mineral spirits) evaporate to leave a wet film. Then, the finish cures through a chemical reaction with oxygen in the air.
Humidity attacks both stages. First, water-laden air dramatically slows the initial solvent evaporation. The surface stays gummy. This sticky skin then seals the wet finish beneath it, blocking the oxygen needed for the crucial hardening cure. The result is a finish that stays soft, tacky, and easily dented for days or even weeks. You can test this by gently pressing a knuckle into the surface after 24 hours; if it gives, the cure was stalled.
Less Sensitive (But Not Immune): Water-Based Finishes
Water-based polyacrylics and acrylics are in a different category. Their solvent is primarily water, so high ambient humidity slows its evaporation less drastically than it does for chemical solvents.
Their main enemy is “water trapping.” In extreme humidity, the water in the finish can’t evaporate quickly enough. The surface may form a skin while the layer underneath remains wet. This leads to cloudiness and poor cohesion. You’ll also see more “orange peel” texture because the finish doesn’t have time to flow out smoothly before it sets.
Reading the Results: Common High-Humidity Finish Defects
When a finish fails in humidity, it leaves clear clues. Here’s how to diagnose the problem by looking at the result.
Blushing: The Chalky White Haze
If you see a uniform white, chalky cloud over your finish, the problem is rapid solvent evaporation into saturated air. This is almost exclusively a lacquer and shellac issue. The science is straightforward: evaporating solvents cool the finish surface. This causes airborne water vapor to condense right into the uncured film, where it gets locked in as microscopic droplets.
Orange Peel, Poor Flow, and Brush Marks
If your finish has a bumpy texture like an orange’s skin, or brush marks that refuse to level out, the problem is a skin forming over slow-evaporating solvents. This happens with oil-based and water-based finishes in high humidity. The top surface dries just enough to form a membrane, but the liquid underneath can no longer flow to smooth itself. The finish cures with its uneven application texture permanently locked in.
Gummy, Soft, or Tacky Surfaces Days Later
If your oil-based polyurethane is still soft enough to leave a fingerprint after 48 hours, the problem is a blocked oxidative cure. The initial solvent evaporation was too slow, creating a surface barrier that prevented oxygen from penetrating. Without oxygen, the long-chain polymers that create a hard film cannot form. This finish will never reach its full hardness and will remain vulnerable.
Cloudiness in Water-Based Finishes
If a water-based finish dries with a milky, opaque cloudiness within the film, the problem is trapped water. This isn’t surface blush. It’s water that was trapped *inside* the finish layer because the outer surface cured and sealed it in. It’s a sign the relative humidity was simply too high for the water to escape through the forming film before it closed up.
Your High-Humidity Finishing Protocol: A Step-by-Step Workflow
When the humidity climbs, your normal routine will fail. Follow this procedure exactly on any day your hygrometer reads above 65% relative humidity. This isn’t a suggestion, it’s shop law.
Step 1: Climate Control is Not Optional
You must command the air in your finishing space. This means running a dehumidifier or air conditioner to pull moisture out. Controlling the environment is the single most effective action you can take to guarantee a good finish. If controlling your entire shop is impossible, build a small sealed enclosure-a plastic sheet tent over your workbench with the dehumidifier inside works.
I once tried to shortcut this by finishing in my garage with just a fan. The result was a permanently cloudy lacquer finish, a mistake that took hours to sand out and redo.
Step 2: Warm Your Materials, Not Just the Air
Bring your wood project, your cans of finish, and your application tools into the climate-controlled space at least 24 hours before you start. Everything must reach the same temperature. Applying a warm finish to warm wood prevents immediate condensation when the cooler liquid hits the surface, which is a primary cause of “blush” in lacquers. If you’re weighing lacquer versus shellac finishes, note that they react differently to moisture and temperature, which can impact drying and finish clarity. Think of a cold soda can on a hot day-you don’t want that sweat happening on your fresh coat of varnish.
Step 3: Adjust Your Application Technique
Your brush strokes or spray passes need to change. Apply thinner coats than usual. A thick film traps solvents and water vapor underneath, creating a longer, riskier drying window. A thin coat gives volatiles a clear, short path to escape into the air. Then, you must wait. The “flash-off” time on the can is for ideal conditions. In high humidity, double or even triple that time between coats. Rushing here ruins everything.
Step 4: The Extended Cure Sanctuary
The final coat is not the finish line. The chemical cure-where molecules cross-link for full hardness-takes far longer than surface dry. Your piece must remain in its controlled, dry sanctuary for the entire cure duration, which can be days or weeks longer than the label states (even more so for stain and polyurethane finishes). Moving it to a damp basement or garage right after it feels dry to the touch is a classic error. The finish will remain soft and vulnerable, often absorbing moisture and becoming cloudy or tacky.
Tools of the Trade: Monitoring Humidity and Choosing Products
You can’t manage what you don’t measure. Having the right tools and product knowledge turns a frustrating battle into a controlled process.
How to Measure Your Shop’s Humidity Accurately
Forget analog gauges. Buy an affordable digital hygrometer. Place it at your workbench height, away from direct airflow from doors or windows. Check it at the same time each day you plan to finish to learn your shop’s patterns. The rule is simple: if it reads above 65% relative humidity, follow the protocol before you even open a can of finish. This number is the trigger for action.
Are There “Humidity-Fighting” Finishes and Additives?
Some products offer help, but they are not magic. For solvent-based lacquers, you can use a “retarder” or “slow” solvent additive. It slightly delays evaporation, allowing the finish to flow out more before surface skin forms, which helps prevent moisture entrapment and blush. Some polyurethanes and varnishes are marketed as “all-weather” or “moisture-tolerant.” These finishes are more forgiving, but they are not immune to the laws of physics; they simply have a wider margin for error. Applying lacquer wood techniques hinges on solvent choices. Thinning and timing with the solvent system influence flow and cure during application.
For persistently humid environments, consider switching the chemistry altogether. A catalyzed finish like a pre-catalyzed lacquer, a two-part epoxy, or a conversion varnish cures through an internal chemical reaction, not just solvent evaporation. Since their hardening is less dependent on atmospheric conditions, they provide a much more reliable result when you’re fighting constant moisture in the air.
When to Walk Away: The No-Go Conditions for Finishing
You can have the perfect technique and the best finish money can buy. In high humidity, it won’t matter. Applying a finish is a chemical handshake between your product and the wood’s surface. Humidity can break that handshake before it even starts, especially when oil finishing wet wood.
My rule is simple: if the conditions are wrong, stop. Wait. Forcing the issue guarantees a repair job later. We’ll use two fail-safe checks: a hard number from a hygrometer and the direct feedback from the wood itself.
The Hard Line: Humidity Above 75-80%
Here is your non-negotiable rule. When your shop’s relative humidity (RH) climbs above 75-80%, do not apply solvent-based lacquers, shellacs, or conversion varnishes.
The reason is physics. These finishes cure as their solvents evaporate. High humidity slows solvent evaporation dramatically. It’s like trying to dry a towel in a steam room. The slower the solvents leave, the longer the finish film stays soft and vulnerable.
Worse, cooling from evaporation can chill the surface below the dew point. This causes microscopic moisture from the air to condense right into your wet finish. The result is a milky, cloudy haze called “blushing” that is permanently locked in. Once blush forms in a solvent-based film, you must sand it completely off and start over.
Water-based finishes are more tolerant, but they have a related enemy: slow water evaporation can lead to poor film formation and a weak, cloudy surface. My advice is conservative. If your meter reads above 75% RH, put the brush down. It’s not a challenge; it’s chemistry.
The Wood’s Warning Sign: A Damp Surface Feel
Your hygrometer gives you the big picture, but the wood tells you the truth right now. Before you sand or finish, place the back of your hand on the wood surface.
Feel it. If the wood feels distinctly cool or, worse, clammy to the touch, you have a problem. That cool feeling means the wood’s surface temperature is at or below the dew point. Moisture is actively condensing on it, just like water beads on a cold drink glass.
Sanding at this point will drive that condensed moisture into the wood fibers. Applying a finish will trap it there. You are literally sealing water under your finish, inviting future finish failure and wood movement. Before you oil, take time for surface preparation: wipe away dust, dry the surface, and ensure it’s smooth. This prep sets a solid base for an even oil finish. Trust your hand more than your schedule. If the surface feels damp, your first coat is already compromised.
Your final indicator is the wood’s own stability. In my shop, if a panel that was flat yesterday now has a slight cup or twist, the humidity has spiked and the wood is absorbing moisture. Finishing over moving wood is a waste of time.
The wood’s condition is the ultimate guide. If the wood isn’t happy, your finish won’t be either. Let everything acclimate, or wait for a better day. For pine, surface prep matters—lightly sand to smooth the grain and wipe away dust. A clean, evenly prepared pine surface helps the finish adhere and look its best.
FAQ: Finishing Wood in High Humidity
How can I accurately monitor humidity in my workshop before finishing?
Use a digital hygrometer placed at workbench height, away from drafts, to measure relative humidity (RH). Trust this tool; do not proceed if RH exceeds 65-70%, as this threshold triggers evaporation and cure delays.
Are there finishes or additives specifically designed for high-humidity conditions?
Retarder solvents for lacquers and “all-weather” varnishes offer some tolerance, but catalyzed finishes like two-part epoxies are more reliable. Their internal chemical cure depends less on atmospheric conditions, reducing humidity-related risks. This makes catalyzed finishes a preferred choice for professionals.
What are the most immediate visual clues of humidity-related finish failure?
Watch for blushing (a milky white haze) in lacquers or shellacs, and orange peel texture in oil-based films. These defects signal trapped moisture or poor flow from slowed solvent evaporation.
Which finish chemistries are most risky to apply in high humidity?
Avoid solvent-evaporative finishes like lacquers and shellacs, plus oxidative-cure oils like polyurethane. Their reliance on rapid solvent release or oxygen access makes them highly susceptible to humidity-induced slowdowns and defects.
What is the critical first step for successful finishing in humid conditions?
Actively control the air with a dehumidifier or air conditioner to lower RH below 65%. This environmental command is non-negotiable, as it addresses the root cause of both evaporation and cure problems.
Mastering the Moisture for a Lasting Finish
Humidity controls the clock on every finish you apply. Your single most critical task is to manage the air’s water vapor before you ever open a can. I prioritize dehumidification or timing my work for the driest part of the day to let solvents escape and polymers link. This direct control is what separates a resilient, glass-smooth surface from a forever-tacky one.
Select finishes from companies that source materials responsibly and support forest health. Your craft benefits when you respect the science behind the wood and its protection. Also, consider how finishes impact environmental footprint and VOC emissions. Choosing low-VOC options helps protect indoor air and forests.
Related Guides and Information
- Finishing and Humidity | Woodworking Talk
- Acceptable Moisture Levels in Wood: A Comprehensive Guide
- How Dry is Your Wood?
- Humidity and Conversion Varnish Cure Time
- 4 Tips When Applying a Finish During Hot or Humid Weather | The Best Adirondack Chair Company
- Applying finish with humidity | LumberJocks Woodworking Forum
- curing oil based stains and urethane in high humidity? | LumberJocks Woodworking Forum
David is a veteran woodworker. He is now retired and stays in his cabin in Wisconsin which he built himself. David has 25+ years experience working in carpentry and wood shops. He has designed and built many small and large wood projects and knows the science behind wood selection like the back of his hand. He is an expert guide on any questions regarding wood material selection, wood restoration, wood working basics and other types of wood. While his expertise is in woodworking, his knowledge and first hand experience is far from 'woody'.