How Do You Properly Clean and Prepare Treated Wood for Finishing?
Applying finish to treated wood without proper prep is a recipe for failure. The surface chemistry is altered, and residues will repel your stain or sealant, leading to peeling and wasted effort.
We will cover identifying common treatment types, removing surface contaminants, choosing the right sanding approach, and scientifically testing for adhesion readiness.
My guidance is built on years of shop testing where I measure results, not just repeat old advice.
What Makes Treated Wood a Different Animal?
Think of pressure-treated wood like a sponge that’s been soaked in a chemical bath. The process uses high pressure to force waterborne preservatives, primarily copper-based compounds, deep into the very cells of the wood. This isn’t a surface coating. The chemicals are now part of the wood’s structure, making it challenging to dry or stain.
This creates three big differences from the untreated lumber in your shop.
- It’s wetter. The wood leaves the treatment cylinder soaking wet, often with a moisture content above 30%. That’s over twice as high as kiln-dried framing lumber.
- It’s chemically active. Those copper compounds are alkaline and can react with certain finishes, causing discoloration or failure.
- It has a waxy residue. Many treatments include a water repellent that leaves a waxy film on the surface to help with initial drying.
Moisture and reactive chemicals are the two biggest enemies of any paint, stain, or sealant trying to stick to the wood. If you finish over them, you’re just applying a decorative layer that will bubble, crack, and peel as the wood underneath changes. Understanding how the stain’s chemistry interacts with the wood and how deeply it penetrates can help you choose a product that lasts, rather than just sits on the surface. Penetration depth depends on moisture, wood species, and the stain’s solvents, so a proper selection matters.
The Golden Rule: Dry It Out First
Your first job is always to let the wood reach equilibrium with your local environment. Finishing wet wood traps moisture inside, guaranteeing finish failure. For a quick check, use the splash test. Sprinkle a few drops of water on the board. If the water soaks in quickly and darkens the wood, it’s likely dry enough. If the water beads up and sits on the surface, the wood is still too wet or the waxy residue is still present.
Drying times vary wildly. Fresh, green-treated lumber from the yard may need a full season (3-6 months) of proper stacking to dry. Older, grayed, and weathered deck boards might be ready in a week or two. The internal moisture you can’t see is what causes finishes to fail months after a perfect-looking application.
Best Practice Workflow: The Pre-Cleaning Dry-Out
Don’t sand or clean soaking wet wood. You’ll just clog your sandpaper and smear gunk around. Follow this order instead.
- Stick the wood in your shop or a covered, airy space off the ground. Use stickered spacing between boards to allow air flow on all sides. A garage or under a roof overhang works.
- Use a moisture meter for precision. Pin-type meters are best for treated wood. Your target is for the reading to be stable and within 2-3% of your region’s average exterior moisture content, which is often between 12-15%.
- Let it acclimate after washing or sanding. Even cleaning with water raises surface moisture. After you scrub or sand the wood, give it 24-48 hours in its dry location before applying any finish.
Choosing Your Cleaning Attack: Scrub, Sand, or Blast?

Your first move depends entirely on the wood’s condition. Here’s how I decide in my own shop.
- New, recently installed wood: Often just dusty. A stiff-bristle broom or dry brush sweep is enough before moving to sanding.
- Dirty from soil or light pollen: The soap-and-water scrub is your default. It’s reliable and safe.
- Mildewed or algae-spotted: You need a cleaner that kills the organism, not just bleaches it white. An oxygen-based wash is the scientific choice.
- Greasy or heavily soiled: A degreasing cleaner is required first. Soap alone will just spread the grease around.
Can you pressure wash wood? Technically yes, but I rarely recommend it. The pros are speed and power on heavily textured surfaces. The cons are significant. Too much pressure drives water deep into the wood, promotes grain raising, and can literally blast soft earlywood fibers away from the harder latewood, creating a rough, fuzzy surface—especially on pressure-treated wood. For most projects, the risk outweighs the reward.
That’s why the gentle scrub is the champion. It cleans the surface without damaging the wood’s cellular structure. Think of it like washing a car with a sponge, not a sandblaster.
How to Wash Treated Wood Without Damaging It
Gather your tools: a bucket, a soft nylon brush, a garden hose, and your cleaner. I strongly advise against chlorine bleach. It’s harsh, can weaken wood fibers over time, and is terrible for nearby plants. An oxygen-based cleaner (sodium percarbonate is common) is safer and more effective at breaking down organic stains, especially when removing stains from wood.
Follow these steps:
- Mix the cleaner with warm water in your bucket as directed.
- Wet the wood surface lightly with plain water from the hose. This prevents the wood from sucking the cleaning solution in too quickly.
- Apply the solution with your brush, working in manageable sections. Use a circular motion for stubborn spots.
- Let the solution dwell on the surface for 10-15 minutes. This dwell time is critical for the chemistry to work.
- Rinse thoroughly with clean water. Incomplete rinsing is the number one cause of finish adhesion failure later. Any cleaner residue will create a barrier.
- Allow the wood to dry completely. For decking, this usually means 48 hours of sunny, dry weather.
For mildew, the process is the same, but your cleaner choice is key. Oxygen-based cleaners react with water to form hydrogen peroxide, which oxidizes and destroys the mildew at a cellular level. Chlorine bleach just removes the color, leaving the root structure alive to regrow.
The Truth About Pressure Washing Ipe and Other Dense Woods
So, can you pressure wash ipe wood? You can, because its density (it sinks in water) makes it more resistant to water intrusion and fiber damage. But you must be surgical. Use a low-pressure tip (40-degree fan or wider) and keep the wand at least 12 inches from the surface. Move in smooth, consistent passes.
Here’s the shop truth they don’t tell you: pressure washing ipe still forces water into the grain. When that wood dries, the grain will raise significantly. You are trading five minutes of washing for an extra hour of sanding to get that glassy-smooth ipe surface back. I only use this method on heavily soiled ipe before a full resand, never as a simple cleaning step before a fresh coat of oil.
Sanding Treated Wood: The Great Debate
Can you sand pressure treated wood? Absolutely. Can pressure treated wood be sanded safely? That’s the real question, and the answer is a guarded yes with strict rules. Sanding is non-negotiable for a professional finish. It does three things mechanically that cleaning cannot.
- It removes the “mill glaze,” the slightly hardened surface from the planing process.
- It cuts away weathered, degraded wood fibers exposed to sun and rain.
- Most importantly, it opens the microscopic pores in the wood, creating a mechanical key for your finish to grip and penetrate.
My standard sanding sequence for vertical grain wood starts at 80-grit to level the surface, moves to 120-grit to remove the scratches from the 80, and finishes with 150-grit for a smooth, ready-to-finish surface. For cross-grain or rough lumber, you may need to start at 60-grit. Always sand with the grain, never across it, to avoid scratches that will telegraph through your finish. For a deeper dive into grit progression and finishing, our grit sandpaper wood finishing guide covers the details. It explains how to tailor grits to species and finish.
Toxicity & PPE: Your Safety Kit for Sanding
This is not a place for shortcuts. The preservative chemicals and the wood dust itself are respiratory irritants and can be hazardous. Your safety kit is not optional.
You must wear a NIOSH-approved N95 or, better yet, a P100 respirator. A basic dust mask filters large particles but not the fine, dangerous particulate. I use a half-face respirator with P100 cartridges specifically rated for wood dust. Safety glasses are essential to stop a rogue splinter. Gloves protect your hands from both chemicals and vibration.
I also keep a dedicated, long-sleeved shirt in my shop just for sanding treated wood. When I’m done, it goes straight into the wash, separate from my other clothes, to prevent spreading dust.
Your dust collection is part of your PPE. A standard shop vacuum just recirculates the finest, most dangerous dust. You need one with a true HEPA filter that traps 99.97% of particles. Connect it directly to your sander. This captures the dust at the source, protecting you and keeping your workspace clean.
Fixing the Surface: Dealing With Damage and Stains
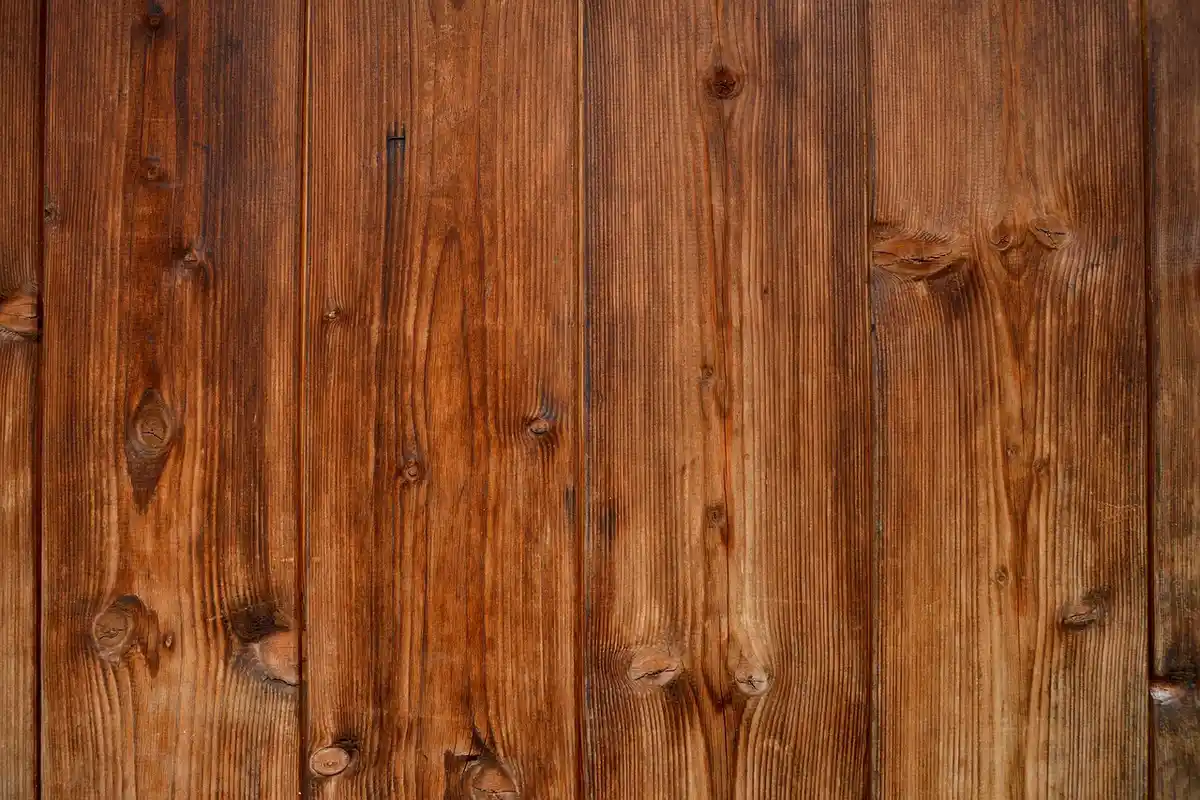
Pressure-treated wood is built to survive outdoors, not to look pretty. You will often find it stained, dirty, or with a failing old coat of paint. A simple sanding won’t fix these issues. You need to diagnose the problem first, especially when trying to seal or finish pressure-treated lumber.
For grease, oil, or deep black mildew stains, you need a chemical approach. I keep a wood brightener, which is typically an oxalic acid solution, in my shop for this. Oxalic acid is a bleaching agent that reacts with the stain molecules, breaking them down without damaging the wood fibers like aggressive sanding might. It is especially effective when used to remove oil stains from wood finishes.
To use it, mix according to the bottle’s directions, apply it to the stained area with a synthetic brush, and let it work for 10-20 minutes. You will see the stain lighten. Rinse thoroughly with water and let the wood dry completely for at least 48 hours before moving to sanding. Always wear gloves and eye protection.
Removing an old, failing finish is the next common hurdle. Your choice here is critical: sand or strip? I use this simple rule. If the old finish is thin, peeling, and mostly off, I sand. A random orbital sander with 80-grit paper will take it down to bare wood quickly. If the old finish is thick, gummy paint or multiple layers that clog sandpaper immediately, I use a chemical stripper.
A semi-paste stripper is my go-to. It clings to vertical surfaces and gives you time to work. Scrape off the sludge with a plastic putty knife to avoid gouging the soft wood. You will almost always need a follow-up sanding with 100-grit paper after stripping to remove the last residue and conditioners from the stripper.
Your Final Wipe-Down and Finish Readiness Check
After all sanding and repair, your wood looks ready. It is not. There is one non-negotiable, final step: the mineral spirits wipe. Dampen a clean, white rag with mineral spirits and wipe it firmly across the entire surface.
This does two things. First, it acts as a “truth teller.” Any remaining wax, oil, or sap contamination will become visible as a dark spot on your rag or a shiny patch on the wood. Second, it slightly raises the grain. The spirits swell the wood fibers, mimicking what your first coat of a water-based finish will do. Let it dry for 30 minutes, then lightly hand-sand those raised fibers with 220-grit paper.
Your wood is only ready for finish when it passes this five-point checklist: dry, clean, sanded, dust-free, and chemically neutral. “Chemically neutral” means all cleaning or stripping agents have fully evaporated. This can take 72 hours in good drying conditions.
For finishes, you have good and poor choices on treated wood. Penetrating oil-based finishes like a modified tung oil work well, as they soak in and flex with the wood. Proper application is key. Film-forming finishes like a high-quality acrylic latex or an oil-based porch and floor enamel are also excellent; they create a protective shell. I avoid any finish labeled “water-repellent” or “clear waterproofing sealant” as a top coat. These are usually waxy and prevent proper adhesion of any future finish. They belong on the wood before any other finish, not after.
Surface Preparation of Treated Wood: FAQ
How can I test if alkaline treatment chemicals are still active on the surface?
Apply a few drops of a 1-2% copper sulfate solution to an inconspicuous area; a rapid color change to reddish-brown indicates high alkalinity, signaling the need for further cleaning and neutralization with a commercial wood brightener. This simple chemical test is more reliable than visual inspection alone for predicting finish compatibility.
Does sanding strategy differ between weathered and newly dried treated wood?
Yes, heavily weathered wood requires aggressive grits (60-80) to remove degraded surface fibers and mill glaze, while new wood may only need lighter sanding (120-150) to open pores. Always proceed through a grit sequence to avoid embedding deep scratches that will compromise finish clarity and adhesion.
What is the best approach for repairing a damaged section before finishing?
For structural repairs, use an epoxy-based wood filler, as its moisture-resistant and stable chemistry bonds well with the preservative-laden wood. Surface-level imperfections are best addressed after final sanding with a solvent-based putty that accepts stain, ensuring a uniform final appearance. These principles also apply to repairing structural cracks in wood. For cracks, use a structural epoxy filler and follow the curing recommendations for a strong bond.
Why is professional repair for extensively damaged treated wood so costly?
High labor costs stem from the mandatory safety protocols (respirators, containment) for handling contaminated dust and the time-intensive multi-step process of repair, drying, and prep. Material costs are also higher for industrial-grade fillers and sealants designed for chemical compatibility with preservatives.
When should I hire a professional for surface preparation instead of DIY?
Engage a professional when dealing with large-scale remediation of heavily weathered or previously failed finishes, as they possess industrial equipment for efficient material removal and containment. Their expertise is critical for diagnosing complex adhesion failures and ensuring the prepared surface meets the specific requirements of your chosen high-performance finish system.
Final Thoughts on Treated Wood Preparation
The single most important rule is to remove all treatment residues for a bond that lasts. I scrub with a pH-neutral cleaner because it cuts through oils without harming the wood fibers. Let the wood dry to equilibrium moisture content; applying finish to damp wood guarantees premature failure. A meticulously clean, dry surface is the only reliable foundation for a durable finish on any treated lumber.
Select finishes that align with ethical sourcing, favoring products from suppliers committed to forest stewardship. Your project’s longevity grows when you pair careful preparation with ongoing learning about wood material science.
Deep Dive: Further Reading
- How to Finish and Seal Reclaimed Wood: A Step-by-Step Guide – Vintage Wood Products, LLC
- A Complete Guide to All Types of Wood Finishes | Octane Seating
- Clean Armor Wood Finishing Products