
How Do You Seal Pressure-Treated Wood for a Durable Outdoor Finish?
You’ve chosen pressure-treated lumber for its rot resistance, but that treatment doesn’t stop weathering. A proper seal is what keeps your deck from graying, cracking, and failing before its time.
Let’s walk through the science-backed steps I use in my shop. We will cover the critical waiting period before you apply anything, how different sealants bond with the wood’s chemistry, selecting a finish for sun or rain exposure, and my tested brush and roller techniques.
My recommendations come from physically testing sealants on pressure-treated samples and monitoring their performance for years.
Do You Really Need to Seal Pressure Treated Wood?
Walk through any lumberyard, and you’ll hear it. The idea that pressure-treated wood is “maintenance-free” is a stubborn myth. I’ve seen too many decks turn gray and splintery because of it, especially when people overestimate pressure-treated wood lifespan.
The preservative chemicals, like alkaline copper quat (ACQ), are fantastic at their job. They make the wood poisonous to fungi and insects, preventing rot and termite damage from the inside out. But that protection stops at the surface of the board.
Pressure treatment does nothing to guard against the two biggest enemies of outdoor wood: water and sun. The treatment protects the wood’s structure from biological attack, but it doesn’t change its fundamental nature. Wood is hygroscopic. It constantly absorbs and releases moisture from the air, which causes swelling, shrinking, warping, and checking (deep cracks). Exploring pressure treated wood properties helps explain why these changes occur in outdoor use. Even with treatment, its moisture-driven behavior governs swelling, shrinking, and warping over time.
Sunlight is just as destructive. Ultraviolet (UV) rays break down the lignin in the wood cells. Lignin is the natural glue that holds wood fibers together, similar to wood glue used in outdoor furniture for added durability. As it degrades, the surface becomes rough, gray, and brittle.
So, do you need to seal pressure treated wood? Absolutely. A proper finish isn’t about the rot. It’s your primary defense against weather-driven movement and solar radiation. The core purpose of any finish for pressure-treated lumber is to manage water uptake and block UV rays, preserving the wood’s surface and dimensional stability. UV exposure is a major driver of wood aging, leading to fading and cracking. A UV-protective finish slows this degradation and helps extend the wood’s life.
The Science of Pressure Treatment and Finishing
To finish it right, you need to know what you’re starting with. Pressure treatment is a physical process. Lumber is placed in a large cylinder, a vacuum removes air from the wood’s cells, and then the cylinder is flooded with preservative solution under high pressure. This forces the chemicals deep into the cellular structure, specifically into the hollow cell cavities called lumens.
When you buy it, the wood is “wet.” It’s full of that chemical solution and water. This is called its treatment retention. You cannot finish it in this state. The wood needs to dry, or “season,” to a moisture content suitable for your area, typically below 15%. I always check with a moisture meter. Sealing soaking-wet wood traps moisture inside, leading to finish failure and decay.
Mechanism of Action: Wood and Water
Think of a dry wood cell like a tiny, rigid straw. The cell wall can absorb a small amount of water and swell. The big hollow lumen inside can hold a lot of liquid water. When humidity is high, the cell walls absorb moisture and swell, the lumens fill, and the whole board expands. When it’s dry, the process reverses, and the board shrinks. This cycle creates stress, leading to warps and cracks.
A penetrating oil or water-repellent sealer works by filling those hollow lumens at the surface. It doesn’t seal the cell walls themselves, which is impossible. Instead, it creates a barrier inside the cell’s cavity. A good sealer occupies space in the wood’s pores so liquid water has nowhere to go, dramatically slowing its absorption and the resulting swelling.
Mechanism of Action: Wood and Sun
UV protection is a surface game. Finishes with UV inhibitors or solid pigments (like stains) act as a sunscreen. The pigments, such as iron oxide in a cedar-tone stain, absorb and scatter UV radiation before it can break down the lignin. A clear film-forming finish, like a spar urethane, also blocks UV rays but can fail more visibly by peeling. A penetrating stain with pigment often weathers more gracefully, simply fading over time instead of peeling.
Here’s the practical takeaway. The pressure treatment defends the core. Your finish defends the surface. You need both for a long-lasting, stable outdoor project. Let the wood dry, then apply a finish designed to repel water and block UV light. Your deck will look better and last decades longer.
When is Pressure Treated Wood Ready to Seal?
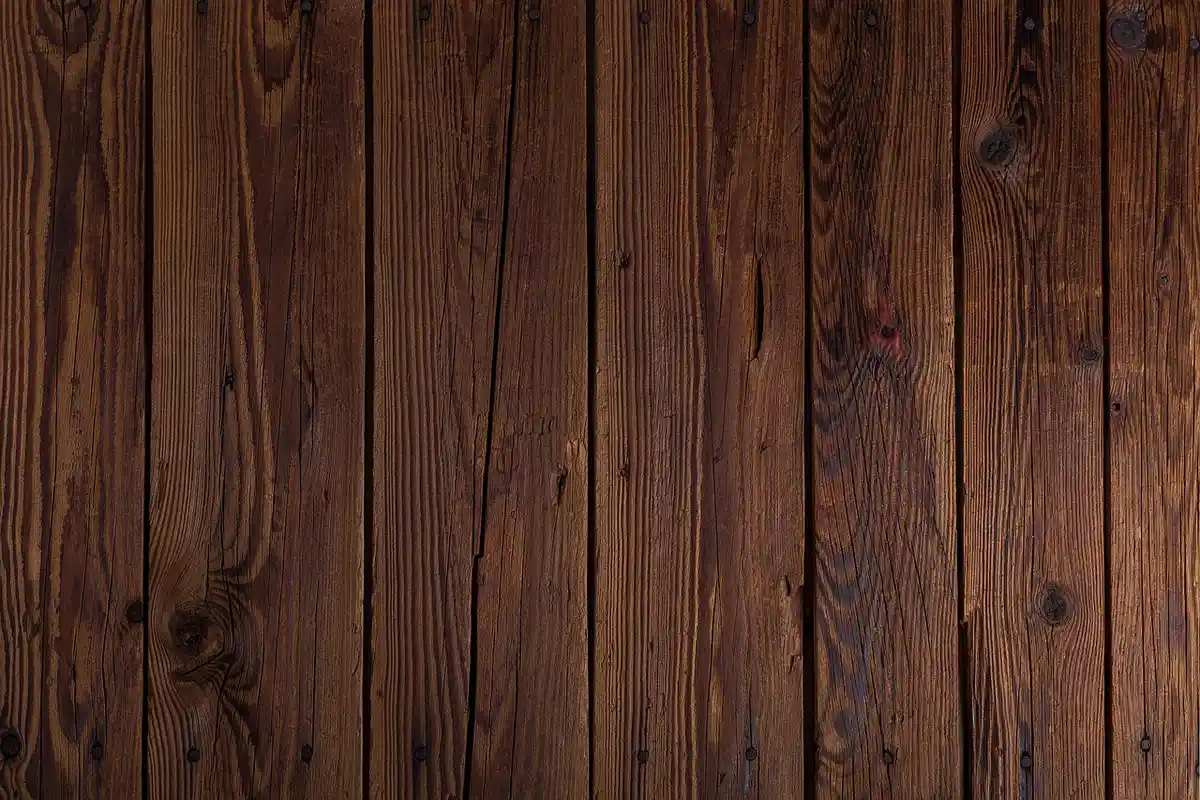
Applying finish to wet wood is the most common mistake I see. The sealant gets trapped on the surface and fails within a year. Forget any calendar rule you’ve heard. The only reliable method is the splash test: sprinkle water on several boards. If the water beads up, the wood’s cellular structure is still saturated. If it darkens the wood and soaks in within 10 minutes, it’s ready.
Why does this work? Pressure treatment forces preservative chemicals and water deep into the wood. That water must evaporate to create space for your finish to penetrate. Drying isn’t fast. For standard 5/4 decking in a humid climate, it can take 4-8 weeks. In the arid southwest, maybe 2-3. A thick 6×6 post can hold moisture for months.
This answers the frequent question, “How long after installing my new deck can I stain?” The answer is always: test it. A deck built in spring may be ready by late summer. One built in fall might wait until the next spring. Rushing this step wastes time and money.
There’s one more preparation step most people miss. New pressure-treated lumber often has a waxy “mill glaze” on the surface from treatment chemicals. This glaze can also block your finish. I scrub the wood with a deck cleaner and a stiff brush, then rinse it thoroughly with a hose. Let it pass the splash test again after this cleaning before you apply any finish.
Choosing the Right Defender: A Finish for Your Project
Your choice here dictates all future maintenance. You have two main paths: film-forming or penetrating finishes.
Film-forming products like paint and solid-color stains sit on top of the wood like a plastic coat. They provide the best color consistency and UV block. The trade-off is maintenance. As the wood expands and contracts with the seasons, that film can crack and peel. You’ll be sanding it all off to refinish. Like any wood stain finishing method, it requires proper preparation and care.
Penetrating finishes, like transparent stains and sealing oils, soak into the wood fibers. They don’t peel. A penetrating finish won’t hide the wood’s texture or minor defects, but it is far easier to maintain. You just clean the surface and apply a fresh coat every few years without extensive sanding. For a deck where bare feet will feel the grain, this is my usual recommendation.
You’ll also choose between oil-based and water-based formulas. Oil-based products penetrate deeply and are very forgiving to apply. The cleanup requires mineral spirits. Water-based sealers dry faster, clean up with soap and water, and have advanced significantly. Modern acrylics offer excellent water repellency and UV resistance.
Speaking of UV, remember that sunlight breaks down lignin, the glue that holds wood cells together. Sunlight’s UV can bleach wood over time, altering its color. That’s another reason pigment-rich finishes matter for color stability. All finishes have limits. A truly clear sealer offers almost no UV protection. You need pigment to block those rays. A semi-transparent stain lets some grain show while providing good protection. The darker the pigment, the longer it lasts.
One non-negotiable step is sealing the end grain. The exposed ends of boards suck up water like a straw, leading to swelling and premature rot. Brush a heavy coat of your chosen finish onto all cut ends. For critical hidden structural parts like joist tops, this is where using a butyl rubber joist tape provides a more permanent, physical seal than any liquid finish can. It’s an excellent strategy for the parts you won’t see but can’t afford to fail.
The Best Practice Workflow: Applying Your Finish

Gather your tools before you start. You will need a stiff brush or broom for cleaning, a paint pad or roller for large surfaces, a good brush for end grain and rails, a bucket for cleaner, and drop cloths. I prefer synthetic brushes for oil-based finishes and nylon/polyester pads for water-based products; they hold up better and leave fewer streaks.
Step 1: Clean & Dry. This step is non-negotiable. Dirt, mildew, and the gray surface oxidation on older wood will block your finish. Use a dedicated deck cleaner or a solution of oxygen bleach, scrubbing it in and rinsing thoroughly. If the wood has grayed, a light sanding with 80-grit paper will open the grain back up. Now, let it dry. Completely. The pressure treatment process leaves the wood wet, and new wood can feel dry on the surface but be soaked inside. Use a moisture meter and wait until the reading is at or below 15% before you even think about applying a finish. Applying finish to damp wood is the number one reason for premature peeling and failure.
Step 2: Work in Manageable Sections. Never try to coat an entire deck at once. Work on one or two boards at a time, from end to end. Follow the shade. Always apply your finish to a surface in the shade, moving with the shadow line as the sun travels. Applying finish in direct, hot sun causes it to dry too fast. This prevents proper penetration for oils and causes ugly lap marks and poor adhesion for film-forming stains.
Step 3: Flood the End Grain. The end grain of a board is like a bundle of drinking straws. It absorbs water-and finish-many times faster than the face grain. Before you coat anything else, take your brush and liberally soak every cut end, including the ends of deck board grooves. I often apply a second heavy coat to end grain after the first one soaks in. This extra step dramatically reduces moisture intrusion at the most vulnerable points.
Step 4: Apply Liberally and Evenly. Your technique depends on your finish type. For a penetrating oil or stain, flood the surface. Let it soak in for 10-15 minutes, then use a dry pad or rag to wipe off any puddles or excess that hasn’t absorbed. This wipe-off step is critical to prevent a sticky, tacky surface. For a film-forming solid stain or paint, apply a uniform, medium coat. Avoid over-brushing, which can create bubbles and an uneven film.
Step 5: Mind the Weather. Finishes are chemical systems that need specific conditions to cure properly. Check the product label, but a universal rule is to apply when temperatures are between 50°F and 90°F and humidity is below 70%. Never apply if rain is forecast within 12-24 hours. The cooler evening hours after a warm day are often perfect, as the wood is cooling and pulling the finish deeper into its pores. This is especially important when finishing wood in high humidity.
A common question I get is: “I applied a coat but it looks bad. Can I just put another coat on top to fix it?” The answer is almost always no. A new coat will not bond properly to a poorly prepared or improperly applied base layer. You will just lock in the problem. If you didn’t clean, dry, or apply correctly the first time, the only reliable fix is to strip the failed finish and start over from Step 1.
Maintenance and Troubleshooting a Finished Surface
Your finish is not permanent. Plan to check it once a year, ideally in the spring. The simplest test is the water bead test. Sprinkle water on the deck surface. If it beads up, your finish is still working. If it soaks in darkening the wood immediately, it’s time for maintenance.
Refreshing a penetrating oil finish is straightforward. Clean the surface with a deck cleaner to remove dirt and mildew, let it dry fully, and apply a new coat. You don’t need to strip the old oil away. The new oil will rejuvenate the wood fibers and replenish the water-repellent layer. A well-maintained penetrating finish can last for years with just an annual cleaning and re-coating.
Dealing with a peeling film finish-like a solid stain or paint-is more labor-intensive. You must remove all loose material by scraping and sanding. Once you’re down to bare, sound wood, you may need a special primer before applying a new topcoat. This is why I generally prefer penetrating finishes for horizontal surfaces; they fail more gracefully.
Let’s troubleshoot common issues. Blotchiness usually means the wood wasn’t uniformly clean or dry, causing uneven absorption. Mildew growing on top of your finish points to insufficient cleaning before application; the spores were trapped underneath. Premature failure-peeling or flaking within a year-almost always traces back to applying the finish to wood that was still too wet from pressure treatment or weather.
People often ask if they can put a new stain over an old, different stain. You can only do this successfully if the old finish is the exact same type (oil over oil, water-based over water-based) and is still perfectly bonded and sound. If there’s any doubt, or if you want to change color types, you must strip the old finish. Mixing finish types or applying over a failing layer is a recipe for adhesion failure and wasted effort.
Pressure-Treated Lumber Sealing: Essential FAQs
1. Does previously installed or older pressure-treated wood require special preparation before resealing?
Yes, it requires more aggressive surface reactivation. Old, grayed wood has UV-degraded surface fibers that repel liquid; you must remove this layer via sanding or a deck brightener (oxalic acid) to open the grain for proper sealer penetration and adhesion.
2. How does the expected service life of a penetrating sealer compare to a film-forming finish on pressure-treated wood?
Penetrating sealers typically require reapplication every 1-3 years but maintain without peeling, while quality film-forming finishes (e.g., solid stains) can last 3-5 years but often fail by cracking or delamination, requiring full removal for proper refinishing.
3. Can I use a standard paint primer or clear varnish on pressure-treated end grain instead of a sealer?
Avoid non-porous film formers like varnish or standard primer on end grain. They trap moisture exiting the board. Use a thick, penetrating end-grain sealer or a wax-based product designed to allow moisture vapor transmission while blocking liquid water intake.
4. If my first coat of penetrating oil soaks in unevenly, creating a blotchy appearance, what is the correct remedy?
Blotchiness indicates variable surface tension or moisture content. Allow the first coat to fully cure, then lightly sand the entire surface with 100-grit to uniform texture before applying a second, controlled coat to the consistently prepared substrate.
5. Is a “deck brightener” chemically necessary before applying a new sealer to weathered wood?
For wood grayed by UV degradation, yes. The brightener’s mild acid neutralizes surface alkalinity from treatment chemicals and dissolves oxidized lignin, restoring a sound, pH-neutral surface that enables optimal sealer bonding and uniform color.
Your Deck’s Long-Term Finish Plan
The single most important step is letting the wood dry. Applying sealer to wood with a high moisture content traps water inside, guaranteeing premature finish failure. Knowing how to measure wood moisture content is a key part of proper prep. It sets the foundation for a reliable finish. Test the wood with a moisture meter, and only proceed when readings are consistently below 15%. A proper finish applied to dry, clean wood is your strongest defense against weathering and decay.
Responsible ownership means recognizing that even preserved wood needs maintenance; reapply a quality sealer every one to two years to protect your investment and the material. This commitment to care honors the resource and the craft, ensuring your project serves well for years.
Relevant Resources for Further Exploration
- Cut-N-Treat Wood Preservative – 1 Qt. 440694 – The Home Depot
- Does Pressure-Treated Wood Need to Be Sealed?
- r/homeowners on Reddit: Ground contact pressure treated wood – sealing
- Painting, staining, and sealing PRESSURE TREATED …
David is a veteran woodworker. He is now retired and stays in his cabin in Wisconsin which he built himself. David has 25+ years experience working in carpentry and wood shops. He has designed and built many small and large wood projects and knows the science behind wood selection like the back of his hand. He is an expert guide on any questions regarding wood material selection, wood restoration, wood working basics and other types of wood. While his expertise is in woodworking, his knowledge and first hand experience is far from 'woody'.