
What Are the Best Oil Finishes for Wood Furniture? A Wood Scientist’s Guide
You need an oil finish that deeply protects your furniture and dramatically enhances the wood grain, but the options are confusing. I test finishes in my shop to find what truly works, not what just looks good on a label.
This article provides clear, tested guidance, covering how oil chemically bonds with wood, a direct comparison of tung oil, linseed oil, and Danish oil for durability, and my precise application steps for a resilient finish.
I base my recommendations on hands-on testing and materials science, analyzing how oils penetrate and stabilize wood fibers.
What makes an oil finish different from varnish or lacquer?
Think of finishing like putting on a coat. A varnish or lacquer puts on a raincoat that sits on top of the wood. An oil finish is more like soaking the wood fibers themselves with conditioner. The key difference is where the finish cures.
Film-forming finishes like varnish cure on the surface, creating a distinct, often glossy, layer you can feel. Penetrating oils cure inside the wood’s pores and cell structure. This gives you a deep, saturating look where the wood itself feels like the finish-you feel the grain, not a plastic film.
For this guide, we’re focusing on true penetrating oils like tung and linseed, and their practical hybrids, oil-varnish blends. These are the choices for a natural, hand-rubbed feel that enhances the wood from within. If you’re curious about specialty alternative oil finishes in woodworking, we’ll touch on those too. That way you can compare options at a glance as you plan your project.
Comparing the best furniture oils: drying vs. non-drying
This is the most important split. The behavior of an oil depends entirely on its molecular structure and how it reacts with oxygen.
Drying oils, like tung and linseed, undergo a chemical process called polymerization. When exposed to air, their molecules cross-link and form a solid, flexible network within the wood. Non-drying oils, like mineral oil, never undergo this change. They stay liquid and will eventually evaporate or seep out.
Here’s the core rule for furniture: only a drying oil can build a durable, permanent protective layer. A non-drying oil is just a temporary treatment. Linseed oil is a classic drying oil that cures on wood to form a durable protective film. This curing is what gives linseed oil finishes real wood durability.
The durable, drying oils for furniture
Let’s break down the common players you’ll find in the shop.
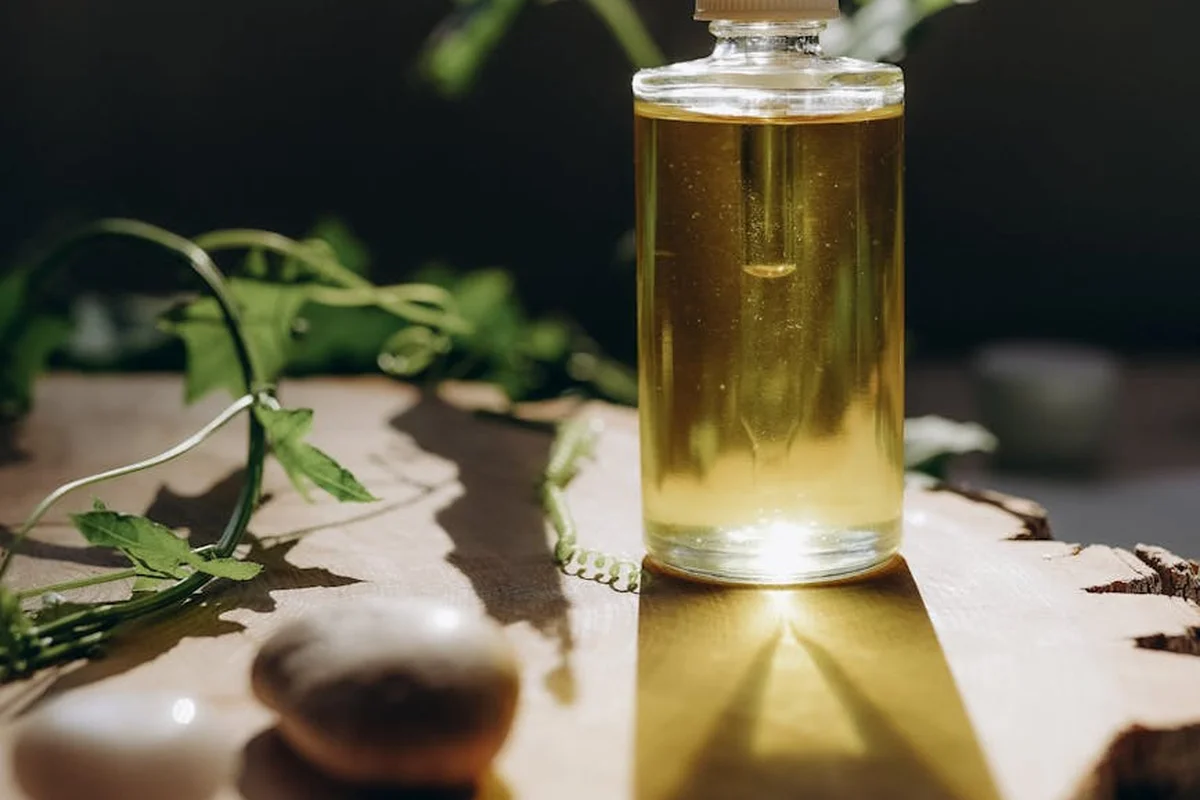
Polymerized tung oil is my top recommendation for durability. True tung oil from the nut of the tung tree is processed with heat, which pre-polymerizes it. This drastically speeds up its cure time and enhances its natural water resistance. In wood applications, this polymerized film bonds to the grain for a tougher, more durable finish. It’s a reliable choice for high-use surfaces like tabletops because the polymerization enhances wear resistance without masking the wood’s character. A properly cured tung oil finish is remarkably tough for an oil. I use it on tabletops and kitchenware. It gives a warm, honey-toned color that doesn’t darken as dramatically as linseed oil over time.
Boiled linseed oil (BLO) is the classic. “Boiled” means it has chemical dryers added, so it cures faster than raw linseed oil. It imparts a rich, amber glow that deepens with age, which is perfect for woods like cherry and walnut. The trade-off is that a pure BLO finish cures softer and slower than tung oil, offering less protection against water rings and scratches. In my tests, a tung oil finish fully resists water spots in 24 hours, while a BLO finish might still show a mark. When you compare tung oil vs linseed oil for a finish, the decision often comes down to cure speed and moisture protection. Tung oil typically cures harder and resists water better, while linseed oil emphasizes warmth and a classic amber glow.
Then you have the hybrids. “Danish oil” and “teak oil” are almost always oil-varnish blends. They’re typically a mix of a drying oil (like BLO or tung), a varnish resin (like polyurethane or alkyd), and a solvent. This gives you the penetrating soak of an oil with a bit more surface film and protection than a pure oil. They’re fantastic user-friendly choices. Just know you’re applying a thin varnish, not a pure oil.
Quick comparison: Tung oil cures harder with better water resistance. BLO offers faster initial color enhancement but a softer cure. Blends sit in the middle, adding build and faster dry times.
Oils that don’t dry (and when to use them)
These oils have one perfect job: temporary, food-safe conditioning. Mineral oil and food-grade walnut oil are the standards.
They are non-toxic and inert, making them safe for direct food contact on cutting boards, bowls, and utensils. They replenish moisture and provide a short-term water barrier. Because they never polymerize, they offer no permanent protection and will wash or wear away, requiring frequent reapplication.
This is why they are poor choices for permanent furniture. A coffee table finished with mineral oil will become a sticky dust magnet within weeks and provide no defense against spills. For heirloom furniture, you need a finish that cures.
What is the best oil for outdoor wood furniture?
Let’s be direct: pure tung or linseed oil is a poor choice for full outdoor exposure. They lack sufficient UV inhibitors and the resin content to withstand constant sun and rain. They will quickly gray, mildew, and degrade when used as outdoor finishes.
For outdoor use, you need a heavy-duty oil blend formulated for the task. Look for high-quality, UV-inhibited oil-based deck finishes or “spar” oil blends. These products contain a high proportion of drying oils, but they are fortified with flexible resins (like alkyds or phenolic resins) and ultraviolet light absorbers. The resins add a tougher, more elastic film that can handle wood movement, while the UV blockers slow the sun’s bleaching effect. Reapplication every year or two is still part of the deal, but these blends offer real, lasting protection where a pure oil cannot.
The wood science: how oil finishes work
Think of an oil finish as feeding the wood, not painting it. The “mechanism of action” is simple physics and chemistry, not magic. Understanding this tells you exactly why oils look and feel the way they do.
Penetration and pore filling
Wood is like a bundle of tiny straws. When you apply oil, it wicks into these microscopic tubes and pores through capillary action. This saturates the wood cells from the inside, making the grain patterns pop with depth and contrast.
The effect changes dramatically between wood types, which is key to setting your expectations.
Open-grained woods like oak and ash have huge pore structures. They will drink up oil quickly and the finish will emphasize those dramatic pores. Closed-grained woods like maple and cherry have much tighter cells. The oil penetrates more evenly, creating a smoother, more subtle glow without as much textural contrast.
The chemistry of curing: polymerization
This is where the liquid becomes part of the furniture. Pure tung oil and raw linseed oil are known as “drying oils.” They don’t dry by evaporation like water. They cure through a chemical reaction with oxygen in the air called polymerization.
Imagine each oil molecule has little hooks. When oxygen hits them, the hooks start linking together, forming long, flexible chains. These chains then cross-link with each other, creating a solid mesh right inside the wood’s pores.
It’s like a very slow, internal epoxy cure. This transformed, polymerized oil is no longer a liquid you can wipe away. This chemical change is what makes a cured oil finish durable; it becomes a tough, flexible part of the wood itself, not just a coating on top.
The proper application protocol for durability
Getting a beautiful, durable oil finish is a test of patience, not skill. If you follow this workflow, you cannot fail. Skip a step, and you will see the flaws for the life of the piece.
Surface preparation is 90% of the finish
An oil finish reveals everything. Every scratch, every mill mark, every bit of dust becomes permanent. Your goal is a perfectly smooth, clean surface.
Start by removing all planer or jointer marks. I sand through a progression: 120 grit to level, 150 grit to refine, and 180 grit to finish. Always sand with the grain. Move up a grit only after all the scratches from the previous grit are gone.
Here is the secret step most people skip: raising the grain. After your final sanding at 180 grit, wipe the entire piece with a damp rag. This makes the wood fibers swell. Let it dry completely, about an hour. The surface will feel rough again. Sand it lightly with 220 grit, just enough to cut off those swollen fibers. This gives you a perfectly smooth surface that won’t roughen up when you apply a water-based finish later, or even from humidity.
For final dust removal, I use mineral spirits and a tack cloth. Wipe down with mineral spirits on a clean rag. This does two things: it shows you exactly what the oiled color will look like, and it pulls up any remaining fine dust. Follow immediately with a tack cloth to grab the last particles.
The “flood, wait, wipe” method
This three-step process is non-negotiable for a perfect oil finish.
- Flood. Pour or brush a generous amount of oil onto the wood. Make sure every square inch has a wet, pooling layer. Let it soak for 15 to 20 minutes. On open-grained woods, you will see it disappear quickly. Add more oil to any areas that dry out.
- Wipe. Using clean, absorbent rags, wipe off every single trace of excess oil. Buff the surface hard. Any oil left on the surface will not cure properly; it will remain a sticky, gummy mess. This is the most common mistake. Your rag should come away nearly clean.
- Cure. Place the piece in a warm, dust-free area. Allow it to cure fully. This takes 24 hours for some blends, up to 72 hours for pure oils. To test, press your fingernail into an inconspicuous spot. If it leaves any mark or feels soft, it’s not ready for another coat.
How many coats do you need?
Oil finishing follows the law of diminishing returns. The first coat does the heavy lifting, penetrating deep. The second coat fills more. By the third coat, you are mostly building up a very thin surface layer.
The wood itself will tell you when to stop. After your third coat cures, put a few drops of oil on a bottom edge or inside corner. Wait 20 minutes. If the wood absorbs it and darkens, it will take another coat. If the oil just sits on top, you have reached saturation.
For basic protection and grain enhancement, three coats is often perfect. If you are using an oil-varnish blend and want a slight built-up sheen, you might apply five or even six thin coats, sanding lightly with 400-grit paper between the final few coats for a silky feel.
Troubleshooting and maintaining your oil finish
Even the best-applied finish can have issues or wear down. The good news is that oil finishes are often the easiest to fix. Here is how to solve common problems.
Why is my finish still sticky or tacky?
A sticky finish means the oil is not curing. This is a chemical issue, not just a drying problem. The most likely cause is too much oil left on the surface. The oil at the surface needs exposure to oxygen to polymerize (harden). If the layer is too thick, the top seals and the oil underneath stays liquid.
A cold or damp workshop dramatically slows the curing reaction. I won’t apply an oil finish if my shop is below 60°F (15°C). Using a non-drying oil, like pure mineral oil or certain vegetable oils, is a sure path to a permanent mess.
The fix is straightforward: you must remove the uncured oil and start again. Soak a rag in mineral spirits (paint thinner) and aggressively wipe the entire sticky surface. You are dissolving and lifting the uncured oil. Let it dry completely, then lightly sand with 320-grit paper to provide a fresh surface. Reapply your finish, but this time, wipe it all off until the wood looks dry. Your rag should barely have any oil on it.
Can you use an oil finish on kitchen cabinets?
You can, but I rarely recommend it for a full kitchen. An oiled surface feels wonderful and is trivial to spot-repair. A quick sand and dab of oil blends scratches away. That is the main pro.
The con is protection. Kitchen cabinets face water, grease, acids, and heat. An oil finish soaks in but leaves very little film on top to resist stains. A red wine spill or tomato sauce splash needs immediate cleaning on an oiled door, while it might bead up on a varnish.
For high-wear areas like cabinet doors and drawer fronts, a film-forming finish like a conversion varnish or a high-quality lacquer is a more practical choice. It provides a durable, wipeable barrier. If you love the oiled look, consider it for a low-traffic piece like a sideboard, not for the workhorse cabinets around your sink and stove.
How do you refresh a worn oil finish?
This is where oil finishes truly shine. You don’t need to strip anything. First, clean the surface with a damp cloth to remove grime. Let it dry. Then, lightly abrade the entire piece with a fine abrasive pad (like a grey Scotch-Brite) or 400-grit sandpaper. You are not sanding to bare wood, just scuffing the surface to help the new oil bond.
Wipe on a fresh, thin coat of your original oil finish. Let it soak in for 10-15 minutes, then wipe off all the excess. That is usually all it needs. This simple refresh is impossible with a chipped polyurethane or lacquer, which requires stripping or complex spot repairs. The ease of maintenance is a key reason I use oil on my favorite shop furniture and daily-use items.
Are sprayable oil finishes a good option?
You can buy “wiping varnish” or oil blends in spray cans. They have a place. For production shops spraying hundreds of small parts, it is a fast way to get a consistent coat. It applies a thin layer that can build a light film.
But for handcrafted furniture, spraying misses the point. The core benefit of an oil finish is the deep, hand-rubbed penetration that enhances grain and provides nourishment from within. You cannot achieve that with a light mist from a can. The proper “flood and wipe” method forces oil into the wood’s pores through pressure and time, which a spray cannot replicate.
I only use spray oils for quick, non-critical projects or as a sealer coat under another finish. For any piece where the wood’s feel and depth matter, always brush or wipe the oil on by hand for better results. Applying oil finishes by hand allows for better penetration and control.
Frequently Asked Questions on Oil Finishes
1. What is the practical difference between a pure penetrating oil and an oil-varnish blend?
Pure oils like tung or linseed polymerize solely within the wood, offering deep saturation but minimal surface film. Blends like Danish oil contain resins that add a slight protective film on the wood surface while still allowing some penetration.
2. How does wood density and species affect the results of an oil finish?
Open-grained woods (e.g., oak) absorb oil rapidly, creating deep pore contrast, while closed-grained woods (e.g., maple) absorb it slowly for a more uniform, subtle enhancement. The finishing schedule and amount of oil required are directly determined by the wood’s pore structure.
3. Are oil finishes sold at big-box retailers (like Home Depot) suitable for fine furniture?
Many are effective oil-varnish blends or pure tung oil, suitable for most projects. Always check the ingredient list for the specific oil and resin content, as “tung oil finish” often denotes a blend, not 100% tung oil, which can differ in solvent polarity and viscosity.
4. For a production shop, is a spray-applied oil finish a viable time-saving method?
Spraying is efficient for applying thin, consistent sealer coats or finishes on small components. It cannot replicate the deep, grain-enforcing penetration achieved by the manual “flood and wipe” method critical for high-end results.
5. How does the long-term durability of a cured oil finish compare to a modern film finish?
A fully cured oil finish provides excellent in-the-wood stability and easy maintenance but offers less surface resistance to abrasion, heat, and chemicals than a built-up film finish like polyurethane or conversion varnish.
Finishing with Clarity and Care
The best oil finish is the one you apply correctly. Choose an oil for its balance of grain enhancement and protective durability, whether that’s pure tung oil for deep penetration or a modern hard-wax oil for easier upkeep. The real secret is in the preparation and the patience you show during application. A perfectly applied simple oil will always outperform a poorly applied “magic” blend.
Own your role as a steward of the material. Choose finishes from companies committed to sustainable sourcing and safer chemistry. Honor the tree’s life by applying your finish with care, disposing of oil-soaked rags properly to prevent combustion, and committing to the ongoing learning that defines our craft.
Sources and Additional Information
- 5 of the Best Oil Finishes for Wood Furniture – Vermont Woods Studios
- Wood Oils: A No Nonsense Guide
- How to Apply Oil Finish to Furniture – How to Apply Oil Finish on Furniture | HowStuffWorks
- Finish Wood With Oil: How To Choose the Right One
- Furniture Oil – Natural Furniture Finish and Restorer – Walrus Oil
David is a veteran woodworker. He is now retired and stays in his cabin in Wisconsin which he built himself. David has 25+ years experience working in carpentry and wood shops. He has designed and built many small and large wood projects and knows the science behind wood selection like the back of his hand. He is an expert guide on any questions regarding wood material selection, wood restoration, wood working basics and other types of wood. While his expertise is in woodworking, his knowledge and first hand experience is far from 'woody'.