
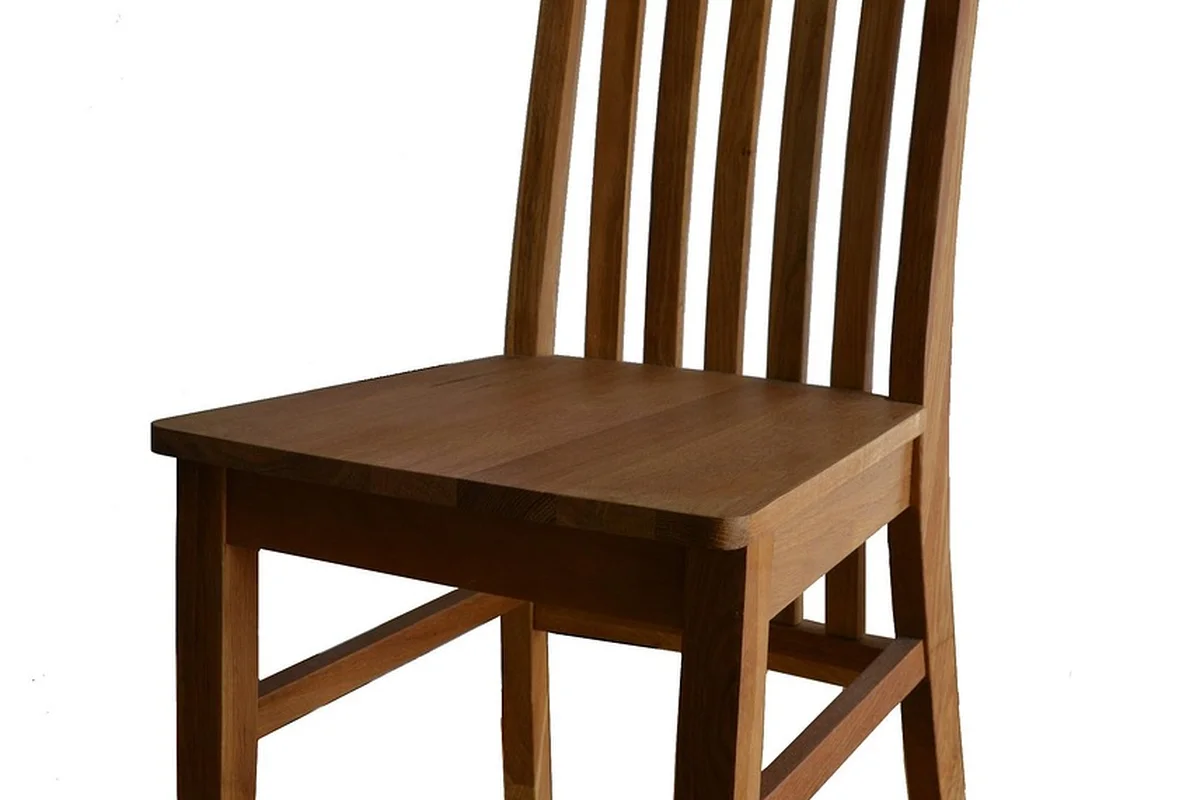
How Do You Choose Between Chemical Strippers and Mechanical Methods for Lacquer?
Removing lacquer often feels like a race against time to save the wood underneath. I test every method in my shop to find what actually works without causing harm.
This guide provides shop-tested advice, covering how lacquer chemistry dictates your solvent choice, evaluating methylene chloride versus greener alternatives, and matching scrapers, card scrapers, and abrasive papers to specific grain patterns.
My recommendations come from personally testing strippers on dozens of samples and analyzing the results as a woodworker focused on material science.
How to Know You’re Dealing with Lacquer First
Guessing the finish is a great way to waste time. Start with a test. I keep a small bottle of pure acetone in my shop for this exact reason.
The acetone spot test is your most reliable tool for identifying lacquer.
Find a discreet spot, like the inside of a leg or the bottom of a drawer. Dab a cotton swab in acetone and rub it firmly on the finish for about 15 seconds. Watch closely.
- If the finish softens, gets sticky, and starts to dissolve onto the swab, you have lacquer.
- If nothing happens, you likely have a varnish or polyurethane.
- If it dissolves but leaves a yellowish residue on the swab, that’s shellac (which denatured alcohol will remove).
Your other senses offer clues. Lacquer dries to a very hard, brittle film. Tap it with a fingernail; it has a distinct, sharp sound compared to the softer *thud* of varnish. Factory-made furniture from the mid-20th century onward often used lacquer for its fast drying time. And that smell? Fresh lacquer has a sharp, almost sweet chemical odor that’s hard to forget.
The Chemistry of Stripping Lacquer: How Solvents Work
Understanding what lacquer *is* tells you how to break it down. Lacquer is a thermoplastic finish.
Think of it like a candle. When solid, it’s hard. Apply heat (or in this case, the right solvent), and it turns soft and gooey. Let it cool, and it hardens again. The original lacquer solvent evaporates, leaving the solids behind as a film, but that film never undergoes a permanent chemical change.
Stripping lacquer is a physical re-dissolving process, not a chemical breakdown.
You are applying a new solvent that acts like a reset button, turning the hard film back into a soft, removable gel. This is why lacquer is uniquely responsive to chemical strippers. You are essentially reversing the drying process.
Compare this to a modern polyurethane varnish. That finish cures through a chemical reaction, cross-linking its molecules into a tough, plastic-like network. A solvent can’t simply re-dissolve it for finish removal. You need a stronger, caustic stripper to actually break those molecular bonds, which is a slower, messier fight.
Categories of Chemical Strippers for Lacquer
Not all strippers are created equal, especially for lacquer. Your goal is to find a product with strong solvents that can re-dissolve the film.
Traditional solvent-based strippers are the most effective. These are the heavy-duty cans you’ve seen for decades. Their active ingredients are powerful solvents like methylene chloride (dichloromethane) or N-Methyl-2-pyrrolidone (NMP). They work fast, often in under 15 minutes. I keep a can for stubborn, thick lacquer builds. They cut through multiple layers like a hot knife through butter.
Modern “safer” solvent gels are a good middle ground. Brands now offer thick gels based on dibasic esters or even citrus-derived solvents (like d-limonene). They work slower, sometimes needing 30-60 minutes, and may require a second application for old lacquer. I use these on pieces with intricate details where I need the longer working time of a gel.
You must avoid water-based or caustic strippers (like lye) for lacquer. These are designed for paints and cross-linked varnishes. They rely on a caustic reaction that lacquer simply ignores. Using them will leave you with a sticky, smeared mess and a lot of frustration, and can be problematic when dealing with safe solvents and VOCs.
Toxicity & PPE: Non-Negotiable Safety for Chemical Methods
These chemicals do not care about your health. You must gear up. This isn’t a suggestion; it’s shop law.
Your personal protection equipment (PPE) is a three-part system:
- Gloves: Wear heavy-duty, chemical-resistant nitrile gloves. Latex or vinyl kitchen gloves will dissolve.
- Eyes: Splash-proof goggles are mandatory. A single drop in your eye can cause serious damage.
- Lungs: A proper organic vapor respirator with cartridges rated for solvents is essential. A dust mask does nothing.
Ventilation is your most important piece of safety equipment. Work outside if possible. In a garage, place a fan behind you blowing out through a wide-open door. You need to move fresh air through the space constantly, not just occasionally.
Disposal is the final, critical step. The sludge of dissolved lacquer and stripper is hazardous waste. Never pour it down a drain or into the ground. Let the sludge settle in its can, then carefully pour the liquid off the top into a separate, labeled container for hazardous waste disposal. Check with your local waste authority for drop-off locations. It’s a chore, but it’s part of the job.
Step-by-Step: Using a Chemical Stripper on Lacquer
Before you open the can, prepare your workspace. Lacquer stripper is messy and aggressive. Clean the furniture with a damp rag to remove dust, which can interfere with the stripper’s action. Lay down a thick layer of newspaper or cardboard on your floor, and wear nitrile gloves and eye protection. Remove any hardware, like drawer pulls or hinges.
Apply the stripper with a cheap, disposable natural bristle brush. Do not use foam brushes, they will dissolve. You are not painting. Apply a thick, even coat, about 1/8-inch thick, working on one manageable section at a time, like a single table leg or a drawer front. A thick layer acts as a blanket, keeping the solvents active against the lacquer film longer.
Wait. The timeline varies by product and lacquer age. Check the manufacturer’s instructions, but typically wait 15-30 minutes. When applying lacquer, solvent choice and thinning ratios influence how smoothly the finish applies and cures. Follow the product’s recommended solvents and ventilation guidelines for best results. The finish will wrinkle and bubble. Test a small area with a plastic putty knife. If the lacquer comes off easily as a gummy sludge, it’s ready. Scrape with the grain, using gentle pressure. I prefer plastic scrapers for flat surfaces, as they cannot gouge the wood. For intricate carvings, use a dull brass brush or even a wad of coarse steel wool.
The final step is critical. After scraping off the bulk, you’ll have a sticky residue. Dip a clean, coarse rag (like an old t-shirt) in lacquer thinner or mineral spirits and wipe the wood firmly with the grain. This chemical wash dissolves the last of the softened finish and cleans the wood’s pores, which is essential for any new finish to adhere properly, especially when removing a polyurethane finish. Replace your rag often as it loads up with gunk.
Can You Remove Lacquer from Wood Without Sanding First?
Yes. A chemical stripper is the definitive method for removing lacquer without initial sanding. The solvents penetrate and break the film’s molecular bonds from the top down.
Understand that “no sanding” often only applies to the removal phase. Light hand-sanding with 180 or 220-grit paper after stripping is almost always necessary to remove any leftover stain embedded in the wood fibers or to smooth minor imperfections. This final prep sanding is gentle and controlled, unlike the aggressive sanding needed to grind through the original finish.
Mechanical Methods: Abrasion and Heat
If you want to avoid chemicals entirely, you have two main physical options: sanding it away or melting it off. Both require more elbow grease and carry specific risks.
The Physics of Sanding Lacquer Off Wood
Sanding works by using sharp, hard abrasive grains to micro-chip the finish away, layer by layer. Think of it like using a very fine file. The primary risk isn’t difficulty, it’s control. Many older lacquers have stain mixed in or applied underneath. If you sand through a stained lacquer finish unevenly, you will create light and dark patches on the bare wood that are nearly impossible to fix without re-staining the entire piece.
Start with a medium grit, like 120, to quickly cut through the finish film. Once you’re down to bare wood, switch to 150-grit, then 180-grit to remove the sanding scratches from the previous grit. This progression smooths the wood for its new finish. For a complete, step-by-step grit progression, see our grit sandpaper wood finishing guide. It covers the ideal grit sequences and finishing tips for various woods.
Best Tools and Abrasives for the Job
For large, flat panels, a random orbital sander is the most efficient tool. Its swirling pattern minimizes visible scratch patterns. For corners, edges, and curved surfaces, hand sanding is the only safe choice for control.
Your sandpaper choice matters. Lacquer softens from friction heat and will rapidly clog standard aluminum oxide paper. Use silicon carbide sandpaper, often sold as “wet/dry” paper, or a premium aluminum oxide designed for finishes. They have a sharper grain and a coating that resists clogging much better.
Do not overlook the humble cabinet scraper. A properly sharpened scraper is a phenomenal tool for this job. It pulls a thin, controlled shaving off the surface, taking the lacquer with it. It creates fine shavings instead of dust, and with practice, it’s faster than sanding on flat surfaces. I keep one on my bench specifically for testing finish hardness.
Using a Heat Gun to Soften and Scrape Lacquer
This technique uses heat to break the lacquer’s bond, causing it to bubble and separate from the wood. Hold the heat gun 2-3 inches away and keep it moving constantly. Apply sweeping, indirect heat. The moment the film wrinkles and bubbles, immediately scrape it off with a putty knife.
This method is for flat, sturdy surfaces only and requires extreme caution. It is very easy to scorch the wood, which means sanding down to fresh wood, or even ignite old, flammable finish vapors. Have a fire extinguisher nearby and work in a well-ventilated area.
I only use heat on detailed moldings or turnings where sanding would round over the sharp details and chemical stripper is too difficult to clean out. Even then, I use the lowest heat setting that works. For 90% of projects, sanding or chemical stripping is the safer, more controlled choice.
How to Remove Lacquer and Stain Together
Let’s clear up a common confusion right away. You are not just removing a topcoat. Most wood stains are dye or pigment suspensions that penetrate the wood fibers. The clear lacquer on top seals that color in. When you’re removing stains from wood furniture, you’re tackling both the surface finish and the color that’s penetrated the grain. To truly refinish the piece, you must remove both the protective lacquer film and the color that has soaked into the wood.
In my shop, I treat this as a two-step operation. First, I use a chemical stripper to dissolve and lift the lacquer film. This often pulls some of the surface pigment with it. Second, I sand the bare wood. Sanding abrades the very top layer of fibers, which is where the remaining stain resides.
You can sometimes skip the chemical step. If the stain is very light and you are certain it hasn’t penetrated deeply, aggressive sanding with 80 or 100-grit sandpaper might remove everything. I test this on an inconspicuous spot, like the inside of a leg. If the sandpaper loads up with a colored, gummy paste, that’s the lacquer melting. That’s your sign to use a stripper first.
Choosing Your Method: A Quick Decision Guide
Picking a removal method isn’t about finding the “best” one. It’s about matching the tool to the job. Here is a breakdown of the three primary approaches based on my experience testing them on countless pieces.
| Factor | Chemical Stripper | Sanding | Heat Gun |
|---|---|---|---|
| Speed | Medium (requires dwell time) | Slow (especially by hand) | Fast on flat surfaces |
| Mess | High (gooey sludge) | High (dust everywhere) | Low (some fumes, no sludge) |
| Safety | Requires gloves, goggles, ventilation | Requires a respirator for dust | Risk of scorching wood, toxic fumes |
| Cost | Medium (per project) | Low (abrasives are cheap) | Low (cost of tool) |
| Risk to Wood | Low if used correctly, can raise grain | High (can easily change contours) | High (can burn or blister wood) |
| Skill Level | Beginner-friendly | Requires practice to keep surfaces flat | Requires careful heat control |
My rule of thumb is simple: use chemical strippers for intricate carvings, turnings, or detailed moldings where sanding would destroy the profile. Use sanding for flat table tops, panels, or when you need to correct minor warps or dings. I rarely recommend a heat gun for lacquer. It works, but the risk of damaging the wood beneath is high, and the fumes are particularly nasty—especially compared to natural finishes like shellac.
Troubleshooting Common Problems
Even with a good plan, things can go sideways. Here are the fixes for the issues I see most often in my workshop.
“The stripper isn’t working.”
First, verify the finish. If a suspected lacquer doesn’t wrinkle and lift with a methylene chloride-based stripper, it might be a shellac or a conversion varnish. Test a new spot. Second, check your product. Many “eco-friendly” or water-based strippers lack the solvents needed to attack lacquer effectively. For traditional lacquer, you need a potent, solvent-based stripper.
“My sandpaper is instantly gummy and clogged.”
This is the classic sign of sanding over intact lacquer. The friction heat softens the finish, which then gums up the abrasive grit. Stop sanding immediately and switch to a chemical stripper to remove the finish layer first. If you must sand, use a very sharp, “open-coat” abrasive like garnet paper, which sheds clogged material more easily than standard aluminum oxide. This is especially important when rubbing out a wood finish to achieve a smooth surface.
“The wood looks blotchy after stripping.”
This almost always means you removed the lacquer but not the stain. The color penetrated unevenly, often due to the wood’s original grain density. The solution is to sand the bare wood. Start with 120-grit to level the surface and remove the stained fibers, then progress to 150 or 180-grit to prepare for a new finish. The blotches will disappear.
Lacquer Removal FAQ: Applied Materials Science
1. Are “green” or citrus-based strippers effective on cured lacquer?
They can be, but their effectiveness depends on the specific solvent strength. Strippers using d-limonene or dibasic esters work more slowly than methylene chloride and may require a thicker application and longer dwell time to fully re-dissolve the thermoplastic film.
2. How do I remove a tinted or pigmented lacquer without leaving color residue?
Pigment lodged in the wood’s grain requires mechanical removal after chemical stripping. The solvent will dissolve the binder, but you must follow with light sanding or careful scraping to abrade the upper fibers where the colorant remains embedded.
3. Is a final solvent wash necessary after using a “washaway” stripper?
Yes, always. So-called wash-off products leave a microscopic surfactant residue that can inhibit finish adhesion. A final wipe with mineral spirits or lacquer thinner is a critical bench step to ensure a chemically clean substrate.
4. When is a cabinet scraper preferable to sandpaper for final cleanup?
Use a sharp cabinet scraper on flat grain after chemical stripping to remove residual stain and minimize dust. It shears wood fibers cleanly without embedding abrasive grit into the pores, which can cause finishing defects.
5. What is the proper method for disposing of lacquer-laden stripping sludge?
Allow the waste to fully evaporate in a sealed, labeled container outdoors. The resulting solid must be disposed of as hazardous household waste, as the dissolved resins and solvents remain environmentally persistent.
Finishing the Job Right
Choose your removal method by reading the room. Test a chemical stripper in an inconspicuous spot to confirm it softens your specific lacquer. For intricate details or a single piece, a quality paste stripper and scrapers are often the smartest path. For large, flat surfaces or when avoiding chemicals, a cabinet scraper or card scraper delivers clean, dust-free control.
Respect the material’s history and its future. Opt for citrus-based solvents and proper waste disposal to minimize environmental impact, turning your refinishing project into an act of responsible stewardship. Your growing knowledge of how finishes and wood interact is the most valuable tool in your shop.
Deep Dive: Further Reading
- Removing Lacquer Without Removing Stain
- removing lacquer – FineWoodworking
- Best/Easiest way to remove a lacquer finish? | American Association of Woodturners
- The Best Way to Get Lacquer Off Wood – European Industrial Coatings
- r/finishing on Reddit: Sanding vs Lacquer Remover
David Ernst
David is a veteran woodworker. He is now retired and stays in his cabin in Wisconsin which he built himself. David has 25+ years experience working in carpentry and wood shops. He has designed and built many small and large wood projects and knows the science behind wood selection like the back of his hand. He is an expert guide on any questions regarding wood material selection, wood restoration, wood working basics and other types of wood. While his expertise is in woodworking, his knowledge and first hand experience is far from 'woody'.