
How Do You Repair Historic Wood Without Compromising Its Character?
You need to fix that antique dresser or historic trim, but you’re worried a repair could destroy its authenticity. I face this same tension in my shop every time I work on an old piece.
This article provides a clear, science-backed framework for your project. We will cover evaluating structural soundness, sourcing ethically matched materials, and mastering reversible joinery and adhesives.
My approach is grounded in testing material compatibility and repair strength on actual historic wood samples.
How to Assess the Damage: Your First Cut is a Diagnosis
Your first rule is to do less, not more. This is the “minimum intervention” mindset. Your goal is to fix only what’s broken and stop the progression of damage, not to make the piece look new. Think of yourself as a doctor, not a sculptor.
Start with a basic diagnostic toolkit. Your most important tools are free.
- Your eyes: Look for color changes, cracks, and misalignments.
- Your hands: Feel for soft spots, loose parts, and temperature differences (rot is often cooler).
- A moisture meter: A pin-type meter can find hidden wet spots that signal active rot.
- An awl or sharp pick: This tests wood hardness. Gently press the point into suspected areas.
Differentiating problems is key. A dark spot might be 150 years of grime or a failing shellac finish. Tap it with a fingernail. Grime is hard. Alligatored shellac chips and flakes. To test for rot, use your awl. Solid wood will resist. Punky rot will let the tool sink in with little pressure, like pressing into a stale loaf of bread.
Follow this simple checklist before you touch a tool.
- Is anything wobbly or detached?
- Do cracks open and close with seasonal humidity?
- Are there frass piles (sawdust-like insect droppings) or exit holes?
- Does the awl test reveal soft wood beneath a hard surface?
- Is the damage active (damp, spreading) or historic (dry, stable)?
Spotting the Real Structural Threats
“Sound” wood is not about perfection. It’s wood that still performs its job. It can have checks, stains, and old bug holes. It feels solid under the awl test and doesn’t flex abnormally under hand pressure. “Failed” wood has lost its structural integrity. It crumbles, flexes where it should be rigid, or has compressive failures where fibers are crushed. The hardwoods vs. softwoods durability myth is a simplification. Durability depends on species, density, grain, moisture, and how the wood is used and finished.
Joint failure tells a story. A loose tenon might rattle in its mortise but can be tightened with a reversible shim. A sheared peg, where the wood of the peg itself has snapped, often means the joint shifted under extreme stress and needs disassembly. One is a wear problem, the other is a trauma problem.
Insect damage and rot are only urgent if they are active. Localized damage in one leg is a repair. Systemic damage, like powderpost beetle larvae throughout a frame or rot climbing from a floor up a leg, is a rescue mission. Active rot is damp, spongy, and often smells musty. Historic rot is dry, brittle, and stable. Your moisture meter is your best friend here.
Why It Fails: The Physics of Aging Wood
Checking and cracking are wood’s memory. Over centuries, wood constantly expands and contracts across the grain. Eventually, the tension wins and it relieves itself with a crack. These radial checks from the center of a board are usually stable. Be worried about cracks that run with the grain or separate joints, as they indicate movement the piece can no longer handle.
Old glue fails predictably. Traditional hide and casein glues are reversible with warm water and heat, which is a gift. Their failure is often clean, allowing you to reglue. Modern plastic resin glues like epoxy or PVA that fail are a bigger problem, as they often take wood fibers with them when they let go.
Old timber can become brash. This is a loss of toughness. The wood fibers become brittle, like stale licorice. It might still be hard, but it snaps suddenly instead of bending. You see this in centuries-old pine or oak. When planing brash wood, you get splintery tear-out instead of clean shavings. It needs gentle handling and sometimes consolidation.
What Does “Authentic” Actually Mean in Your Shop?
Authenticity is not a yes/no switch. It’s a dimmer. On one end is a museum-grade, like-for-like repair using period tools. On the other is a functional fix with modern materials that keeps the piece usable. Your job is to find your spot on that spectrum for each project.
Contrast “like-for-like” with “visual harmony.” Like-for-like means matching the species, grain orientation, and even the tool marks. Visual harmony means the repair looks correct from a few feet away. For an 1840s chest, replacing a poplar drawer bottom with new poplar is like-for-like. Using stable plywood for the same bottom is visual harmony, sacrificing material purity for long-term stability.
Sometimes the original builder’s intent is more important than the original material. If the intent was a flat, stable table top and the original wood has warped beyond repair, using a dimensionally stable modern laminate core with a matched veneer might be the most authentic choice. It honors the function and the look, even if it betrays the material.
Matching Wood: More Than Just Species
Grain pattern matters as much as color. A repair patch of plain-sawn oak on a quarter-sawn oak panel will always look like a patch. The quarter-sawn grain has those tight, straight ribbons. Plain-sawn has cathedral patterns. Mix them and the repair screams for attention. You must match the cut.
Sourcing reclaimed or old-growth stock is the secret. Modern, fast-grown pine has wide, soft growth rings. Old-growth pine has tight, hard rings. The density and color are different. Reclaimed barn wood or salvaged timbers give you wood that has already aged, matching the patina and specific gravity of the original piece. It’s worth the hunt, especially when compared to artificially aged or weathered pine.
You can age new wood. For oak, cherry, and walnut, ammonia fuming in a sealed tent reacts with tannins to create a deep, aged color that penetrates the wood, unlike a surface stain. For a softer wear, controlled weathering works. I place new wood in a sunny, exposed spot for a few months, letting UV light and rain start the graying process before I bring it in for finishing. It mimics decades of aging in a fraction of the time.
Can You Take it Apart Later? The Rule of Reversibility
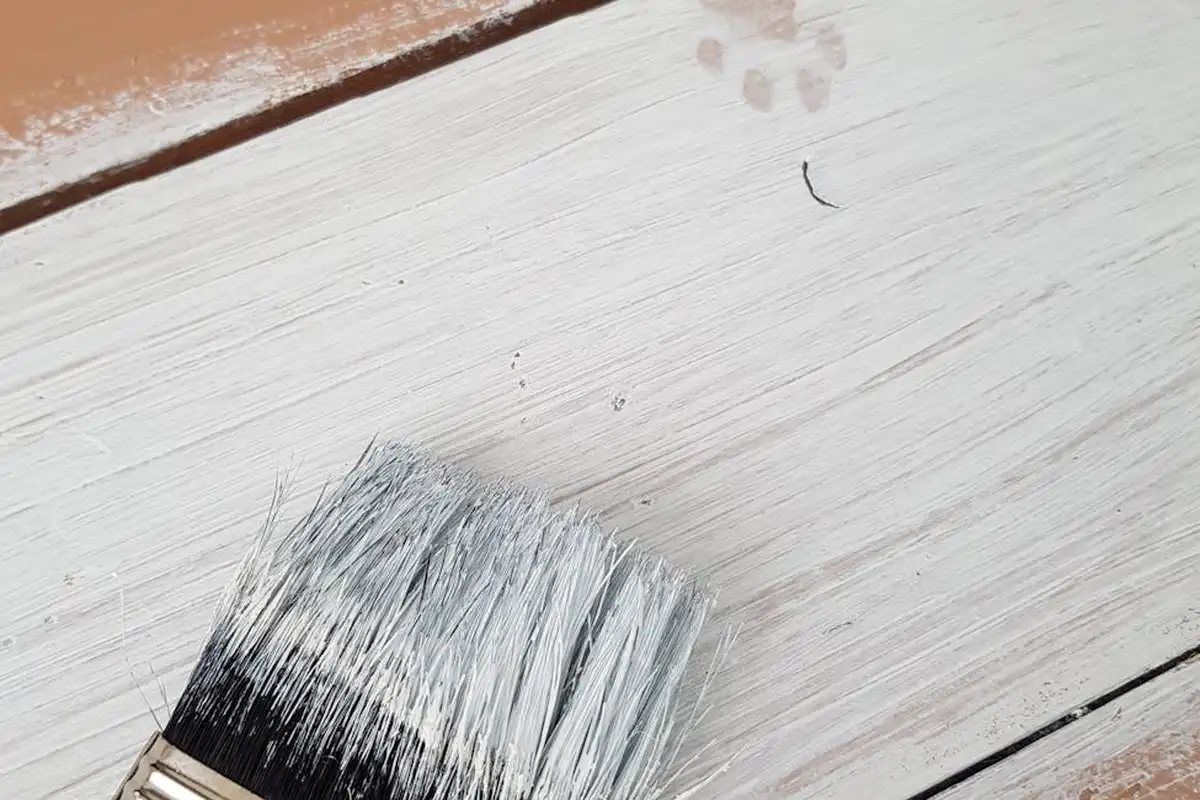
Think of reversibility as future-proofing your repair. It’s a principle from conservation science, but it’s just smart woodworking. My rule is simple: the next person who works on this piece should have an easier job because of what I did, not a harder one.
Modern woodworking often aims for the strongest, most permanent bond. For historic work, that’s the wrong goal. A chemical bond from epoxy or modern plastic resin glue is stronger than the wood fibers around it. If it fails in 50 years, the failure will tear out new wood, causing more damage. A reversible mechanical fastener or traditional glue allows for disassembly with minimal harm. Understanding how adhesive strength varies by wood species and joint type helps inform the best method for a given project.
Let’s compare methods:
- Reversible Mechanical: Drawbore pegs, slotted screws, cleats, or specialized hardware. These rely on friction and mechanical interlock. You can drill out a peg or unscrew a fastener.
- Permanent Chemical: Polyurethane, epoxy, or cyanoacrylate (CA) glue. These create a bond that can only be broken by destroying the wood or the adhesive layer with heat or solvents, which also damages the historic material.
Choose a method that allows the repair to be undone without a fight.
Best Practice Workflow: Making a Reversible Glue Joint
The gold standard for reversible structural repair is hot hide glue. It’s protein-based, strong for centuries, and can be re-softened with heat and moisture. I keep a glue pot in the shop for this exact purpose.
Here is my process for a clean, reversible joint:
- Prepare the joint surfaces carefully for a tight fit. Hide glue is not a gap-filler.
- Warm the wood pieces slightly with a heat gun. This keeps the glue from chilling and gelling too fast.
- Apply hot hide glue to both surfaces and assemble quickly. Clamp firmly until set (usually 12-24 hours).
- Clean any squeeze-out immediately with a damp, warm cloth.
Sometimes, the old wood is too punky to hold a glue joint. You must consolidate it, but first, apply an isolation layer. A thin coat of dewaxed shellac seals the historic wood. This is a standard step in restoring antique wood furniture, helping preserve the material while stabilizing it. Then, you can apply a modern consolidant like a cellulose ether. The shellac barrier prevents the modern chemical from bonding irrevocably to the antique fibers. Future conservators can dissolve the shellac with alcohol to remove everything above it.
For a reinforcing splice, design it for mechanical removal. If a board end is rotted, I might use a long scarf joint. I attach the new wood with hide glue and two or three brass screws driven into oversized holes in the historic piece. The screws sit in slots, not tight holes, allowing for wood movement. Later, someone can remove the screws, apply heat and steam to the joint, and take my repair off.
What Old-School Techniques Still Work Best?
Power tools remove material fast, which is a liability here. Hand tools give you the control to preserve every millimeter of original wood. The goal is to add strength, not to remake the piece. That choice often comes down to hand tools vs power tools. Mastering both lets you pick precision over speed.
Consider a loose mortise and tenon. Modern practice is to glue it. For historic repair, I use a drawbore. I offset the hole in the tenon slightly from the hole in the mortise wall. Driving a tapered peg through pulls the joint tight mechanically. The joint is locked by physical force, not just adhesive. If needed, the peg can be drilled out and the joint disassembled, even 100 years from now.
Two traditional repairs are unbeatable for splicing in new wood:
- Scarf Joint: A long, angled splice for joining wood end-to-end. A well-cut 1:8 or 1:12 ratio scarf provides a huge gluing surface and is almost invisible from the side.
- Dutchman Repair: A shaped wooden patch for a damaged area within a board. You inlay a matching piece of wood, often with tapered sides that lock it in place with grain direction aligned. It’s stronger and more authentic than filling with epoxy putty.
Tool Choices: The Hand Plane’s Light Touch
A random orbital sander is tempting. Don’t use it. Sanders cut indiscriminately and round over crisp edges. They also load the wood pores with dust, which can interfere with glue or finish adhesion. A sharp hand plane set for a fine shaving is a precision instrument.
It shears the wood fibers cleanly, leaving a perfectly flat, open-pored surface for gluing. You can stop the instant the surface is clean, preserving the original geometry. I use a small block plane to gently clean old glue from a tenon cheek without changing its critical thickness.
For replacing a damaged section of molding, a spokeshave is your best friend. Its small sole and adjustable iron let you follow complex profiles. I trace the good section of molding onto the new wood, get close with a bandsaw, and then use the spokeshave to sneak up on the exact shape, constantly checking with a profile gauge. This hand-shaping process replicates the slight irregularities of the original, making the repair blend in. A router with a matching bit would make it look machine-made and out of place.
When is a Modern Material the Right Choice?

Pure historical replication is a noble goal. But as a practical woodworker, I also need things to be safe and to last. The choice isn’t always between “old” and “new.” It’s about finding the smartest tool for the job. My decision framework has three pillars: safety, longevity, and minimal concealment. If a modern material improves safety or drastically extends the piece’s life without permanently altering its character, I’ll use it.
Let’s compare two ways to fix a loose mortise and tenon in a chair leg. Option one is to replace the entire tenon with new wood. This is authentic, but it’s a major, invasive surgery that removes a lot of original material. Option two is to drill a small, discreet hole and inject a modern adhesive, or to add a stainless steel pin or screw. This is a repair, not a replacement. For repairing a wooden chair leg, these options illustrate two paths—from traditional restoration to modern reinforcement. Whichever route you choose, the result should stabilize the leg while preserving the chair’s integrity.
Stainless steel hardware, especially screws and pins, often provides a stronger, more reversible repair than trying to perfectly replicate a failed joint with new wood. A 3-inch #10 stainless steel screw has incredible tensile strength. It can pull a joint tight and hold it for another century. The key is concealment. You can counterbore the hole, drive the screw, and plug it with a sliver of matching historic wood. The structural upgrade is invisible, and the repair is technically reversible by removing the plug and screw.
I keep 304 and 316-grade stainless screws in my shop for this exact purpose. They won’t corrode and stain the wood like carbon steel, and their holding power is reliable. For a drawbore pin that’s loosened, replacing the old oak pin with a slightly larger diameter stainless steel rod is a permanent fix. You preserve the original joint geometry but swap out the one component that failed.
The Epoxy Question: Structural Savior or Historic Sin?
Epoxy is the most debated modern material in conservation. Used poorly, it’s a plastic crime against history. Used correctly, it’s a miracle worker. The line is clear.
The only acceptable use for epoxy in historic woodwork is as a consolidant for friable wood that you cannot otherwise remove or replace. I’m talking about the classic “pillar of oatmeal” scenario: a structural post that looks solid on the outside but is soft, punky, and crumbling inside. The historic shell must remain. Your job is to give the inside a backbone again. That often means considering stabilizing rot epoxy consolidants that can penetrate and harden the interior while keeping the exterior intact. Used thoughtfully, they can stabilize the rot and extend the life of the piece.
This is where you use a low-viscosity, penetrating epoxy. I’ve had great results with products like System Three’s SilverTip Laminating Epoxy, thinned slightly for deeper penetration. It’s like giving the wood a transfusion. You tape off the bottom, mix a slow-hardening batch, and let gravity and capillary action pull it deep into the punky fibers. It soaks in, cures, and bonds the crumbling cellulose back together. The wood regains maybe 80% of its original compressive strength, and you’ve saved the entire historic member.
Now for the sin. You must never coat an authentic surface with epoxy as a “protective” layer. It plasticizes the wood, creates an irreversible seal, and often yellows over time. Never use epoxy to replace a joint you could fix with traditional joinery. Filling a missing chunk of molding with tinted epoxy putty is a last resort, not a first plan. Epoxy is for saving what’s left, not for replacing what’s gone. If you can splice in new wood with a traditional joint, you should. That’s always more authentic and mechanically sound for the long term.
How to Navigate Safety Codes and Keep History Alive
Building codes exist for life safety. That is non-negotiable. A historic balcony railing that’s 32 inches tall when the code requires 42 inches is a real hazard. The ethical tension is real, but it’s a problem to solve, not a reason to give up.
The strategy is to make the upgrade as sensitive and discreet as possible. You meet the modern requirement without destroying the historic fabric. Think of it as adding an invisible exoskeleton. For that low balcony railing, you might carefully remove the historic balusters and panel, raise the entire assembly to the correct height with a new, hidden substructure, and then reinstall the original pieces. The change is undetectable from the room.
The most effective upgrades are often independent systems you install behind or within the historic work. I worked on a 19th-century shop where the second-floor wall panels were beautiful but offered no lateral bracing in an earthquake zone. The solution wasn’t to nail plywood over them. We designed a light-gauge steel moment frame that fit snugly into the stud cavities behind the panels. From the room, you see only the original tongue-and-groove wood. Behind it, a rigid steel skeleton now meets the seismic code. The history stays, and the building is safer.
This is why you talk to your local building official during your very first planning meeting. Don’t present finished plans. Present the problem. Say, “Here is this historic staircase. How can we work together to bring its handrail up to code without damaging it?” Good officials appreciate this approach. They may have precedent or alternative compliance paths you don’t know about. Building officials are not the enemy; they are collaborators in preserving safe, usable history. Bring them in early, be transparent, and you’ll find a path forward that respects both the past and the people using the building today.
What Are the Most Common (and Costly) Mistakes?
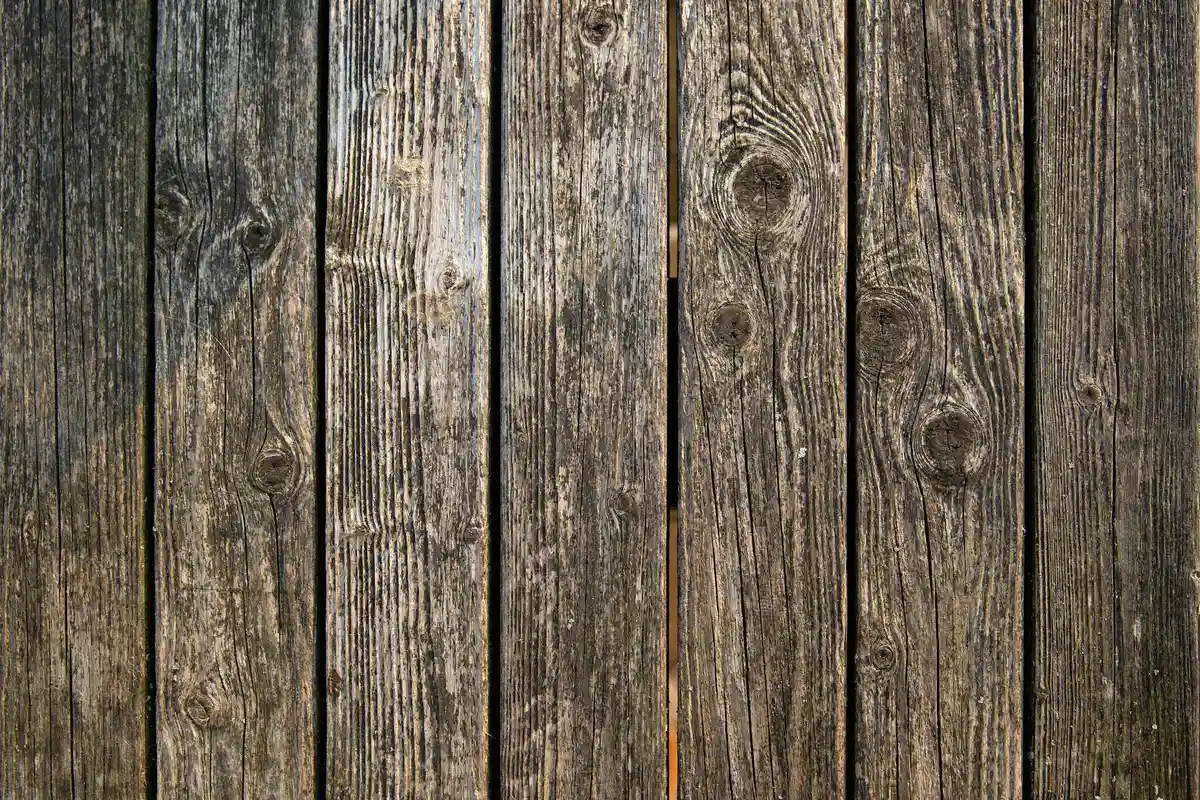
Rushing into a repair can cause more damage than the original problem. The most expensive errors come from good intentions paired with bad science.
- Over-Cleaning with Sanders and Chemicals: Aggressive cleaning seeks to make old wood look new, but it erases history. This process strips away the patina, a thin surface layer of aged cellulose and finish that gives the piece its character and color. Think of it like sanding the wrinkles from an old leather glove; you’re left with raw, vulnerable material that will never age the same way again.
- Using Pressure-Treated Wood for Repairs: It seems logical to use rot-resistant wood, but it’s a trap. Modern pressure-treated lumber is infused with copper-based preservatives and remains damp. When this wet, chemically active wood is joined to historic, dry wood, it creates a “battery” effect that accelerates rot in the original material through galvanic corrosion. It also shrinks dramatically as it dries, guaranteeing failed joints.
- Sealing Wood from the Back or Underside: The instinct to “protect” wood by painting or sealing its hidden surfaces ignores how wood breathes. Applying a vapor barrier on one face traps moisture inside, forcing it to move in and out only through the unfinished surface, which leads to increased checking, cupping, and decay. Wood must be allowed to exchange moisture with the air at a similar rate on all sides.
Why It Fails: The Sandpaper Trap
Reaching for an orbital sander is often the first mistake. On historic work, sandpaper is a destructive tool, not a refining one.
Hand planes, drawknives, and spokeshaves leave a distinct surface. They cut fibers cleanly, creating crisp arrises (sharp edges) and a gentle, undulating texture. A power sander grinds indiscriminately. It rounds over every sharp edge in seconds, leaving a soft, uniform profile that screams “modern.”
More critically, sanding removes the wood’s “skin”-the millimetre where decades of light, air, and use have created a stable, colored patina. Beneath it lies younger, reactive wood. When you apply a new finish, this fresh wood absorbs it differently, resulting in a blotchy, artificially toned appearance. The repair spot never truly disappears; it just looks like a clumsy patch.
Best Practice Workflow: Documenting Your Work
Your repair becomes a permanent chapter in the object’s story. Treat it that way. Before touching a tool, start a log.
- Visual Record: Take high-resolution photos in consistent light from multiple angles. Capture overall views, close-ups of damage, joinery details, and existing tool marks. Repeat during disassembly and after completion.
- Material Ledger: Note the species, source, and cut (quarter-sawn, plain-sawn) of any new wood. Record the recipe for any custom stains or finishes, including brands and mixing ratios.
- Technique Journal: Write down the methods you used. Did you use hide glue for its reversibility? A Dutchman patch? Why? This explains your reasoning to the next caretaker.
This documentation isn’t just for you; it is a crucial part of the artifact’s history that reduces guesswork for future repairs. Tuck a printed copy inside a drawer or frame. You are not just a fixer; you are a curator passing on critical knowledge.
Frequently Asked Questions: A Wood Science Perspective
What are the primary structural concerns when repairing historic woodwork?
The core concerns are the loss of compressive strength in brash wood and the integrity of load-bearing joints. You must differentiate between stable, historic cracks and active failures that compromise the member’s ability to carry its design load.
How do you assess the condition and remaining service life of historic wooden elements?
Use a diagnostic sequence: a moisture meter identifies active decay zones, while an awl or pick test quantifies residual surface hardness. Remaining service life is judged by whether damage is stable and localized or actively propagating, which dictates if the element can be consolidated or must be replaced.
What are the ethical considerations when deciding between repair, reinforcement, or full replacement?
The primary ethic is minimum intervention, prioritizing repairs that preserve the maximum original material. Full replacement is only justified when the existing wood cannot perform its structural role or when stabilization would require more alteration than a sensitive splice.
What documentation is required before, during, and after a repair project?
Essential documentation includes high-resolution photos of the original condition and a material ledger noting the species, cut, and source of any new wood. A technique journal explaining the chosen repair rationale is crucial for future conservators, creating a permanent record of your intervention.
What are common pitfalls or mistakes to avoid when repairing historic woodwork?
The most significant pitfall is applying modern standards of permanence, like using irreversible adhesives where reversible mechanical fasteners would suffice. This mindset fails to future-proof the repair and often causes greater damage during any future necessary disassembly.
Guiding Principles for Lasting Repairs
When repairing historic woodwork, I always prioritize reversible methods above all else. This safeguards the original material for future restorers and allows for corrections if techniques improve. In my shop, I rely on hide glue for joints because it provides strong adhesion yet can be reversed with heat. That balance keeps the piece functional while preserving its historical integrity.
I advocate for using ethically sourced replacement wood that matches the original species and grain. Ongoing study of wood science and conservation methods ensures your repairs are both effective and respectful.
Related Guides and Information
- Historic Wood Specialist | Restore, Repair & Replication Services
- Historic Wood Restoration: What to Expect and How to Prepare | John Canning & Co.
- Woodwork Restoration
- Repairing Exterior Wood Elements on Your Historic Building | Wisconsin Historical Society
- Home – heritagewoodworkconsultancy.com
- r/Home on Reddit: Restoring antique wood
- Historic Woodwork Finishes Restoration: Steps And Process
David is a veteran woodworker. He is now retired and stays in his cabin in Wisconsin which he built himself. David has 25+ years experience working in carpentry and wood shops. He has designed and built many small and large wood projects and knows the science behind wood selection like the back of his hand. He is an expert guide on any questions regarding wood material selection, wood restoration, wood working basics and other types of wood. While his expertise is in woodworking, his knowledge and first hand experience is far from 'woody'.