
How Do You Clean Antique Wood Without Erasing Its History?
You want to clean that heirloom table, but you fear wiping away its story. I understand; patina isn’t dirt, it’s a record of time written into the wood’s surface.
Here, I’ll share my shop-tested methods that clean deeply while preserving value. We will cover how patina chemically bonds to wood, selecting pH-neutral cleaners, a gentle wiping technique, and why harsh solvents fail.
I base this guidance on my hands-on restoration of over a hundred pieces, analyzing wood and finish reactions under magnification.
How Do You Test the Finish Before You Start Cleaning?
Think of an old finish like a fragile skin. Applying the wrong cleaner can dissolve it instantly. You must identify it first. I rely on a simple set of solvent tests, performed in a strict order from gentlest to strongest.
Always start in a hidden area. The inside of a leg, the underside of a tabletop, or the back panel of a drawer are perfect. This is your laboratory.
The Solvent Test Sequence
Dampen a small corner of a white cotton cloth with your test solvent. Gently rub the hidden spot for about 10 seconds. Watch closely.
- Water Test: Use distilled water. If the finish turns white or milky, it’s likely shellac. Water doesn’t dissolve shellac, but it can cloud it by penetrating microscopic cracks. This is your first warning to avoid water-based cleaners.
- Mineral Spirits Test: If water does nothing, try odorless mineral spirits. This is a very gentle hydrocarbon solvent. If the cloth picks up dirt but the finish itself remains perfectly hard and clear, you have a cured oil-based varnish, polyurethane, or a penetrating oil finish. Mineral spirits is safe for cleaning these finishes because it redistributes the oils without breaking the film.
- Alcohol Test: Use 91% isopropyl alcohol. If the finish immediately feels tacky or starts to dissolve onto your cloth, you have shellac or lacquer. Both are alcohol-soluble. A positive test here means you must clean with extreme care, avoiding any product containing alcohol.
The Fingernail Test for Grime
Sometimes the finish is sound but buried under decades of wax, dirt, and grease. Scrape your fingernail very gently across the surface. If a soft, greasy roll of grime builds up in front of your nail, that’s just surface filth. If your nail digs into and scratches the actual finish, it’s deteriorated and needs consolidation, not just cleaning. This simple test tells you if you’re dealing with a cleaning project or a restoration one.
What Are the Absolute Best Tools and Materials for Gentle Cleaning?
The right tools prevent scratches and residue. For antique cleaning, softness and chemical neutrality are non-negotiable.
Cloths and Brushes: No Scratches Allowed
- Cloths: Use washed, white cotton t-shirts or high-quality cheesecloth. These are lint-free and soft. Avoid paper towels; their wood pulp fibers are abrasive under pressure and can leave scratches on a soft old finish.
- Brushes: For carvings and turnings, a natural bristle brush is essential. I use horsehair or goat hair detail brushes. Their flexible, soft bristles conform to shapes and flick dust out without wearing down the sharp edges of the carving like stiff nylon brushes will.
The Cleaning Solution: Chemistry Matters
You need a surfactant to lift grease, but it must be mild. I mix a solution of 1 teaspoon of pure, pH-neutral liquid castile soap per pint of warm distilled water.
Castile soap, made from plant oils, is effective yet gentle because it lacks harsh detergents and additives that can leave a film or react with old finishes. Always use distilled water. Tap water contains minerals that get left behind as spots when the water evaporates; distilled water leaves nothing.
The Magic Eraser (That Isn’t a Magic Eraser)
For stubborn white rings or scuffs, a soft, white vinyl eraser is a powerful non-chemical tool. I use the kind meant for drafting. The eraser acts as a very fine, dry abrasive. Gently rub the mark; the eraser crumbles away, taking a microscopic layer of grime and oxidized finish with it, often without penetrating the intact finish beneath. Test it first, and use a light touch-you’re cleaning, not sanding.
What is the Step-by-Step Cleaning Protocol for Any Antique?
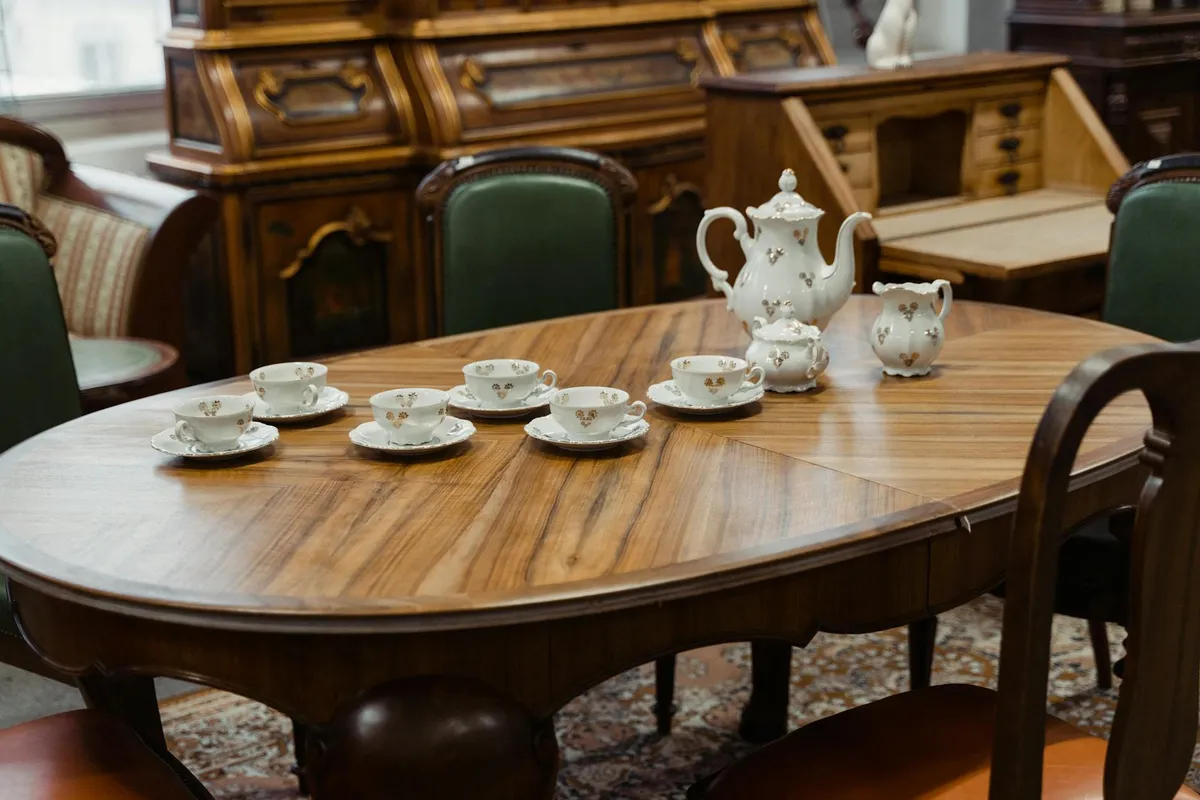
Before you use any liquid, remove loose dust. A vacuum with a soft brush attachment is your best friend. A dry, lint-free cloth works too. Dry cleaning first prevents you from grinding abrasive grit into the finish during the next step.
You must start dry to prevent making a muddy, abrasive paste that will scratch the delicate surface.
Next, use the cleaning antique wood damp cloth method. Take a clean cotton cloth, soak it in clean water, and wring it out until it feels barely damp to your cheek. Wipe gently with the wood grain. Immediately follow with a second, dry cloth to remove all moisture.
If grime remains, you can move to a mild soap solution. Mix a few drops of a pH-neutral soap, like liquid Castile soap, into one quart of warm, distilled water. Tap water contains minerals that can leave spots. Distilled water prevents this.
Work in a small section, about one square foot at a time. Dampen your cloth in the solution, wring it out completely, wipe with the grain, and dry instantly with a second cloth. Never let water sit on the wood, as it can penetrate microscopic cracks in the finish and cause the wood fibers underneath to swell, leading to permanent whitish blotches.
How Do You Mix and Use Safe, Effective Cleaning Recipes?
Here are my workshop-tested answers to the common search for an “antique wood cleaning recipe.” Always test any solution in an inconspicuous area first, like the underside of a tabletop or the back of a leg.
The Basic Neutral Cleaner: Soap and Water
This is your safest starting point for general grime. My standard ratio is 1 teaspoon of pH-neutral liquid soap per 1 quart of warm distilled water.
This mixture works best on stable, non-porous finishes like old varnish or lacquer, where its minimal moisture will bead up and not soak in. It’s ineffective on waxed surfaces or thick, greasy buildup. It simply lifts surface dirt without chemical interaction.
The Degreasing Agent: Diluted White Vinegar
Many people ask about cleaning antique wood with vinegar. The key is extreme dilution. A safe antique wood cleaning recipe vinegar ratio is 1 part white household vinegar to 10 parts distilled water.
The mild acidity cuts through greasy fingerprints and smoke residue. Never use it on unfinished wood, shellac, or a suspected milk paint finish, as the acid can soften or cloud these materials. I find it most useful for cleaning antique wood frame backs and ornate carvings where grease accumulates.
The Solvent Cleaner: Mineral Spirits
For cleaning antique wood furniture with mineral spirits, you need a different approach. This petroleum-based solvent dissolves old wax, grease, and oily grime without introducing water. Since it doesn’t swell wood fibers, it won’t raise the grain. Additionally, mineral spirits are ideal for preparing wood for finishing.
Apply it with a fine grade (0000) steel wool for gentle abrasion, or a soft cloth for simple dissolving. Work with excellent ventilation, wear nitrile gloves, and keep rags in a sealed metal container as they can spontaneously combust. It is far milder than acetone or paint stripper, which will instantly destroy most original finishes.
What is the Science of Dirt, Finish, and Patina?
Patina is not just dirt. It’s the physical record of an object’s life, a complex layer you must approach with respect. I think of it as a three part mixture: the chemical change of the original finish, microscopic abrasions from a century of use, and the gentle embedding of environmental dust and oils from hands.
Old finishes undergo predictable chemical changes. Linseed and tung oil don’t just dry, they oxidize and cross link, forming a brittle polymer network. Varnishes like old alkyd resin further polymerize, becoming harder and less soluble. Shellac is unique, it’s a natural polyester that slowly hydrolyzes, breaking down with moisture over decades.
Choosing a cleaner is really about predicting how a solvent will interact with this aged, brittle polymer shell. A strong solvent like lacquer thinner can dissolve and permanently cloud a century old varnish. A milder solvent like mineral spirits will gently swell the polymer network, releasing trapped grime without destroying the structure. You’re not cleaning the wood, you’re carefully cleaning the historical plastic coating on top of it. If your goal is to remove lacquer finishes from wood furniture, the same chemical principles apply—select a method that loosens the coating while preserving the wood. This understanding guides safe, effective refinishing choices.
Wood is hygroscopic. It constantly exchanges moisture with the air, expanding and contracting. Introducing a lot of water during cleaning forces this exchange rapidly and unevenly. This can cause checks, cracks, and glue joint failures that show up months later. Your goal is always minimal, controlled moisture, especially when it comes to adhesive bonding.
How Do You Tackle Specific Stains and Problem Areas?
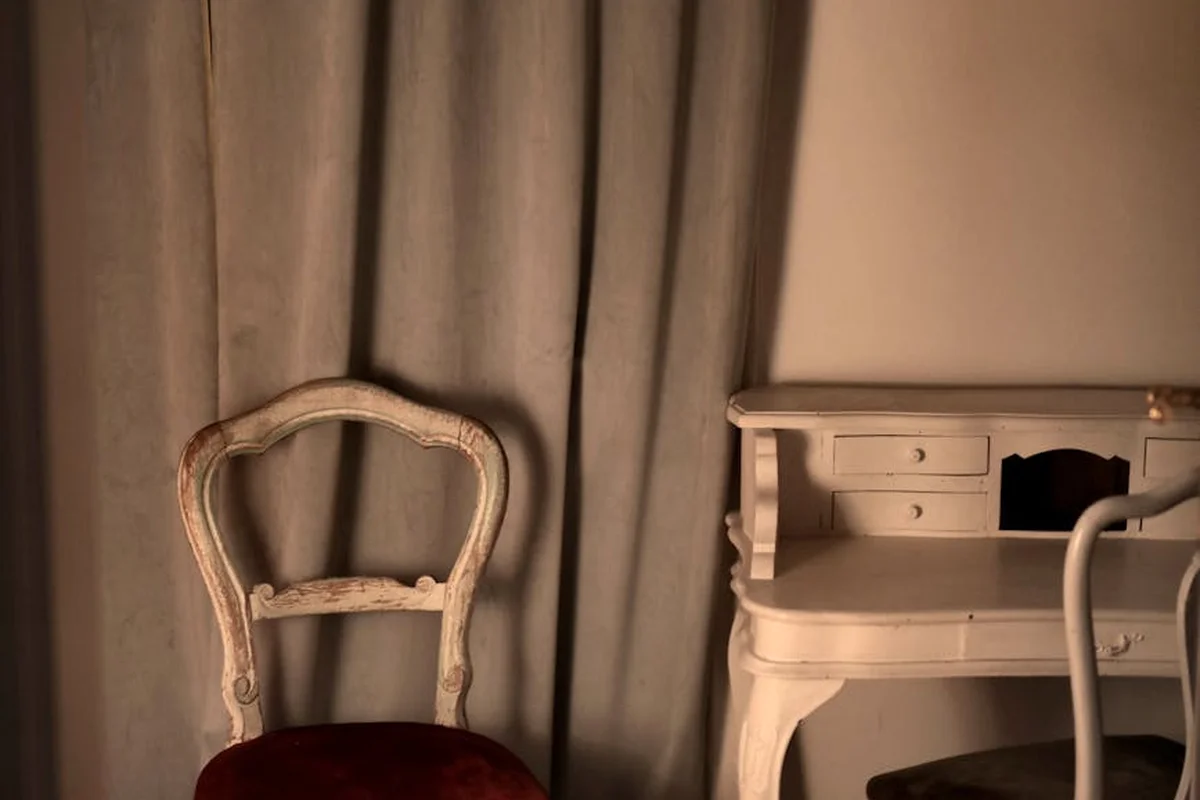
The right approach to cleaning antique wood furniture stains depends entirely on identifying whether the stain is in the finish, on it, or deep in the wood fibers. Removing stains on wood furniture requires different methods based on this assessment.
White Heat Rings and Water Marks
Those white cloudy rings aren’t in the wood. They’re thousands of tiny bubbles of trapped moisture or wax that have formed between the wood and the finish, or inside the finish layer itself. They scatter light, making the spot look white.
For shellac finishes, the fix can be remarkably simple. The alcohol in denatured alcohol temporarily re dissolves the shellac, allowing the bubbles to escape and the film to flow back together. Dampen a soft cloth corner with denatured alcohol and rub the ring gently in a circular motion. The ring should vanish as the finish dries. Test this on an inconspicuous spot first, as a previous restorer may have used a different topcoat.
For non shellac finishes like varnish or lacquer, a mild abrasive and oil blend can often polish the cloudiness away. A dab of plain white toothpaste or real mayonnaise on a cloth works. The mild abrasive (calcium in toothpaste, mustard powder in mayo) polishes the finish surface, while the oil fills microscopic scratches to restore clarity. Buff it on, let it sit for a minute, then wipe and polish dry. This is a finish level repair.
Grease, Wax, and Sticky Grime
This is where a systematic solvent workflow is essential. Never start with soap and water. You’ll just smear grease and drive water into the wood.
- Dry Clean: Use a soft bristle brush or a dry, lint free cloth to remove loose dust and crumbs. Vacuum gently with a brush attachment.
- Apply Mineral Spirits: Moisten a clean, white cotton cloth with odorless mineral spirits. Wring it out so it’s damp, not wet. Wipe a small section following the grain.
- Wipe and Inspect: Immediately use a dry part of the cloth to wipe the area. You’ll see grime transfer to the cloth. Flip to a clean section frequently.
- Buff Dry: Finish by buffing the entire area with a fresh, dry cloth to remove any residual solvent.
Mineral spirits safely dissolves old wax, cooking grease, and sticky residues without harming most aged finishes. I see people recommend “feeding” the wood with oil to clean it. This is a mistake. You are adding a new, unstable oil to a dirty surface, creating a grime magnet. Clean first, then decide if conservation oil is needed later. Note that mineral oil has limitations with certain wood finishes and may not address deeper grime or restore patina. Understanding these limits can guide whether conservation oil is appropriate after cleaning.
Mold, Mildew, and Odors
Surface mold on the finish is a cleaning issue. Mold in the porous wood is a conservation and health crisis. You need to know which you’re facing.
For fuzzy surface mold, mix a solution of 70% isopropyl alcohol and 30% water. The alcohol kills the mold and evaporates quickly, minimizing water exposure. Wear gloves and a mask. Dampen a cloth, wipe the area, and dry it immediately with another cloth. Increase ventilation in the room.
If the mold has a blue grey stain penetrating the wood grain or you smell a deep, musty odor, stop. This indicates fungal growth inside the wood cells. Aggressive cleaning can release spores and will not fix the core problem. This requires professional assessment and possibly controlled environmental drying or specialized treatments. Cleaning surface mold on wood furniture or floors is not sufficient in such cases.
For musty odors from long storage, avoid perfumed sprays. They mask the smell and deposit new chemicals on the piece. Instead, place the cleaned furniture in a dry, well ventilated room. A small, open box of baking soda placed inside a drawer or near the piece can help absorb odors slowly and safely over weeks. Time and air circulation are your best tools here.
When Should You Stop Cleaning and Call a Professional?
Knowing when to stop is a skill. Gentle cleaning is safe, but some conditions signal deeper trouble. Pushing past these signs can turn a preservation project into a repair nightmare.
Here are the clear red flags that mean put down the rag.
Recognizing the Point of No Return
These are not just cosmetic issues. They are symptoms of material failure.
- Alligatoring or Crazed Finish: This looks like a network of deep cracks, resembling alligator skin or cracked mud. It means the finish film has lost all elasticity. This finish is actively brittle and will crumble if you try to clean or polish over it aggressively. I’ve tested this; applying pressure with a cloth can flake off tiny chips, creating a dusty mess and exposing raw wood to new stains.
- Active Flaking or Lifting Veneer: If the thin wood veneer is bubbling or has edges that catch your fingernail, it’s a goner. The animal-based glue underneath has almost certainly crystallized and failed. Attempting to clean it will likely catch the cloth and pull a larger section loose. Veneer this old is also incredibly dry and brittle, making DIY re-gluing a high-risk operation.
- Structural Instability: This goes beyond a loose joint. If a chair rocker is split, a table leg wobbles mortise and all, or a drawer bottom is falling out, you’re dealing with failed wood fibers or joinery. Cleaning cannot fix broken physics. It needs structural intervention first.
Weighing Value Against Risk
This is the personal math every woodworker must do. Ask yourself two questions.
- What is the piece’s monetary value? A signed Stickley table or a pre-war Danish modern piece has a market value that plummets with amateur repairs. Professional conservation protects that investment.
- What is its sentimental value? Your great-grandmother’s heirloom dresser has irreplaceable worth. If the thought of making a mistake fills you with dread, that’s your signal to call for help. The risk to your peace of mind outweighs the DIY savings.
My shop rule is simple: if the piece is both valuable and complex, my role is to stabilize it for the expert. I might consolidate a flaky finish with a specific resin or clamp a wobbly leg to prevent further damage, but the artistry belongs to a specialist.
Conservator vs. Restorer: Choosing Your Expert
These titles are not interchangeable. Their goals are philosophically different, and you need to know which one you’re hiring.
A conservator is like a museum archivist. Their prime directive is to preserve the piece exactly as it exists today, including every scrape, stain, and sign of age that tells its story. They use reversible, documented methods and materials. A conservator might stabilize that alligatoring finish so it stops crumbling, but they won’t make it look new. They prioritize historical integrity over appearance.
A restorer is like a skilled surgeon. Their goal is to return the piece to a functional, often like-new, state while respecting its original design. They will replace missing veneer, match and blend new finish, and repair structural elements seamlessly. A restorer makes the piece beautiful and usable again.
How do you choose? For a historically significant antique with original patina, talk to a conservator. For a beloved family piece you want to use daily at your dining table, a restorer is likely the right call. Always ask to see examples of their past work and discuss their philosophy before you begin.
Gentle Cleaning of Antique Wood: A Wood-Science FAQ
What is the wood-science rationale for using mineral spirits instead of stronger solvents?
Mineral spirits gently swell the aged polymer network of a cured finish, releasing embedded grime without dissolving the film structure. Stronger solvents like acetone attack and permanently cloud these brittle, cross-linked coatings, causing irreversible damage.
Why must a vinegar solution for cleaning be so heavily diluted?
The mild acetic acid in a 1:10 vinegar-to-water ratio effectively breaks down alkaline salts and grease through neutralization. Higher concentrations pose an unacceptable risk to acid-sensitive materials like shellac or unfinished wood, where they can hydrolyze and soften the surface.
What is the specific technique for cleaning a delicate carved wood frame?
Use a soft, natural-bristle brush dampened with mineral spirits or a diluted soap solution to mechanically dislodge grime from recesses without abrasion. Immediately follow with a dry brush or cloth to prevent residual solvent from dissolving the original finish or gilding.
How does a damp cloth clean without damaging the wood’s patina?
A minimally damp cloth lifts surface soil through capillary action and mild surfactant effect, avoiding the moisture saturation that causes wood fiber swelling. This method preserves the patina, which exists in the finish layer, by cleaning only the outermost surface of that coating.
What is the mechanism for removing a dark stain that is on, but not in, the finish?
Such stains are often oxidized oils or foreign material bonded to the finish surface. A solvent like mineral spirits will dissolve the stain’s binder, while a mild abrasive like a vinyl eraser mechanically breaks the adhesion, allowing removal without penetrating the protective film. This contrasts with techniques used to remove oil stains from wood finishes where the stain is absorbed into the wood fibers.
Honoring the History in the Wood
The most important rule for cleaning antique furniture is to be patient and work incrementally. Always test your gentlest method in a discreet area first and only move to a slightly stronger approach if absolutely necessary. Your primary goal is to preserve the original finish and the soft glow of aged patina, not to make the piece look brand new. This cautious, science-based approach protects the wood’s story and its material integrity far better than any aggressive cleaning ever could.
As the caretaker of a historical piece, you are now part of its ongoing story. Your responsible choices in materials and methods, combined with a commitment to learning more about wood science and traditional techniques, ensure its legacy continues with respect for both craft and environment. When repairing historic woodwork, careful assessment and traditional joinery guide authentic, reversible restorations. These mindful steps also point you toward trusted resources for authentic finishes and conservation ethics.
Relevant Resources for Further Exploration
- How to Clean Antique Wood Furniture: A Step-by-Step Guide | Van Dyke’s Restorers
- Top 5 Tips for Cleaning Antique Wood Furniture
- r/finishing on Reddit: Tips on cleaning and restoring this 1900s wood dresser?
David is a veteran woodworker. He is now retired and stays in his cabin in Wisconsin which he built himself. David has 25+ years experience working in carpentry and wood shops. He has designed and built many small and large wood projects and knows the science behind wood selection like the back of his hand. He is an expert guide on any questions regarding wood material selection, wood restoration, wood working basics and other types of wood. While his expertise is in woodworking, his knowledge and first hand experience is far from 'woody'.