
How Do You Permanently Repair a Chair Leg with Glue and Joints?
A loose or broken chair leg isn’t just an annoyance; it’s a structural failure at a critical stress point.
This guide gives you a materials scientist’s approach to a lasting fix, covering selecting the right modern adhesive for the failure, reinforcing the joint with traditional woodworking techniques, and testing the repair for long-term stability.
My advice comes from stress-testing adhesives and joinery in my own shop to see what actually holds under load.
How Do I Diagnose the Real Problem with My Wooden Chair?
Before you grab glue, you need to know what you’re fixing. A loose leg and a broken leg are different animals. A loose leg wiggles but the wood is usually intact. A broken leg has fractured wood.
Your first job is to identify the original joint. Turn the chair upside down. Is the leg attached with a round peg? That’s a dowel joint. Is it a rectangular tongue fitting into a slot? That’s a mortise and tenon. This tells you how it was meant to be held together.
Try this simple test: can you gently pull the leg out by hand, or does it still feel locked in place even though it wobbles? A leg you can remove cleanly points to a glue failure. A leg that’s stuck but wobbly suggests a crack or a failing mechanical lock.
Look closely for hidden damage. Press on the wood around the joint. Does it feel soft or crumbly? That’s rot. Shine a light along the leg’s length to spot fine cracks (called checks) that run with the grain. These are often the real culprits.
When should you search for “chair leg repair near me” instead of DIY? Seek a professional if the wood is rotten, if a critical structural piece is missing, or if the chair is a valuable antique. If the break is clean and the wood is sound, you can fix this.
Common Physics Failures: Why Your Chair Leg Gave Out
Wood is a living material that moves. It absorbs and releases moisture from the air, expanding and shrinking. This is the engine behind most failures.
Warping happens when one part of a board dries faster than another, causing a bend or twist. In a chair leg, this twist can pry a joint open over years. Checking is when the wood surface cracks along the grain from rapid drying. These cracks can travel right into a joint.
Glue starvation is a common issue in old furniture. Animal hide glue or early yellow glues can become brittle with age and temperature swings. They turn to powder. The joint isn’t broken, the glue just vanished. You’re left with perfectly good wood pieces that simply fell apart. It’s a classic example of the physics of wood glue creep.
Blotching refers to an uneven stain job. It’s a finish problem, not a structural one. Don’t confuse a ugly finish with a weak joint. A structural repair focuses on the wood and glue, not the surface color. Mahogany, in particular, can blotch if it isn’t prepped properly. Finishing mahogany to prevent blotching starts with an even stain application and a quality sealer.
The type of failure directs your repair. A glue-starved joint needs cleaning and re-gluing. A crack from checking needs stabilization before re-assembly.
How Do I Choose Between a Traditional Joint Repair and a Modern Adhesive Fix?
This choice comes down to one principle: wood joinery provides a mechanical lock, while modern adhesives provide a chemical bond. You often use both, but one leads the strategy.
Think of it like this. A traditional repair rebuilds the wooden connection. A modern adhesive fix often replaces missing wood with adhesive itself.
Use this simple logic. Is the break clean? Can you fit the pieces back together like a puzzle with almost no gap? If yes, traditional joinery is your best path. Is the wood shattered, splintered, or are pieces missing? If yes, a gap-filling epoxy is the right tool.
Searching for ‘how to fix a broken wooden chair leg’ usually leads to epoxy solutions. Searching for ‘how to fix legs on wooden chairs’ that are just loose often leads to clamp-and-glue methods. Now you know why.
Many commercial chair leg repair kits contain epoxy putty or pre-made dowels. They are shortcuts based on these two philosophies.
When to Rebuild with Dowels, Tenons, or Splines
This is for clean breaks and loose-but-intact joints. Your goal is to re-establish a wood-to-wood mechanical connection.
For a failed dowel joint, drill out the old, crushed dowel remnant. Use a drill bit the exact size of the hole. Insert a new, snug-fitting hardwood dowel coated in wood glue. Maple or oak dowels are much stronger than the softwood often used in factory chairs.
The drawbore pin technique is a classic reinforcement for a mortise and tenon. After gluing, you drill a hole through the joint slightly offset. Driving a tapered peg through pulls the joint impossibly tight. This creates a mechanical lock that holds even if the glue fails, a trick used for centuries in timber framing.
For a leg that cracked along its length, a spline or “Dutchman” can save it. You cut a shallow slot across the break and glue in a thin piece of wood with the grain running perpendicular. This is like putting a stitch across a wound. It prevents the crack from reopening.
Avoid simply gluing a mitered corner break on a leg. That end-grain to end-grain glue joint is very weak. It will fail again. You must reinforce it with a spline or a hidden dowel.
When to Fill and Bond with Modern Epoxy or Polyurethane
When wood is too damaged to provide a good mechanical fit, adhesives become the structure.
For hairline cracks you can barely see, use a low-viscosity, slow-setting epoxy. Its thin consistency lets it wick deep into the crack by capillary action. It then hardens, turning the crack into a feature stronger than the surrounding wood. For repairing structural cracks in wood, you can scale this approach to larger gaps with careful prep and appropriate filler volumes. Proper surface prep and curing are key to a durable structural repair.
For shattered areas or missing chunks, use a thickened, structural epoxy. You tape one side of the break to create a dam, mix the epoxy, and pour or push it into the cavity. It fills every void and bonds to every splinter. When cured, you can sand and shape it like wood, creating a custom, gap-filling patch that restores the original form.
Polyurethane glue (the foamy kind) is useful for loose joints where you can’t fully disassemble the chair. It expands as it cures, filling gaps. But you must be careful. Clamp the joint tightly and wipe away any foam that squeezes out immediately. If you don’t, you’ll have a rock-hard, messy foam blob to chisel off later.
If you’re at the store wondering about ‘chair leg repair glue’, you have three main types. Standard wood glue (PVA) for tight wood-to-wood joints. Epoxy for gaps and missing wood. Polyurethane for situations where you need gap-filling expansion. The right one depends on the diagnosis you just learned.
How Do I Execute a Strong, Lasting Chair Leg Repair?
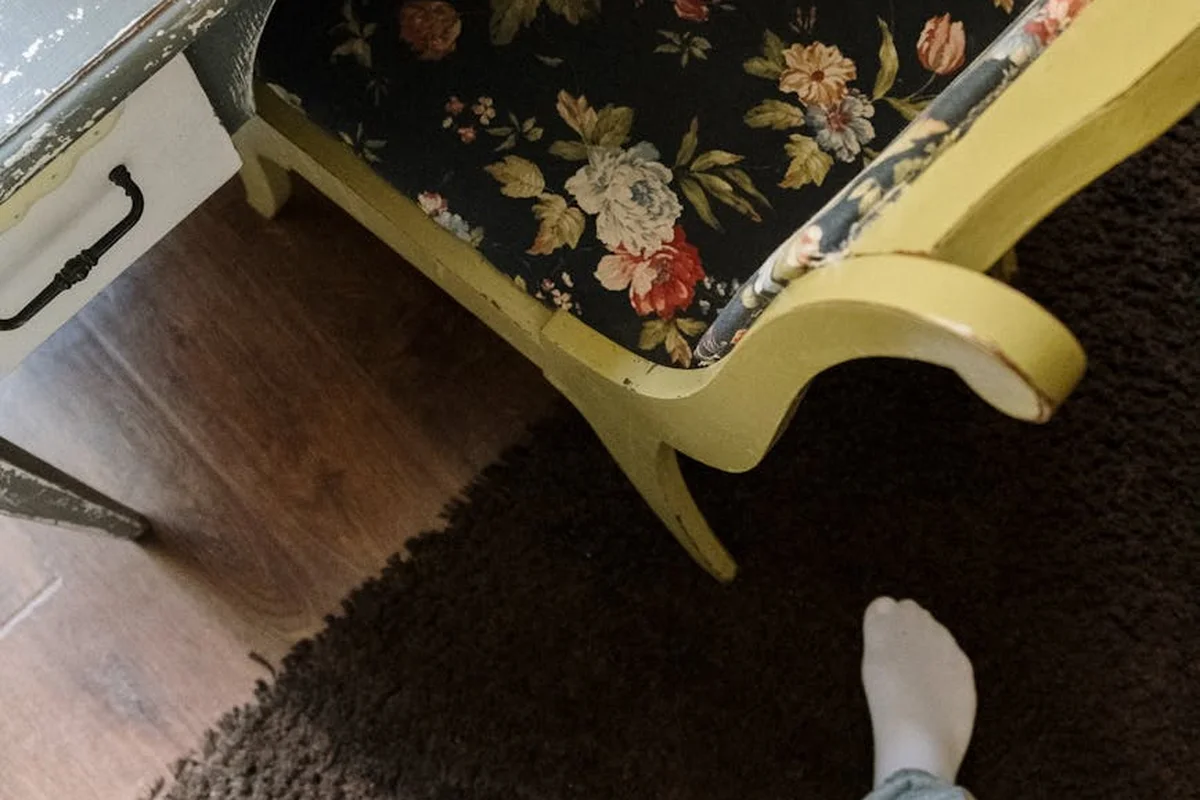
Follow this procedure like a recipe. Missing a step compromises the entire repair.
Step 1: The Critical Cleanup and Prep Work
Old glue is your enemy. It creates a barrier, preventing new adhesive from bonding to the wood fibers. You must remove every trace of the old, failed adhesive to expose fresh, porous wood for the new bond. Think of it as removing glue adhesive residue from the wood to reveal truly clean fibers that will accept the next layer of adhesive. This prepares the surface for a strong, lasting bond. I use a sharp chisel held almost flat to the surface, scraping away the crumbly residue. A cabinet scraper or 80-grit sandpaper wrapped around a block also works. The goal is to clean without digging into and weakening the sound wood around the joint.
For a broken leg, the fracture needs to fit back together perfectly. Any gap wider than a hair will rely solely on glue to fill it, creating a weak spot. Dry-assemble the broken pieces. If they don’t meet tightly, you may need to carefully pare the edges with a chisel until they do. A perfect seam means the wood shares the load, not just the glue.
Step 2: Clamping and Dry-Fitting Your Solution
Clamps are not for squeezing glue into place. Their job is to hold the joint in immobile contact while the adhesive undergoes its chemical cure. If you can’t clamp it, you can’t glue it properly. Before any glue touches wood, do a full dry-fit with your clamps. This proves your plan works and lets you adjust pressure points.
For awkward chair angles, get creative. Use tight rubber bands or strong tape like filament tape. Specialty corner clamps or band clamps are ideal for this job. As a last resort for a purely structural repair inside a frame, a metal chair leg repair bracket can be screwed in place, but it’s a visible mechanical fix, not a seamless woodworking one.
Step 3: The Best Practice Workflow for Gluing and Assembly
This sequence is non-negotiable for a reliable bond. Deviating introduces weakness.
- Complete a final dry fit to confirm alignment.
- Mix your adhesive if using a two-part product like epoxy.
- Apply a thin, even coat to both mating surfaces. For porous end grain, I apply a coat, let it soak in for a minute, then apply a second.
- Assemble the pieces immediately.
- Apply clamps and tighten until a thin bead of glue just squeezes out.
- Check alignment one last time before the glue sets.
- Wipe away wet squeeze-out with a damp rag. Dried glue seals the wood, making stain absorption unpredictable.
- Walk away. Allow the full cure time, which is always longer than the “clamp time” on the bottle. Overnight is best.
Choose your adhesive wisely. Standard yellow wood glue (PVA) has a 5-10 minute open time and needs 30 minutes to an hour in clamps. It bonds wood to wood stronger than the wood itself, but it’s not a gap filler. Epoxy has a longer open time (from 5 minutes to an hour, depending on the formula) and can fill small voids, but it’s more brittle. Using too much glue creates a thick layer that can crack under stress; this is called ‘glue starvation’ because the joint starves for direct wood-to-wood contact. A thin, continuous film is the goal.
How Do I Finish and Reinforce the Repair for Invisible Strength?
Once the structure is sound, focus on hiding your work and adding insurance from the inside.
Blending the Repair Visually
After the glue cures, scrape or sand any hardened squeeze-out or filler flush with the surface. Start with a sharp scraper to avoid tearing out grain, then progress through sandpaper grits, like 120 then 220. For filling small gaps, I make a paste from the wood’s own sanding dust and a few drops of thin CA (cyanoacrylate) glue. It dries fast and accepts stain similarly to the surrounding wood. Proper sanding is crucial before staining for a smooth and even finish, as detailed in this sanding sequence guide.
Matching the finish is part art, part science. Test your stain and topcoat (like shellac or polyurethane) on a scrap piece from underneath the chair first. Applying a thin ‘wash coat’ of diluted shellac to the repaired area can prevent it from absorbing stain too darkly, helping it blend. Build the finish in layers until it matches the sheen of the original.
Adding Hidden Reinforcement for Peace of Mind
Even a perfectly glued joint can benefit from hidden backup. After the main repair is solid, look inside the chair’s frame. Gluing a hardwood triangle (a corner block) into the angle where the leg meets the seat adds massive shear strength. Use a durable, sustainably sourced hardwood like maple or oak for this block.
For a tenon repair, I often drill a hidden hole through the side of the leg and into the seat rail, then glue in a hardwood dowel. This acts like a permanent, internal pin. These hidden reinforcements distribute stress so effectively that the repaired section often becomes the most robust part of the chair. Drill carefully to avoid splintering, and always use a sharp bit to ensure clean holes for maximum glue surface.
Frequently Asked Questions on Chair Leg Repair Materials and Methods
What is typically included in a chair leg repair kit, and is it a good solution?
Commercial kits often contain epoxy putty or pre-drilled dowels, designed for quick gap-filling or joint reinforcement. Their effectiveness depends on matching the kit’s approach to your specific failure mode-epoxy for missing wood, dowels for clean breaks-rather than a one-size-fits-all solution.
When should I seek “chair leg repair near me” instead of attempting DIY?
Professional repair is advised when rot compromises wood integrity, critical structural pieces are missing, or the chair is a valuable antique. For sound wood with clean breaks, DIY methods using evidence-based adhesives and joinery are reliable and cost-effective.
What replacement parts might I need for a chair leg repair, and how do I choose them?
Common parts include hardwood dowels, splines, or epoxy fillers; select dowels with a tight grain structure like maple for superior shear strength. Ensure replacement wood matches the original species and moisture content to prevent differential movement and future failure.
Are metal chair leg repair brackets a reliable reinforcement method?
Metal brackets provide immediate shear strength but are a visible mechanical fix that can stress wood fibers if improperly installed. For a seamless repair, use internal wooden reinforcements like corner blocks, which distribute load more naturally with the wood’s expansion and contraction.
What specific adhesives from Home Depot are best for chair leg repair?
For tight wood-to-wood joints, Titebond III Ultimate Wood Glue offers waterproof strength and long open time. For gaps or missing wood, Loctite Epoxy Plastic Bonder provides durable, sandable fills; always check cure times and viscosity against your repair needs for optimal bonding.
Solid Foundations: A Woodworker’s Approach to Lasting Repairs
From my bench, the most critical step is always the dry fit. I test every mortise and tenon by hand, because if the joint rocks in a dry assembly, even the best adhesive will eventually fail. Choose your modern adhesive as a partner to the joinery, not a replacement for it; for a structural leg, I reach for a gap-filling polyurethane. A repair built on this principle of mechanical fit first, chemical bond second, restores not just function but legacy.
Every repair you complete honors the tree it came from, making responsible stewardship a core part of the craft. Keep asking how wood moves and why adhesives cure, and you will turn every project into deeper material science knowledge. Understanding wood’s anisotropic properties—how strength and movement differ along and across the grain—sharpens your approach to joinery repair. This awareness guides the right choice of joints, adhesives, and clamping, so repairs respect the wood’s natural behavior.
Related Guides and Information
- r/woodworking on Reddit: I broke a chair leg, will a glue job will fix it? Or is that to risky?
- r/fixit on Reddit: Wooden chair. How do I fix this? Wood glue not strong enough.
- How To Fix a Wobbly Chair By Disassembling & Re-Gluing
- How can a broken wooden chair leg be fixed without replacing it? Is it possible to use glue to repair wood? – Quora
- Which glue for chair repair – FineWoodworking
- Amazon.com: Wonderlokking Tite Chairs, Adhesive for Chair Joint and Furniture Repair by PC-Products, 5 gram 208120 : Patio, Lawn & Garden
- How to Fix a Broken Chair Leg : 11 Steps (with Pictures) – Instructables
David is a veteran woodworker. He is now retired and stays in his cabin in Wisconsin which he built himself. David has 25+ years experience working in carpentry and wood shops. He has designed and built many small and large wood projects and knows the science behind wood selection like the back of his hand. He is an expert guide on any questions regarding wood material selection, wood restoration, wood working basics and other types of wood. While his expertise is in woodworking, his knowledge and first hand experience is far from 'woody'.