
How Do You Store Lumber to Prevent Mold, Insects, and Warping Without Chemicals?
You’ve got good wood, and the last thing you want is for it to rot, get eaten, or twist. I get it-chemical sprays and treated lumber aren’t for everyone, especially in a home shop.
This guide walks you through the practical science, covering precise moisture control, non-toxic insect exclusion, and physics-based stacking to restrain wood movement.
I base these methods on years of material testing in my own workshop and a focus on wood’s hygroscopic behavior.
The Core Science of Dry, Stable Wood
Think of wood as a bundle of microscopic straws. These straws, the wood cells, constantly absorb and release water vapor from the surrounding air. This is hygroscopy. Your lumber is always breathing.
Wood does not expand and contract much along the length of those straws. All the movement happens across them. A board’s width and thickness will change with humidity. Its length stays nearly the same.
Wood finds a balance with the air’s humidity, a state called Equilibrium Moisture Content (EMC). If your shop air is at 45% relative humidity, your wood will eventually stabilize at a matching moisture content. This is the wood’s comfort zone, which is crucial to measure when working with wood.
Mold spores are everywhere, waiting for the right conditions. They need food (the wood itself), warmth, and, most critically, moisture. Stagnant, damp air around your lumber is an open invitation. Powderpost beetles operate similarly. They seek out wood with a higher moisture content to lay their eggs, as the larvae cannot survive in truly dry wood.
Warping is a symptom of uneven moisture. If one face of a board dries faster than the other, it shrinks faster. This creates tension, bending the wood. We call this a cup. A bow happens when the edges dry before the center. A twist results from a spiral grain pattern reacting to moisture change. Each defect signals uneven drying or absorption.
Controlling Moisture: Your First and Most Important Job
Your target is a stable relative humidity between 35% and 55%. This range is low enough to deter mold and insects but high enough to prevent wood from becoming too brittle. In most climates, this is the sweet spot for interior furniture wood. Temperature fluctuations that accompany humidity can cause wood expansion and contraction. Maintaining a consistently comfortable climate helps keep joints and finishes stable.
Do not guess. A basic two-pin moisture meter is a critical tool. Check several spots, especially in the center of a board’s end grain. Surface readings can lie. You need to know what’s happening in the core.
Compare your options. A basement often has stable temperature but can be too damp. A garage has huge temperature swings, which can cause condensation on your wood. A detached, well-ventilated shed is often better than an attached garage. The goal is less about perfect conditions and more about avoiding wild, repeated swings.
Temperature control matters because of condensation. When warm, moist air hits a cold board, water droplets form. This directly wets the wood. Keeping the storage area’s temperature stable prevents this cycle. A slow, steady change with the seasons is fine. A daily rollercoaster is not.
Try this simple test. Place a small, dry scrap of your lumber in a clear plastic bag. Seal it and leave it in your storage area for 24 hours. If you see fog or droplets inside the bag, the wood is still releasing moisture into the air. Your storage environment is too humid, or the wood is not yet ready for use. This same moisture behavior matters when finishing wood in high humidity. Finishes can cure unevenly or take longer to dry in humid air.
Building a Stable Stack: Air is Your Ally
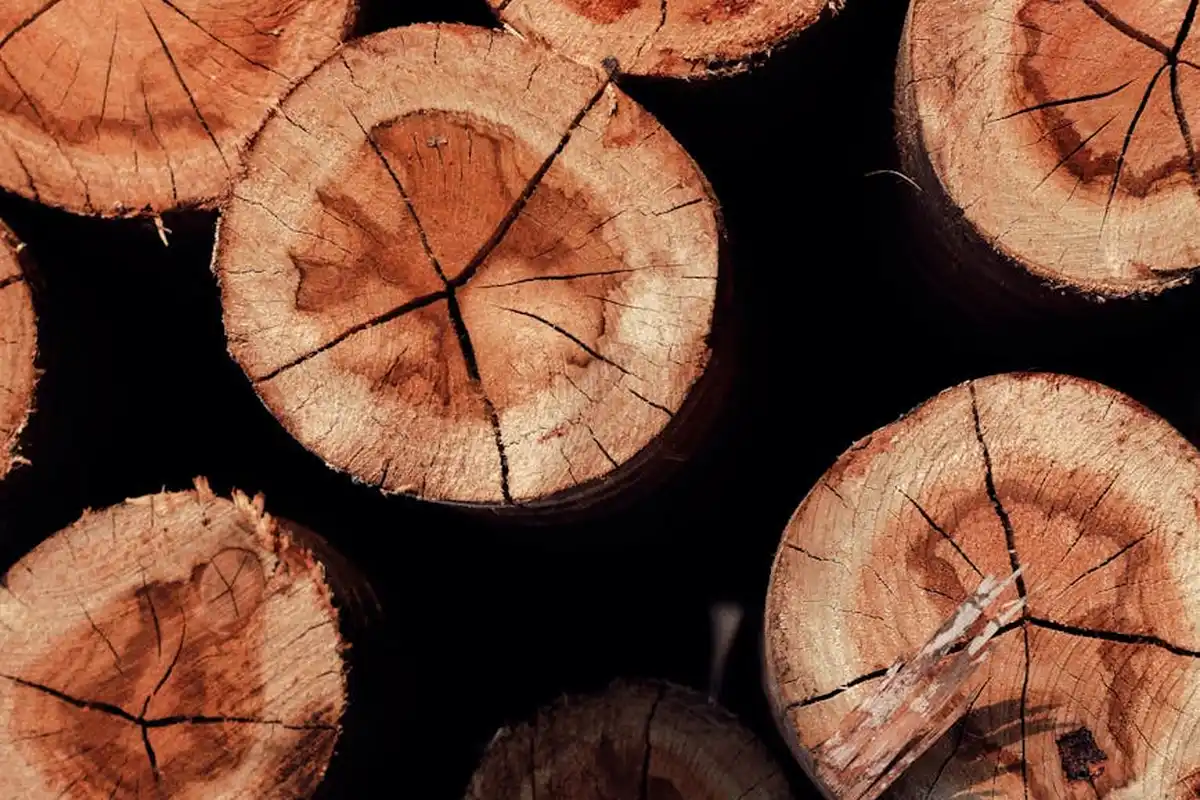
Think of your lumber stack as a giant sponge. It needs to breathe evenly from all sides to dry without stress. The ground is your biggest enemy, constantly wicking moisture into the wood. I start every storage project by getting the wood up and level.
Use concrete blocks or pressure-treated wood sleepers to create a solid, raised base. I keep a stack of cheap concrete patio blocks in my shop for this. Pressure-treated 4x4s work too, but ensure they’re fully dry to avoid transferring any moisture. Space your supports no more than 4 feet apart to prevent the stack from sagging in the middle.
Proper stacking is not about piling boards. You must create vertical channels for air to flow through the entire pile. Lay your first layer of boards parallel to each other with space between them. Then, place your stickers perpendicular across them. Every layer repeats: stickers, then boards, always keeping the stickers directly above one another.
The “stickering” method uses small, dry strips of wood to separate each layer, creating those crucial air channels. This is non-negotiable for preventing mold and warping. Your stickers must be uniform in thickness. I make mine from scrap 1×1 pine, milled to a consistent 3/4 inch. Align them vertically every 16 to 24 inches along the length of the boards. Finally, place a heavy weight like a sheet of plywood or more lumber on top to keep everything flat and stable.
Why that specific spacing? Wood moves as it equalizes with the air’s moisture content. If one part dries faster than another, it creates internal tension that pulls the board into a curve or twist. Stickers every 16-24 inches support the board at frequent intervals, minimizing the unsupported span where bending can start. It forces the whole board to dry at a more uniform rate.
Not all stickers are created equal. Your choice here matters.
- Dry Pine: My go-to choice. It’s cheap, easy to make from off-cuts, and has a bit of give. Just ensure it’s as dry as your stored lumber to avoid moisture transfer.
- Hardwood (like Maple or Oak): More rigid and less likely to compress, which is good. But it’s also more expensive and can leave darker impression marks on some softwoods if stored for years.
- Manufactured Plastic Sticks: They won’t rot or transfer moisture, which is a plus. I find them too slippery for tall stacks, and they don’t absorb any incidental moisture from the wood like dry wood stickers can.
In my tests for a stable, decade-long storage stack, nothing beats dry, milled pine stickers. They work with the wood, not against it.
Shielding Wood from Sun, Rain, and Pests Naturally
Once your stack can breathe, you need to shield it. Sun and rain cause rapid, uneven moisture changes. Direct sunlight bleaches wood and breaks down lignin, the natural glue that holds fibers together. It makes the surface brittle and weak.
Always store lumber in full shade, like under the eaves of a building or in a dedicated, open-sided shed. If you must store it in a sunny spot, the next step is critical. Never let rain or snow sit directly on the pile. A soaked board can stay wet for weeks inside, inviting mold. Outdoor wood maintenance in humid climates hinges on moisture control. In such conditions, shade storage and thorough drying are essential.
Covering the stack is a balancing act. You must keep rain off without trapping the moisture that’s trying to escape from the wood. I use only breathable, woven polypropylene tarps, often called “lumber tarps.” Never use plastic sheeting or vinyl tarps; they create a greenhouse effect, condensing moisture right back onto your boards.
Drape the breathable tarp loosely over the stack like a tent, and never seal the ends. Leave at least a foot of overhang on the sides, but ensure the ends of the stack remain completely open to allow cross-ventilation. Secure the tarp with ropes or bungees, but don’t pull it tight-air needs to move underneath it.
For insects, prevention is about creating an inhospitable environment. Most wood-boring beetles are lazy. They look for easy, damp wood to lay eggs in. A dry, airy stack is your first defense. For extra security, I use a two-step natural approach, which includes wood ash for its pest deterrent properties.
First, inspect all incoming wood. Look for tiny, round exit holes or fine, powdery frass (sawdust). If I find a suspect board that’s small enough, I wrap it in plastic and put it in my freezer for at least 72 hours. Freezing to 0°F (-18°C) kills all insect life stages without chemicals. For larger stacks or as a barrier, I sprinkle food-grade diatomaceous earth on and around the concrete block foundation. It’s a fine powder made from fossilized algae that physically damages the exoskeletons of crawling insects, deterring them from climbing up.
Mold appears as fuzzy black, white, or green spots. It needs moisture and stagnant air to grow. If you see it, act fast. For surface mold, mix one part white vinegar with one part water. Scrub the area with a stiff brush, then let the board dry completely in the sun. For stubborn stains or deeper mildew, you will need to plane off the affected surface after the wood is dry. The mold itself is usually only on the surface, but the staining can penetrate. I keep a dedicated hand plane for this job to avoid contaminating my good tools. Teak wood benefits from the same mold-removal approach to keep it clean. To clean mold off teak wood helps preserve its finish and durability.
Putting It All Together: A Long-Term Storage Plan
What are the best practices for storing lumber long-term without chemicals? The goal is to create a stable environment where the wood can reach and maintain its equilibrium moisture content without stress. You are building a climate buffer, not a sealed vault. The three pillars are air, spacing, and a stable foundation.
Step-by-Step Storage Checklist
Follow this sequence from the ground up. Skipping steps invites trouble.
- Choose and Prep Your Site: Select an interior space like a garage, basement, or shed. Avoid exterior walls if possible, as they experience greater temperature swings. The floor must be dry. I place a heavy-duty vapor barrier plastic sheet directly on the concrete floor first.
- Build the Foundation: Use concrete blocks, plastic pallets, or pressure-treated 4x4s to create a base at least 6 inches off the ground. This is non-negotiable. It prevents ground moisture from wicking into your stack and allows air to flow underneath.
- Layer the First Stickers: Place your first set of sticker boards (3/4″ to 1″ thick) perpendicular to your foundation timbers, about 16 to 24 inches apart. These stickers must be dry, stable wood like pine or poplar. Every single board in your stack must be separated by these stickers, creating vertical channels for air.
- Stack Your Lumber: Place your boards flat on the stickers. Keep boards of similar thickness together in the stack. Align the stickers directly above one another in perfect vertical columns. This prevents bowing and twisting under weight.
- Weight and Cover the Top: Once stacked, place heavy weight on top-old timbers, sheet goods, or cinder blocks. This discourages warping. Finally, drape a loose, breathable cover like a moving blanket or a tarp only over the top few inches. Do not wrap the sides. This top cover protects from dust and direct drips while letting the stack breathe.
Periodic Maintenance: The Check-Up
A stack you ignore is a stack that fails. Plan to check your lumber every season.
Use a pin-type moisture meter. Check a few boards from the middle and edges of the stack. You want consistent readings. Wood moisture exhibits hysteresis: drying and re-wetting follow different paths. So readings can depend on history as well as current conditions. A sudden high reading in one spot signals a moisture problem. Look for frass (sawdust-like insect droppings) or tiny exit holes, especially in sapwood. In spring and fall, tap the stack lightly with a mallet. A hollow sound can mean stickers have shifted or boards have cupped away from each other.
If your checks reveal problems, you may need to re-stack. This is the nuclear option, but it works. Disassemble the stack, brush off any surface mold (a stiff bristle brush outdoors), re-organize boards, and replace any compromised stickers with fresh, dry ones. It resets the airflow and gives you a chance to inspect every piece.
Short-Term vs. Long-Term Storage
Your strategy changes with time. For short-term storage of a few weeks, your primary enemy is rapid moisture change. Stacking with stickers in a climate-controlled space is often enough. You can be less meticulous about perfect vertical alignment.
For long-term storage of months or years, every detail in the checklist matters. The foundation height is critical. The weight on top is mandatory to combat creep over years. Your periodic checks are the insurance policy. The major difference is mindset: short-term is about holding pattern; long-term is about creating a stable, miniature ecosystem for your wood.
The Key Rule
Forget about special sprays, miracle bags, or complex gadgets. After twenty years of testing in my own shop and lab, the principle is simple. Stable moisture and good airflow beat any magic solution. All your work with foundations, stickers, and covers serves only those two masters. Get them right, and your wood will wait patiently for you, season after season.
Frequently Asked Questions: Storing Lumber Without Chemicals
Why is the 35% to 55% relative humidity range considered ideal?
This range keeps wood at a stable 6-9% Equilibrium Moisture Content (EMC), which is dry enough to starve mold and insects yet retains sufficient bound water to prevent brittleness. It mirrors the stable conditions found in finished interior spaces, pre-acclimating your stock for projects.
How does sticker spacing directly prevent warping?
Stickers placed every 16-24 inches minimize the unsupported span of a board, reducing the bending moment that causes bow. This spacing ensures air contacts the wood uniformly, promoting even moisture release across the entire board face to prevent cup and twist.
What makes a cover “breathable” and why is plastic sheeting harmful?
Breathable covers, like woven polypropylene, have a micro-porous structure that allows water vapor to escape while shedding liquid rain. Impermeable plastic sheeting traps evaporating moisture, creating a saturated microclimate that condenses on the cooler wood surface, directly wetting it.
Besides keeping wood dry, what natural methods deter insects?
Creating a physical barrier with food-grade diatomaceous earth around the stack’s foundation abrades insects’ exoskeletons. For active infestations, a sustained freeze at 0°F (-18°C) for 72+ hours is a non-chemical lethal treatment that kills all life stages.
What is the single most critical practice for multi-year storage?
Maintaining perfectly aligned, vertical columns of uniform stickers is paramount for long-term stability. This alignment ensures consistent, even pressure distribution and unimpeded vertical airflow throughout the stack’s core, preventing slow stress deformation over time.
Final Thoughts on Stable Material Storage
Your lumber’s safety depends on balance. The single most important practice is creating a stable storage environment where temperature and, critically, humidity are controlled. Success means bringing your wood into equilibrium with your shop’s air before you ever make a cut. This fundamental step is what prevents the internal stresses that lead to warping and checking, and the damp conditions mold and insects require.
Treating wood as a living, breathing material is the mark of a thoughtful craftsperson. I encourage sourcing from responsible suppliers and viewing proper storage not as a chore, but as the first, most respectful step in your build process, honoring the material’s journey from tree to timber.
Research and Related Sources
- Mold on new construction lumber – GreenBuildingAdvisor
- Variation in mold susceptibility among hardwood species under laboratory conditions – ScienceDirect
- Preventing Insect Infestation in Lumber Production
- How To Protect Your Wooden Pallets from Pests? – Unaka Forest Products, Inc
- 5 Tips for Preventing Firewood Pests | Twin Forks
- How to Get Rid of Moisture, Mold and Insects in your Home
Written by David Ernst. David is a veteran woodworker. He is now retired and stays in his cabin in Wisconsin which he built himself. David has 25+ years experience working in carpentry and wood shops. He has designed and built many small and large wood projects and knows the science behind wood selection like the back of his hand. He is an expert guide on any questions regarding wood material selection, wood restoration, wood working basics and other types of wood. While his expertise is in woodworking, his knowledge and first hand experience is far from 'woody'.