
Does Pine Stand Up to the Elements? A Science-Based Look at Outdoor Use.
If you’re eyeing that affordable pine board for a patio chair or garden planter, you’ve likely heard conflicting advice about its durability. I’ve tested pine in my own shop and yard for years, and the truth is more nuanced than a simple yes or no.
We will cover the cellular science behind pine’s vulnerability, the critical difference between pressure treatment and your own finish, and how its real-world lifespan compares to traditional hardwoods.
My advice comes from material tests and building projects that face real weather, not just textbook theory.
The Raw Science of Pine vs. the Elements
Is pine wood naturally durable for outdoor use? The short answer is no. Most pine species lack the chemical defenses found in woods like cedar or redwood. Pine is a softwood with low natural rot and insect resistance, which means it will decay quickly outdoors if left unprotected. You can absolutely use it outside, but you must commit to a robust protection strategy.
Its two key weaknesses are straightforward. First is low natural rot resistance. The heartwood of most pines (like the common Eastern White Pine) is rated as “slightly” or “non-resistant” to decay by the Forest Products Lab. Fungi that cause rot find it an easy meal. Second is softness. Pine is easy to dent. On the Janka hardness scale (which measures resistance to denting), Eastern White Pine sits around 380 lbf. Compare that to a true outdoor hardwood like Ipe, which can be over 3500 lbf. This softness means outdoor pine furniture will show wear from use and weather more quickly.
Pine’s Natural Weather Resistance Profile
For wood, “durable” outdoors means three things: rot resistance, insect resistance, and dimensional stability (resisting warp and twist). Pine scores low on the first two. Its stability is moderate; it moves with seasonal humidity but not as dramatically as some species. Southern Yellow Pine is a notable exception, with a denser, more resinous heartwood that has moderate decay resistance, which is why it’s commonly used for pressure treating. For all other pines, the sapwood and heartwood are both vulnerable.
This leads to a core principle: all wood needs protection outdoors. The real question for the woodworker is how intensive that protection needs to be and how often you must renew it. Using standard pine is a choice to manage a finish, not to install and forget.
Side-by-Side: How Pine Stacks Up for Outdoor Use
This comparison makes the trade-offs clear. Always look for FSC-certified or sustainably sourced lumber, especially for species like cedar, redwood, and tropical hardwoods.
How does pine wood compare to other woods for outdoor furniture? Pine is the budget-friendly, high-maintenance option that requires a good finish, while woods like cedar and redwood are higher-initial-cost, lower-maintenance choices that can weather naturally if you like the gray look. Pressure-treated pine is for structure, not typically fine furniture.
When NOT to Use Standard Pine Outdoors
Save yourself the frustration and avoid standard, untreated pine in these situations:
- Any part in direct contact with soil or concrete. Decay will start in months.
- In permanent, high-splash zones (like the base of a planter on a wet patio).
- For critical structural joints that will be constantly exposed to rain.
- As bare tabletops or seating surfaces that will see heavy, wet use.
Using untreated pine here is like using standard PVA wood glue for an outdoor chair. It’s a fundamental mismatch between the material’s properties and the job’s demands.
What Actually Determines How Long Pine Lasts Outside?
Forget a single number. The lifespan of outdoor pine is a chemistry experiment where your local climate writes the rules. How long untreated pine lasts outdoors isn’t a fixed timeline; it’s a function of how quickly water, sun, and organisms can break down its fibers. With a great finish and smart placement, a pine project can last decades. Left raw on the ground, it may rot in a single season.
The Four Enemies: Water, Sun, Fungi, and Insects
These are the forces working against your pine project. Water is enemy number one. It swells the wood, then evaporates and shrinks it, causing checks and cracks. More critically, it raises the wood’s moisture content above 20%, creating the perfect home for wood-decaying fungi. Sun (UV radiation) is the second enemy. It doesn’t rot the wood, but it breaks down the lignin that holds the cellulose fibers together. This turns the surface gray and fuzzy, a process called weathering, which accelerates moisture absorption.
Think of a sponge. Leave it wet in the sink, and mold (fungi) grows quickly. Leave it in a sunny window, and it becomes brittle and crumbly (UV degradation). Your pine outside faces both attacks at once.
Fungi are the primary rot agents, and insects like carpenter ants or termites may follow once decay softens the wood. What are the main factors that affect pine’s outdoor durability? Moisture retention is the biggest one, followed by UV exposure, local fungal spore load, and physical wear on the soft surface.
Your Local Climate is the Biggest Variable
Your geography dictates the battle. An untreated pine Adirondack chair on a covered, high-desert porch in Arizona might last 5-7 years, slowly weathering but staying structurally sound due to low humidity. The exact same chair, placed in a shaded, damp garden in the Pacific Northwest, could become spongy and fail in 18-24 months.
How long can untreated pine last outdoors? Here are realistic, general scenarios:
- Direct ground contact: 6 months to 2 years before significant decay.
- Off-ground, fully exposed (rain/sun): 1-3 years before becoming structurally compromised or unsightly.
- Off-ground, under a roof overhang (covered): 4-8 years, weathering to gray but rotting slowly.
These timelines show why protection isn’t optional. They also show that with a covered location, even untreated pine has a serviceable, if rustic, lifespan for non-critical projects.
The Best Practice Workflow for Treating and Sealing Pine
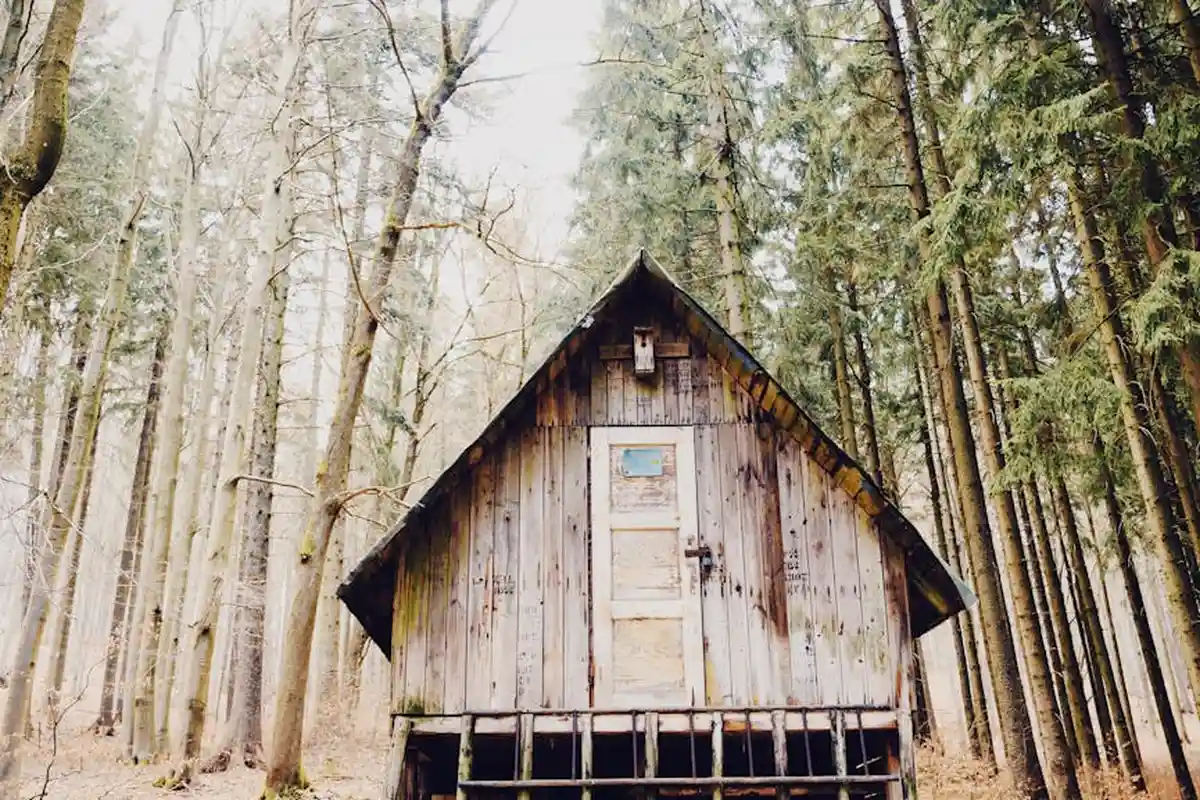
Success with pine outdoors depends on your defense strategy. I treat it like a multistage armor system. Here is my shop tested protocol, from rough board to final coat.
Step 1: Milling and Preparing the Wood
Your finish can only be as stable as the wood underneath it. Start with lumber that reads 12% moisture content or less on a reliable meter; anything higher is a warping disaster waiting to happen. I mill all my parts and do a final sanding before any finish touches the wood.
Understand end grain. Those porous ends act like a bundle of drinking straws, sucking water deep into the board’s core. Any treatment plan must account for this.
- Sand through a progression: 100-grit to remove planer marks, then 120-grit, and finally 150-grit for a smooth base. Skip to 220 if you want, but beyond that can burnish the wood and hinder penetration.
- Before your main finish, seal the end grain. I apply a heavy “flood coat” of your chosen sealer (oil, thinned finish, or dedicated end-grain sealer) and let it soak in fully. Wipe off the excess after 15 minutes.
Step 2: Choosing Your Defense: Penetrating vs. Film-Forming Finishes
This is the critical choice. What are the best treatments to protect pine wood outdoors? It depends on the look and maintenance you want.
Penetrating Oils (Tung, Linseed, Decking Oils): These soak in, nourish the wood fibers, and repel water from within. They leave a natural, matte finish that won’t peel. The trade off is they need reapplication every 1-2 years. Modern “decking oils” often include UV blockers and mildewcides, making them a top choice for horizontal surfaces.
Film-Forming Finishes (Spar Urethane, Exterior Varnish): These build a protective plastic like shell on the surface. They offer excellent initial protection against water and UV. On soft pine, however, this hard shell can crack as the wood flexes with moisture changes, letting water underneath where it’s trapped, leading to rapid failure. If you use one, opt for a flexible “spar” formula and expect to sand and recoat every 2-3 years.
Water Repellent Preservatives (WRPs): These are clear, thin treatments containing wax and mildewcide. They don’t build film or add much color. Think of them as a primer coat. I often use a WRP first, then apply a pigmented decking oil over it for layered protection.
Step 3: Application for Maximum Lifespan
Proper application makes your chosen finish last years longer. Follow the product’s can directions for temperature and humidity.
- Apply the first coat liberally to all surfaces, especially end grain. Let it soak in.
- For subsequent coats, apply thin, even layers. A foam brush is my secret for vertical surfaces like chair legs it minimizes drips and sags.
- Respect dry times. Rushing recoat leads to a gummy, weak finish. In humid conditions, I add 50% more drying time.
- Lightly hand sand with 220 grit sandpaper between coats to remove dust nibs and ensure a mechanical bond for the next layer.
Building with Pine: Decks, Furniture, and Structural Tips
You can build durable outdoor projects with pine, but you must build smart. The design and construction must work with the wood’s properties, not against them. When choosing wood, it’s also important to consider pine versus other woods like Douglas fir.
Can You Use Pine Wood for a Deck?
Yes, but you must use the right kind. The standard Spruce Pine Fir (SPF) from a big box store is not suitable for decking it decays too quickly. The correct material is pressure treated Southern Yellow Pine, an industry standard for decades.
The pressure treatment forces preservative chemicals deep into the wood, making it resistant to rot and insects. Look for stamps indicating “Ground Contact” or “UC4A” rating for posts, and “Above Ground” or “UC3B” for joists and decking boards.
Always use hot dipped galvanized, stainless steel, or polymer coated fasteners with treated wood. The preservative chemicals are corrosive and will rapidly eat plain steel screws and nails.
Designing Outdoor Furniture That Endures
Good design is your first line of defense. Your goal is to help the wood shed water quickly.
- Design slanted seats and table tops so water runs off.
- Use wide overhangs on table tops to keep rain off the base.
- Avoid joints that create water pockets, like a flat horizontal lap joint.
- Consider hybrid construction. Use pine for the main frame, which is often protected, and a harder wood like white oak or cedar for exposed armrests, slats, or tabletop battens.
Smart Joinery for a Soft Wood
Forget fine furniture joinery here. Outdoor conditions demand robust, mechanical connections.
I rely on screws, bolts, and metal brackets over pure glue joints for any point under stress. Yellow glue fails when wet, and even waterproof glue is only as strong as the soft pine fibers around it.
A half lap joint secured with outdoor rated glue and stainless steel screws is incredibly strong and stable. For major connections, like a bench leg to an apron, a through bolt with a washer is your best friend. It allows for wood movement and won’t let go. In constant wet dry cycles, a simple bolted joint will reliably outlast a complex, tight fitting mortise and tenon that can swell and crack.
The Real Cost: Maintenance Schedule for Outdoor Pine
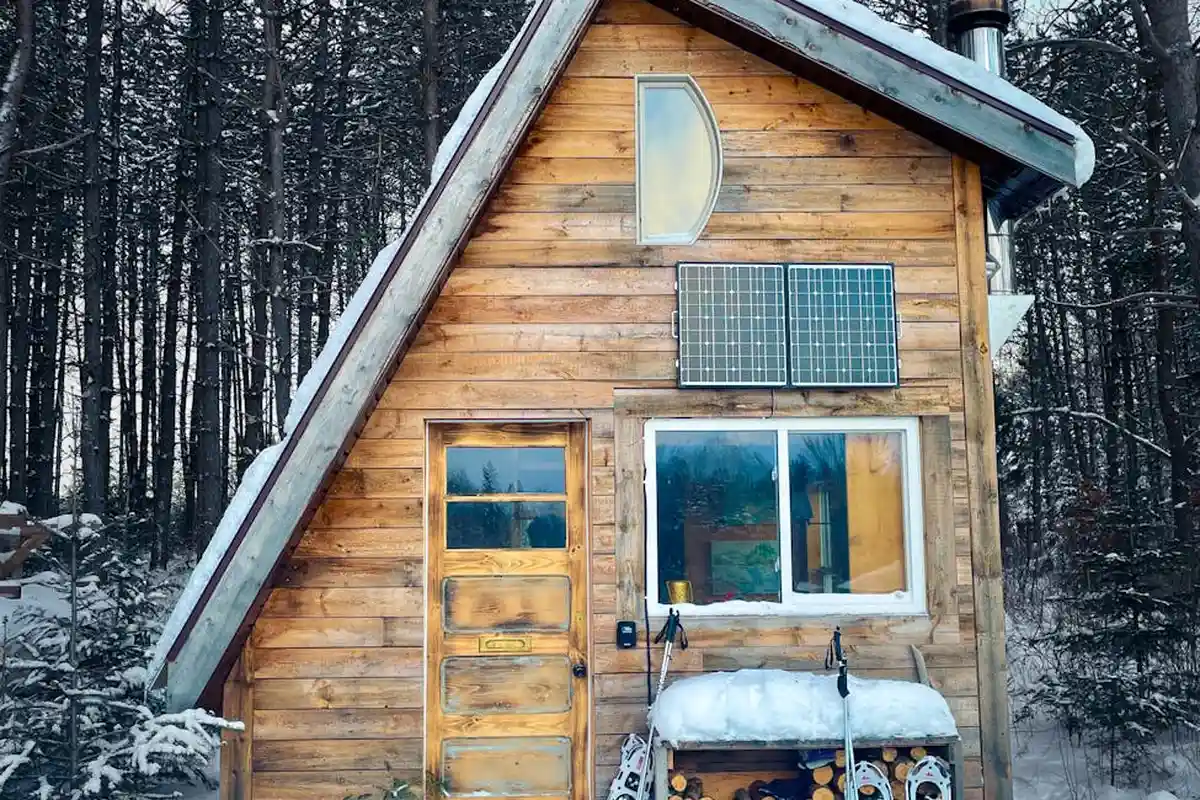
Forget vague promises. The honest timeline for pressure-treated or well-sealed outdoor pine is an annual refresh. Every year. Think of it like an oil change for your car. Skipping it won’t cause immediate failure, but it guarantees a bigger, more expensive problem later.
You don’t need to guess when it’s time. The wood tells you. Look for these three clear signs during your seasonal check.
- Color Fading: The rich brown of new treated wood or the color of your stain will lighten to a silvery gray. This is UV degradation breaking down the surface lignin, the natural glue in wood cells.
- Water Beading Stops: Spray water on the surface. If it soaks in immediately instead of beading up, your protective finish is gone. The wood is now drinking water, which leads to swelling and decay.
- Surface Feels Fuzzy: Run your hand across the board. A rough, fuzzy texture means the softer spring growth between the harder summer growth rings is eroding first. This is called “grain raising,” and it’s a direct invitation for moisture.
Waiting for the wood to turn completely gray is waiting too long. By then, the surface is already compromised, and maintenance becomes a full restoration.
Annual Check-Up and Simple Refreshing
This yearly ritual is simple. It should take you 15-30 minutes for a chair, maybe an hour for a large planter. You need a bucket, a stiff brush, mild soap, sandpaper, and your chosen finish.
- Clean: Mix a mild dish soap or dedicated deck cleaner with water. Scrub the surface to remove dirt, pollen, and mildew. This lets the new finish bond properly. Let it dry completely.
- Light Sanding: Don’t sand back to bare wood. Just hit the rough, fuzzy spots with 120- or 220-grit sandpaper until they feel smooth to the touch. Your goal is to knock off the degraded fibers, not remove material.
- Apply a Maintenance Coat: Apply a fresh, thin coat of your oil or film finish. For an oil like tung or linseed, one coat is enough. For a film-forming finish like a spar urethane, a single coat over the intact old finish will refresh the protective layer.
Contrast this with the alternative. If you wait years until the wood is uniformly gray, cracked, and rough, the job changes completely. Now you must sand aggressively to remove all the degraded wood, potentially back to bare, fresh material. This is hours of labor, creates mountains of dust, and requires multiple fresh coats of finish to rebuild protection.
A little work each spring preserves the wood and saves you a weekend of brutal labor down the road.
When to Repair, When to Replace
Even with care, damage happens. Diagnosing it correctly saves money and time. Your primary tool is a simple screwdriver with a sharp tip.
Probe any suspicious dark spots, areas near fasteners, or end grain. Apply moderate pressure.
- Soft Spot (Repairable): The screwdriver tip sinks in slightly but meets firm resistance beneath. The wood is spongy but not disintegrated. This is early decay. You can often cut out the soft section, treat the cavity with a wood hardener and epoxy filler, and sand it smooth.
- Rotted Section (Assess Structure): The screwdriver plunges in deeply with little resistance, and the wood crumbles away. This is advanced rot. Here, you must determine if it’s structural.
My rule of thumb comes from boatbuilding: if the rot is confined to less than 10-15% of a structural member’s cross-section and isn’t at a critical joint, a Dutchman patch (a fitted wood insert) or epoxy consolidation can work.
If the rot is at a load-bearing joint, like where a leg meets a seat, or if a board is soft through more than a third of its thickness, the piece is compromised. No patch will restore the original strength. At this point, replacement of the entire part is the only safe, durable option. Trying to salvage severely rotted structural pine in an outdoor setting is a temporary fix at best.
Frequently Asked Questions: Pine for Outdoor Use
Is pine wood naturally durable for outdoor use?
No, most pine species lack the natural chemical defenses and density that confer rot and insect resistance. Its use outdoors is contingent on a deliberate and robust protection strategy.
How does pine wood compare to other woods for outdoor furniture?
Pine is the budget-friendly, high-maintenance option that requires a dedicated finish system, while woods like cedar and teak offer greater natural durability with less frequent upkeep. The choice balances initial cost against long-term maintenance commitment, especially considering pine’s specific characteristics and uses.
What are the main factors that affect pine’s outdoor durability?
The primary factors are sustained moisture exposure, UV radiation, local fungal spore load, and physical wear on its soft surface. Your project’s design, micro-climate, and finish quality are the variables you control to counter these forces.
How long can untreated pine last outdoors?
Untreated pine in direct ground contact may decay in 6-24 months, while elevated, covered pieces can weather for 4-8 years before becoming structurally unsound. This is evident in applications such as raised garden beds, where local humidity, rainfall, and sun exposure play crucial roles in determining longevity.
What are the pros and cons of using pine for outdoor projects?
The primary advantages are low cost, easy workability, and wide availability. The significant disadvantage is its low inherent durability, which mandates a rigorous, multi-stage finishing process and a consistent maintenance schedule to prevent premature failure.
Your Pine Outdoor Project: A Final Assessment
Pine can be durable enough for outdoor furniture, decks, and structures, but its success is entirely in your hands. Untreated pine will fail quickly outdoors, yet a well-sealed and maintained piece can last for decades. The material itself is not inherently weatherproof; you must provide that protection through design, joinery, and finish. Choose the right product for the exposure, build with water management in mind, and commit to a maintenance schedule. A key part of that is properly preparing the pine surface before finishing—sanding, cleaning, and addressing imperfections. This preparation helps the finish adhere evenly and endure the elements.
Source your pine from suppliers who practice sustainable forestry, ensuring this versatile material remains available. Your responsibility as a woodworker extends beyond the build to the ongoing stewardship of the material, preserving both your project and the resource it came from.
Further Reading & Sources
- Does Pine Garden Furniture Last? – Cabinfield Blog
- staining – Woodstain to ‘weather-proof’ pine? – Home Improvement Stack Exchange
- Top uses of Southern Yellow Pine- With its Qualities