
What’s the Science Behind Shellac, Lacquer, and Today’s Wood Finishes?
You choose a wood finish to protect your work, but have you considered why shellac fails near water or how modern polyurethane resists it so well? The answer isn’t just in the can, it’s in the chemistry.
I’ll walk you through the practical evolution of wood coatings, linking their chemical formulas directly to shop results. We will cover shellac’s alcohol-based chemistry, lacquer’s volatile solvent revolution, the polymer science of mid-century varnishes, and the performance trade-offs of contemporary water-based and oil-modified synthetics.
My advice comes from personally testing these finishes’ chemical resistance and durability on hundreds of sample boards in my workshop.
Shellac: The Original Shop Finish
Shellac is a natural resin secreted by the lac beetle. Workers harvest it from trees in Asia, process it into flakes, and we dissolve it in alcohol to create the finish.
For centuries, until the early 1900s, shellac was the primary finish for fine furniture. Walk through a museum of antique pieces, and you are looking at shellac.
Shellac won because it is easy to apply, dries incredibly fast, and is more repairable than any modern finish. You can fix a mistake with a rag and more alcohol.
In my shop, I only mix shellac from dry flakes. Pre-mixed shellac in a can has a short shelf life, often thickening or failing within a year. Mixing your own from denatured alcohol gives you control and guarantees a fresh, reliable cut.
How Shellac’s Chemistry Works on Wood
Shellac is a natural polymer dissolved in alcohol, making it a solvent-release finish. The alcohol is just a carrier, it does not react with the wood.
When you apply it, the alcohol evaporates. This leaves behind a thin, hard film of resin on the wood surface. The film builds quickly because it dries in minutes.
Each new coat of shellac partially dissolves the previous coat, fusing them into a single, unified film. You are not stacking layers, you are growing one solid layer. This is perfect for building a deep, warm glow.
Modern finishes like polyurethane work differently. They dry on top of each other. You must sand between coats for mechanical adhesion because the layers remain separate.
The Real-World Limitations of a Shellac Finish
Shellac has three major weaknesses: poor moisture resistance, poor heat resistance, and poor alcohol resistance. A sweating glass will leave a white ring. A hot cup can cloud the finish.
Never use shellac on a dining table or kitchen cabinet. Common household liquids like wine, vinegar, or cleaning sprays will damage it. It cannot handle daily wear.
Once mixed with alcohol, shellac has a limited working life. Even in a sealed jar, it will begin to gel and become unusable in about six to twelve months. This is a classic shop frustration I have encountered many times.
Shellac in the Shop Today: When to Use It
I use shellac most often as a seal coat. It seals the wood pores quickly and creates a stable base for other finishes like varnish or lacquer. It does not raise the grain like water-based products.
For repairing authentic antiques, shellac is not just an option, it is the required material. Using a modern finish can devalue the piece and look visually incorrect.
It is perfect for small, decorative objects. Use it on a picture frame, a jewelry box, or a decorative bowl. These items get the beautiful amber tone without needing industrial durability.
The Lacquer Revolution: Speed and a Harder Shell
Long before synthetics, traditional Asian lacquer (urushi) existed. It is made from tree sap and cures through a reaction with humidity. It is a different, older technology that is incredibly durable but difficult and toxic to use.
The game-changer was nitrocellulose lacquer, developed in the 1920s. This synthetic finish transformed furniture production.
Why Nitrocellulose Lacquer Changed Furniture Making
Nitrocellulose lacquer is made from treated cotton, called gun cotton, dissolved in powerful solvents. This created a finish that was both fast and tough.
Its biggest advantage was spray application. Brushing shellac or varnish was slow and showed brush marks. Lacquer could be sprayed in a fine mist that dried to the touch in minutes, making it easier to remove lacquer finishes from wood furniture later.
This speed enabled factory-scale production. A piece could be finished in hours instead of days. Lacquer also provided a harder, more moisture-resistant shell than shellac, meeting the demands of modern living. Mastering lacquer application, including the right techniques and solvent choices, was essential to a consistent, high-quality finish. That practical side—lacquer wood techniques and solvents—will be explored in the next steps.
Mechanism of Action: The First True Film-Forming Finish
Like shellac, lacquer is a solvent-release finish. The solvents evaporate, leaving a solid film behind. But the nitrocellulose polymer chains are longer and interlock more tightly. This contrast is a key factor when comparing lacquer vs shellac wood finishes. It helps explain differences in drying time and film quality.
Lacquer also has a “burn-in” property where a new coat melts into the previous one, creating a single, tough film. This is similar to shellac but results in a far more durable surface. In catalyzed lacquer finish chemistry, curing catalysts drive rapid crosslinking that strengthens this bond. The overall performance depends on how the catalyst and solvents interact to form a seamless film.
Contrast this with a polyurethane finish. Polyurethane layers sit on top of each other. They do not fuse. This means lacquer repairs are seamless. You can sand a scratch and respray, and the new material blends perfectly with the old.
Toxicity & PPE: The Shop Smell of Progress
The primary health concern with lacquer is its solvents, like toluene and acetone. These are volatile organic compounds (VOCs) that are harmful to breathe and can cause long-term health issues.
You must use an organic vapor respirator with the correct cartridges when applying lacquer, no exceptions. If you are spraying, you also need a spray booth with forced air ventilation to remove the fumes from your workspace.
Brushing lacquer is a major compromise for a home hobbyist. Without industrial-grade ventilation, you are creating a dangerous environment. I do not recommend it for a typical garage shop.
The Synthetic Shift: Building a Tougher Molecule
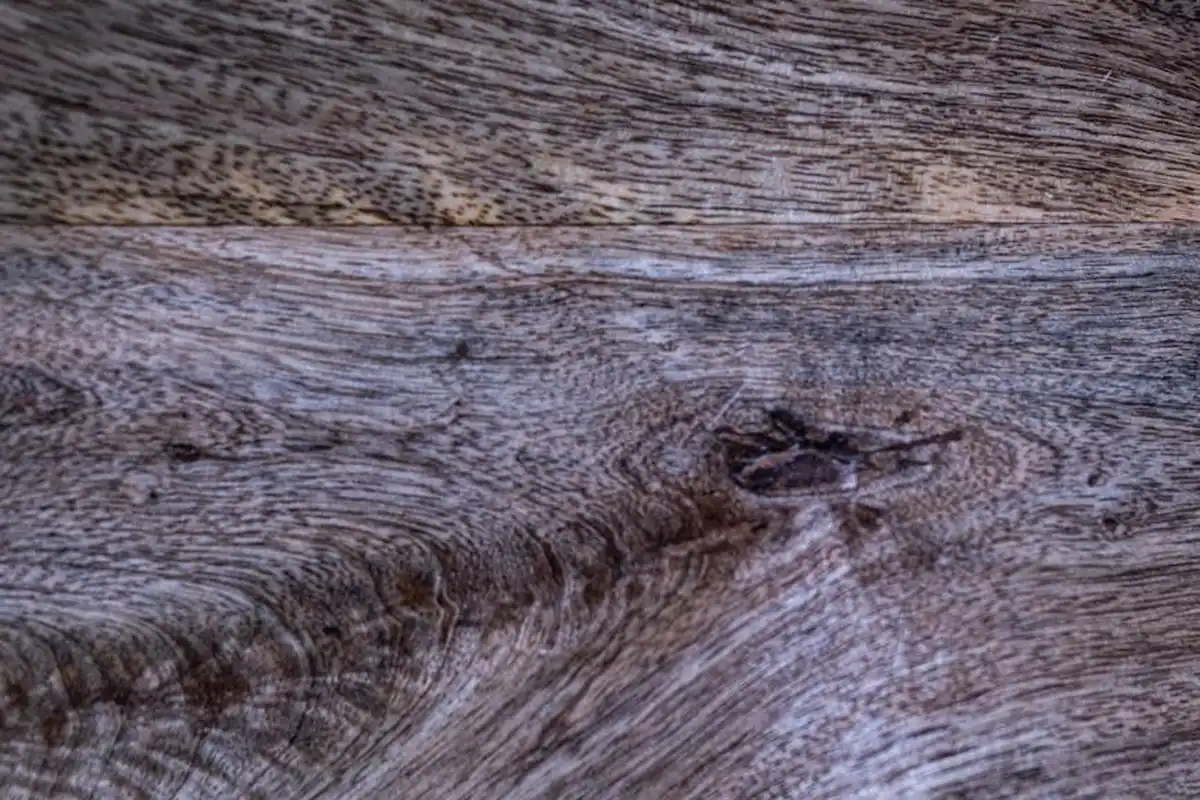
For centuries, finishes relied on what nature provided. We dissolved tree sap (shellac) or plant resins (varnish) in a solvent. When the solvent evaporated, it left behind the natural polymer film. The mid-20th century changed the game. Chemists stopped just using natural polymers and started building them from scratch.
The first steps were alkyd and phenolic varnishes. These modified natural oils with synthetic resins to improve drying time and water resistance. They were a bridge. The real leap was polyurethane.
Polyurethane Chemistry: What Makes It Different
Polyurethane isn’t just a film former. It’s a reactor. When you mix the two parts (or when one-part poly reacts with atmospheric moisture), an isocyanate reaction kicks off. This reaction links molecules into long, cross-linked chains. Think of a net being woven as it dries, not just a puddle of glue shrinking.
This fundamental difference is why polyurethane acts more like a plastic coating than a traditional film. Shellac and lacquer harden because the alcohol or solvent leaves. Polyurethane chemically transforms into a new substance. That cured net is incredibly resistant to being broken apart again.
Key Properties: Water Resistance and Abrasion
The result is a finish with superior practical defenses. It laughs at water rings, resists common solvents like alcohol, handles higher heat, and stands up to physical abrasion far better than its predecessors. This made it king for kitchen tables, bar tops, and floors.
That toughness is a trade-off. The same cross-linked net that repels a spill is brittle. It can crack or chip on impact instead of denting. Repair is harder. You often must sand back a large area and re-coat; you can’t just “melt” a new layer into the old like you can with shellac.
Early polyurethane deserved its “plastic-y” reputation. It often laid on top of the wood, creating a thick, cloudy barrier. Modern formulations are leagues better. Low-VOC, oil-modified, and water-based hybrids build thinner, clearer films that let the wood’s character show while keeping their defensive strength.
The Water-Based Challenge: Cutting the Solvents
The drive for water-based finishes wasn’t about performance first. It was about health and environment. Regulators targeted volatile organic compounds (VOCs) from solvents like mineral spirits. The industry answered by suspending the plastic resin in water. The chemistry is completely different, and so is the shop experience.
How Water-Based Finishes Actually Work
That milky liquid in the can is an emulsion. Billions of tiny acrylic or polyurethane plastic droplets float in water. When you apply it, stage one is simple: the water evaporates. This happens fast. Then, as the droplets pack together, they soften and merge (coalesce) into a continuous film.
Don’t let the “water-based” label fool you into thinking it’s just colored water. Most formulas still contain 5-10% co-solvents. These are necessary to help the plastic particles flow together smoothly as the water leaves. Without them, the film would be weak and cloudy.
Addressing the Drawbacks: Cold, Clumpy, and Fast
Woodworkers often struggle with three things: temperature, time, and grain. Water-based finishes get viscous and can clump in a cold shop (below 65°F/18°C). They dry so fast that brush marks can set before they level out. And that initial water soak guarantees it will raise the wood grain.
You can beat these issues. Warm the can in a water bath and work in a heated space. Use a synthetic brush designed for fast-drying finishes (like nylon/polyester blend) and maintain a “wet edge” by working in small sections. For the grain, plan for it. Sand your wood to 150 grit, apply a first seal coat, let it dry, and then sand off the fuzz with 220 grit before your next coat.
Compare the timeline to oil-based poly. A water-based coat may be dry to the touch in 30 minutes and ready for recoat in 2 hours. An oil-based coat needs 6-8 hours to dry and often 24 hours before sanding and recoating. The speed is a benefit once you learn to manage it.
Putting Science in the Can: Hybrids and New Resins
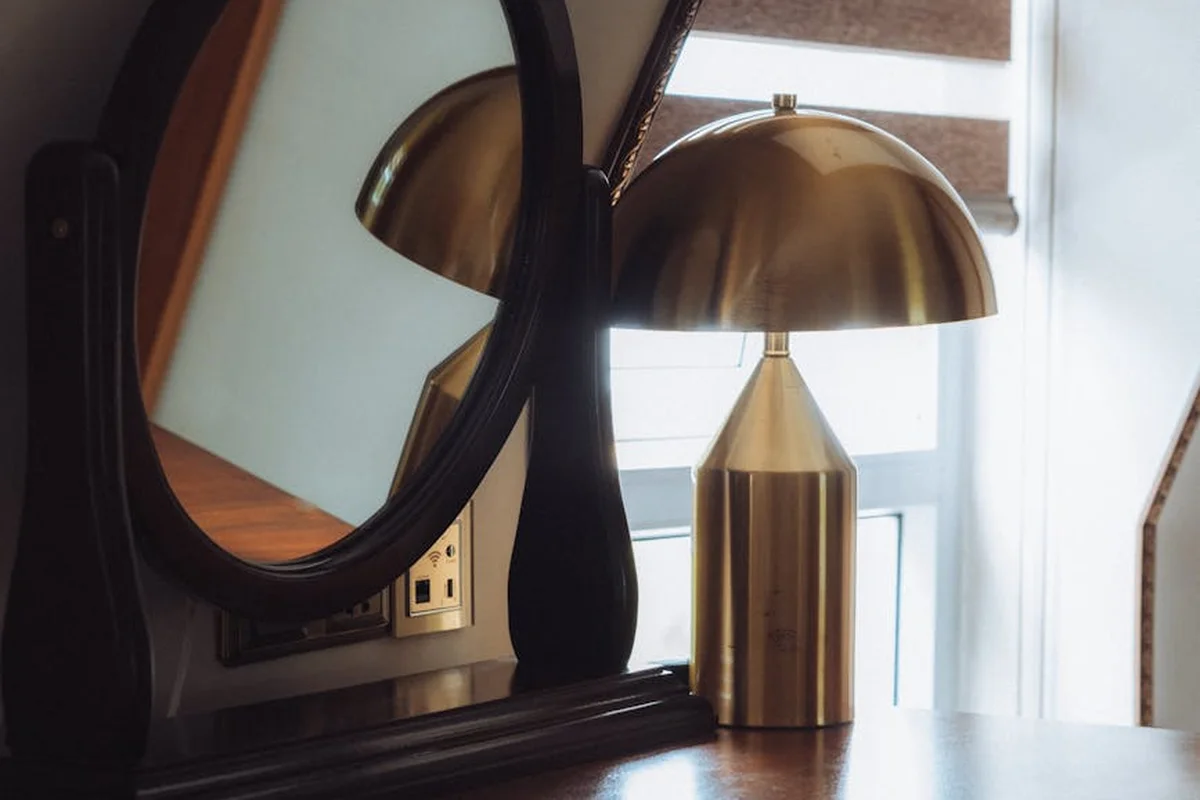
A “hybrid” or “waterborne oil-modified” finish is chemistry’s answer to a woodworker’s wish list. These are water-based emulsions where traditional oil-based resins, like alkyds or polyurethanes, have been chemically modified to suspend in water. The goal is straightforward: get the easy clean-up, low odor, and fast drying of a water-based finish with the warm, amber depth and forgiving application of an oil-based one. I keep a quart in my shop for projects that need a tough topcoat but can’t afford the week-long curing time of a pure oil varnish.
They are a fantastic middle ground, but they are not magic. You are trading some of the ultimate durability of a 100% solids finish for that convenience. For a kitchen table, I’d still use a traditional oil-based polyurethane. For a bookshelf or sideboard, a hybrid is often perfect.
Mechanism of a Modern Hybrid Finish
This dual-cure process is the clever trick. When you apply it, the water evaporates first-this is called coalescence. The microscopic resin particles float in the water, and as the water leaves, they are pushed together to form a continuous film.
But here’s where it differs from a pure acrylic water-based finish. The resin particles themselves are oil-modified. Once they’ve coalesced, they begin to cure through oxidation, just like an old-fashioned oil varnish. They absorb oxygen from the air, which cross-links the molecules and hardens the film.
This two-stage dry is why a hybrid finish often looks richer and sinks into the grain better than a plain acrylic, which can sometimes look like a layer of plastic on top of the wood.
The catch is time. The water evaporation is quick (often 1-2 hours to recoat), but the full oxidative cure can take days. Don’t judge its final hardness or water resistance until at least a week has passed.
Toxicity & PPE for Modern Finishes
Switching to water-based finishes is the single biggest step you can take to reduce solvent fumes in your shop. That’s a major health win. But “low odor” does not mean “no hazard.”
The liquid resin particles and the co-solvents (usually glycol ethers) that help them flow can be potent respiratory irritants. Sanding the cured finish is a different risk-you are creating fine dust of a hardened plastic.
Always treat any finish sanding as a particulate hazard. Good ventilation is non-negotiable, and a properly fitted NIOSH N95 mask is the bare minimum for protection.
For spraying any finish, water-based or not, a proper respirator with organic vapor cartridges and particulate pre-filters is essential. Your lungs can’t tell the difference between a “natural” solvent and a synthetic one-both can cause damage.
The Conservator’s Choice: Why Old Finishes Still Matter
I’m often asked why anyone would use shellac on a new piece when modern finishes are so much tougher. For new work, that’s a fair question. But for restoration, the old ways aren’t just tradition-they are the superior technical choice. When I’m repairing a 200-year-old desk, I reach for shellac and French polish without hesitation.
Reversibility: The Golden Rule of Restoration
The core principle of ethical restoration is “do no harm,” and that hinges on reversibility. A traditional finish is designed to be dissolved by its original solvent. Shellac and spirit varnishes re-liquefy with alcohol. Traditional lacquer (not modern catalyzed lacquer) re-dissolves in lacquer thinner.
This lets a conservator precisely remove a failed overcoat or a modern spill without attacking the original wood surface or the centuries of patina beneath. You can spot-clean and feather repairs seamlessly.
A fully cured polyurethane or epoxy finish, in contrast, forms an irreversible plastic sheet. Removing it requires aggressive chemical strippers that swell the wood or aggressive sanding that grinds away history. You often lose the delicate surface texture and subtle color variations that define an antique’s character.
Historical Accuracy and Patina Matching
Using shellac to repair a shellac finish isn’t just about chemistry; it’s about optics and aging. New shellac will interact with light and oxygen over time in the same way the original 18th-century finish did. It will develop a similar patina-a soft, deep glow that can’t be faked.
Mixing a modern synthetic onto a historical surface is a gamble. The film may not bond correctly, leading to peeling. More subtly, it will age differently. A polyurethane repair might look okay today, but in ten years it could be a cloudy, discolored spot on an otherwise warm surface.
For a true, lasting repair that disappears into the original work, you must match the material. It’s the only way to ensure the fix ages invisibly alongside the piece.
This is why museums and top conservators maintain these ancient skills. The right finish isn’t always the toughest one; it’s the one that honors the life of the object.
Choosing Your Finish: A Shop-Tested Framework
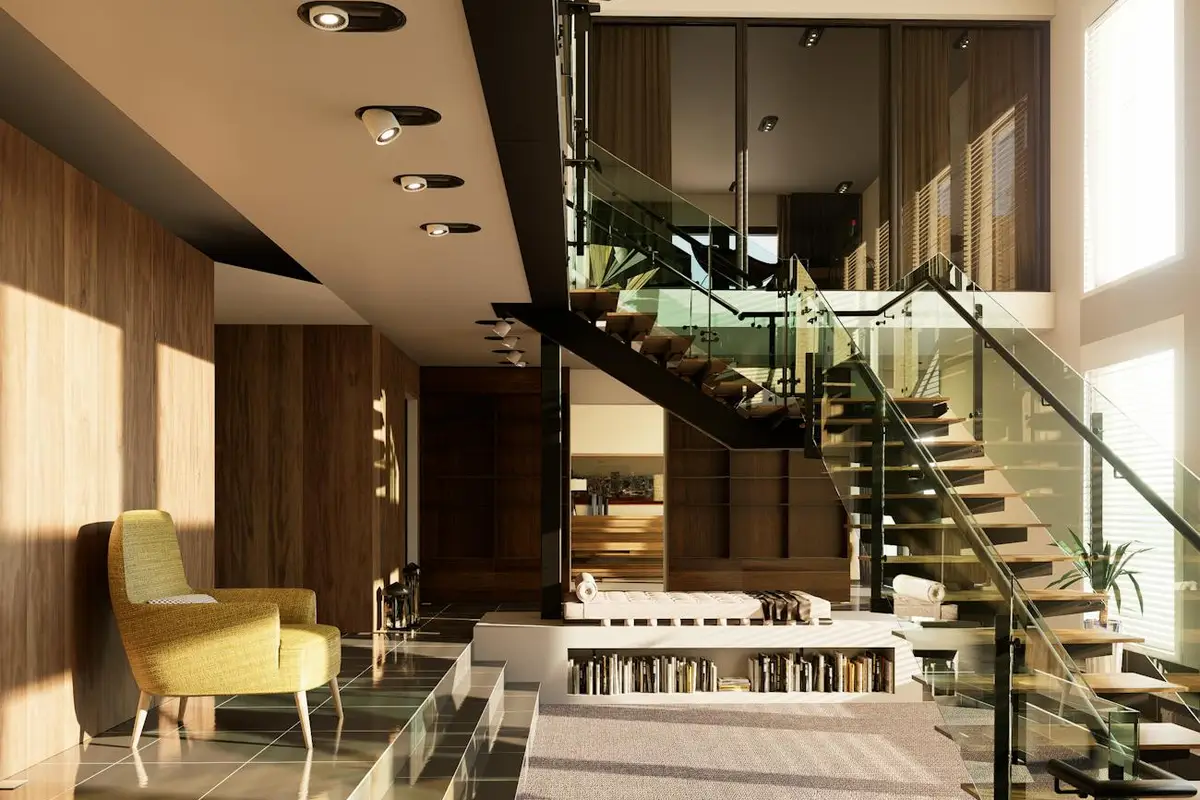
Forget memorizing finish types. I choose a finish based on three project goals. My shop notebook is full of test panels, each one a record of what works and what fails. Use this simple framework for your next project.
For the Look and Feel of Antiques
If you want a piece to look and feel like a 200-year-old heirloom, you must use a period-correct finish. Modern plastic coatings will betray you instantly. The science is in the chemistry of aging.
Shellac is my first choice. It is a natural resin secreted by the lac beetle, dissolved in alcohol. When it dries, it forms a brittle, glossy film that amberes beautifully over decades. Shellac’s molecular structure allows it to fuse with previous coats, making it infinitely repairable with a rag and some alcohol. This is why museum conservators use it. For application, a 2-pound cut (2 lbs of shellac flakes per gallon of alcohol) is perfect for brushing or padding. The common pitfall is applying it in high humidity, which causes blushing, a permanent white haze.
For a softer, oiled feel, I blend pure tung oil with beeswax. Tung oil polymerizes, meaning its molecules cross-link as they cure, creating a durable yet penetrative finish that doesn’t feel plastic. You must accept that these historical finishes are less resistant to heat, water, and solvents; that vulnerability is the source of their authentic patina. A white ring from a glass is part of the story. Apply thin coats, waiting a full week between them for true curing. In wood applications, tung oil polymerization drives film formation. Understanding it helps tailor coats and cure times for the look you want.
For Maximum Durability on a Modern Piece
For a kitchen table or a bar top, you need a finish that acts like armor. Here, synthetic polymers win. Your main choice is between oil-based and water-based polyurethane.
Oil-based polyurethane forms a thicker, more flexible film. The curing oils cross-link with atmospheric oxygen, creating a network that is incredibly tough and resistant to abrasion. Oil-based poly yellows significantly, giving woods like oak and cherry a warm, rich glow that many woodworkers prefer. For color control, many woodworkers pair a wood color stain with the polyurethane finish. Testing a sample first helps confirm how the stain and oil-based poly interact. The trade-off is time. Each coat needs 24 hours to dry and weeks to fully cure. Use a natural bristle brush, as synthetic bristles can be degraded by the solvents.
Water-based polyurethane is fundamentally different. It uses acrylic or polyurethane resins suspended in water. When the water evaporates, the particles coalesce. Compared with oil-based polyurethane, water-based finishes dry faster and stay clear. Oil-based poly, in contrast, tends to amber and takes longer to cure, influencing color and odor. Water-based poly dries crystal clear faster, often in just 2 hours, but its film is often harder and more brittle, which can lead to a plastic-like look on the wood. It raises the grain less than people fear if you pre-raise and sand with a light mist of water before your first coat.
For a middle ground, I test hybrid finishes. These are typically water-based formulations with a small amount of alkyd resin (an oil-modified resin) added. They offer the fast dry time and low odor of a water-based finish with a touch more warmth and flexibility. It is an excellent compromise for furniture that sees daily use—especially when you’re weighing oil vs. water-based finishes.
When Speed and Low Odor Are Top Priority
Finishing in a basement, an apartment, or between school runs demands a different approach. You need a finish that behaves.
Your best option is a high-quality water-based acrylic or polyurethane. The chemistry is designed for convenience. Because the carrier is water, these finishes dry quickly through evaporation and have almost no volatile organic compound odor. You can apply two to three coats in a single day. Cleanup is with soap and water.
The speed is a double-edged sword. It can cause lap marks if you overwork the finish. Work on smaller sections and maintain a “wet edge.” To manage grain raising, sand your final wood preparation to 180 grit, then dampen the surface with a wet rag. Let it dry fully and sand again lightly with 220 grit. This stands up the fibers so your first seal coat locks them down flat. Always apply the first coat of any water-based finish as a thinned “wash coat” (10% water, 90% finish) to seal the wood gently and minimize grain raise.
Frequently Asked Questions: The Chemistry of Wood Finishes
How did the chemical composition of shellac make it suitable for antique furniture?
Shellac’s natural polymer structure allows it to re-dissolve in alcohol, enabling perfect fusion between new and old coats for seamless, infinitely repairable films. This reversible, non-invasive chemistry is ideal for conservation, as it protects historical wood without damaging the original material or patina.
What role did technological advancements in polymer chemistry play in the evolution of wood finishes?
Post-war polymer science shifted finishes from simple solvent-release films (shellac, lacquer) to cross-linking thermosets like polyurethane, which cure into irreversible, plastic-like networks. This allowed chemists to engineer specific properties-such as UV resistance, flexibility, and hardness-by designing the molecular chains and cross-link density.
What are the environmental and health concerns associated with solvent-based historical finishes?
High VOC solvents like toluene and alcohols pose significant inhalation risks and contribute to atmospheric pollution. Modern regulations directly target these emissions, which drove the development of water-based emulsions that dramatically reduce airborne solvent levels in the workshop.
In conservation, why might a restorer choose a traditional finish like shellac over a modern synthetic?
A restorer chooses shellac primarily for its reversibility, allowing future conservators to remove the finish without damaging the original wood using its original solvent. Furthermore, shellac ages optically to match historical patina, whereas modern synthetics often age with discoloration or cloudiness that visually disrupts the artifact.
What are the current trends and future directions in the development of wood finish technologies?
Current development focuses on bio-based resins and high-solids formulations that maximize durability while minimizing solvent content and environmental impact. Future directions include smart coatings with self-healing microcapsules and advanced inorganic-organic hybrids for extreme durability without the plastic-like appearance.
Your Finish, Your Legacy: Applying Lessons from History
The most critical takeaway from this chemical journey is to let your project’s purpose guide your finish selection. I match the protector to the task, using shellac for its quick repair on heirlooms and polyurethane for a bulletproof seal on a kitchen table. Test any finish on scrap wood first to see its true color and feel; this simple step prevents disappointment on your final piece. This method honors the material’s history while securing its future.
Treat every finish with respect for its chemistry, using proper safety gear and disposing of materials responsibly. The pursuit of knowledge in woodworking never ends, so keep asking how and why materials behave as they do.
Expert Resources and Citations
- Shellac – Wikipedia
- finishing – Is it a good idea to apply lacquer over shellac? – Woodworking Stack Exchange
- Polyurethane, Lacquer, Shellac, or Varnish? What do I use? What’s the
- What’s the Difference Between Polyurethane, Polycrylic, Varnish, Shellac and Lacquer? | HGTV
- r/woodworking on Reddit: When should laquer be used vs shellac? Or are they used for the same purpose?
- Shellac | Wood Finishing, French Polish & Varnish | Britannica
David is a veteran woodworker. He is now retired and stays in his cabin in Wisconsin which he built himself. David has 25+ years experience working in carpentry and wood shops. He has designed and built many small and large wood projects and knows the science behind wood selection like the back of his hand. He is an expert guide on any questions regarding wood material selection, wood restoration, wood working basics and other types of wood. While his expertise is in woodworking, his knowledge and first hand experience is far from 'woody'.