
How Do Wood Stains Really Work? The Science of Pigments, Dyes, and Surface Coatings
You brush on a stain, but does it color the wood or just coat it? I see this confusion all the time in the shop, and it all starts with particle size and chemistry.
This article will explain the molecular difference between pigments and dyes, how each one penetrates wood fibers, and why surface coatings like paint behave so differently.
My guidance comes from mixing stain formulas in my own workshop and analyzing the results with a materials scientist’s eye.
What Are You Really Putting On Your Wood?
Think of a stain as a targeted color adjustment for wood. Its job is to change the color without hiding the character of the grain. Paint covers everything like a wall. Stain reveals the story underneath.
Every stain works with three key players. You have pigment particles, dye molecules, and the binder that holds everything together. The ratio of these ingredients defines what the stain does on your wood. How you apply it matters—brush, wipe-on, spray, or pad. The finishing method shapes color depth and evenness on wood.
Here is a simple way to picture it. Pigment particles are like fine mud. They sit in the nooks and crannies on the surface. Dye molecules are like strong tea. They soak deep into the wood fibers. The binder is the glue. It locks everything in place. Paint is different. It is like a thick, colored blanket that covers the wood completely.
Pigment vs. Dye: It’s a Size and Solubility Thing
The core difference between pigment and dye stains comes down to particle size and what dissolves. This is not just theory; it changes everything about your finishing results, especially when applying gel stain for a uniform finish.
The Big Picture: Pigments Sit, Dyes Dissolve
Pigments are tiny, solid particles of color. They are insoluble. They will not dissolve in the stain’s liquid carrier, be it oil or water. These particles are simply too big to enter the wood’s cell walls. In contrast, dyes are soluble and can penetrate the wood more easily. Understanding pigments vs dyes in wood stains helps explain the typical differences in color, opacity, and penetration.
When you wipe on a pigment stain, you are mechanically depositing colored grit into every tiny pit, pore, and sanding scratch on the wood’s surface. This is why pigments excel at highlighting texture and grain patterns with large, open pores, like oak or ash.
Dyes are different. They start as a powder of individual color molecules. These molecules dissolve completely in a solvent, like alcohol, water, or oil. The solution becomes one uniform liquid color.
A dye stain works by its colored liquid carrier soaking into the wood, carrying the soluble dye molecules deep into the microscopic cell structure. It colors the wood from the inside, similar to how watercolors soak into paper.
Shop Results: What This Means for Your Project
This science leads to predictable, visible differences in your workshop. On a piece of pine, a pigment stain will often look blotchy and mask the grain. The large pigment particles sit on top of the soft earlywood and clog the harder latewood unevenly.
On that same pine, a dye stain will soak in more consistently. It produces a transparent, even color that makes the grain pattern pop. That steady soak ties back to wood anatomy stain absorption methods, which show how cell structure and porosity govern color uptake. By understanding these patterns, you can tailor your dye choices for other species. Dyes are my go-to for figured woods like maple or cherry where you want to enhance, not obscure, the shimmering grain.
Pigment stains tend to mute the grain’s natural contrast and can look slightly cloudy or opaque because the particles scatter light on the surface. They are great for adding color while allowing wood texture to remain the visual focus.
Dye stains offer crystal clarity and depth of color because they tint the wood fibers themselves, preserving every detail of the grain’s figure. They also penetrate more uniformly across different densities in a board, reducing blotchiness on tricky woods. This is where wood stains chemistry, selection, and application come into play. Choosing the right formulation and method ensures even color depth.
One practical test I do is on a sanded scrap. A pigment stain will highlight any remaining sanding scratches or mill marks you missed. A dye stain will color the wood but often makes those surface flaws less noticeable, as it does not rely on surface texture to hold color.
The Science of Stain Penetration: A Tour of the Wood’s Plumbing
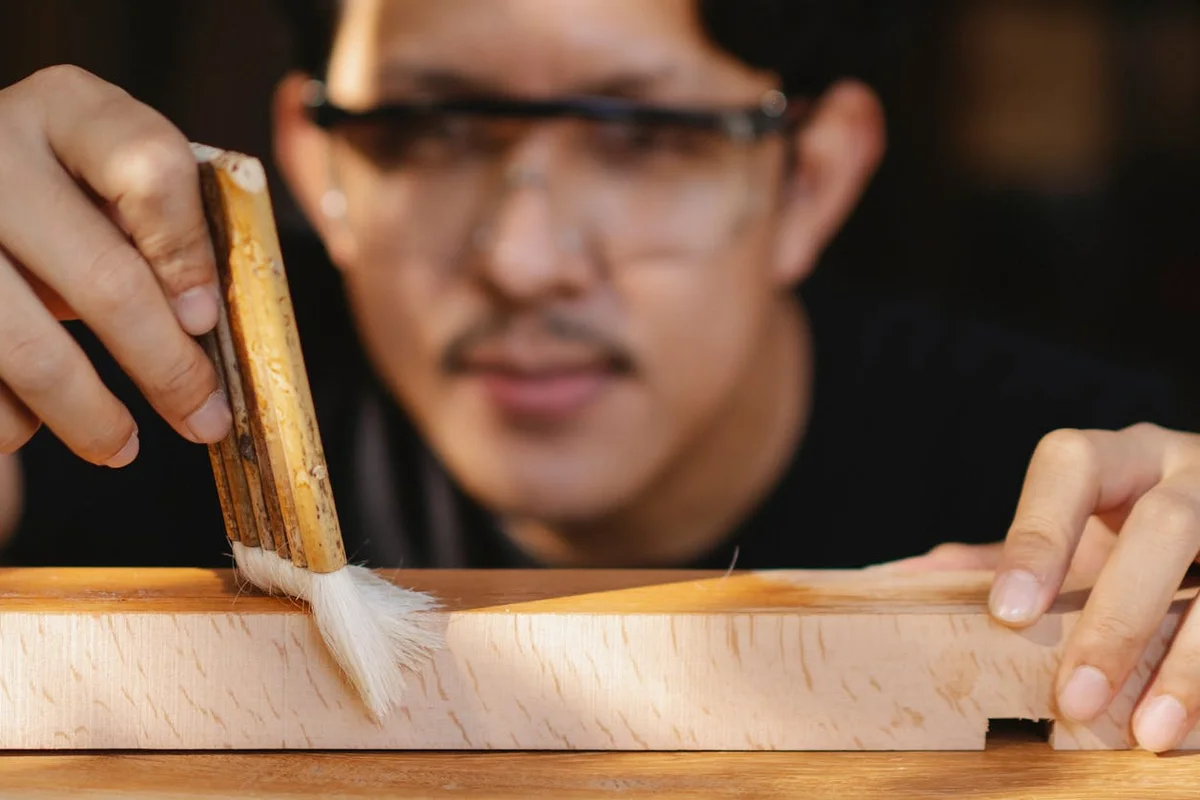
Think of a piece of wood as a dense bundle of microscopic straws. These straws are the wood’s cells, called tracheids in softwoods and vessels (or pores) in hardwoods. They run primarily along the grain, forming a natural plumbing system. When you apply a liquid stain, it travels into the wood through this network. The size and openness of these ‘straws’ determine how deeply and evenly a stain will penetrate, which is the root cause of almost all staining challenges.
Mechanism of Action: Capillary Action and Cell Wall Chemistry
Capillary action is the same force that pulls water up a paper towel. In wood, the incredibly tiny tubes create strong surface tension, actively wicking the stain vehicle (the liquid part) inward. The stain’s pigments and dye molecules are carried along for the ride.
This is where chemistry enters the shop. The pigments in common oil stains are fine, solid particles. They get trapped in the tube network and the rough texture of the wood’s inner surface. Dyes, often used in water-based or alcohol-based stains, are different. They are individual, dissolved molecules small enough to penetrate the cell walls themselves. Some dye molecules can form weak chemical bonds with the lignin and cellulose in the wood, leading to very vibrant, transparent color that is less prone to rubbing off.
Why Some Woods Drink Stain and Others Resist
This plumbing system is not uniform. Red oak has huge, open pores. Pouring stain on it is like pouring water on a grate, it flows right in deeply and consistently. A wood like maple or cherry has much smaller, tighter vessels. It’s more like a dense sponge.
The stain enters the few open paths rapidly but struggles elsewhere, leading to dark, uneven blotches. This is precisely why wood conditioners or pre-stain sealers exist, they partially clog the most absorbent pathways to even out the stain’s uptake. For a predictable finish on woods like pine, alder, or maple, a conditioner is not a suggestion, it’s a requirement.
Surface Coatings: The Layer That Stays on Top
Coatings like polyurethane, varnish, and lacquer work on an entirely different principle. They are designed not to penetrate, but to build. Their resins polymerize, linking together to form a continuous, protective film on the wood’s surface. You are adding a wear layer, not coloring the wood itself (See how these coats differ from stains).
The distinction is critical for repair and maintenance. A scratch in a penetrating stain often just reveals lighter wood underneath. A scratch in a surface coating goes through the plastic-like film, and you must repair the film itself, usually by recoating the entire surface.
Gel Stains and Heavy-Bodied Stains: The Hybrids
These products are the problem-solvers. Gel stains suspend a high load of pigments in a thick, jelly-like binder (often a modified oil or varnish). The viscosity is too high for deep capillary action. Instead, the stain mostly sits on the surface, coloring the high points and lodging in larger pores.
This makes them excellent for vertical surfaces where liquid stain would run and drip. Their real shop value is on difficult, blotch-prone woods, as you can wipe them on, control the color intensity, and wipe them off with much more uniformity than a thin, penetrating stain. They act more like a very thin, colored paste than a true liquid stain.
Your Best Practice Workflow for a Flawless Stain Job
Forget guesswork. A perfect stain job is a controlled chemical process. Follow this protocol to work with the wood’s structure, not against it, starting with proper surface preparation.
Step 1: Surface Prep Dictates Everything
Sanding is not just about smoothness. It’s your control over the wood’s microscopic plumbing. Coarse grits (80-120) cut fibers and open pores. Fine grits (180-220) polish and can actually burnish the surface, partially sealing it.
For a stain that penetrates deeply and evenly, always end your sanding progression at 150 or 180 grit, not finer.
Next, you must raise the grain. Wood fibers swell when they absorb liquid. If you stain first, those swollen fibers create a rough, fuzzy surface under your topcoat. Here’s the fix: lightly dampen the entire surface with a wet rag and let it dry. Those fibers will stand up. Then, gently sand them off with that final 180-grit paper. Now, when your stain hits, the grain won’t raise again.
Step 2: Choosing and Applying Your Colorant
Your choice here determines the final look. Remember the science: dyes color the wood itself, pigments color the pores.
- Use dye-based stains for deep, translucent color on woods like ash, oak, or mahogany. They give a uniform tone.
- Use pigment-based stains to accentuate grain and texture. They are ideal for pine or poplar where you want to mask uneven density.
Application is about timing. Apply a liberal, wet coat along the grain. Let it penetrate. For oil-based stains, I start checking after 5 minutes. For water-based, it’s often closer to 3. The goal is to let it soak in but not dry.
Wipe off the excess firmly and completely across the grain before it sets. Leaving excess creates a sticky, uneven film that ruins the wood’s natural look.
Step 3: Sealing It In With a Topcoat
A stain is just color. It offers almost no protection from moisture, scratches, or UV light. A clear, film-forming topcoat is non-negotiable.
The golden rule of chemistry: keep your solvents compatible. Apply an oil-based varnish or polyurethane over an oil-based stain. Apply a water-based topcoat over a water-based stain. If you must cross the streams, you need a barrier. Let the stain cure fully (24-48 hours), then apply a shellac-based sealer. Shellac sticks to anything and provides a neutral barrier for your final topcoat.
Troubleshooting Stain Problems: The Science of Fixes
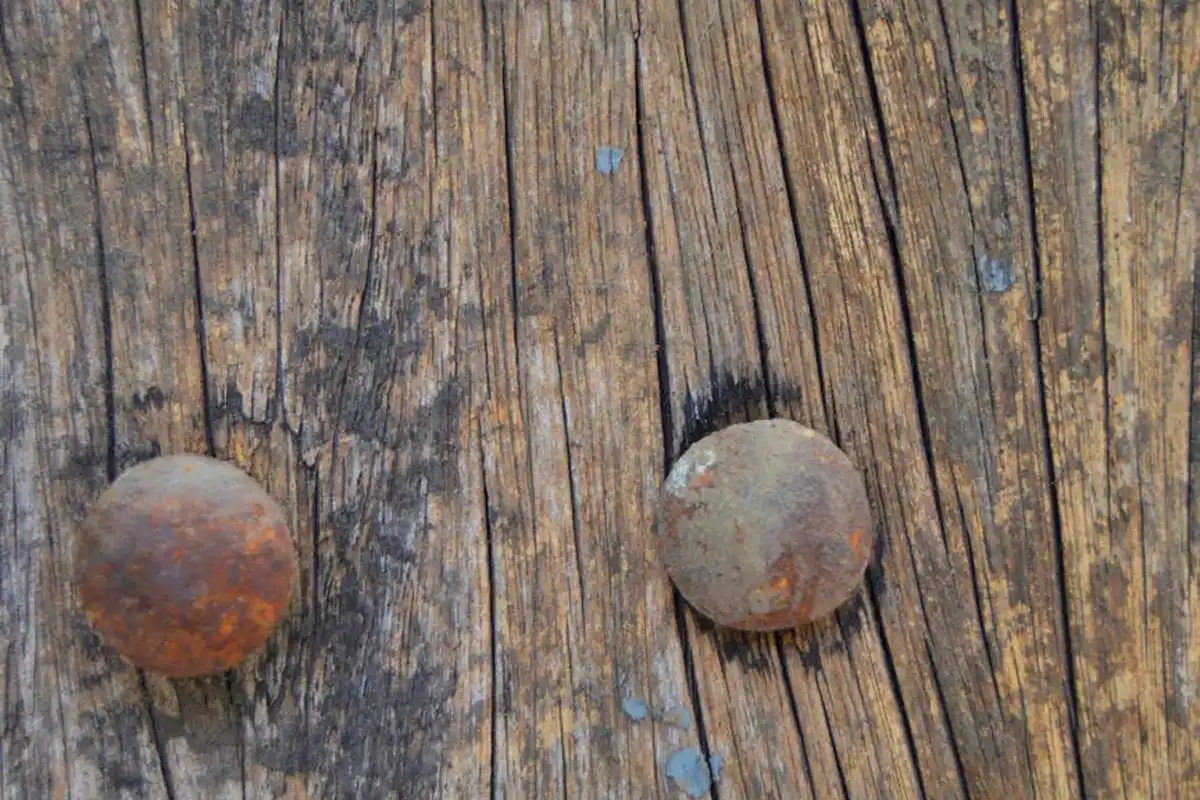
When stain goes wrong, it’s almost always a penetration problem. Here’s how to diagnose and fix it.
Fixing Blotchy Stain on Pine or Maple
Blotching is physics. Woods like pine have areas of wildly different density. The soft, spongy earlywood soaks up stain like a straw and turns dark. The hard, dense latewood resists it and stays light. The result is a distracting, zebra-stripe pattern.
The solution is a pre-stain wood conditioner, which is just a thin, fast-drying varnish. You’re partially clogging the thirsty pores to slow down their absorption rate. Apply it, let it soak in for the time specified on the can (usually just a few minutes), then wipe off the excess. Now, when you apply your stain, all areas absorb color at a more similar rate, giving you an even, controlled tone.
When Stain Won’t Darken or Looks Milky
If your stain just sits on the surface, looks milky, or wipes right off, you have a barrier. Two common culprits are sanding with too fine a grit or surface contamination.
Sanding to 400 grit creates a polished, almost sealed surface the stain can’t enter. Oils from your hands or silicone from a furniture polish will also block penetration.
Fix it by sanding the entire piece again with 150-grit paper to reopen the pores, then immediately clean the surface with a rag dampened with mineral spirits. The spirits will dissolve any oils and evaporate cleanly, leaving you with a perfectly receptive surface.
Does Heat or Humidity Affect Absorption?
Absolutely. Think of the wood’s pores like tiny sponges. Warm, dry conditions make the air and wood “thirstier,” pulling the stain solvent in faster. Cool, damp conditions slow everything down.
For predictable results, I only stain in my shop when the temperature is between 65°F and 75°F (18°C and 24°C) and the humidity is between 40% and 60%. Staining a cold board straight from the garage in winter is a sure way to get a pale, uneven coat because the pores are tight and the stain thickens before it can penetrate.
Mixing, Matching, and Changing Your Mind
Stain isn’t a final decree. It’s the beginning of a conversation with your wood. Knowing a little chemistry gives you the vocabulary to steer that conversation where you want it to go, whether that’s creating museum-grade depth or salvaging a project from a color mishap.
Building Depth with Layers
Think of light interacting with your finish. Light penetrates a clear dye, bounces off the wood, and comes back through the dye, giving you pure, transparent color. A pigment particle sits on the surface and blocks that path. You can use this to your advantage.
Apply a dye first to color the wood’s cellulose deeply. Then, layer a pigmented stain or glaze on top. The pigment will sit in the pores and on top of the grain, subtly muting the underlying dye color and adding a soft, textural quality that mimics aged wood. This dye-under-pigment method is how premium furniture achieves a color that feels alive and three-dimensional, not just painted on.
The “Erase” Button (Before It Dries)
You applied an oil-based stain and it’s too dark. Don’t panic, yet. The binder (the oil) is still wet and the pigment is suspended in it. Grab a clean rag, dampen it with mineral spirits-the solvent for that oil-and wipe firmly. You’re literally re-dissolving the binder and lifting the still-mobile pigment off the surface.
The same rule applies to water-based products. Use a water-dampened rag to pull back a water-based stain. This solvent-wipe technique gives you a critical 5 to 15-minute window to adjust color intensity or fix lap marks before the chemistry sets. Once the carrier evaporates or the binder starts to polymerize, your only option is sanding.
The Non-Negotiable First Step
Your maple scrap board is not the same as your cherry project board. Density, pore structure, and natural color vary wildly, even within the same species. A stain will look different on face grain versus end grain. Your topcoat can also shift the color.
I keep a sanding block next to my finish rack. For every project, I prepare a fresh scrap from the same board, sanded to the same grit. I then apply my exact planned sequence: conditioner (if used), stain, topcoat. This test piece is your only source of truth. It prevents costly, heartbreaking surprises on your final workpiece. It’s not a suggestion. It’s the most important step in the process.
Frequently Asked Questions: Stain Penetration & Practice
1. Should I choose a dye or pigment stain based on the wood’s hardness?
For very hard, close-grained woods like maple or cherry, a dye stain penetrates more uniformly to reduce blotchiness. For open-grained woods like oak or ash, a pigment stain will effectively highlight the porous texture without excessive absorption. Different wood species affect staining and painting results, so it’s essential to choose the right product based on the wood.
2. Why do dye stains often fade faster than pigment stains with UV exposure?
The individual dye molecules that penetrate cell walls are more susceptible to photo-degradation from sunlight. Pigments, being larger, light-blocking particles suspended in a binder on or near the surface, are inherently more UV-stable.
3. Are gel stains a truly reliable solution for preventing blotchiness?
Yes, because their high viscosity limits capillary action into highly absorbent areas. This allows you to mechanically control the color film left on the surface, overriding the wood’s natural, uneven plumbing system.
4. Is there a physical limit to how deep any stain can penetrate?
Yes, penetration is limited by the stain vehicle’s viscosity and the interconnected length of the wood’s cell lumens. Even low-viscosity dyes will only travel a few millimeters along the grain, as the pathways become blocked by cell walls and natural obstructions.
5. If a stain penetrates, does it also protect the wood?
No. Penetrating stains modify color but provide negligible protection against abrasion or moisture. A film-forming topcoat (e.g., polyurethane, lacquer) is always required to create a durable, protective barrier on the wood’s surface.
Your Foundation for a Perfect Finish
The most critical step happens before you ever open a can of stain. Properly preparing your wood surface is non-negotiable. Sand evenly, raise the grain with water, and sand again to achieve a perfectly smooth, open-pored foundation. This prep work controls how deeply and evenly any colorant penetrates, defining your final result more than the stain brand itself.
Choose stains and finishes from companies committed to sustainable forestry and low-VOC formulations. Respect the material by continuing to learn how it interacts with its environment, ensuring your projects last for generations.
Relevant Resources for Further Exploration
- Wood Dyes & Pigments | Woodcraft
- Wood Stains | Kremer Pigments Inc. Online Shop
- How to Use Stains, Pigments, Dyes & Toners to Evenly Stain Wood
- Understanding Stains: Pigments and Dyes – Woodworking | Blog | Videos | Plans | How To
David is a veteran woodworker. He is now retired and stays in his cabin in Wisconsin which he built himself. David has 25+ years experience working in carpentry and wood shops. He has designed and built many small and large wood projects and knows the science behind wood selection like the back of his hand. He is an expert guide on any questions regarding wood material selection, wood restoration, wood working basics and other types of wood. While his expertise is in woodworking, his knowledge and first hand experience is far from 'woody'.