What Controls How Wood Soaks Up Stain? A Wood Science Answer
You pick a stain color, but the wood decides the final result. That frustrating blotchiness or uneven color is a direct conversation with the wood’s anatomy.
I will translate the science of wood structure into clear, actionable steps for your next project. We will cover the specific cell structures that act like stain highways, how density and natural oils dictate color saturation, and the practical pairing of gel, oil, and water-based stains with different wood types.
I base this guidance on my own shop experiments, where I’ve sectioned and stained hundreds of samples to see how theory holds up at the bench.
The Science of Stain Absorption: A Look Inside the Wood
Think of a piece of wood as a bundle of microscopic straws, not a solid block. This cellular framework is why stain can look perfect on oak but turn pine into a blotchy mess.
Let’s define the parts. Vessels are large pipes that moved sap up the tree. Tracheids are much smaller tubes that provided strength. Earlywood is the fast-growing, spring wood with wider cells. Latewood is the dense, summer wood with thicker walls. Heartwood is the tree’s inactive, central core, often full of natural oils and dyes called extractives. Sapwood is the lighter, living outer layer.
Liquid stain wicks into wood through capillary action, the same force that pulls water up a paper towel.
Density, or a wood’s weight per volume, is your best predictor of stain behavior. Compare heavy white oak (about 47 pounds per cubic foot) to light basswood (around 26 pounds per cubic foot). The oak’s dense fibers resist the stain, while the basswood’s open structure drinks it in.
Pore arrangement creates the biggest visual differences. Ring-porous woods like oak have a highway of large vessels in their earlywood. Stain rushes into these, making the grain lines very dark. Diffuse-porous woods like maple have tiny, scattered pores. Here, stain can absorb unevenly, causing splotches.
Never forget heartwood extractives. They can repel water-based stains or create unpredictable chemical reactions with oils. I once stained a walnut board where the heartwood turned a deep chocolate, but the sapwood stayed a wan yellow.
Wood’s Cellular Highway: Vessels and Tracheids
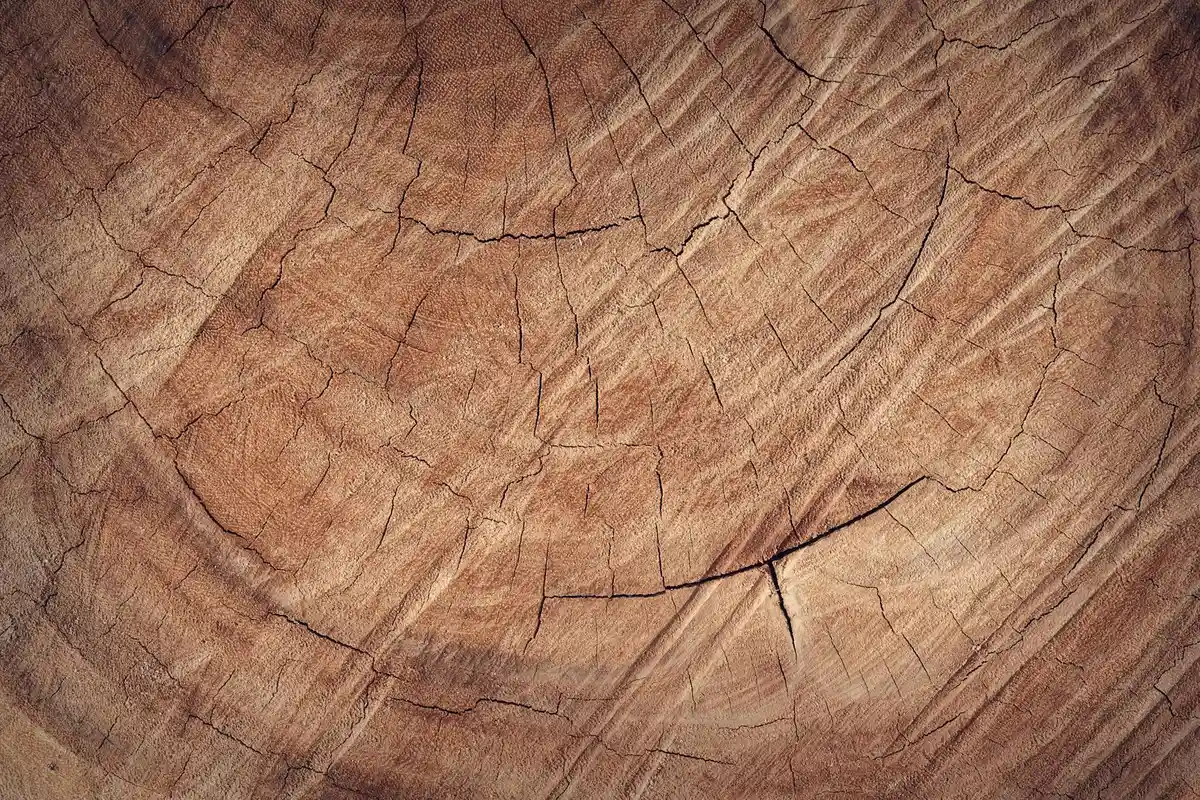
Picture a tree’s cross-section. The vessels look like open circles, like drinking straws cut in half. The tracheids are the dense mass of tiny fibers filling the space between them.
Stain travels fast and deep through the wide-open vessels, which is why woods like oak and ash show such pronounced, dark grain lines. The stain soaks into the tracheids too, but more slowly, coloring the wood between the vessels.
Pore Size: The Main Control Valve for Stain
Open-grain woods (mahogany, ash) have large pores you can feel with your fingernail. These pores can gulp stain and leave a rough surface that often needs a paste wood filler for a smooth topcoat.
Closed-grain woods (maple, cherry) have pores too small to see. The stain has nowhere easy to go, so it soaks into the diffuse areas unevenly. This is the primary cause of blotching. Different wood species exhibit distinct staining and painting effects, shaping the final look. Recognizing these differences helps you plan your finish and anticipate blotching patterns.
The Density Factor: Why Pine Drinks Stain and Maple Resists
Density measures how packed the wood fibers are. Use this list as a guide:
- Low-Density (under 30 lbs/ft³): Pine, cedar, basswood. These woods soak stain deeply and unevenly, like a sponge.
- Medium-Density (30-40 lbs/ft³): Cherry, walnut. They accept stain better but can still blotch without care.
- High-Density (over 40 lbs/ft³): Hard maple, hickory. These woods resist penetration, often requiring longer wet times or different stain types.
For a low-density wood like pine, I always use a pre-stain conditioner or a gel stain. It’s the only reliable way to stop the soft earlywood from becoming a dark, muddy streak.
Matching Stains to Wood Grain: Why Your Method Matters
Your staining technique must work with the wood’s anatomy, not against it. Blotchy woods need methods that seal the surface. Porous woods need methods that encourage even flow. Exploring wood stain finishing application methods helps you tailor technique to each wood. This keeps color even and improves durability.
Stain viscosity is key. Water-based stains are thin and raise the grain. Oil-based stains penetrate slower for more control. Gel stains are thick and sit on top of the pores. DIY stains like coffee are weak dyes that only color the surface.
Surface preparation sets the stage. Sanding opens the wood cells. Sand too coarse (below 120 grit) and you leave deep scratches that grab extra stain. Sand too fine (above 220 grit) and you can polish the surface shut. I stop at 150 or 180 grit for most staining jobs.
Pre-stain wood conditioner is a thin, clear sealer. It partially clogs the pores in woods like pine or maple, creating a uniform surface for the stain to adhere to. Think of it as primer for wood—it’s important to understand the chemistry behind the conditioner to see how it works.
Gel Stain vs. Liquid Stain: Picking the Right Tool
Gel stain is like thickened paint. It doesn’t penetrate much. Instead, it coats the surface and lodges in large pores. This makes it perfect for vertical surfaces like cedar wood siding, or for taming blotchy woods where you need to limit absorption and apply it evenly for a uniform finish.
Liquid stain is a penetrating dye. It soaks into the wood fibers themselves. Use it on consistently porous woods like alder or ash when you want a deep, transparent color that comes from within the wood. This characteristic is particularly important when considering the chemistry and penetration of wood stains.
Here’s a shop tip: use gel stain on end grain. End grain is like the open ends of all those straws, and it absorbs liquid stain far too deeply. A dab of gel stain sits on the surface, making it much easier to match the face grain color.
Application Techniques: Brushing, Wiping, and Spraying
For ring-porous oak, brush the stain across the grain to flood the large vessels, then wipe with the grain to remove excess. This method highlights the dramatic grain pattern.
For diffuse-porous cherry, wipe stain on thinly with a rag and wipe it off immediately. This quick, uniform application minimizes the chance for blotches to form.
Spraying applies the most even coat and is excellent for complex grain. It requires proper equipment and skill, as it’s easy to apply too much stain too quickly.
Staining wood putty requires a different approach. Putty is non-porous and won’t absorb stain. To match it, you must tint the putty itself with pigment or use a colored putty from the start.
The Role of Temperature and Humidity
The ideal temperature to stain wood is between 50 and 90 degrees Fahrenheit. Staining in cold weather (below 50°F) is problematic. The wood pores are tight, so stain cannot penetrate properly, resulting in a pale, weak color.
Staining in hot weather (above 90°F) makes the stain dry on the surface before it can soak in, leading to a sticky, uneven finish prone to peeling. This is especially important for exterior work like staining cedar wood siding. Always aim for a mild, dry day to let the stain absorb and cure correctly.
When Stains Go Wrong: Common Failures and How to Avoid Them
You can follow every step perfectly and still get a bad result. It is not you, it is the wood’s internal structure. You are fighting its natural physics and chemistry. Three common failures are blotching, poor adhesion, and unexpected color.
Blotching happens because wood is not a uniform sponge. The earlywood (the lighter, softer bands in the growth ring) is less dense and soaks up stain like a thirsty sponge. The denser latewood absorbs less. This creates a zebra-stripe effect. In woods like pine or maple, where the density varies wildly, you get dark splotches instead of stripes.
Stain can also starve your glue joints. If stain seals the pores before you glue, the adhesive sits on the surface. This creates a “starved joint” that is incredibly weak and will fail under stress. The simple fix is to glue your pieces first, then stain the assembled project. If you must stain first, mask your joinery areas with tape.
My non-negotiable shop rule is the scrap test. Always, always test your exact stain and method on an off-cut from the same board. Sand it the same way. Apply it the same way. This ten minute step saves days of repair work.
If you end up with a blotchy spot, you have options. Lightly sanding the dark area with 180-grit paper can reopen some pores for a more even second coat. For severe cases, a wood bleach (oxalic acid) can pull color out. Remember, bleaching also lightens the surrounding wood, so you often need to re-stain the entire piece.
Solving the Blotchy Pine and Maple Problem
Pine gets those infamous dark, muddy patches. Maple turns cloudy and uneven, a look sometimes called “reverse grain.” The culprit is the same, wildly varying density and large pores that just soak up stain too fast in some places.
Here is the step-by-step remedy I use in my shop for these woods.
- Sand smoothly to 150 grit. Do not skip grits or go too fine.
- Apply a pre-stain wood conditioner. This is a thin sealant that partially clogs the thirsty pores.
- Wait the time specified on the can, usually 5-15 minutes. Do not let it dry completely.
- Apply a gel stain. Its thicker, paint-like consistency sits more on the surface, giving you far more control than a runny liquid stain.
Contrast this with a ring-porous wood like red oak. Its large, open pores run in neat, uniform lines. Stain flows evenly into these vessel channels, highlighting the grain beautifully with very little blotch risk. Oak almost never needs a conditioner.
Why Stain Looks Different on End Grain
Think of end grain as looking at the open ends of a bundle of drinking straws. That surface is all open cell ends, ready to suck up liquid. It will absorb two to three times more stain than the face grain, turning it much darker.
You have two good fixes. First, lightly seal the end grain. A 1:1 mix of white glue and water, brushed on and sanded lightly after it dries, works perfectly. Second, you can stain as normal but immediately wipe the end grain much more aggressively and thoroughly than the rest. This pulls the excess stain back out of those thirsty pores.
Staining Specific Woods: From Floors to Furniture
The best wood for your stained project depends on the job. A durable oak floor and a painted poplar cabinet require different things. Choosing a local, sustainably harvested species you understand is the first step to a great finish. Knowing its anatomy tells you exactly how to treat it.
How to Stain Poplar Wood and Make It Look Like Cherry
Poplar is a fantastic, affordable utility wood, but its greenish or purple heartwood and inconsistent pores make staining a challenge. A quick poplar wood properties profile lays out these traits and how they affect staining. It helps you plan color and finish choices. To mimic cherry, you need to manage both the color and the absorption.
Start with a pre-stain conditioner. This tames the blotchiness. Then, choose your stain carefully. You want a reddish-brown gel stain. The red tones counteract the green undertones, and the gel formulation helps achieve an even color. Apply it, let it sit for 5 minutes, and wipe it off. It will not be perfect cherry, but it gets you very close for a fraction of the cost.
I keep poplar in my shop specifically for stain tests. Its finicky nature makes it the perfect teacher for learning pore control.
Can You Stain Wood Floors? Anatomy and Longevity
You absolutely can stain wood floors, but the wood’s anatomy dictates the rules. For durability, you want a dense, wear-resistant species like white oak or hard maple.
Oak has those large, open pores. For a smooth floor surface, you often need to fill these pores with a paste wood filler after staining and before applying the protective topcoat. Maple is diffuse-porous, with tiny, even pores, so it does not need filling.
The stain itself must be a penetrating, liquid oil-based stain for floors. It needs to soak in deep to resist abrasion from foot traffic. A gel stain that sits on the surface will wear off quickly in high-traffic areas. Work in a room between 65°F and 75°F. Staining in cold temperatures causes poor penetration and adhesion.
Working with Cedar and Exotic Woods
Cedar siding is low-density and thirsty. It needs a stain that soaks in deep to protect from within. Use an oil-based, penetrating stain specifically made for exterior wood. Be aware, cedar’s natural tannins can bleed through and cause brownish discolorations. A stain with a tannin blocker solves this.
Exotic woods like teak or ipe play by different rules. They are loaded with natural oils and silica. These oils repel standard water or oil-based stains. To stain them, you must first wash the surface with a special solvent like acetone or a teak cleaner to remove the surface oils. Even then, expect a much lighter color change. Often, the best finish for these woods is just a clear oil to highlight their natural color.
DIY Stains: Can You Stain Wood with Coffee?
Yes, but know what you are getting. Coffee is a weak, acidic dye. It works best on light, porous woods like pine, poplar, or ash, where it can settle into the grain for a subtle, weathered tan or gray tone.
This is for experimental projects only. Coffee offers zero UV protection and will fade quickly. It is not water-resistant and is useless for exterior projects or tabletops. To try it, brew a pot of strong black coffee, let it cool, and apply multiple coats with a brush until you reach the desired shade. It teaches you about dye behavior without the cost of commercial products.
Stain Absorption and Wood Anatomy: A Practical FAQ
How do heartwood extractives interfere with stain, and which woods are most problematic?
Extractives are natural oils and phenolics that fill cell cavities, physically blocking stain penetration and chemically reacting with certain stain vehicles. Woods like cedar, teak, and walnut have high extractive content, often requiring solvent washing or specialized stain formulations for predictable results.
Can I predict stain behavior by visually assessing an unknown wood’s end grain?
Yes, examining the end grain reveals pore size (open vs. closed) and growth ring uniformity, which are direct indicators of potential absorption issues. A hand lens can help identify large vessel pores indicative of ring-porous woods like oak, which accept stain very differently than diffuse-porous woods like maple.
Why does the stain chemistry (oil, water, lacquer-based) interact differently with the same wood anatomy?
Different stain vehicles (alkyd, acrylic, solvent) have varying surface tensions and molecular sizes, affecting their ability to wick into specific pore structures. For example, thinner water-based dyes penetrate tight latewood poorly compared to oil, often exaggerating blotchiness in diffuse-porous woods.
For a very dense, closed-grain wood, what application method increases stain uniformity?
On woods like hard maple or birch, a sprayed application or a “flash-and-wipe” technique with a rag provides the most even coat by depositing stain uniformly before absorption begins. This minimizes the time for the stain to pool and penetrate unevenly in the variable-density surface. Thorough surface prep—sanding smooth and removing dust—shapes how the stain absorbs into the wood. A uniform surface yields consistent absorption across the grain, supporting even color development.
How do DIY stain alternatives (e.g., coffee, tea) compare to commercial stains in terms of anatomical penetration?
These are weak, particulate-based dyes that primarily color the very surface layer of cells, lacking the penetrating solvents and mordants of commercial stains. They highlight anatomical features like large pores but offer no protection and are easily obscured by the wood’s natural extractives. Compared with these dyes, pigments use insoluble particles that bind with a carrier and stay embedded in the wood. This pigment-versus-dye distinction helps explain differences in color depth and durability across wood stains.
Final Considerations on Grain, Stain, and Your Project
The single most important factor for a perfect stain job is your wood’s anatomy. The open pores in oak will always soak up more pigment than the tight grain of maple. I always test my stain on a cutoff from the same board, never a different piece. This simple test tells you exactly how your project’s unique grain will react, preventing a blotchy finish, especially when selecting and applying chemical stains.
Choose wood from responsibly managed forests and apply finishes that protect your work for generations. Your best projects come from understanding the material in your hands and respecting its natural character.
Related Guides and Information
- Uneven Stain Absorption – The Wood Whisperer
- Wood Staining Tips, Do’s & Don’ts
- Understanding How Wood Absorbs Colour: The Science Behind Staining
David Ernst
David is a veteran woodworker. He is now retired and stays in his cabin in Wisconsin which he built himself. David has 25+ years experience working in carpentry and wood shops. He has designed and built many small and large wood projects and knows the science behind wood selection like the back of his hand. He is an expert guide on any questions regarding wood material selection, wood restoration, wood working basics and other types of wood. While his expertise is in woodworking, his knowledge and first hand experience is far from 'woody'.