How Do You Remove Ash Stains and Seal Wood to Prevent Future Damage?
Ash stains on wood aren’t just a cosmetic issue; they’re a sign of chemical damage deep in the wood fibers. I’ll show you how to fix this using principles from materials science that I rely on in my own shop.
We will cover the science behind why ash stains wood, effective methods for lifting the stain without harming the surface, and how to choose a sealant that creates a permanent barrier.
I’ve tested every method here on ash-stained scrap wood to separate effective science from common workshop myths.
How Ash Stains Work and Why They’re a Nuisance
Wood ash isn’t just dirt. It’s a fine, alkaline powder. When wood burns, minerals like potassium carbonate are left behind. This ash is basic on the pH scale.
That alkalinity is the problem. Many woods, especially oaks and walnuts, are rich in natural compounds called tannins. When alkaline ash meets acidic tannins in the wood, a chemical reaction occurs. This reaction creates a dark, grayish stain that sinks into the fibers. It’s a permanent color change if you don’t act fast.
This is different from a water ring or an oil spill. A water ring is usually a flaw in the finish, a white haze from trapped moisture. An oil stain soaks in and adds color. Ash acts more like a dye and a chemical agent combined. The fine particles settle and then trigger a reaction.
Wood porosity determines how fast this happens. Softwoods like pine or cedar have large, open cell structures. They soak up ash and moisture like a sponge, staining almost immediately. Tight-grained hardwoods like maple or cherry are more resistant, but given time, ash will mark them too.
Speed is your best tool. The longer ash sits, the deeper it penetrates and the more it reacts. Treating a fresh spill is straightforward. A stain that’s set for days becomes a much bigger project.
Surface Dust vs. Stained Wood: Knowing What You’re Facing
Before you grab a cleaner, diagnose the problem. Is the ash just lying on top, or has it become part of the wood?
For a finished surface, lightly run a dry fingertip over the area. If you get a gray smudge on your skin, you’re mostly dealing with surface dust. If the wood underneath looks clean, a simple dry clean will work, especially when cleaning mahogany wood surfaces.
If the discoloration remains after you wipe away the loose powder, the ash has stained the wood itself. The color is in the fibers. This means you’ll need a cleaning solution or, in bad cases, sanding to remove it. Always start with the gentlest method and work up.
Why Your Wood Type Changes the Game
Your wood choice dictates your cleanup strategy. I keep a sample board of off-cuts for testing stains and finishes. It saves headaches.
Porous woods like red oak, ash, or mahogany have vessels you can see. These tiny tubes grab and hold ash particles. The stain can spread along the grain pattern. Less porous woods like maple, cherry, or birch have a smoother, tighter surface. They fight off staining longer, but a deep stain is harder to lift from their dense fibers.
A protective finish is your wood’s best defense. A good coat of polyurethane, lacquer, or even a hard wax oil seals the surface. Choosing the right coat matters for stain and protection. A polyurethane topcoat protects color and is a common, durable option for wood protection. On finished wood, ash often sits on top, making cleanup a quick wipe. On raw, unfinished wood, every spill is an immediate threat to the wood’s color.
Your Tactical Plan to Get Ash Off Wood
This is my shop-tested method for how to get ash off of wood. Always test each step on a hidden area first, like the bottom of a table or the back of a drawer. Finishes can react differently. Work from gentle to aggressive to avoid damaging the wood.
Step 1: The Gentle Blot and Lift for Fresh Ash
For a new spill, your first move is critical. Grab a dry, soft microfiber cloth. Do not use a paper towel; it can shred and leave bits behind.
Gently press the cloth onto the ash and lift straight up. Blot, do not rub. Rubbing is the enemy. It grinds the fine ash particles deeper into the wood grain or across the finish, making a small problem much bigger.
This blotting technique lifts away most of the ash without spreading it or pushing it in. For a large area, use a clean section of the cloth for each blot. You might solve the problem right here.
Step 2: Wash with Mild Soap and Lukewarm Water
If dry blotting leaves a shadow, you need to clean the surface. Mix a drop of plain dish soap into a cup of lukewarm water. I use a ratio of about one drop per 250ml. You want a solution with barely any suds.
Dampen a corner of a clean microfiber cloth in the solution, then wring it out until it is just barely damp. It should not drip. Excess water can swell wood grain and damage the finish.
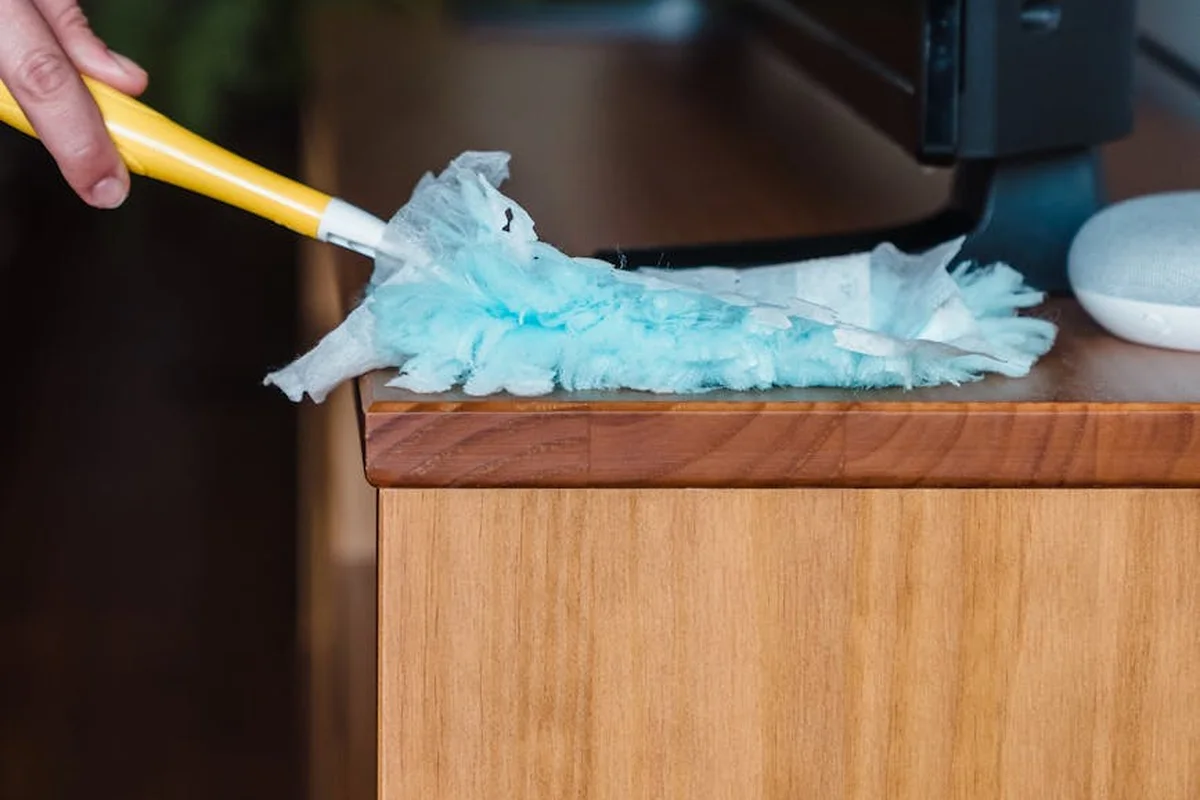
Wipe the stained area gently, then immediately dry it with a separate, dry towel. Your goal is to let the soap lift the ash, not let water sit on the wood. This method works well for ash that has settled into the finish but not deeply stained the wood underneath.
Step 3: Using Solvents on Stubborn Stains
For a persistent gray mark, you likely need a solvent. Isopropyl alcohol (rubbing alcohol) is my first choice. Use a strength of 70% or higher.
Apply it carefully with a cotton swab. Dab it on the stain, don’t flood the area. The alcohol breaks down the ash and helps lift it from the wood fibers or finish.
Solvents can dissolve some finishes, especially shellac or some lacquers. That’s why testing is non-negotiable when selecting solvents. If the finish becomes tacky or starts to dissolve on your test spot, stop immediately. For finished pieces, this method is about spot-cleaning, not refinishing.
Step 4: Sanding as the Final Option for Deep Stains
When ash has chemically stained raw wood or penetrated a thin finish, sanding is your last resort. You are removing the stained layer of wood.
Start with 180-grit sandpaper. Sand lightly and only over the stained area, always moving parallel to the wood grain. Sanding across the grain will create visible scratches that are hard to remove.
Once the stain is gone, switch to 220-grit paper to smooth the area and blend it with the surrounding wood. Sanding changes the wood’s surface, so you will need to reapply a finish to the entire piece for a uniform look. If you’re going to polyurethane, this is the stage to sand the stained wood before applying the finish. Sanding beforehand helps the polyurethane adhere and gives a smoother final coat. This is how you get ash out of wood for good, but it’s the most work.
Quick Guide: Removing Ash Stains from Clothes and Fabric
The principle is similar to wood: act fast and avoid grinding it in. First, shake the fabric outdoors to remove loose ash. Do not brush it.
Rinse the stain from the backside with cold water, pushing the ash out the way it came in. Then, pre-treat with a bit of liquid laundry detergent, gently working it in. Wash as usual. Ash on fabric is primarily a particulate stain, not a chemical one, so it’s often easier to remove than from wood. Heat from a dryer can set stains, so air dry until you’re sure the ash is gone.
Lab/Shop Requirements: The Non-Negotiable Tools and Solvents
Think of this as assembling your scientific toolkit. Having the right items within reach is what separates a clean repair from a bigger problem. You can’t improvise clean.
Cleaning and Prep Supplies
Your goal is to lift stains without damaging the wood’s fibers or color.
- Soft, lint-free cloths (microfiber): For applying cleaners and wiping away residue. Old t-shirts leave fibers that interfere with sealing.
- Mild dish soap (like Dawn): Its surfactants break down grease and water-based soot without being harsh. Dilute a few drops in a cup of warm water.
- Isopropyl alcohol (70-91% rubbing alcohol): A gentle solvent for dried, water-insoluble residues. It flashes off quickly, so it won’t raise the grain like water can.
- Denatured alcohol: This is your stronger option for unfinished wood with stubborn, oily deposits. It will strip any existing finish, so only use it on bare wood.
- Sandpaper (150, 180, 220 grit): You start coarse only if the stain is deep. Most ash stain removal ends with 220-grit to smooth the surface for sealing.
- Tack cloth: A sticky cheesecloth impregnated with resin. It grabs every speck of sanding dust. A shop vacuum or brush won’t get it all.
Safety and Measurement Gear
This isn’t just for show. It’s for consistent, safe results.
- N95 mask: Wood dust is a respiratory irritant. Ash dust, in particular, is alkaline and harsh.
- Nitrile gloves: Protect your skin from solvents that can cause dryness or allow chemicals to absorb.
- Safety glasses: Splashes happen. A drop of solvent in the eye will ruin your day.
- Moisture meter: The most overlooked tool. Applying sealant to wood with high moisture content traps that moisture, leading to finish failure and wood rot. Your wood should read below 12% for interior projects.
Sealing the Wood: Building a Barrier Against Future Ash
Cleaning is reactive. Sealing is proactive. This is how you make the wood resistant to the next spill or ash fall. The science is simple: you are filling the wood’s pores and coating its surface to block infiltration.
Choosing Your Sealant: A Shop-Tested Comparison
All sealants work, but for different jobs. Here’s what my shop tests show.
Film-forming finishes (Polyurethane, Varnish, Lacquer): These finishes cure on top of the wood, creating a distinct plastic-like layer. Think of it as a raincoat.
- Best for: Tabletops, countertops, bar tops, any high-touch surface.
- Pros: Extremely durable, water-resistant, easy to wipe clean.
- Cons: Can feel plastic-y, may yellow over time, can chip or scratch revealing the wood underneath.
Penetrating finishes (Tung Oil, Linseed Oil, Danish Oil): These soak into the wood fibers and harden from within (polymerizing inside the wood). Think of it as a deep-conditioning treatment.
- Best for: Tool handles, gunstocks, furniture where you want to feel the wood grain.
- Pros: Beautiful, natural feel, easy to touch up, highlights grain.
- Cons: Offers less surface protection, requires more frequent reapplication, can be slow to cure.
Use polyurethane for a kitchen table that will see spilled drinks and hot plates. Use pure tung oil for a walnut tool chest you want to feel warm and natural. For ash, which has a striking grain, an oil-based polyurethane can offer protection while enhancing the grain’s contrast.
Preparing the Wood Surface for a Perfect Seal
A perfect finish starts with a perfect surface. Any leftover stain, dirt, or dust will be sealed in forever, highlighted by the finish.
- Ensure the wood is completely dry after cleaning. Use your moisture meter.
- Sand the entire surface lightly with 220-grit paper, moving with the grain. You aren’t removing material, just creating “tooth” for the finish to grip.
- Go over every inch with a tack cloth. Wipe, fold the cloth to a clean side, and wipe again.
- Do a final wipe with a cloth dampened with mineral spirits. This picks up any last oils and shows you exactly what the wood will look like under an oil-based finish.
Why Sanding Between Coats is Non-Optional
When a finish dries, microscopic imperfections called “nibs” form. These are bits of dust or finish that cured high. If you apply another coat over them, you lock in a rough surface.
A light pass with 320 or 400-grit sandpaper knocks these nibs flat, creating a perfectly smooth foundation for the next coat. It also scratches the surface slightly, giving the next layer something to mechanically bond to. It’s like painting a wall; you sand between coats for a smooth, professional result. Always remove all sanding dust with a tack cloth before applying the next coat.
Best Practice Workflow: From Dirty to Sealed
Follow this sequence like a recipe. Skipping steps is how projects fail.
The Sequential Steps for a Flawless Finish
- Assess the stain and wood type. Is the ash stain on bare wood or an old finish? Is the wood ash, oak, pine? This dictates your cleaner strength.
- Test your cleaning method in an inconspicuous area (like the bottom of a table leg). Wait for it to dry to check for color change or damage.
- Clean using the gentlest effective method. Start by blotting dry ash. Then try a damp soapy cloth, rinsing with a water-dampened cloth and drying immediately. If stain remains, try isopropyl alcohol on a cloth. Only use denatured alcohol or sanding (150-grit) for severe, set-in stains on bare wood.
- Let the wood dry completely. Air dry for 24-48 hours. Verify with a moisture meter. Wood can feel dry but still hold moisture inside.
- Sand the entire surface lightly with the grain using 220-grit. Unify the cleaned area with the surrounding wood.
- Remove all dust with a tack cloth. Then do it again.
- Apply the first thin, even coat of your chosen sealant. A thin coat cures harder and faster than a thick, gummy one. Let it dry for the full time listed on the can.
- Sand lightly with 320-grit, remove all dust, apply the second coat. Two thin coats are always better than one thick one.
- Repeat for a third coat if desired for extra protection on surfaces like tabletops. For an oil finish, you might apply 3-4 coats within a single day, wiping off the excess each time.
Shop Conditions for Success
Finish chemistry depends on its environment.
Work in a warm (65-75°F), well-ventilated, and dust-free area. Cold temperatures prevent proper curing-finishes stay soft. High humidity can cause water-based polyurethane to dry cloudy or blushed. Close windows and doors after dusting to let air settle before applying finish. Never seal wood that feels cold or damp to the touch; it is not ready.
Long-Term Care for Your Sealed Surface
The sealant is a shield, not an invincible barrier. Care for it.
Use coasters under drinks. Wipe up spills promptly. Dust regularly with a soft, dry cloth. For cleaning, use a damp cloth with a drop of mild soap, then dry immediately. Avoid abrasive cleaners or so-called “furniture polish” sprays, which can leave a residue that attracts more dirt. For a small scratch in a film finish, lightly sand the area with 400-grit and apply a fresh, thin coat of the same sealant.
Ash Stain Removal & Prevention: Key Questions
Why is a mild dish soap solution the recommended first cleaning step?
The surfactants in dish soap effectively emulsify and lift the alkaline ash particles from the wood’s surface without the moisture penetration risk of plain water. This method cleans the finish or wood fibers without initiating further chemical reaction with residual tannins.
How does wood porosity directly impact stain removal difficulty?
Highly porous woods like oak provide a larger internal surface area for ash particles to lodge and react, often requiring solvent use or sanding. Dense, closed-grain woods like maple resist initial staining but can retain a more concentrated, superficial stain that solvents target effectively. Different test results can be explained when considering wood anatomy and stain absorption methods.
What is the material science rationale for using isopropyl alcohol on a stubborn stain?
Isopropyl alcohol acts as a polar solvent, breaking the ionic bonds holding the alkaline ash salts to the wood’s cellulose and lignin. Its rapid evaporation minimizes grain swelling, making it preferable to water for penetrating, set-in stains on appropriate finishes.
Which sealant type provides the most durable barrier against future ash contamination?
Film-forming finishes like polyurethane or lacquer create a continuous, non-porous layer on the wood surface, physically preventing ash contact with the substrate. This is superior to penetrating oils, which harden within the wood but leave the surface more vulnerable to particulate adhesion and staining.
Why is ash generally easier to remove from fabric than from wood?
Ash stains fabric primarily through physical particulate entrapment in fibers, not a permanent chemical reaction. The absence of reactive compounds like tannins in most fabrics allows mechanical cleaning methods-rinsing and detergent-to successfully lift the particles without causing a permanent color change.
Seal It Right, Keep It Bright
The most important step isn’t removing the stain, it’s the seal that follows. A proper finish locks out moisture and contaminants, creating a durable shield for the wood. Choosing the right sealer for your project’s location and use makes all the difference. Treat stain removal as prep work and view the final seal as the main event for long-term protection.
Your care for this piece extends to the products you choose and the skills you build. Seek out low-VOC, sustainably sourced sealants and keep learning about wood’s relationship with its environment.
Sources and Additional Information
- Best Finishes for Ash Wood – Staining Tips & Techniques
- Staining ash. – FineWoodworking
- 6 Easy & Fantastic Finishing Techniques for Ash Lumber – Woodworkers Source Blog
- Staining Ash Wood + Best Stain Colors (2025 Guide!)
- Furniture Clinic Wood Stain | White Ash | Water Based | Fast Drying, Low Odor, & Non-Toxic | for Indoor & Outdoor Furniture and More | Multiple Finishes | (17oz / 500ml) – Amazon.com
- Staining Ash Wood: Best Stain for Ash Wood (Aug 2024)
- Dark Ash – Exterior Wood Stains – The Home Depot
- Does Ash Stain Well? COLOR Results + Tips [2024]
David Ernst
David is a veteran woodworker. He is now retired and stays in his cabin in Wisconsin which he built himself. David has 25+ years experience working in carpentry and wood shops. He has designed and built many small and large wood projects and knows the science behind wood selection like the back of his hand. He is an expert guide on any questions regarding wood material selection, wood restoration, wood working basics and other types of wood. While his expertise is in woodworking, his knowledge and first hand experience is far from 'woody'.