
How Do You Repair Wood Veneer Damage Using Materials Science?
That chip or scratch in your furniture’s veneer isn’t a terminal flaw. I treat veneer repair as a practical materials problem, where adhesion and color are controlled variables.
We will cover diagnosing the failure type, choosing adhesives based on the substrate, matching grain with precision color theory, and sealing repairs for invisible durability.
I validate every method through shop experiments that stress-test veneer bonds and finishes.
What Kind of Damage Are You Dealing With? A Veneer Diagnosis
Before you touch a tool, you need a diagnosis. Misidentifying the problem is the fastest way to make it worse. In my shop, I sort veneer damage into five common types. Knowing which one you have dictates your entire repair plan.
Use the simple “fingernail test” to start: gently drag your fingernail across the damage. If it catches, the damage is into the veneer wood itself. If your nail slides smoothly over it, the scratch is likely only in the clear finish layer, which is a much simpler fix—often just a matter of rubbing it out with fine abrasives.
Common Veneer Damage Types
Let’s break down what you’re probably looking at.
A scratch is a cut in the wood fibers, like a paper cut on the surface. A dent is crushed wood fibers, where the structure is compressed but not removed. This is the core difference between ‘how to fix scratched wood’ and ‘how to fix dented wood’.
Peeling and chipping are different failures. Peeling is an adhesive failure-the glue under the veneer has let go, often from heat, moisture, or age, creating a bubble or loose edge. Chipping is an impact failure-a piece of the brittle veneer has been knocked off, often revealing the substrate underneath.
Missing chips and crushed corners from pets (how to fix dog chewed wood corners) are problems of absent material. Water damage often starts as a white haze in the finish but can progress to swollen, delaminated veneer.
The First Question: Can You See the Substrate?
This is your most critical triage question. The substrate is the material under the veneer, like particleboard, MDF, or solid wood.
If you can see a different color or texture underneath, you have a material loss problem. A scratch over particleboard looks like a brown line on beige speckles. This damage needs filler or a veneer patch to rebuild the visual surface. It’s a sculpting and painting job.
If you cannot see the substrate, the veneer layer is still intact, even if bruised or cut. These repairs are about manipulating the existing wood fibers or refreshing the finish on top of them. Your goal is to disguise, not rebuild. For scratches, the repair approach often depends on the wood species. Knowing your wood type helps you choose the right technique without rebuilding.
The Science of a Thin Slice: Why Veneer Fails and How Fixes Hold
Veneer is a brilliant, sustainable use of precious wood, but it’s also a thin, unstable sheet under constant stress. To fix it well, you need to know how it breaks, especially when it involves delaminated plywood veneer.
Think of wood veneer as a stiff potato chip glued to a stable cracker. Wood is hygroscopic, meaning it absorbs and releases moisture from the air, swelling and shrinking. Your veneer slice wants to move with humidity changes. The substrate underneath (like stable MDF or grainy particleboard) moves very little, or in a different way.
This mismatch creates shear stress at the glue line. Over years, this stress, combined with heat from a radiator or moisture from a cup, can break the adhesive bond. That’s adhesive failure, or peeling.
The finish is the veneer’s armor. A film-forming finish (like lacquer or varnish) sits on top, taking the scratches. A penetrating finish (like oil) soaks in slightly but offers less protection. When the finish is compromised, the delicate veneer beneath is exposed to wear and moisture, leading to the damage you see.
Adhesion Mechanics: Getting Glue to Stick for Good
Your glue choice matters. For most modern repairs, a standard PVA wood glue (the yellow kind) is perfect. It’s strong, easy to clean up, and readily available. I use it for 90% of regluing bubbles.
For valuable antique work, I use liquid hide glue. Hide glue remains slightly thermoplastic, meaning heat and moisture can re-soften it. That reversibility stems from the collagen-based chemistry of hide glue, which gelatinizes and re-softens with heat and moisture. Understanding that chemistry helps explain why the bond can be opened and resealed in conservation practice. This makes the repair reversible for future restorers, which is the professional standard for conservation.
When filling a chip over porous chipboard, adhesion is different. Wood fillers and putties don’t “glue” well. They rely on a mechanical key, which means they flow into the pores and crevices of the rough substrate and lock in place as they harden, like plaster in a lath wall. This is why preparing the hole by roughing it up slightly is a non-negotiable step.
The Repair Protocol: A Step-by-Step Workflow for Every Problem
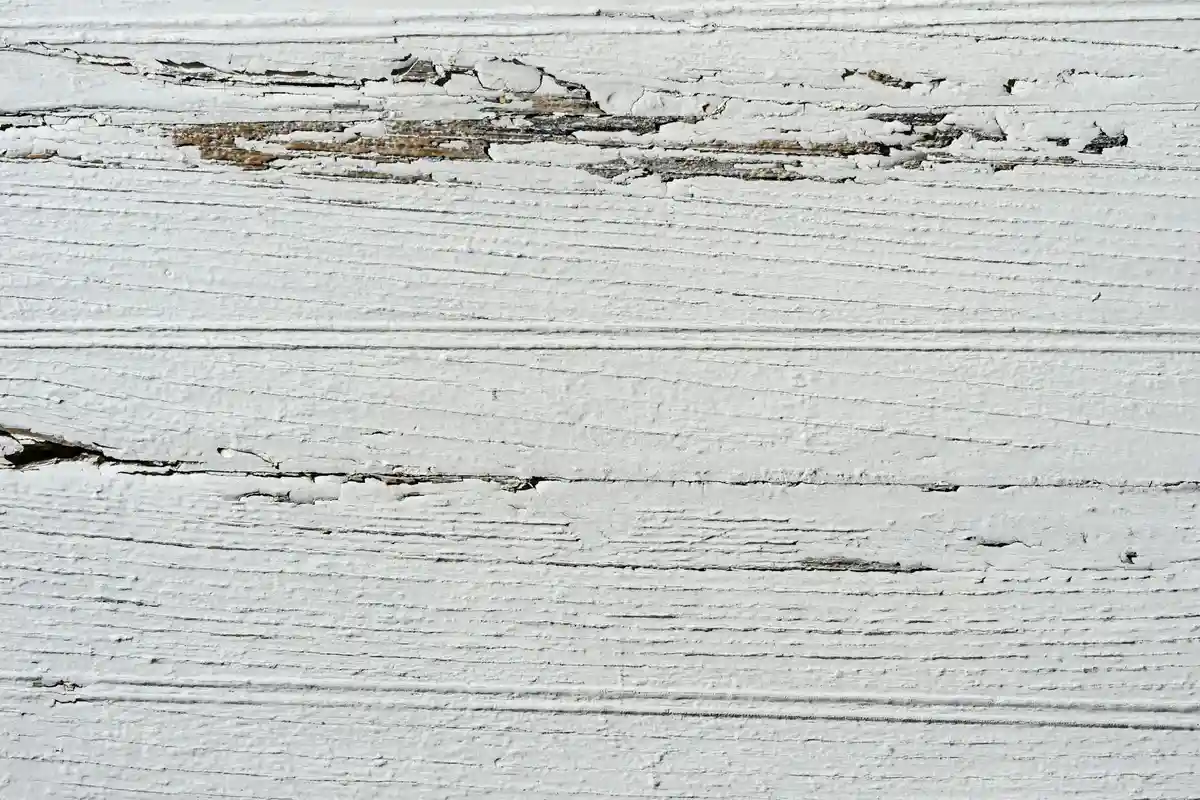
Think of this as your shop manual. You’ve diagnosed the damage from the previous section. Now, follow this logic to choose your weapon.
The first question is always: is the veneer itself torn or missing, or is it just compressed or scratched? Your answer decides everything.
- Scratches or Dents? Go to Protocol 1. You’re working on the surface.
- Chips, Chewed Corners, or Missing Pieces? Go to Protocol 2. You need to add material.
- Bubbles or Lifted Edges? Go to Protocol 3. You need to re-establish the glue bond.
No matter the path, you’ll end at the same final station: sanding, coloring, and finishing. For visual learners, searching for “wood veneer repair videos” on a platform like YouTube is a smart move before you start. It turns these steps from words into action.
Gathering Your Shop Supplies: Beyond the Basic Kit
You can’t cook a great meal with dull knives. Veneer repair needs sharp, precise tools.
- A razor-sharp chisel or craft knife for trimming.
- Hard sanding blocks (a piece of MDF works) for keeping surfaces flat.
- Small clamps and cauls (flat blocks of wood) for even pressure.
- A palette knife for spreading fillers.
Your material choice is critical. Each has a specific job.
Tinted wax sticks are for cosmetic touch-ups on finished surfaces. They fill a scratch fast but are soft. They can melt or wipe off with cleaning. I use them for quick fixes on pieces that won’t see hard use.
Two-part epoxy or wood putty fillers are for structural rebuilds. You mix them, press them into a chip, and they harden like rock. You can sand and stain them. They are permanent but tricky to color match perfectly.
Shellac burn-in sticks are the professional’s choice for gaps and small chips. You melt them with a special knife, drip them in, and they harden instantly. They accept stain and finish beautifully. There’s a learning curve, but the results are superior.
For color, get alcohol-based dyes (for tinting fillers or the wood itself), gel stains (for adjusting tone on top of dye), and grain pens to fake the lines of wood fiber. For more details on selecting and applying wood stains, visit Woodwork Science.
Protocol 1: Fixing Surface Scratches and Dents
A dent is just compressed wood fibers. The goal is to swell them back with moisture and heat.
Place a damp (not dripping) cloth over the dent. Press a hot clothes iron to it for a few seconds. The steam penetrates, the fibers expand. You may need several cycles. Let it dry completely before sanding flush. This only works if the wood fibers aren’t broken and the finish is removed first (especially when repairing dents caused by cell collapse).
For a scratch, a wax stick is often enough. Clean the area. Choose a color slightly darker than the finish (light fills show up more). Rub the stick firmly into the groove, overfilling it slightly. Scrape off the excess with a plastic card, then buff with a soft cloth. For a more durable fix, use a colored filler, let it cure, and apply a tiny drop of matching finish (like shellac) over it with a fine brush. This is especially useful when repairing scratches and gouges on wood flooring.
Protocol 2: Repairing Chips and Chewed Corners
When material is gone, you must replace it. The gold standard is a “Dutchman” patch.
- Use a sharp chisel and a metal ruler to square up the damaged area into a clean geometric shape (a rectangle or parallelogram).
- Trace this shape onto a piece of matching veneer. Cut the patch slightly oversized.
- Apply wood glue to the substrate (the base wood), press the patch in, and cover it with wax paper and a flat caul. Clamp it firmly. The caul spreads pressure evenly and is non-negotiable for a flush patch.
- Once dry, use a sharp chisel to pare the patch down perfectly flush, then sand smooth with the surrounding veneer.
For a chewed corner or irregular chip, epoxy filler is faster. Tape around the damage to contain the mess. Mix your two-part epoxy and tint it with alcohol dye to get close to the base wood color. Pack it in, overfilling the hole. Once it hardens to a cheese-like consistency, carve it to shape with a knife. Final sand when fully hard. You’ll color it further in the final steps.
Protocol 3: Regluing Bubbles and Peeling Edges
This is about glue management. Too little, and it re-lifts. Too much, and it oozes out and leaves a dark stain that won’t take finish.
- Gently slit the bubble along the grain with a razor knife to create a small injection point.
- Use a syringe or fine tip to inject a water-thin glue (like hide glue or yellow wood glue thinned with a few drops of water) into the opening.
- Immediately press down firmly, working from the edges toward the slit to push out air and excess glue. Wipe away any squeeze-out instantly.
- Place wax paper and a heavy weight (books, a flat caul with a clamp) over the area. Let it cure for 24 hours.
A common mistake is using a glue that’s too thick; it won’t spread under the veneer properly. For large bubbles, a veneer hammer (a specialized tool) helps press and spread glue. For edges, a caul and clamp is always better.
The Final Act: Sanding, Coloring, and Finishing
This separates an okay repair from an invisible one. Start by feather-sanding the repair edges with 220-grit, then 320-grit paper. Your goal is to eliminate any tactile ridge.
Color matching is a layered process, not a one-step event. First, use a diluted alcohol dye to stain the raw repair to the lightest background color you see. Let it dry. Next, use a gel stain brushed lightly over the area to adjust the tone and add depth. Finally, a thin glaze can simulate aged patina or shadow.
To blend the sheen, you must spot-finish. Pad on a few coats of shellac or spray a light coat of lacquer over just the repaired area, feathering it out. This builds a film to match the surrounding finish. Lightly rub the entire panel with 0000 steel wool to unify the sheen.
Should You Fix This Yourself or Call a Specialist?
Be honest with yourself. Use this simple matrix: the complexity of the damage multiplied by the value of the piece, then measured against your skill level.
A simple scratch on a $50 cabinet? A great DIY project. A large, intricate bubble on a 200-year-old Hepplewhite table? Not the time to experiment.
Professional wood veneer repairs cost varies wildly, from $150 for a small patch to thousands for major conservation. You pay for expertise and invisible results.
Jobs that always need a pro include large areas of delamination, veneer with water damage that’s stained the substrate, any valuable antique, and pieces with intricate marquetry or inlays. To find a specialist, search for “furniture conservator” or “cabinet restoration” rather than a general handyman. Ask for before-and-after photos of their veneer work.
When a Repair Kit is the Right Choice
Those store-bought wood veneer repair kits with waxes and markers have their place. I keep one in my house for my own furniture. They are perfect for the small, shallow scratch on a table leg or a quick cover-up on a bookshelf before guests arrive.
They fall short on three fronts: color matching unique finishes, adding structural strength, and repairing anything larger than a blemish. The waxes are temporary, and the included “veneers” are often just printed paper. Use them as a band-aid, not a cure.
Veneer Repair: Material Science & Practical Considerations
What is the most critical factor in choosing a professional for wood veneer repair?
Prioritize a specialist’s proven expertise with your piece’s specific substrate (e.g., MDF, plywood) and finish system. Adhesion science and color-matching skill, not general carpentry, determine an invisible, durable repair.
How do I evaluate “wood veneer repair near me” for a complex project in Dallas or Greensboro?
Seek out cabinetmakers or furniture conservators with portfolios showcasing veneer patching and grain-matching. Request to see a physical sample of a previous repair to assess their command of color layering and finish sheen unification.
Why does the cost for professional wood veneer repairs vary so dramatically?
Cost scales with the time required for precise color matching and the complexity of re-establishing a stable glue bond over unstable substrates. A simple patch is a bench operation, while repairing widespread delamination or water damage is a conservation-level project.
When is a store-bought wood veneer repair kit a scientifically sound choice?
These kits are pragmatically limited to masking minor, superficial scratches in stable, low-value pieces. Their wax-based fillers lack structural integrity and UV-stable pigments, making them unsuitable for repairing chips or matching aged, catalyzed finishes.
Are the principles for repairing wood veneer on vintage speakers different from furniture?
The core material science is identical, but the curved substrates and often thinner, more brittle veneer used on speaker cabinets demand greater precision in patch fitting and clamp pressure. Adhesive selection must also account for potential vibration stress.
Preserving Your Veneer Repair for the Long Term
The single most important rule for veneer repair is patience. Veneer is a thin skin of wood, and rushing any step from adhesive curing to finish drying will show in the final result. Always test your chosen method, whether it’s a filler, a patch, or a touch-up marker, in an inconspicuous area first. Matching the color and sheen is a gradual process of layering, not a single-step fix. Patience is especially crucial when dealing with wood glue drying and curing times.
Choosing to repair rather than replace a veneered piece is a sustainable choice that honors the material and the original craftsmanship. Let each successful repair deepen your appreciation for how wood moves, ages, and can be thoughtfully maintained.
Expert Resources and Citations
- How to Repair and Maintain Damaged Wood Veneer Surfaces – Oakwood Veneer
- How to Repair Chipped Veneer Using Burn-In Wood Filler – The Vixen’s Den Studio
- How To ~ Fix Peeling or Chipped Veneer – Salvaged Inspirations
- r/furniturerestoration on Reddit: Best way to repair vintage veneer furniture?
- STOP Peeling Veneer: The Ultimate Guide to Repair & Maintenance for Cabinets and Furniture – Oakwood Veneer
- How to Repair Wooden Furniture Veneer: Tips and Guidelines | HowStuffWorks
David is a veteran woodworker. He is now retired and stays in his cabin in Wisconsin which he built himself. David has 25+ years experience working in carpentry and wood shops. He has designed and built many small and large wood projects and knows the science behind wood selection like the back of his hand. He is an expert guide on any questions regarding wood material selection, wood restoration, wood working basics and other types of wood. While his expertise is in woodworking, his knowledge and first hand experience is far from 'woody'.