
Why Does Wood Change Color Over Time?
You’ve seen it happen. A bright maple shelf mellows to a deep gold, or a freshly cut walnut board darkens almost before your eyes in the shop.
This article explains the hidden chemistry behind those changes. We will cover the role of tannins in stains and graying, how oxidation acts like wood’s natural suntan, and why oils from your hands can permanently alter a finish.
My advice comes from years of testing finishes and documenting wood samples in my shop to see which theories hold up in practice.
Executive Summary: The Quick Science of Wood Color
Think of wood color as a chemistry experiment with three active ingredients. Tannins are colorful chemical compounds stored in the wood’s cells. Oils are liquid resins that seep through the grain. Oxidation is the reaction between wood and oxygen in the air.
Wood color is not a fixed property; it’s a dynamic system changed by time, light, and any treatment you apply.
I see this every day in my shop. Leave a fresh piece of cherry on a bench near a window. In a month, that pale pink board will deepen to a warm, reddish-brown without any finish applied.
How Tannins Create Color and Reactivity in Wood
Tannins are not just brown stuff. They are a tree’s natural defense system against insects and rot. This defensive role makes them highly reactive chemical agents in your workshop.
You can group common woods by their tannin content. High-tannin woods include oak, walnut, cherry, and mahogany. Low-tannin woods are maple, pine, poplar, and birch.
The tannins in these woods are the primary drivers for most unexpected color shifts you’ll encounter.
They cause color in three main ways: reacting with iron metals, reacting with alkaline substances (like some glues), and darkening when exposed to ultraviolet (UV) light. Tannins can also migrate within the wood. Think of spilling coffee on a paper towel. The liquid wicks outward and concentrates at the edges, creating a dark ring. Tannins in wet wood behave similarly, which is why end grain often stains darker.
The Iron-Tannin Reaction: Why Your Screws Turn Wood Gray
When iron meets tannic acid, they form a new compound called iron tannate. This compound has a distinct blue-gray or black color. The ferrous ions from the iron dissolve and bond with the tannins.
You can see this reaction instantly. Take a pad of plain steel wool, get it wet, and rub it on a piece of white oak. The wood will darken to a grayish hue right before your eyes.
This reaction is why standard steel screws or nails can leave a discolored halo in woods like oak or cherry.
For clean joinery, switch to stainless steel, brass, or coated fasteners. Woodworkers also harness this reaction intentionally. Soaking steel wool in vinegar creates a solution that can ebonize high-tannin woods, giving them a rich, dark finish without dye.
How Light and pH Pull the Color Strings
UV light acts as a catalyst, speeding up the breakdown of lignin and other compounds in wood. This photochemical reaction is why cherry on a windowsill darkens so predictably. It’s not just surface fading; it’s a permanent chemical change in the top cells of the wood. That same photochemical mechanism is what sunlight UV wood bleaching exploits to lighten and even out wood tones.
Alkaline materials have a high pH, and they can trigger a color change in tannic woods. Some wood glues and water-based finishes are slightly alkaline. When applied to oak or walnut, they might cause a temporary or permanent pink or brown stain. Color may continue to change after you apply the stain, due to tannin reactions and finish interactions. Always test on a scrap piece to anticipate these post-application color shifts.
Always test your chosen glue and finish on a scrap piece of the same wood to see the true final color.
If you see a pink stain from a water-based polyurethane, for example, letting it fully cure for a week often allows the color to normalize. For critical projects, use a dewaxed shellac as a barrier coat to seal in the tannins first.
The Role of Natural Oils and Resins: Wood’s Built-In Finish
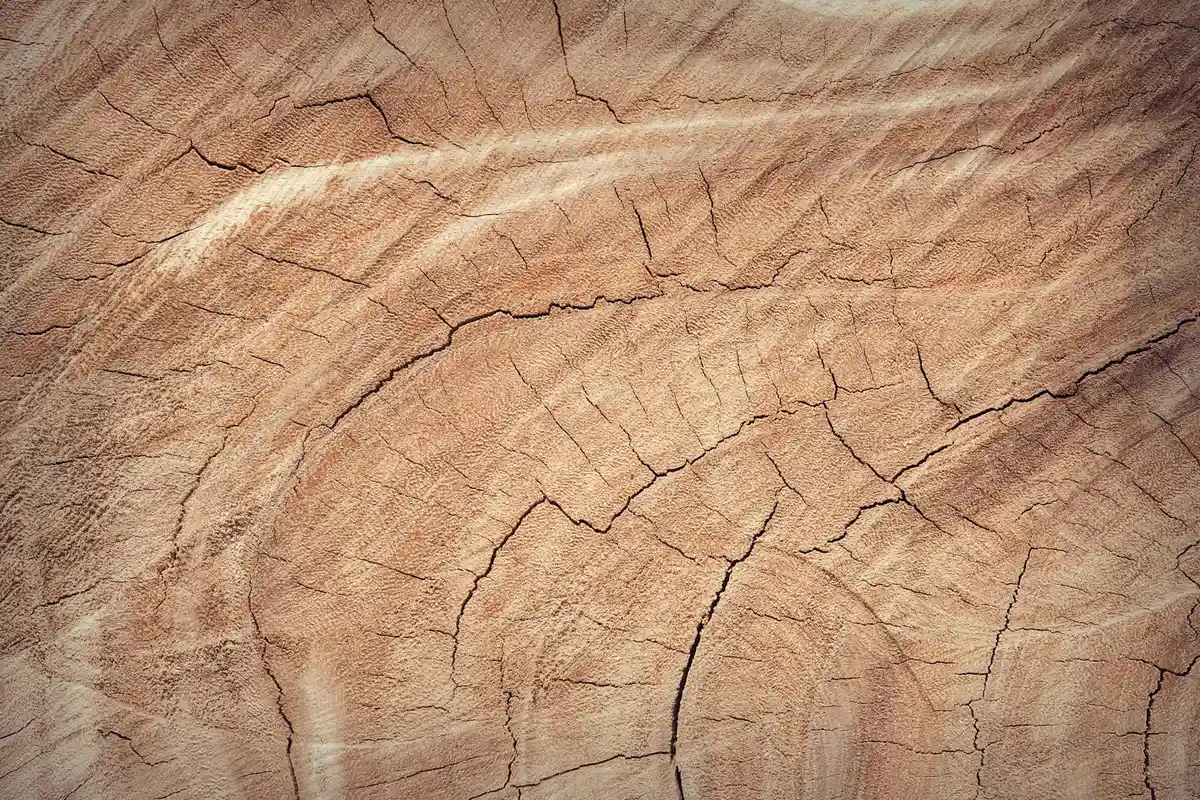
Beyond tannins, woods contain other chemicals called extractives. These are the oils, resins, and gums that give certain woods their signature scent, natural rot resistance, and deep initial color.
You can feel the difference. Oily woods like teak, rosewood, and cedar often have a slight sheen or waxy feel right off the saw. Dry woods like ash or basswood feel more like plain, absorbent cardboard.
The presence of these extractives is a major reason why some woods are naturally durable and others need constant protection.
How Oils Darken Wood and Repel Water
Think of these internal oils as a pre-loaded stain. They saturate the wood cells, giving woods like walnut or cherry their rich, immediate color straight from the planer. More than just color, these oils are hydrophobic. They repel water at a cellular level, which is why cedar is great for closet linings and teak for boat decks.
This chemistry doesn’t stop after milling. Over decades, these oils can slowly polymerize, or harden, within the wood. This natural curing adds to the deep, hardened patina you see on a 100-year-old rosewood guitar. Sanding an old, oily board often reveals a darker, more vibrant color underneath the oxidized surface layer.
When you sand an oily wood, you are removing a surface that has dried out and revealing the still-saturated cells beneath.
The Teak Test: Watching Oils Migrate
Teak is the perfect example of an oily wood in action. If you’ve ever left unfinished teak in your shop, you’ve likely seen a hazy, sticky film appear on the surface after a few weeks. This is called “teak bloom,” and it’s the internal oils migrating to the surface and beginning to oxidize. Regular maintenance to preserve teak’s natural oils helps keep the wood stable and minimizes bloom. This naturally ties into how to maintain teak wood natural oils in the next steps.
This migration causes big problems for some finishes. A water-based polyurethane applied directly over this oily film will likely fisheye, bead up, or fail to adhere properly because it can’t bond to the oil. The solution is a solvent wipe-down just before finishing.
I keep a rag damp with acetone or naphtha in my shop. Wiping down teak, rosewood, or even very oily cocobolo with this removes the surface oils and gives your finish a fighting chance to bond. That prep is a key step in removing oil stains from wood to ensure a smooth, even finish. It helps prevent blotching and ensures the finish bonds uniformly. Let it fully evaporate before you apply any finish.
Oxidation: Why Wood Silvers and Matures Like Fine Leather
Oxidation is the slow, constant reaction between compounds in the wood and oxygen in the air. It’s not a flaw. It’s the same process that turns a copper roof green or browns the surface of an apple. For wood, it’s a beautiful, natural maturation, not just ugly weathering.
Embracing oxidation means accepting that wood is a living, changing material even after it’s been made into furniture.
The Mechanism: Lignin’s Breakdown and the Gray Patina
The main player here is lignin. Lignin is the dark-colored polymer that acts as the “glue” holding wood cells together. It’s also what gives wood its rigidity. When exposed to ultraviolet light and oxygen, lignin breaks down chemically.
This breakdown washes out the warm browns, reds, and golds in the wood (colors largely from lignin and extractives). What’s left behind is the pale gray skeleton of the wood, the cellulose. The silver-gray color of a weathered barn or driftwood is just the bare cellulose fibers showing through.
It’s like sun-bleached hair. The darker pigments are destroyed by UV light, leaving behind a lighter, often grayish, base material.
Controlling the Silver: Finishes as a Sunblock for Wood
The most common question I get is, “How do I keep my outdoor project from turning gray?” The answer lies in blocking UV light. Any film-forming finish like a spar varnish, epoxy, or paint acts as a physical sunblock. It creates a layer that filters out the UV rays before they can break down the lignin.
Penetrating oils, like tung or linseed oil, are different. They soak in and protect from within but offer almost no UV resistance on their own. They will slow moisture exchange, but they allow the beautiful, gradual silvering to happen over years. Leaving wood completely bare is an open invitation for the gray patina to begin, usually within a single season of sun exposure.
Your finish choice is a direct decision about controlling oxidation: a thick varnish locks in the original color, a penetrating oil lets it mature gracefully, and no finish accelerates the process.
When Chemistry Collides: How Finishes Interact with Wood’s Natural Compounds
In your shop, the color you see in a freshly sanded board is just the starting point. The finish you choose doesn’t just sit on top; it engages in a chemical conversation with the wood’s natural oils, tannins, and sugars. There’s no universal reaction. You’re managing a system.
Do Wood Finishing Oils Change Color? Yes, Two Ways.
The first change is instant. Applying any oil gives a “wet look” darkening, like a stone on a rainy path. This isn’t a true color change, but it shows you what the wood will look like when its pores are filled and its surface reflects light differently.
The second change is slow and permanent. Drying oils like linseed and tung cure through oxidation and polymerization. This chemical process adds a warm, amber tone over weeks and months. Think of how a white t-shirt yellows with age. Pure tung oil ambers the least, while “Danish oil” blends (which often contain linseed oil and synthetic driers) will amber significantly more and faster. I keep a dated sample board of every oil I use on different woods to track this change.
You cannot guess the final color from a wet swipe on raw wood. Always test your oil on a large, sanded scrap piece and let it cure fully before judging. Different oils can affect the wood color in varying ways.
How to Color Wood Naturally: Using Its Own Chemistry
You can use wood’s own chemistry as a pigment factory. Remember tannins? This is where that knowledge becomes a tool. A wood like maple is low in tannins, so it won’t react strongly with steel or ebonizing solutions. The trick is to load it up first.
I brew strong black tea and flood it onto the sanded maple. After it dries, the wood is primed with tannins. Applying a homemade iron acetate solution (steel wool soaked in vinegar) then creates a deep, gray-black color right in the wood fibers. This isn’t a surface stain; it’s a chemical reaction that changes the wood substance itself, making it more durable and less likely to scratch off. This illustrates how the stain’s chemistry drives penetration into the wood, not just surface coloration. As the iron-tannin complex diffuses and bonds within the fibers, color deepens and the finish becomes more durable.
Other natural materials like walnut husks or coffee act as direct dyes. They deposit color particles into the wood’s pores. The key difference is that a chemical reaction (iron-tannin) is permanent at a molecular level, while a dye can sometimes fade or be sanded out, unlike wood stains that chemically interact with substrates.
The Finish as a Filter: How Topcoats Alter the Final Hue
Your final topcoat is like a lens. A water-based polyurethane is like looking through a clean, new window pane. It adds very little color of its own. An oil-based polyurethane or amber shellac is like looking through antique glass; it casts a warm, yellow-orange tint over everything beneath it.
This means your careful ebonizing work on oak will look cooler under a water-based topcoat and warmer, almost brown, under an oil-based one. The only way to know the final result is to perform a complete test: prepare your wood, apply your stain or dye, and then add your exact topcoat. Skipping this step is the most common reason for color disappointment, especially when working with different wood species and their unique staining characteristics.
Practical Shop Strategies for Predicting and Managing Color Change
You don’t need a lab coat to control this chemistry. You need a method. Here is how I translate the science into reliable shop practice.
Step 1: Know Your Species’ Chemical Personality
Before you cut, ask two simple questions about your wood. First, is it high-tannin? Think oak, walnut, cherry. Second, is it oily? Think teak, rosewood, yew. Keep a mental checklist.
This simple audit predicts 90% of your headaches: high-tannin woods will react with iron and darken with alkaline glues; oily woods can resist certain water-based finishes and adhesives. Writing these traits on a piece of tape stuck to your lumber saves frustration later.
Step 2: Use “Sun Seasoning” and Glue Tests
Freshly milled or sanded wood is most sensitive to light. To avoid uneven darkening after assembly, I “sun season” my parts. After final sanding, I leave them in a bright room with indirect sunlight for about a week. This evens out the initial UV blush so subsequent change is more uniform.
Your glue can stain. Always make a sample “sandwich” using your chosen wood, glue, and clamping pressure. Let it cure, then plane or sand it to see if the glue line shows. This five-minute test is non-negotiable for visible joints.
Step 3: Choose Your Finish Based on Your Desired Aging Path
Selecting a finish is choosing a future for your project. Do you want the color locked in as close to today’s hue as possible? A UV-inhibiting varnish (often labeled “spar” or “exterior”) is your best bet, though some ambering still occurs.
Do you welcome a warm, honeyed glow that deepens with time? A pure oil or oil/varnish blend is the classic path. Are you building a garden bench meant to fade to a silvery gray? Then a simple, non-film-forming oil or no finish at all is the honest choice. No path is wrong, but picking a finish without considering its aging effect is a sure way to be surprised by your own work.
Frequently Asked Questions: Wood Color Chemistry in Practice
Is the darkening of woods like cherry under UV light permanent?
Yes, it is a permanent photochemical degradation of lignin and extractives within the wood cells. Sanding will remove the darkened surface layer, revealing the original, lighter color of the wood beneath.
Do all wood species oxidize and silver at the same rate?
No, the rate depends on lignin content and density; porous, low-density woods like cedar gray faster than dense, oily woods like teak. The specific extractives present also influence the rate and hue of the color shift.
Can I use the iron-tannin reaction to darken any type of wood?
Only woods with sufficient natural tannin content, like oak or walnut, will react strongly. For low-tannin woods like maple, you must first apply a tannin solution to the surface to enable the reaction.
How do I choose a finish if I want the wood’s color to remain stable?
Select a film-forming finish with UV inhibitors, such as a spar varnish or a pigmented topcoat, to block the light that drives chemical change. Understand that all finishes will alter the initial color somewhat through ambering or by changing light refraction.
Is the gray patina of weathered wood just on the surface?
Initially, yes, but prolonged weathering degrades the surface cellulose structure itself. This eroded layer cannot be “restored” to its original color by sanding alone, only removed.
Applying Wood Color Chemistry in Your Workshop
Wood color is a chemical story written by tannins, oils, and exposure to air. Your most crucial step is to test finishes on scrap pieces from your actual project wood. I do this to see firsthand how a stain or oil will react with the wood’s unique chemistry over weeks, not just hours. This simple habit lets you build with confidence, creating pieces that age with intention, not accident. That dovetails with wood stains chemistry selection and application. It guides your choice of stain and your application method.
Select lumber certified for sustainable forestry, ensuring your craft supports healthy ecosystems. Never stop learning about the science behind the grain; it makes you a better steward of both your projects and the material’s source.
Sources and Additional Information
- Wood Color Changes Explained – The J Gibson McIlvain Blog
- Color changing wood
- r/finishing on Reddit: Is it possible to substantially change the colour of wood with a finish?
- How to Change Your Wood Stain Colors | Minwax®
- How to Change the Color of Wood | 2 Reliable Methods – Grace In My Space
- Color Shift Of Wood
- How Wood Changes Color Over Time – Room & Board
David is a veteran woodworker. He is now retired and stays in his cabin in Wisconsin which he built himself. David has 25+ years experience working in carpentry and wood shops. He has designed and built many small and large wood projects and knows the science behind wood selection like the back of his hand. He is an expert guide on any questions regarding wood material selection, wood restoration, wood working basics and other types of wood. While his expertise is in woodworking, his knowledge and first hand experience is far from 'woody'.