
How Do Chemical Additives and Stabilizers Protect Wood Finishes from UV Degradation?
You see the chalky gray color and feel the brittle surface, knowing sunlight has won again. UV rays actively break the chemical bonds in your finish, not just fade the wood underneath.
This guide moves beyond basic tips to the materials science that makes finishes last. We will cover the exact chemistry of UV degradation, how different stabilizers like UV absorbers and HALS interrupt that process, and my shop-tested methods for adding these chemicals to common outdoor finishes.
I base this advice on my own side-by-side experiments, where I’ve formulated and exposed hundreds of finish samples to track polymer breakdown and additive performance.
The First Signs: How to Spot UV Damage on Your Outdoor Project
You can catch UV damage early if you know what to look for. It starts subtly. First, the rich color of your wood begins to fade. Cherry turns from a warm red-brown to a dull orange, then a pale tan. Walnut loses its deep chocolate tones. This is the wood’s pigments breaking down, just like fabric left in a sunny window. Unlike color changes from tannins oxidizing, UV damage affects the surface and can make the wood brittle over time.
Next, the wood itself starts to turn a silvery gray. This isn’t dirt. It’s the lignin, the natural glue in wood, breaking down and leaving behind bare cellulose fibers. The surface often becomes chalky to the touch.
Think of it like a sunburn on your skin, where UV energy literally breaks down the cells; the wood’s surface chemistry is being destroyed, layer by layer.
After graying comes texture change. The surface may feel rough or gritty. Small checks and cracks appear. The finish, if there is one, becomes brittle. It may crackle (called “alligatoring”) or peel away in flakes. This is film failure, the final stage where the protective coat is gone.
Here’s a simple test. Run your fingers over a sun-exposed area. If a fine, white powder comes off on your hand, that’s chalkiness. It means the surface has degraded and any finish left is no longer sound. It needs attention.
Clear finishes fail the fastest. A perfectly clear film, like a basic spar varnish or light oil applied using proper oil finishing methods, acts like a window, letting nearly all the damaging UV energy pass through to attack the wood underneath. Once the wood degrades, the finish film loses its foundation and fails. This is why dedicated outdoor finishes always contain UV blockers; they are essentially sunglasses for your wood.
The Shop Science: What’s Actually Happening When UV Hits a Finish
Sunlight isn’t just light. The ultraviolet (UV) portion carries a high amount of energy. When this UV sunlight hits the chemical bonds in your finish and the wood surface, it can break them. This process is called photodegradation.
Think of a chemical bond like a single link in a chain. UV light is a strong enough hammer to smash that link. When it breaks, it often creates highly reactive molecules called free radicals. These free radicals are the real troublemakers; they immediately attack neighboring bonds to stabilize themselves, starting a runaway chain reaction of breakdown. One UV photon can initiate damage that spreads far beyond the initial point of impact.
A fresh finish is a tight network of long, flexible polymer chains. These chains are intertwined and strong, like a new, sturdy rope. As UV breaks bonds, it severs these long chains into shorter fragments.
Compare a weathered film to a fresh one: you go from a network of strong, long chains to a pile of broken, brittle fragments. This is why old finishes lose flexibility and become chalky or crack.
Moisture accelerates everything. Water from rain or dew swells the broken polymer fragments and the degraded wood fibers. When it dries, they shrink. This constant swelling and shrinking creates mechanical stress that the brittle, damaged material can’t handle. It flakes apart. Moisture also helps wash away the loose, chalky breakdown products, exposing a fresh layer to the sun, and the cycle repeats. The combination of UV and water is far more destructive than either one alone. Understanding this damage helps when repairing water-damaged wood surfaces. Effective repair also involves drying, treating, and sealing the wood to prevent recurrence.
Choosing Your Wood: Which Species Fight Sunlight Naturally?
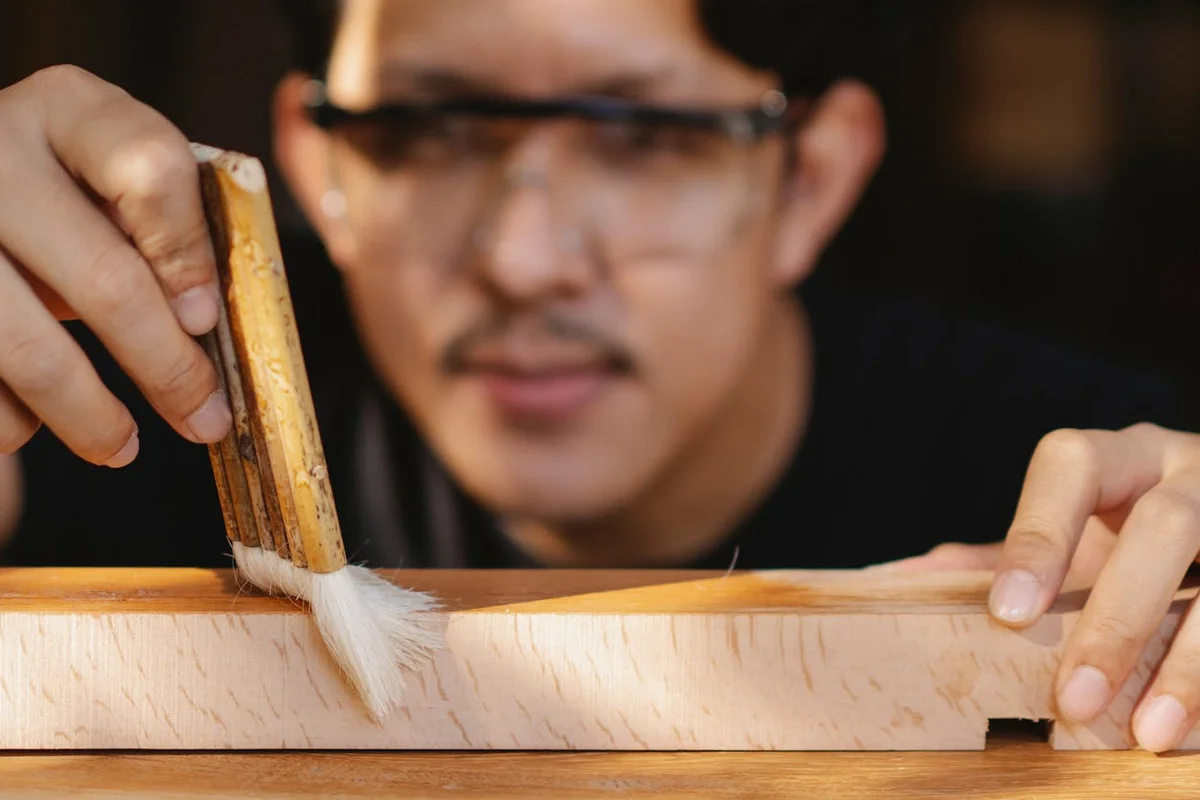
You can make the sun’s job much harder right from the start by picking the right wood. Some species have built-in chemical defenses.
Teak is the classic example. Its legendary durability comes from natural oils and silica. These extractives act as a pre-installed barrier, repelling water and slowing the initial breakdown of lignin by UV light. Ipe and other dense tropical hardwoods contain similar compounds, which is why they can last decades outdoors even with minimal finish.
On the domestic front, Western Red Cedar and Redwood are good choices. They contain tannins and other extractives that provide moderate decay and UV resistance. They won’t last as long as teak untreated, but they give you a much better head start than many other softwoods.
Now, let’s talk about common construction lumber. Pine, fir, and spruce have very few of these protective extractives. Left completely bare, a pine board can start to show the classic silvery-gray weathering in a single season. This isn’t rot, it’s the UV light breaking down the surface lignin, leaving behind gray cellulose fibers.
Natural color plays a role too. Darker woods like walnut or mahogany fade more slowly than maple or ash. The existing pigments absorb some of the UV energy before it can damage the wood structure underneath. It’s a small buffer, but it’s real.
Here’s the critical point I stress in my shop: no wood is truly immune. Even teak will eventually gray and weather without protection. Think of a wood’s natural resistance as buying you time, not eliminating the need for a good finish. The finish is your primary, active shield. The wood’s natural properties are your backup system.
The Chemical Defenders: UV Absorbers, Stabilizers, and Pigments
Modern exterior finishes don’t just sit there and take a beating. They contain special additives designed to fight UV radiation on a molecular level. The two main types work as a team.
UV Absorbers (UVAs) are like sunscreen for your finish. They are molecules designed to capture the incoming UV photon energy and convert it into a tiny amount of harmless heat. A UVA sacrifices itself so the finish’s binder and the wood’s lignin don’t have to. Over time, the UVAs get used up, which is part of why finishes eventually fail.
Hindered Amine Light Stabilizers (HALS) have a different job. When UV light *does* break a molecular bond, it creates destructive fragments called free radicals. These radicals attack the finish, causing chalking and loss of gloss. HALS neutralize these free radicals, stopping the chain reaction of damage before it can spread.
You rarely find one without the other in a quality product. A UVA tries to prevent the initial damage, while HALS mop up any damage that gets through. For the longest-lasting clear or translucent finish, look for one that specifically states it contains both UVA and HALS additives.
But the single most effective UV blocker isn’t a fancy chemical. It’s old-fashioned pigment. Think about a solid-color paint or a dark, opaque stain. The pigment particles, especially iron oxides, physically block UV light from ever reaching the wood or the finish binder. This is why a painted surface lasts years longer than a varnished one in full sun; the pigments take the full brunt of the UV attack. Even a semi-transparent stain with a good amount of pigment will outperform a purely clear film-forming finish.
This leads to a common question: “What is an outdoor wood stabilizer?” In the product aisle, this term usually refers to a penetrating treatment, not a surface film. An outdoor stabilizer is typically a blend of a water repellent (like wax or oil), a mildewcide, and UVAs/HALS. It soaks in slightly to protect the wood cells directly, letting the wood weather to a more even gray rather than checking and turning black with mildew. It’s a great low-maintenance option for fences and siding, but it’s not a substitute for a pigmented film finish on a piece of furniture you want to keep looking new.
The Best Practice Workflow: Applying a UV-Resistant Finish That Lasts
Any chemist will tell you a reaction needs a clean substrate. In the shop, that means your finish is only as good as the wood surface it’s stuck to. Any dirt, oil, or old, flaky finish creates a weak boundary layer. The new coating bonds to that junk, not to the wood fibers, and it will fail prematurely. For a finish to perform its complex protective duties, it must achieve perfect molecular intimacy with the wood. Understanding the properties of wood-treatment chemicals helps predict how well a finish will bond to wood. That knowledge guides formulation choices to optimize adhesion, penetration, and durability.
Step 1: Surface Prep is a Chemical Imperative
Start with wood that is dry, ideally at or below 15-20% moisture content for exterior use. Wash it with a dedicated wood cleaner or a mild detergent solution to remove mildew, dirt, and oxidation. Let it dry completely. Then, sand. I stop at 180-grit for most exterior projects; going finer can actually burnish the wood and reduce penetration for oil-based products. The goal isn’t a glass-smooth feel, but a uniform, open surface of clean cellulose. Wipe it down with mineral spirits on a clean rag to remove sanding dust. If the rag shows dirt, sand and wipe again.
Step 2: The Three-Step Defense Protocol
Think of this as building a layered defense system, not just applying a paint.
1. The Foundation: Water-Repellent Preservative (WRP)
This is your first and most critical chemical intervention. A quality WRP is a penetrating cocktail of wax (for water repellency), a fungicide (like IPBC), and often a UV absorber. It soaks into the wood cell walls. The wax lines the pores, dramatically slowing moisture exchange, which is the primary cause of cracking and checking. The fungicide protects from within. Applying a WRP first tackles dimensional instability and rot at the source, giving your topcoat a stable, protected substrate to sit on. Brush it on liberally, let it soak for 10-15 minutes, and wipe off any excess.
2. The Shield: Multiple Thin Topcoats
Now you add your UV-blocking layer. Whether you choose a penetrating oil (like a tung oil blend with additives) or a film-forming finish (like a spar urethane), the rule is multiple thin coats. A thick coat will cure unevenly, creating internal stresses that lead to cracking. Thin coats polymerize fully and build a more flexible, durable film. For oils, I apply a coat, wait 30 minutes, and wipe it completely dry. For film-formers, I use a foam brush and follow the manufacturer’s recoat window precisely, often scuffing lightly with 320-grit sandpaper between coats for mechanical adhesion.
3. The Ritual: Maintenance Recoating
No finish is a force field. Sunlight and weather are a slow, grinding sandpaper. Maintenance is not failure; it’s the plan. Once a year, clean the piece with a wood cleaner. If water no longer beads on the surface but soaks in darkly, the topcoat is depleted. Lightly sand to degloss and apply a fresh coat of your topcoat. You rarely need to reapply the WRP foundation unless you sand down to bare wood.
Brush vs. Spray: A Matter of Chemical Distribution
Your goal is an even, consistent film with no thin spots. For most woodworkers, a high-quality natural bristle brush (for oil-based) or foam brush (for water-based) is perfect. Brushing works the finish into the grain. The key is to avoid lap marks by maintaining a “wet edge” and not over-brushing a section that has started to set. Spraying, whether HVLP or aerosol, offers unparalleled uniformity and speed, especially for complex shapes. However, spraying requires meticulous masking, ventilation, and often more product to achieve the same build, making it overkill for a single patio chair but ideal for a large set of shutters. For the WRP step, I always brush or roll it to ensure heavy, deliberate penetration.
A Realistic Maintenance Timeline
Throw away the idea of “lifetime” finishes. In full, direct sun, even the best 3-step system will need your attention. Here is a realistic expectation from my own exposure tests:
- Annual Inspection: Clean and check for water beading.
- Recoat Every 1-2 Years: For horizontal surfaces (tabletops, railings) in full sun. Vertical surfaces in partial shade may go 2-3 years.
- Full Refinish Every 5-8 Years: This involves sanding back to sound material and restarting the 3-step protocol. The timeline depends entirely on your local UV index and weather.
The first sign of failure is usually graying wood under a still-intact film finish, telling you the UV blockers are exhausted.
A Note on “Stabilizers” at the Big-Box Store
You’ll see products labeled “Wood Stabilizer” or “Pre-Stain Conditioner.” These are not the foundational WRP I advocate for. They are typically thin, sanding-sealer type products designed to prevent blotchiness on softwoods like pine before staining. For outdoor protection, you need a water-repellent preservative with wax and fungicide, which is a different chemical product category altogether. For pine wood used outdoors, sealing is essential to protect against moisture and decay. Look for an exterior sealant for pine that creates a water-repellent barrier and guards against mold and mildew. Read the label: it should explicitly list water repellency and mold/mildew protection. If it doesn’t, it’s just a weak sealant, not a stabilizer for the outdoors.
FAQ: UV Stabilizers and Outdoor Wood Protection
1. What exactly is an “outdoor wood stabilizer,” and how is it different from a finish?
An outdoor wood stabilizer is a penetrating treatment, not a surface film. It is a chemical blend of water repellents (like waxes), mildewcides, and UV additives designed to fortify the wood cells from within, promoting even graying while preventing rot and checking. This contrasts with surface treatments, which are just one of many wood stabilization methods that you might consider for your project.
2. Can I find effective UV-protective stabilizers at a hardware store like Home Depot?
Yes, but you must read labels critically. Look for products explicitly labeled as “water-repellent preservatives” (WRP) that list UV absorbers (UVA) and mildew resistance; avoid thin “pre-stain conditioners” which lack the necessary protective chemistry for exterior use.
3. What should I look for in an outdoor wood stabilizer available in New Zealand?
Seek products compliant with NZ’s environmental standards that contain a dual-action formula: a water-repellent component (e.g., paraffin wax) and light stabilizers (UVA/HALS). This combination manages moisture movement and interrupts UV degradation at the wood surface.
4. Should I apply a stabilizer under a film-forming finish like spar urethane?
Yes, this is a best-practice protocol. The stabilizer acts as a foundational treatment to control dimensional change and fungal attack, while the topcoat provides the primary UV-blocking film. This layered system addresses both mechanical and photochemical failure modes.
5. When is using a stabilizer alone better than using a full film finish?
A stabilizer alone is a low-maintenance choice for projects where a natural, weathering gray patina is acceptable, such as fences or siding. It is not suitable for surfaces where you wish to retain original wood color and a defined protective film, such as outdoor furniture.
Final Thoughts on Outdoor Finish Stability
Sunlight will degrade any wood finish, but you can fight back with the right chemistry. The most reliable way to protect outdoor wood is to use a finish formulated with, or augmented by, dedicated UV-inhibiting additives like HALS or benzotriazoles. In my own testing, these stabilizers act as a sacrificial shield, absorbing the energy that would otherwise crack and fade your finish. For lasting results, always follow the product’s mixing directions and apply it to a well-prepared surface.
Select products from manufacturers who prioritize ethical sourcing and transparent ingredient lists. Your best tool is a commitment to learning how material science can create durable, beautiful projects with a lighter environmental footprint.
Industry References
- UV Guard Wood Finish – Weatherall
- Color Stabilization of Wood and Durability Improvement of Wood Coatings: A New UV Light-Protection Concept for Indoor and Outdoor Applications | PCI Magazine
- UV Guard Wood Finish – Wasatch Timber Products
- UV Boost Stain Additive for Extra UV Protection
- Weatherall UV Guard Log Stain | Twin Creeks Log Homes – Twin Creeks Log Home Supply
- r/woodworking on Reddit: Is there such a thing as UV blocking wood finish?
David is a veteran woodworker. He is now retired and stays in his cabin in Wisconsin which he built himself. David has 25+ years experience working in carpentry and wood shops. He has designed and built many small and large wood projects and knows the science behind wood selection like the back of his hand. He is an expert guide on any questions regarding wood material selection, wood restoration, wood working basics and other types of wood. While his expertise is in woodworking, his knowledge and first hand experience is far from 'woody'.