
How Do You Turn Wood Ash into Soap Lye? A Woodworker’s Guide
You generate wood ash in your shop, and that waste holds the key to a traditional, useful material. I see it as a practical wood science project, turning a byproduct into functional soap lye.
This article provides a shop-tested method based on materials principles. We will cover the simple chemistry of potassium hydroxide extraction, building an effective leaching barrel from shop scraps, how hardwood versus softwood ash changes your yield, and non-negotiable safety gear for handling the result.
I’ve refined this process through hands-on trials in my own shop, marrying wood combustion science with reliable, repeatable technique.
Does Wood Ash Contain Lye?
This is a common point of confusion. The direct answer is no, wood ash is not pure lye. Wood ash contains the raw mineral ingredients needed to make lye when mixed with water. It’s a crucial distinction for both safety and successful soap making.
When you burn wood, the organic material (cellulose, lignin) combusts. What’s left are the inorganic minerals the tree absorbed during its life. The key components for our purposes are potassium carbonate and, to a lesser extent, sodium carbonate. These compounds are alkalis, but they are not yet the powerful caustic we call lye. Wood ash has a long history of practical uses, including soil enrichment and soap-making, thanks to its alkali content. These wood ash uses illustrate how the minerals left from burned wood translate into everyday applications.
Think of it like baking. The wood ash is your flour, sugar, and baking powder in the box. The finished lye solution is the baked cake. You need to perform the “recipe” of combining ash with water and leaching it to transform one into the other. Simply relying on wood ash in its raw form won’t provide any benefits.
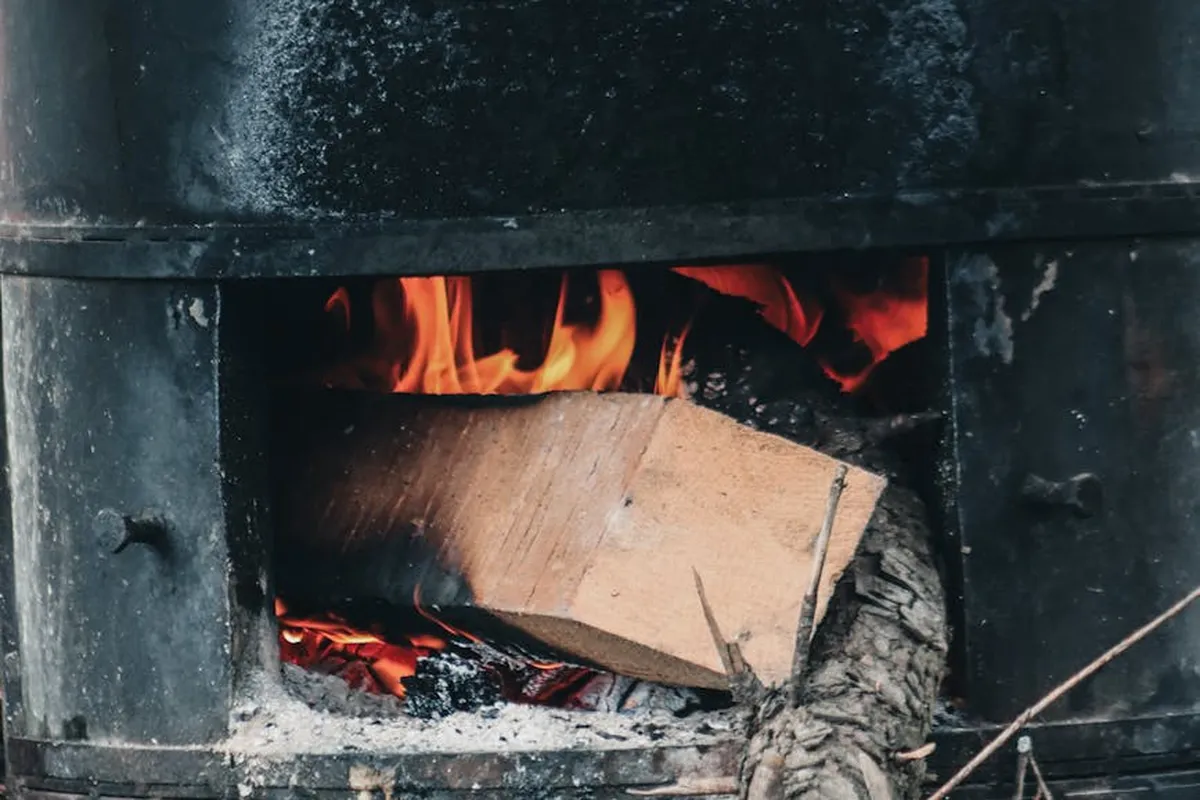
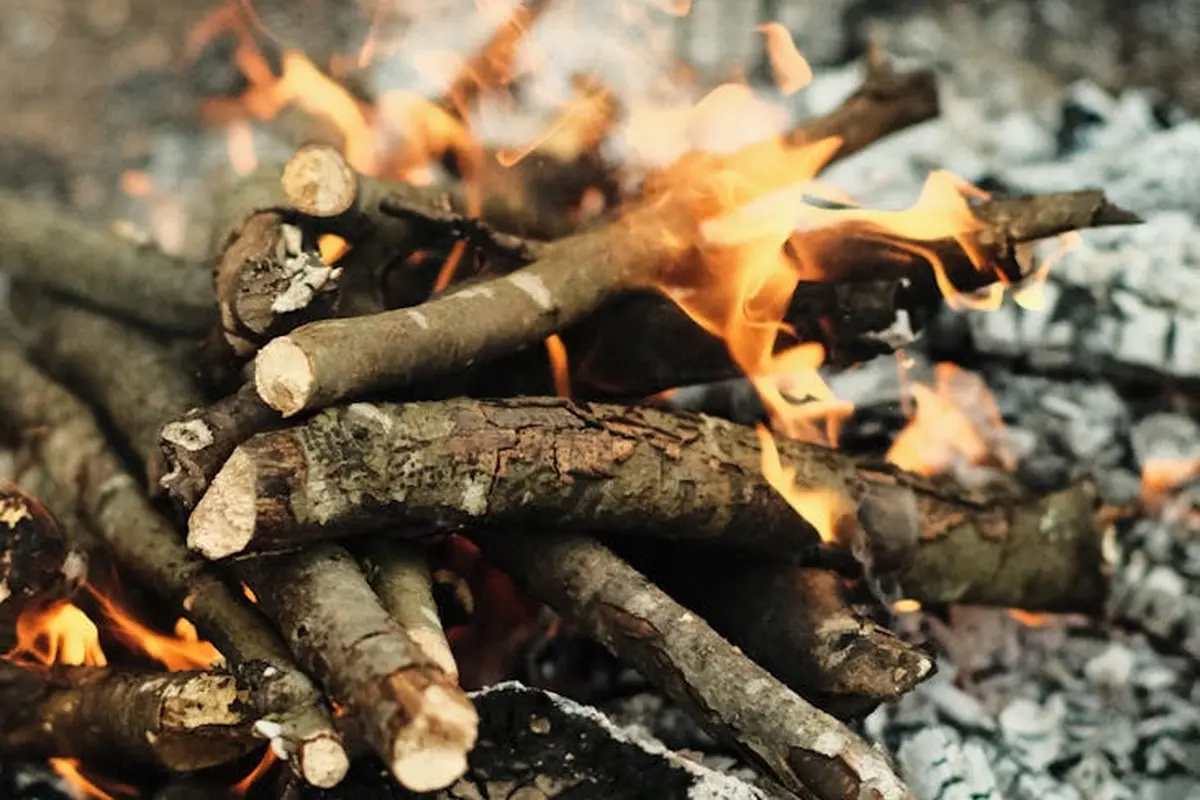
In my shop, I save ash from my wood stove specifically for this process. The ash from a hardwood like oak or maple feels gritty and heavy with these minerals, unlike the fine, fluffy ash from burning paper. It’s important to use the right type of ash for woodworking and other applications.
The Chemistry of Wood Ash Lye
Creating lye from ash is a simple chemical reaction. When you run water through wood ash, it dissolves the potassium carbonate (K₂CO₃). This creates a solution of potassium hydroxide (KOH), which is a type of lye. This is your wood ash lye water, historically called “potash lye.”
This lye water is then mixed with fats or oils in a process called saponification. Here, the lye molecules break apart the fat molecules (triglycerides) and reassemble them into soap (fatty acid salts) and glycerin. Without this precise chemical reaction between lye and fat, you don’t get soap; you just get a greasy, caustic mess.
Not all wood ash is equal for making strong lye. Hardwoods are generally superior to softwoods. Trees like oak, hickory, and beech pull more potassium from the soil, which concentrates in their ash. This yields more “potash,” an old term for potassium carbonate derived from leaching ashes in pots. Softwoods like pine have a different mineral profile and often result in a weaker lye solution.
I’ve tested this in the workshop. A gallon of leachate from white oak ash will float a fresh egg significantly higher than a gallon from pine ash, indicating a stronger, more caustic solution ready for soap.
Gathering Your Materials: It Starts with the Right Ash
Your success depends entirely on your starting material. You cannot make safe, functional soap from the wrong ash. I treat this step with the same care as selecting wood for a tabletop.
You will need a few basic tools:
- Two 5-gallon food-grade plastic buckets (never metal, as lye corrodes it).
- A large, clean cotton cloth (an old pillowcase works) or a few coffee filters for filtering.
- pH test strips (reading up to 14) to confirm your result.
- Safety gear: rubber gloves and safety goggles are non-negotiable.
Collect ash only from a wood stove, fireplace, or fire pit where you burned clean, untreated hardwoods like oak, maple, ash, or beech. Let the ash cool completely for several days. Sift it through a hardware cloth screen or a fine mesh strainer to remove large charcoal chunks and debris. You want a fine, uniform powder that harnesses the pest-deterrent properties of wood ash.
This is the most critical rule: use only ash from wood you can identify. Never use ash from plywood, pressure-treated lumber, painted wood, or anything that burned with accelerants. These contain glues, metals, and chemicals that will contaminate your lye and make the resulting soap dangerous.
You need a surprising amount of ash. A rule of thumb from my own trials is that one gallon of sifted ash will yield about one quart of weak lye water after the first leaching. Plan to start with at least a full 5-gallon bucket of loose, sifted ash to get a usable quantity of strong lye.
Best Practice Workflow: Preparing Your Ash
Think of this as building a slow, cold water filter. The ash itself is the filter medium. Here is my tested method.
First, take one bucket (the “lye dripper”) and use a nail to carefully drill several small holes in the very center of the bottom. Place your clean cloth inside, letting it drape over the holes. This prevents ash from plugging the drainage.
Fill this bucket about two-thirds full with your sifted ash. Do not pack it down. Place this bucket inside your second, intact bucket (the “catch” bucket). Slowly pour soft, cool water over the ash. I use collected rainwater or distilled water. Tap water often contains minerals that can interfere with the process.
Add just enough water to fully saturate the ash and see a small layer of water (about an inch) sitting on top. This slow percolation is key. You are not rinsing the ash, you are leaching it. This setup will now sit undisturbed. The process relies on gravity pulling water through the ash bed over days, dissolving the potassium salts. Patience is your main tool here.
How to Extract Lye from Wood Ash: The Leaching Process
This is the core of the operation. Follow these steps precisely.
- After your initial setup, let the water slowly drip through the ash into the catch bucket below. This can take 24 to 48 hours for the first batch.
- Check the catch bucket. The liquid, now called “lye water” or “potash lye,” will be dark brown, almost opaque, and have an oily sheen on the surface.
- Carefully remove the top “dripper” bucket. Set this first batch of lye water aside.
- Pour this first batch of weak lye water back over the fresh ash in your dripper bucket. This process, called “running the lye,” strengthens the solution. You may repeat this 2-3 times over several days.
- Test the strength. The old-time method is the egg float test. Take a fresh, raw egg in its shell (or a small potato). Gently place it in your cooled lye water. If it floats with a coin-sized patch of shell showing above the surface, your lye is strong enough for soap. If it sinks, it’s too weak and needs more leaching cycles.
- Once your lye passes the float test, filter it a final time through a clean coffee filter into a glass or sturdy plastic container. This removes any fine silt that made it through.
You have now extracted lye from wood ash. The dark liquid in your container is potassium hydroxide solution, ready to be combined with fat to make traditional soft soap. Always label this container clearly and keep it away from children and pets.
Mechanism of Action: How Leaching Works
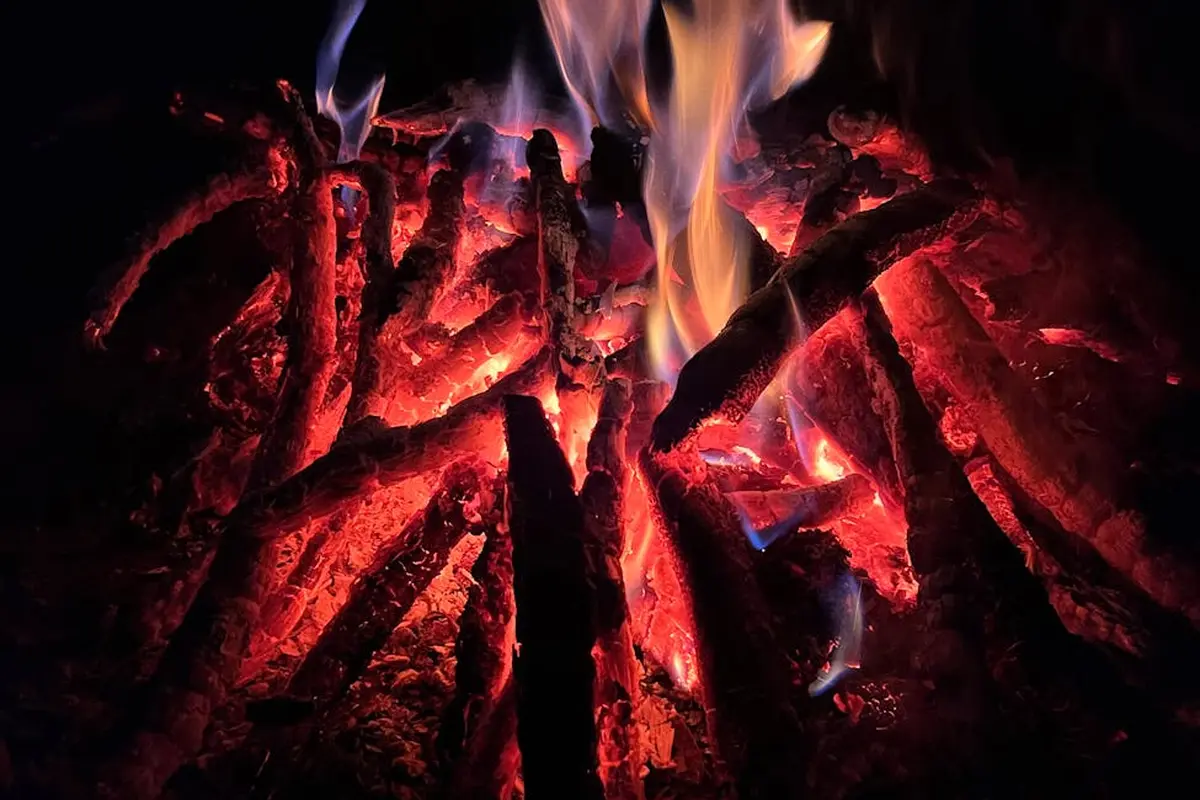
This isn’t magic. It’s simple chemistry and physics you can see in your shop. When wood burns completely, the organic material vanishes as gas, leaving behind mineral salts. The key salts for us are potassium carbonate and potassium hydroxide, especially pertinent when dealing with ash wood.
Water is a powerful solvent. As it percolates down through the bed of ash, it dissolves these water-soluble potassium salts out of the solid ash. The ash itself acts as a crude filter bed, trapping soot and larger impurities while letting the dissolved salts pass through with the water. It’s a gravity-fed extraction, no different in principle than making a pour-over coffee.
The potassium-rich solution you collect is chemically similar to the liquid potash used for centuries in making soap, glass, and ceramic glazes. The exact mineral profile of your ash, dictated by the tree species and soil it grew in, will affect the final lye’s character. This is the same reason wood ash is valued by potters asking how to make cone 6 wood ash glazes. The variable minerals in ash create unique, unpredictable colors and textures you cannot get from pure, store-bought chemicals. For gardeners, this same mineral mix governs how ash acts as a fertilizer, affecting soil pH and plant nutrition. Its chemical properties—potassium, calcium, and trace elements help explain why ash can boost crops when used carefully.
Safety First: Handling Homemade Lye Water
Working with homemade lye requires a different mindset than most woodshop tasks. This isn’t a splash of mineral spirits. You’re handling a caustic chemical. Your first line of defense is your gear. Wear chemical-resistant gloves, sealed goggles, and long sleeves every single time you handle the lye water or anything it has touched. A single drop in the eye can cause serious damage.
Next, designate tools. Any bucket, funnel, stir stick, or container used for this project is now a lye tool. Do not use it for food, ever. Why? Lye can soak into the microscopic pores of plastic or wood. You can’t wash it all out.
Spills happen. Keep a spray bottle of plain white vinegar close by. Vinegar (an acid) will instantly neutralize a lye (a base) spill on surfaces, creating a harmless salt and water. Spray it, let it fizz, and wipe it up. For skin contact, flush with copious water, then use the vinegar.
Storage is critical. Use a clearly labeled, non-reactive container like heavy-duty HDPE plastic (marked with a #2) or glass. Store it in a locked cabinet or on a high shelf, far from children, pets, or food prep areas. Your workbench is not the right place.
Troubleshooting Your Wood Ash Lye
Your first batch of lye water is rarely perfect. Here’s how to fix common problems.
Problem: Lye tests too weak. Your floating egg or potato shows too little buoyancy. The water didn’t pull enough potassium hydroxide from the ash. Solution: Pour the weak lye water slowly through a fresh batch of packed hardwood ash. Think of it as a second, stronger extraction. You can repeat this process to concentrate it.
Problem: Liquid is cloudy or filtering stops. Fine ash particles have clogged your straw or charcoal filter. Solution: Re-filter the liquid through a tightly woven cloth, like an old cotton T-shirt or a few layers of cheesecloth. Pre-wet the cloth to help it filter faster.
Problem: No liquid is draining from your hopper. You have a clog or a compaction issue. First, check that your bottom filter layer (pebbles, straw) isn’t sealed shut by sludge. The most common fix is to gently poke vertical “well holes” down through the compacted ash with a clean stick to re-establish drainage paths. Also, ensure your water-to-ash ratio isn’t too low; you need enough water to carry the lye through.
Common Mistakes When Soap Making with Wood Ash Lye
Mistakes here lead to failed, oily soap. First, using ash from softwoods like pine or cedar. They have different mineral content and often create a much weaker lye. Stick to hardwoods like oak, maple, or hickory, especially when you’re trying to remove stains and seal wood.
The biggest error is skipping the egg test. Without knowing your lye’s strength, you cannot correctly balance it with fats. Your soap will be either caustic or greasy. The floating egg test is non-negotiable; it’s your only reliable gauge of potency for homemade lye.
Finally, never use aluminum, tin, or zinc pots with lye. The reaction creates hydrogen gas and ruins your pot. Use stainless steel, enamel, or heat-safe plastic. Treat this solution with the same respect as any powerful chemical from the hardware store, because that’s exactly what it is.
From Lye to Soap: A Basic Application
Turning your wood ash lye into soap is a separate, precise chemical process called saponification. It’s not just mixing; it’s a reaction where the lye breaks down fats into soap and glycerol. Getting it wrong means ending up with a caustic sludge or a greasy mess.
For a simple historical framework, you’ll need fat. Our ancestors used rendered animal tallow. A basic starting ratio is one part of your concentrated lye water to three parts melted fat by volume. Slowly pour the warm lye solution into the warm fat while stirring constantly. This slow, steady mixing is critical for the reaction to start evenly and completely. Keep stirring until the mixture thickens to a “trace,” where a drizzle of soap on the surface leaves a faint mark.
The Critical Step: Testing Lye Strength
You must test your lye’s potency. Historical methods are imprecise but functional. The potato or egg float test is common. A fresh, peeled potato or a whole egg should float with a specific area exposed above the lye water. If it sinks, your lye is too weak. If it floats too high, it’s dangerously strong and needs dilution.
For safer, more reliable soap, I use a hydrometer to measure the specific gravity. A reading between 1.1 and 1.2 often indicates a workable strength for a soft soap. Never skip this testing step; working with unknown lye concentration is how you get chemical burns or make ineffective soap.
Potassium vs. Sodium: The Soap Chemistry
Your wood ash lye is potassium hydroxide (KOH). Modern store bought lye for hard bar soap is sodium hydroxide (NaOH). This difference changes the final product. Potassium hydroxide creates a softer, gel like, or liquid soap. Sodium hydroxide makes a hard bar. You cannot make a traditional hard bar of soap with pure wood ash lye; the chemistry doesn’t allow it. Your result will be a soft “paste” soap, perfect for a jar or for making liquid soap with extra water.
Beyond the Soap Pot
Wood ash lye has other historical uses rooted in its alkaline power. A diluted solution makes a strong cleaner for greasy tools or shop floors. It was traditionally used in food preparation, like soaking hominy to make nixtamal. In the garden, a weak ash lye solution can help control pests on certain plants, though it must be used with care to avoid harming soil pH. For woodworking, season finish ash wood can influence how a finish bonds. Remember, this is a potent base. Test it on a small area first, and always wear protective gear.
FAQ: Wood Ash Lye Extraction and Use
Can I purchase wood ash lye, or is homemade extraction necessary?
Pure wood ash lye (potassium hydroxide solution) is not typically sold commercially due to variable potency from ash composition. For controlled, traditional applications, extracting it yourself from identified hardwood ash is essential for consistent results.
What other practical uses does wood ash lye have in the workshop?
Beyond soap, diluted wood ash lye effectively degreases tools and cleans shop floors due to its alkaline action. It can also pretreat wood surfaces for certain finishes or, historically, process natural materials like fibers for durability. Understanding how pH affects wood cleaning—whether acidic or alkaline—helps tailor care for different finishes.
How does the tree species impact the quality of the lye produced?
Dense hardwoods like oak and hickory yield ash richer in potassium carbonate, leading to more potent lye for reliable saponification. Avoid softwoods like pine, as their lower alkali content produces weak lye that compromises soap integrity.
Why does wood ash lye produce soft soap instead of hard bars?
Wood ash lye is potassium hydroxide, which creates potassium soap salts that remain soluble and yield a soft paste or liquid soap. Hard bars require sodium hydroxide, forming insoluble sodium salts that solidify through crystallization.
How should I store homemade lye water, and what is its shelf life?
Store lye water in a sealed, chemically inert container like HDPE plastic or glass, labeled clearly and kept in a cool, dark place. It remains stable for months, but always verify potency with a float test before use, as absorption of atmospheric CO₂ can gradually reduce its strength.
From Ashes to Lye: A Woodworker’s Final Notes
The most critical step is achieving a clean, pure lye solution. Filter your ash water multiple times through fine cloth, and always test its strength with a potato or egg before use. This small test prevents a failed, oily batch of soap and is a non-negotiable safety check. Treat the lye you make with the same disciplined respect you afford any powerful tool in your shop.
This process connects you directly to the full lifecycle of the wood, from tree to finished good. Pursuing this kind of material knowledge, with a focus on safety and resourcefulness, is what separates a craftsperson from a casual maker.
Related Guides and Information
- Turning your wood ash into lye for soap making – Raven’s Roots Naturalist School
- Wood ash lye | Soapy Stuff
- Wood ash lye and soaping? | Soapmaking Forum – Soap & Candle Forums
- Wood Ash Soap – Wild Harvest School
- Laundress-Making Soap – Fort Scott National Historic Site (U.S. National Park Service)
David Ernst
David is a veteran woodworker. He is now retired and stays in his cabin in Wisconsin which he built himself. David has 25+ years experience working in carpentry and wood shops. He has designed and built many small and large wood projects and knows the science behind wood selection like the back of his hand. He is an expert guide on any questions regarding wood material selection, wood restoration, wood working basics and other types of wood. While his expertise is in woodworking, his knowledge and first hand experience is far from 'woody'.